Cute Hello Ladybug Card

These ladybugs are so fun, aren’t they? I added all those little dots around the background layer to match the dots on the ladybug. It’s great to have small images to fill in white space.


In the video I’ll show you how to stamp and punch out the ladybugs and their matching wings. This was a very easy card to make with the large leaves and dots for the background layer.


You can purchase the Hello Ladybug Stamp Set and coordinating Ladybug Builder Punch separately or save 10% by bundling them together.


Measurements & Colors

  • Granny Apple Green Card Base - 5 1/2 x 8 1/2, score at 4 1/4

  • Basic White Layer - 5 1/2 x either 3 1/4 or 3 3/4 depending on how wide you want it.

  • Basic White Strip for sentiment - 1/2” and then cut to size you want.

  • Inks - Black Memento, Real Red, Granny Apple Green


Stamp the walking ladybugs across the bottom with Black Memento and Real Red Inks. You can add a sentiment if you want.


Supply List

You can click on the item to purchase it from my Online Store.

Cute Catching Butterflies Card

Isn’t this card so cute? I thought about my granddaughter, Kenzie when I decided to play with the Catching Butterflies Stamp Set. I can see her running around barefoot in a pink dress catching butterflies!


This Stamp Set is FREE during Sale-a-bration with a $50(US) order. I love the butterflies and the sentiments; so sweet!


Tips & Instructions

  • Polished Pink Card Base 5 1/2 x 8 1/2, score at 4 1/4

  • Basic White Cardstock - cut using the largest die from the Scalloped Contours Dies.

  • Stamp images and sentiment with Black Memento Ink. Stamp the grass with Garden Green Ink.

  • Color using Stampin’ Blends. I used:

    • Dark Polished Pink for the dress

    • Ivory for the skin

    • Dark So Saffron for the hair

    • Light Petal Pink for the net

    • Dark Polished Pink and Dark So Saffron for the butterflies

  • Feed Polished Pink Open Weave Ribbon through the scallops on each side. Adhere stamped layer to piece of Polished Pink Cardstock cut at 5 1/4 x 4. Tape the ends of the ribbon to the back. Adhere layer to card base using Adhesive Foam Sheet.

  • Tie bow and adhere using a Glue Dot.


I was back and forth on whether to color the butterflies pink or purple. Kenzie loves them both!


On the inside layer stamp sentiment and butterflies with Black Memento Ink and color with Stampin’ Blends.


Supply List

Click on any item you want to purchase it from my Online Store. Make sure you choose a Sale-a-bration item if you order $50 or $100 in product.

Paradise Palms Tropical Birthday Card

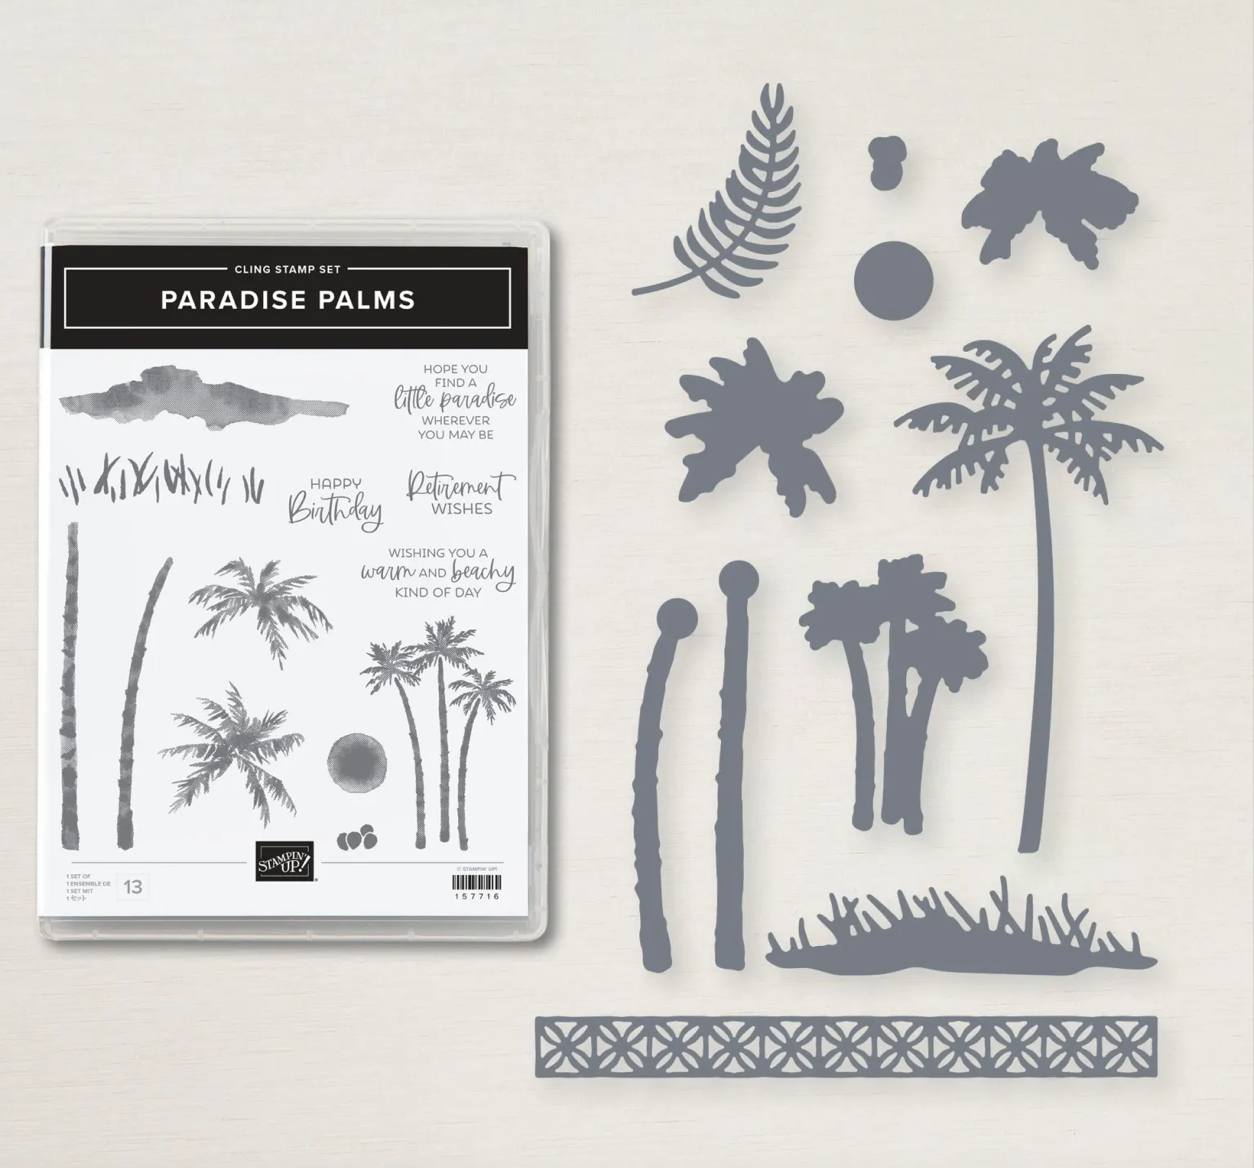
Today on my YouTube Live I created this tropical card using the Paradise Palms Bundle. Think hot sun, warm breeze, ocean sounds and palm trees!!!


You can watch the replay to see how I used Blending Brushes and Ink Pads to create this pretty sunrise background. I also colored and spritzed the stamps to get a water color look on the palm trees.


This stamp set has lots of stamps to create a beautiful scene and I love the sentiments. There are coordinating Palms Dies and you can purchase these separately or bundle together and save 10%.


Measurements & Color Choices

  • Pacific Point Card Base - 5 1/2 x 8 1/2, score at 4 1/4

  • Basic White Layer - 5 1/4 x 4

  • Colors I used for blending:

    • Pacific Point for bottom (water)

    • Balmy Blue for top (sky)

    • Mango Melody for sun, then add some Daffodil Delight

    • Add some pink, I used Blushing Bride

  • Palm Trees - Soft Suede for trunk and Just Jade for treetops

  • Ground - Soft Suede

  • Grass - Garden Green


On the inside stamp sentiment with Soft Suede and trees/ground like card front.


Supply List

You can click on the item to purchase it from my Online Store.

Paradise Palms Retirement Card

Doesn’t paradise sound good in January? I live in Florida and we’ve had a couple of frosty mornings! A warm beach sounds good to me :)


I used the Paradise Palms Bundle. It’s so nice to see retirement sentiments in a stamp set. I love the palm tree stamps and dies included to create great beach scenes.


The background layer is a piece of the New Horizons Designer Series Paper. This paper pack is 6x6 and has some really beautiful patterns that can be used for fabulous backgrounds.


Tips & Instructions

  • Evening Evergreen Card Base - 5 1/2 x 8 1/2, score at 4 1/4

  • New Horizons Designer Series Paper - 5 1/4 x 4 and adhere to card base.

  • Basic White Cardstock - stamp both tree trunks with Soft Suede Ink and both palm tree tops with Just Jade Ink and cut with coordinating dies. Adhere trees to card.

  • Evening Evergreen Cardstock - cut with grassy die and adhere to card using Dimensionals

  • Basic White Cardstock - 3/4” strip, stamp with sentiment using Evening Evergreen Ink and adhere to card using Dimensionals.

  • Add some Clear Epoxy Essentials.


Stamp sentiment with Evening Evergreen Ink. Using Stampin’ Write Markers color the small group of palm trees directly on the stamp. I used Soft Suede and Just Jade Markers. NOTE: do not use Stampin’ Blends! Breath on the stamp and then stamp on inside layer. Stamp the small hill with Evening Evergreen Ink (stamp off first) and then stamp the grass over it with Evening Evergreen Ink directly.


Supply List

You can click on the item to purchase it from my Online Store.

Sketch Saturday - Sentimental Swirls

This is the card I made for this week’s sketch challenge. It’s a great masculine Birthday Card.


The sketch is from the Atlantic Hearts Sketch Challenge.


I love all the texture with the embossed layer, the Designer Series Paper and some splattering I added to the label.


Tips & Instructions

  • Early Espresso Card Base - 5 1/2 x 8 1/2, score at 4 1/4

  • In Good Taste Designer Series Paper - 5 1/4 x 4 (I used the sheet that looks like it has a light textured look.) Punch the center out using the Tailored Tag Punch and emboss the layer using the Timber 3D Embossing Folder. Adhere to card base.

  • Stamp the sentiment on the tag with Early Espresso Ink. Cut a second tag from Early Espresso Cardstock, cut in half and adhere behind the stamped tag spreading them apart to create a border.

  • I flicked some Crumb Cake Ink on the label and the embossed layer. Use a Crumb Cake Stampin’ Write Marker and flick the marker end on the top to get a splatter look.

  • Cut strips of In Good Taste Designer Series Paper and adhere on the embossed layer.

  • Color piece of White Frayed Ribbon with a Dark Crumb Cake Stampin’ Blends Marker.


  • Adhere over the strips.

  • Adhere the label over the ribbon using Dimensionals.

  • Add a Gilded Gem to the sentiment label.


On the inside stamp sentiment (from Special Moments) with Early Espresso Ink. Add a 5 1/4 x 1 strip of the Designer Series Paper.


Supply List

You can click on the item to purchase it from my Online Store.

Always In My Heart Valentine's Day Cards

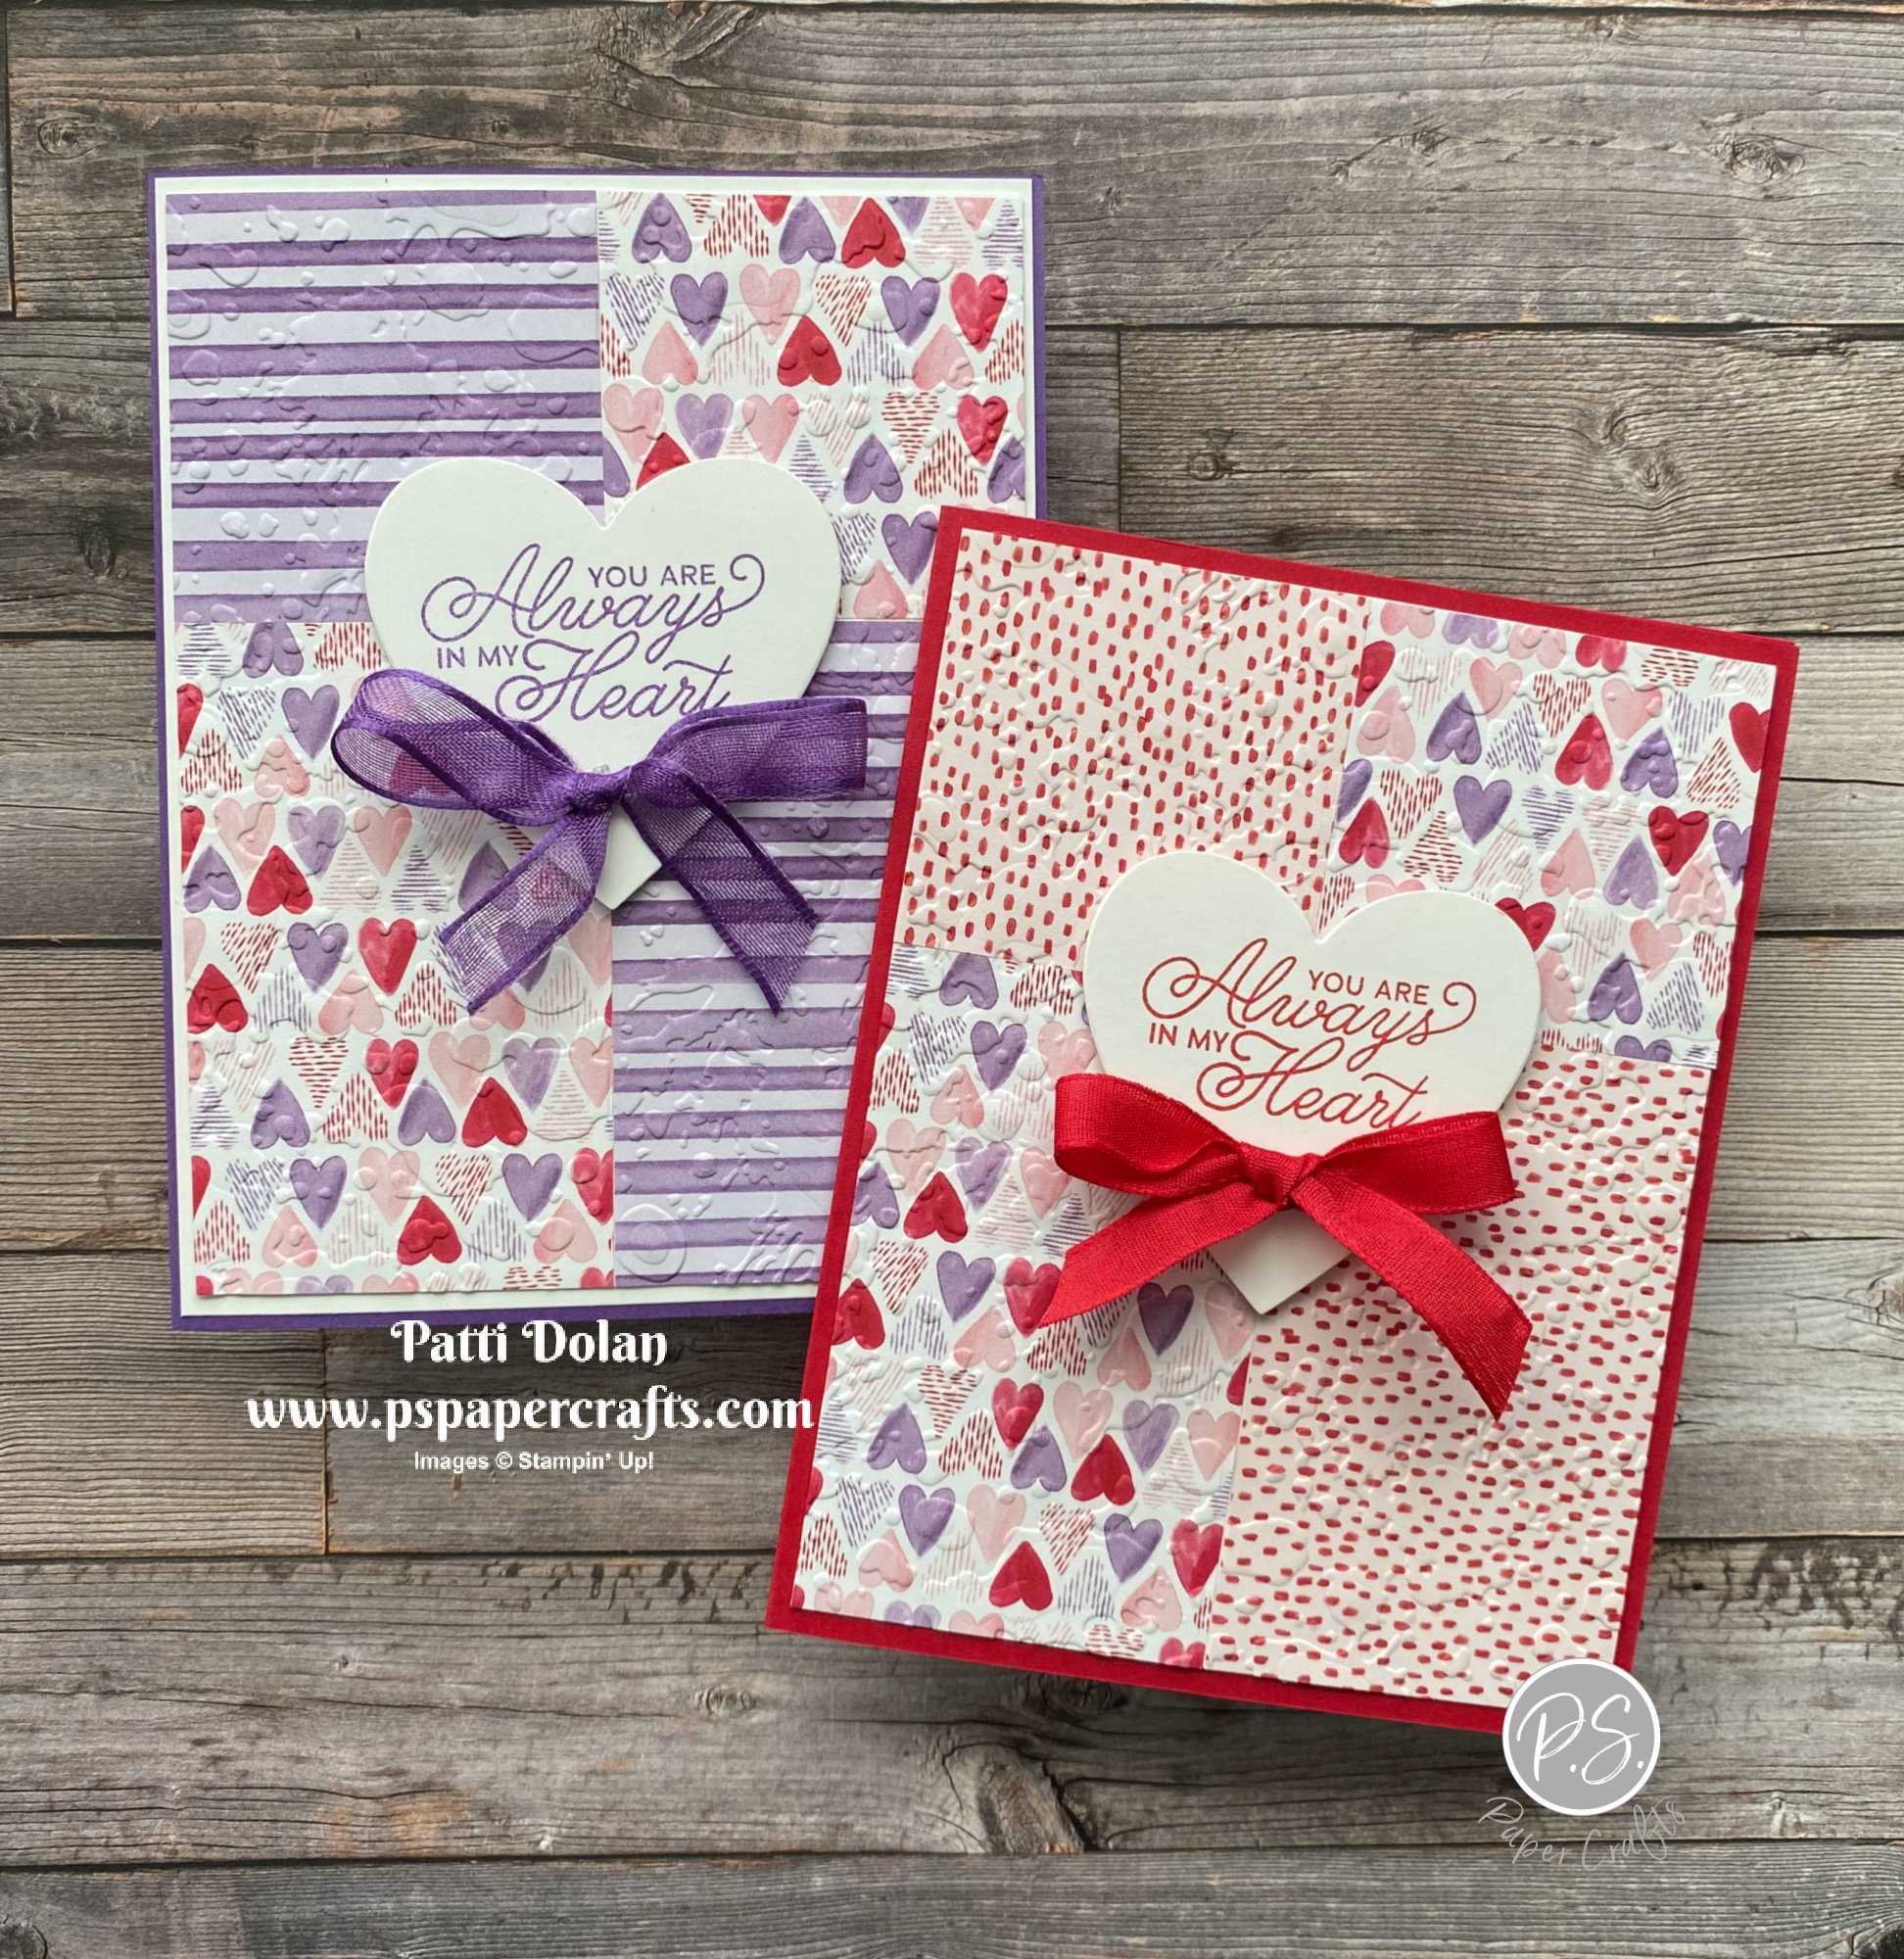
I made these fun Valentine’s Day Cards using the Always In My Heart Stamp Set and coordinating Floral Heart Dies.


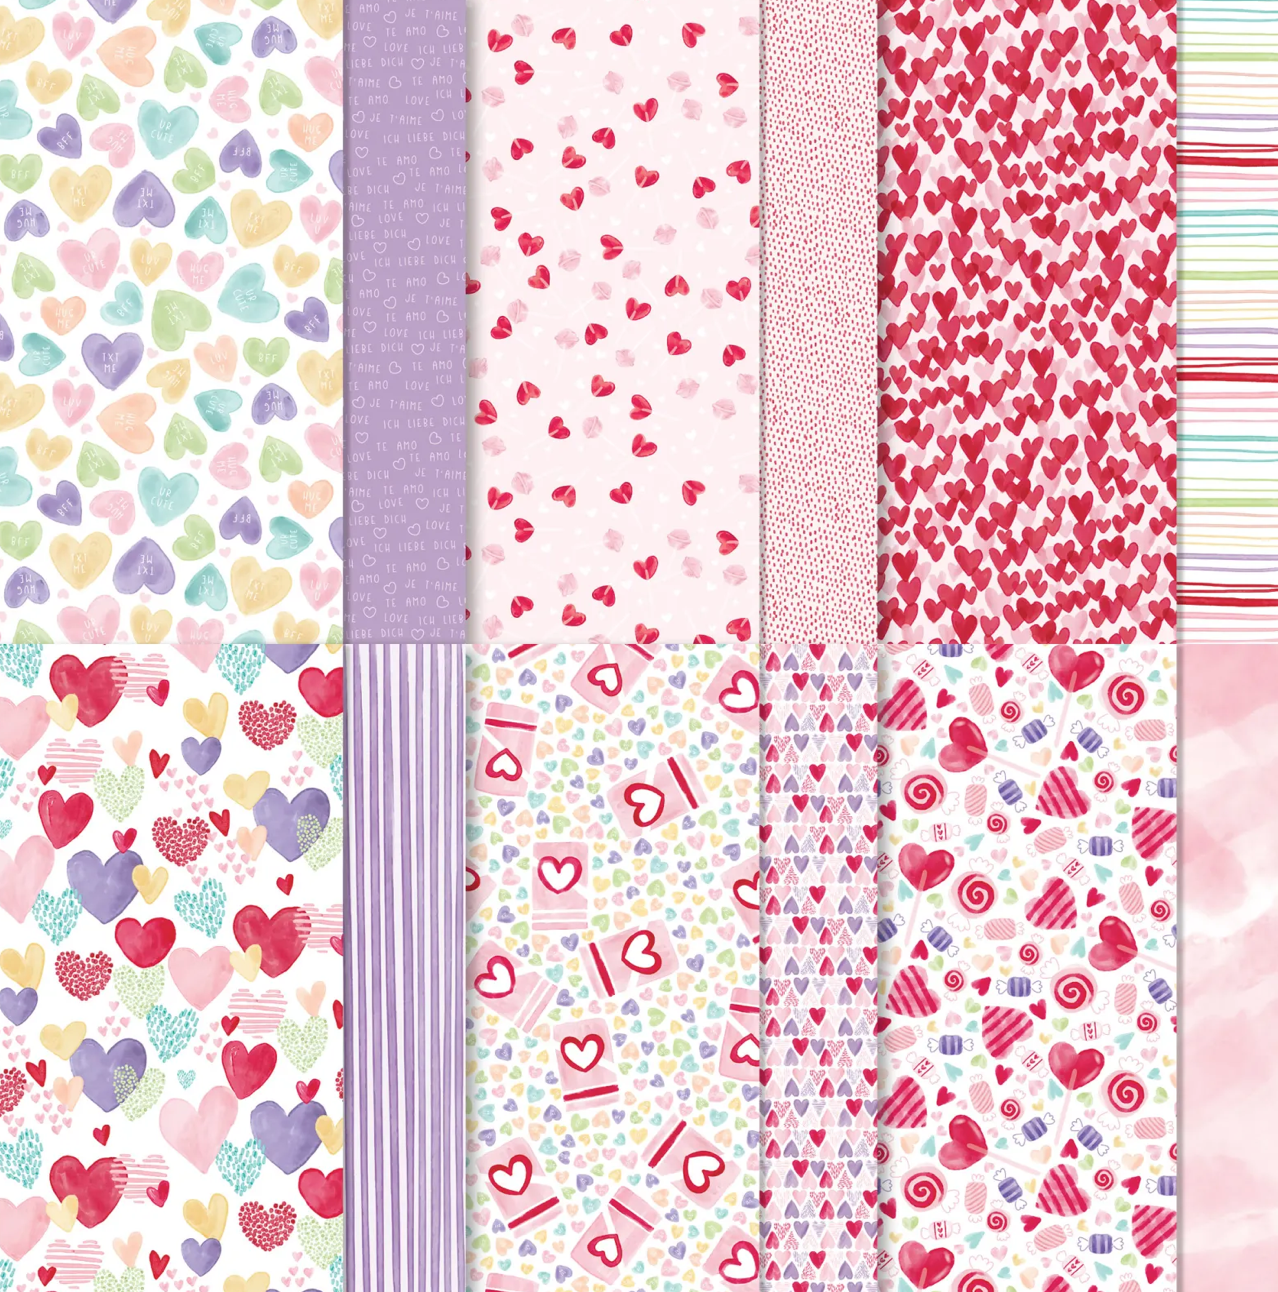
In my video I’ll show you how I pieced the Sweet Talk Designer Series Paper on a layer and then embossed it using the Strips & Splatters 3D Embossing Folder. It gives it such a fun, textured look.


Measurements:

  • Real Red Card Base - 5 1/2 x 8 1/2, score at 4 1/4

  • Basic White Layer - 5 1/4 x 4

  • Sweet Talk Designer Series Paper - 2 pieces cut at 2 x 2 and 2 pieces cut at 2 x 3 1/4

  • Basic White Cardstock - cut heart using the Floral Heart Dies


On the inside add a strip of Designer Series Paper. I cut two rows of hearts so it’s not a specific measurement.


This card has a Gorgeous Grape card base and an extra layer of Basic White that measures 5 3/8 x 4 1/8. You can add that white layer or leave it off.


Supply List

You can click on the item to purchase it from my Online Store.

Calming Camellia Lovely You Card

Oh my goodness the Calming Camellia Host Stamp Set is gorgeous. I love how beautifully the images stamp.


This is a Distinktive** stamp set; it has a special texture that gives added depth and dimension in a single step, creating photo-realistic images. There are lots of beautiful sentiments included.

You can get this stamp set for free when you host a $300(US) party. Gather friends together to place an order or host an online party with me. Just email me and we can work out the details. (p.s. you get Free Sale-a-bration products as well!!!)

Email Address: patti@pspapercrafts.com


Tips & Instructions

  • Thick Basic White Card Base - 5 1/2 x 8 1/2, score at 4 1/4

  • Old Olive Cardstock - 5 1/4 x 4, stamp the leaves randomly on the layer with Mossy meadow Ink.

  • Basic White Cardstock - 3 1/4 x 3 1/4, stamp flower and sentiment with Blackberry Bliss Ink.

  • Color a piece of Whisper White Crinkled Seam Binding with a Dark Mossy Meadow Stampin’ Blends Marker and wrap around the Old Olive layer. Adhere to the back of the layer and then adhere to card base.

  • Adhere flower layer to card using Dimensionals.

  • Tie bow with colored ribbon and adhere with a Glue Dot.

  • Add some Iridescent Rhinestones.


I think this camellia flower and the leaves in the background are so beautiful!


On the inside add a Basic White 5 1/4 x 4 layer that you’ve stamped the flower and sentiment with Blackberry Bliss Ink.


Supply List

You can click on the item to purchase it from my Online Store.

Slimline Birthday Cards featuring the Slim Sayings Bundle

In today’s YouTube Live I demonstrated the Slim Sayings Bundle. The sentiments in the stamp set are big and bold, perfect for this style card and the Slim Dies helps you create a fun background layer. There are also new Slimline Envelopes….Yippee!


Watch the replay to see how to use the dies and create these fun cards.


Measurements:

  • Polished Pink Card Base - 8 1/2 x 7, score at 3 1/2 (on the 7” side)

  • Gold Foil Sheet - 8 1/2 x 3 1/2, cut using the Slim Dies

  • Expressions In Ink Specialty Designer Series Paper - 8 1/4 x 3 3/16

  • Polished Pink Strip - 3/4 x 5 1/4


Inside Layer Measurements:

  • Basic White - 8 1/2 x 3 1/2

  • Expressions In Ink Specialty Designer Series Paper - 8 1/2 x 3/4


This one is a classic black and white card. I used a Thick Basic White Card Base and Simply Elegant Specialty Designer Series Paper. The image and sentiment are from the Friendly Hello Stamp Set


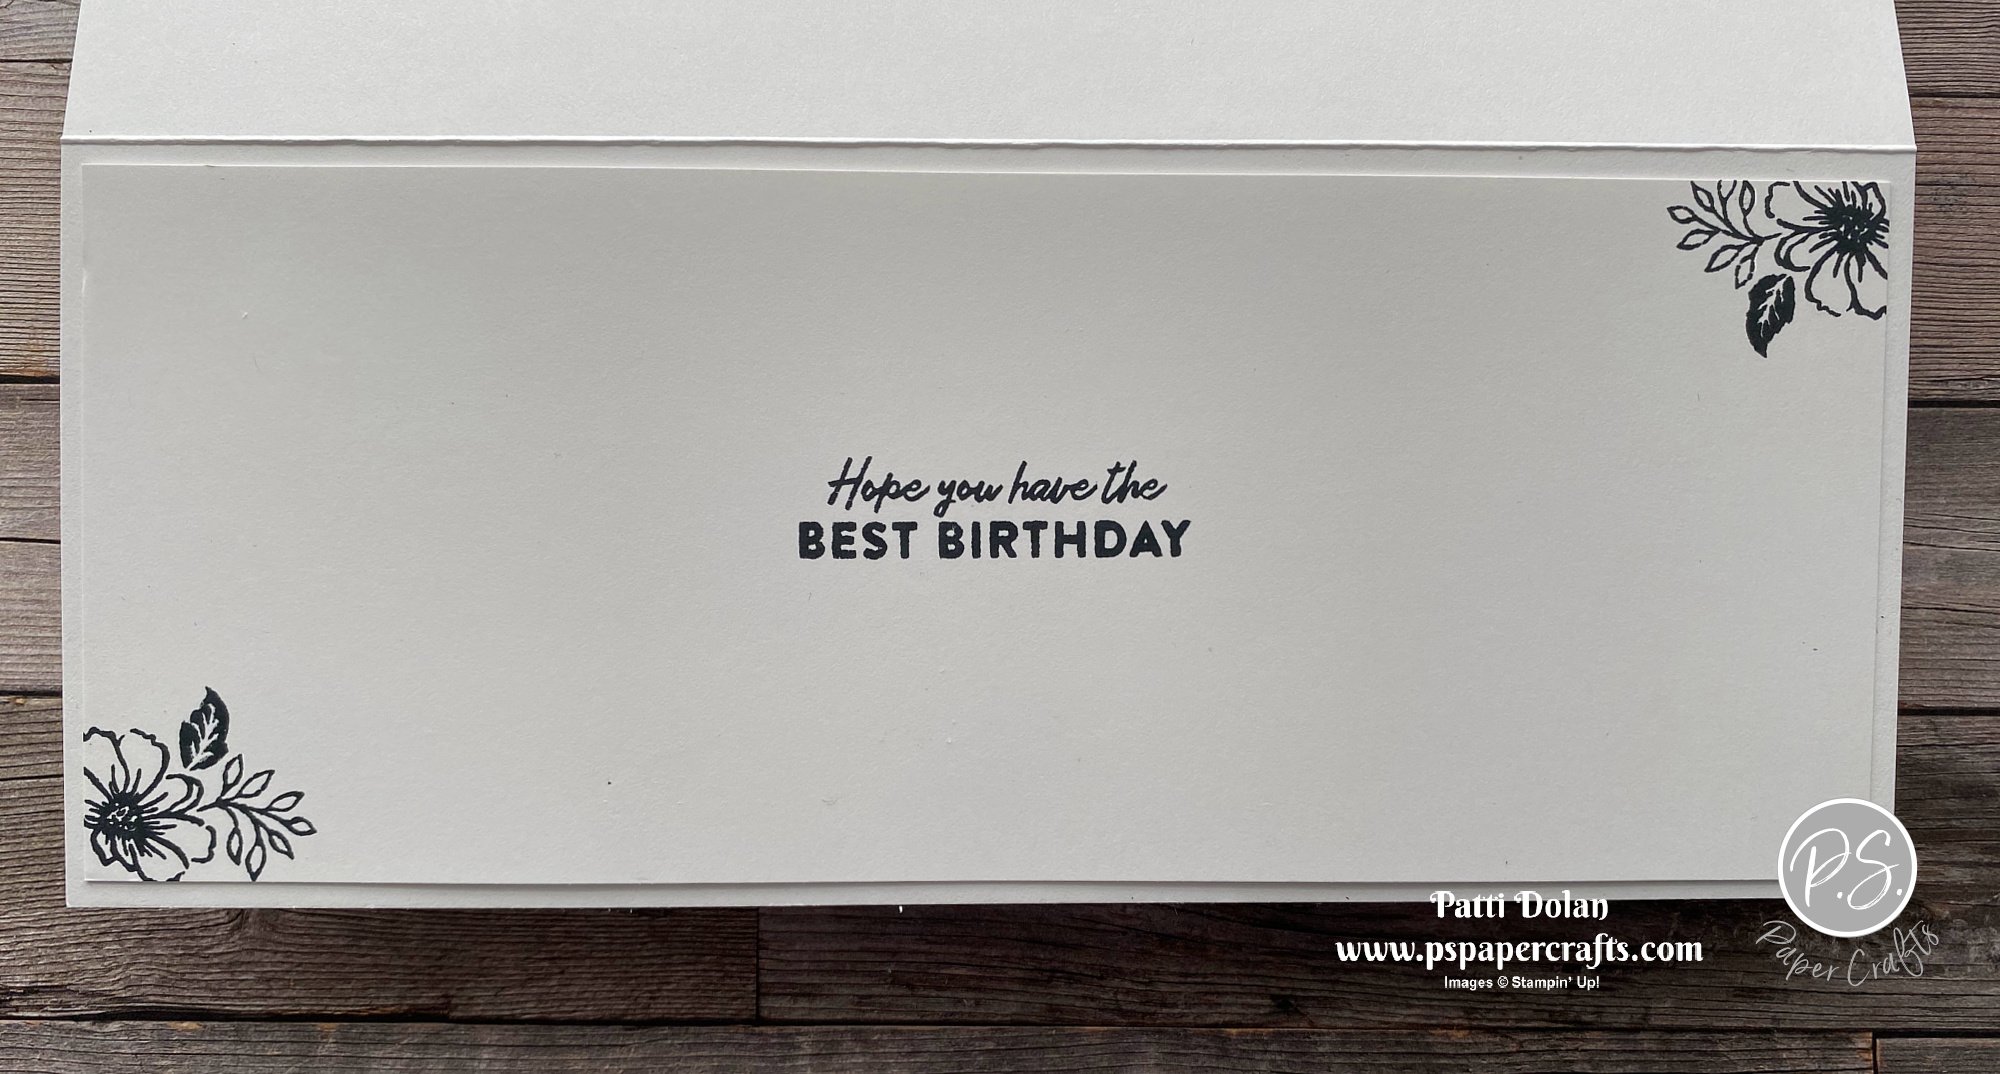
I stamped the floral images and the sentiment with Black Memento Ink.


Supply List

You can click on the item to purchase it from my Online Store.

Pretty Slimline Card using the new Slim Sayings Bundle

I was so happy when I saw the new Slim Sayings Bundle and the Slimline Envelopes in the Mini Catalog.

These are such fun cards to make and now there are tools to help.


The sentiments in the stamp set are big and bold. With the coordinating Slim Dies you can create a fancy edge or elegant background for your card. Bundle them together to save 10%.


The envelopes are Basic White, Soft Succulent and Smokey Slate with a pretty flap.


Tips & Instructions

  • Thick Basic White Card Base - 8 1/2 x 7, score at 3 1/2 (on the 7” side)

  • Soft Succulent Cardstock - 8 1/2 x 3 1/2, cut with Slim Dies.

  • Heart & Home Designer Series Paper - 8 1/2 x 3 1/2, cut with Slim Dies.

  • Adhere the Soft Succulent frame to card base.

  • Adhere the floral pieces to card. I put Liquid Glue on the card and then laid the pieces in. If you keep the pieces on your cutting plate after running through the Die Cutting Machine, it will be easy to put the pieces in the right places.


  • Stamp sentiment on Basic White Cardstock with Soft Succulent Ink and cut using the Tailor Made Tag Dies. Adhere to card using Dimensionals.

  • Tie bow with Fresh Freesia Open Weave Ribbon and adhere with a Glue Dot.

  • Add some Fresh Freesia Jewels.


The Tailored Made Tags are perfect for this sentiment!


On the inside stamp the sentiment with Soft Succulent Ink. Stamp floral image (from the Blessing Of Home Stamp Set) with Black Memento Ink. Color with Soft Succulent, Fresh Freesia and Daffodil Delight Stampin’ Blends.


I stamped the large floral image with Soft Succulent Ink on the envelope.


Supply List

You can click on the item to purchase it from my Online Store.

Sketch Saturday - Sweet Conversations

I made this fun Valentine’s Day Card for this week’s Sketch Challenge using the Sweet Conversations Bundle.


The sketch is from the Atlantic Hearts Sketch Challenge. I decided to make mine a portrait style card. This was an easy one to do.


There are some fun images in the stamp set and I love the tag and cute little envelope die in the coordinating Sweet Hearts Dies. Some of the heart dies cut out the images in the Designer Series Paper….love it!


The Sweet Talk Designer Series Paper is so fun. I love the bright, bold patterns and those little conversation hearts are so cute.


Tips & Instructions

  • Real Red Card Base - 5 1/2 x 8 1/2, score at 4 1/4

  • Basic White Layer - 5 3/8 x 4 1/8, adhere to card base.

  • Sweet Talk Designer Series Paper - 5 1/4 x 4, adhere to card.

  • Cut 4th from larges circle from Basic White Cardstock and the 3rd from largest scalloped circle from Real Red Cardstock using the Layering Circles Dies. Cut right and bottom off to make a straight corner and adhere to card.

  • Cut envelope from Real Red Cardstock using the Sweet Hearts Dies. Fold and adhere bottom to the sides. Be sure you look at all sides before folding, there is a top to it.

  • Stamp sentiment heart with Real Red Ink on scrap of Basic White Cardstock. Stamp the filler heart with Red Ink but stamp off 2 times first to get a very light layer of ink. Cut with coordinating die.

  • Adhere the heart to the envelope and adhere envelope to card.

  • Add some Iridescent Rhinestones.


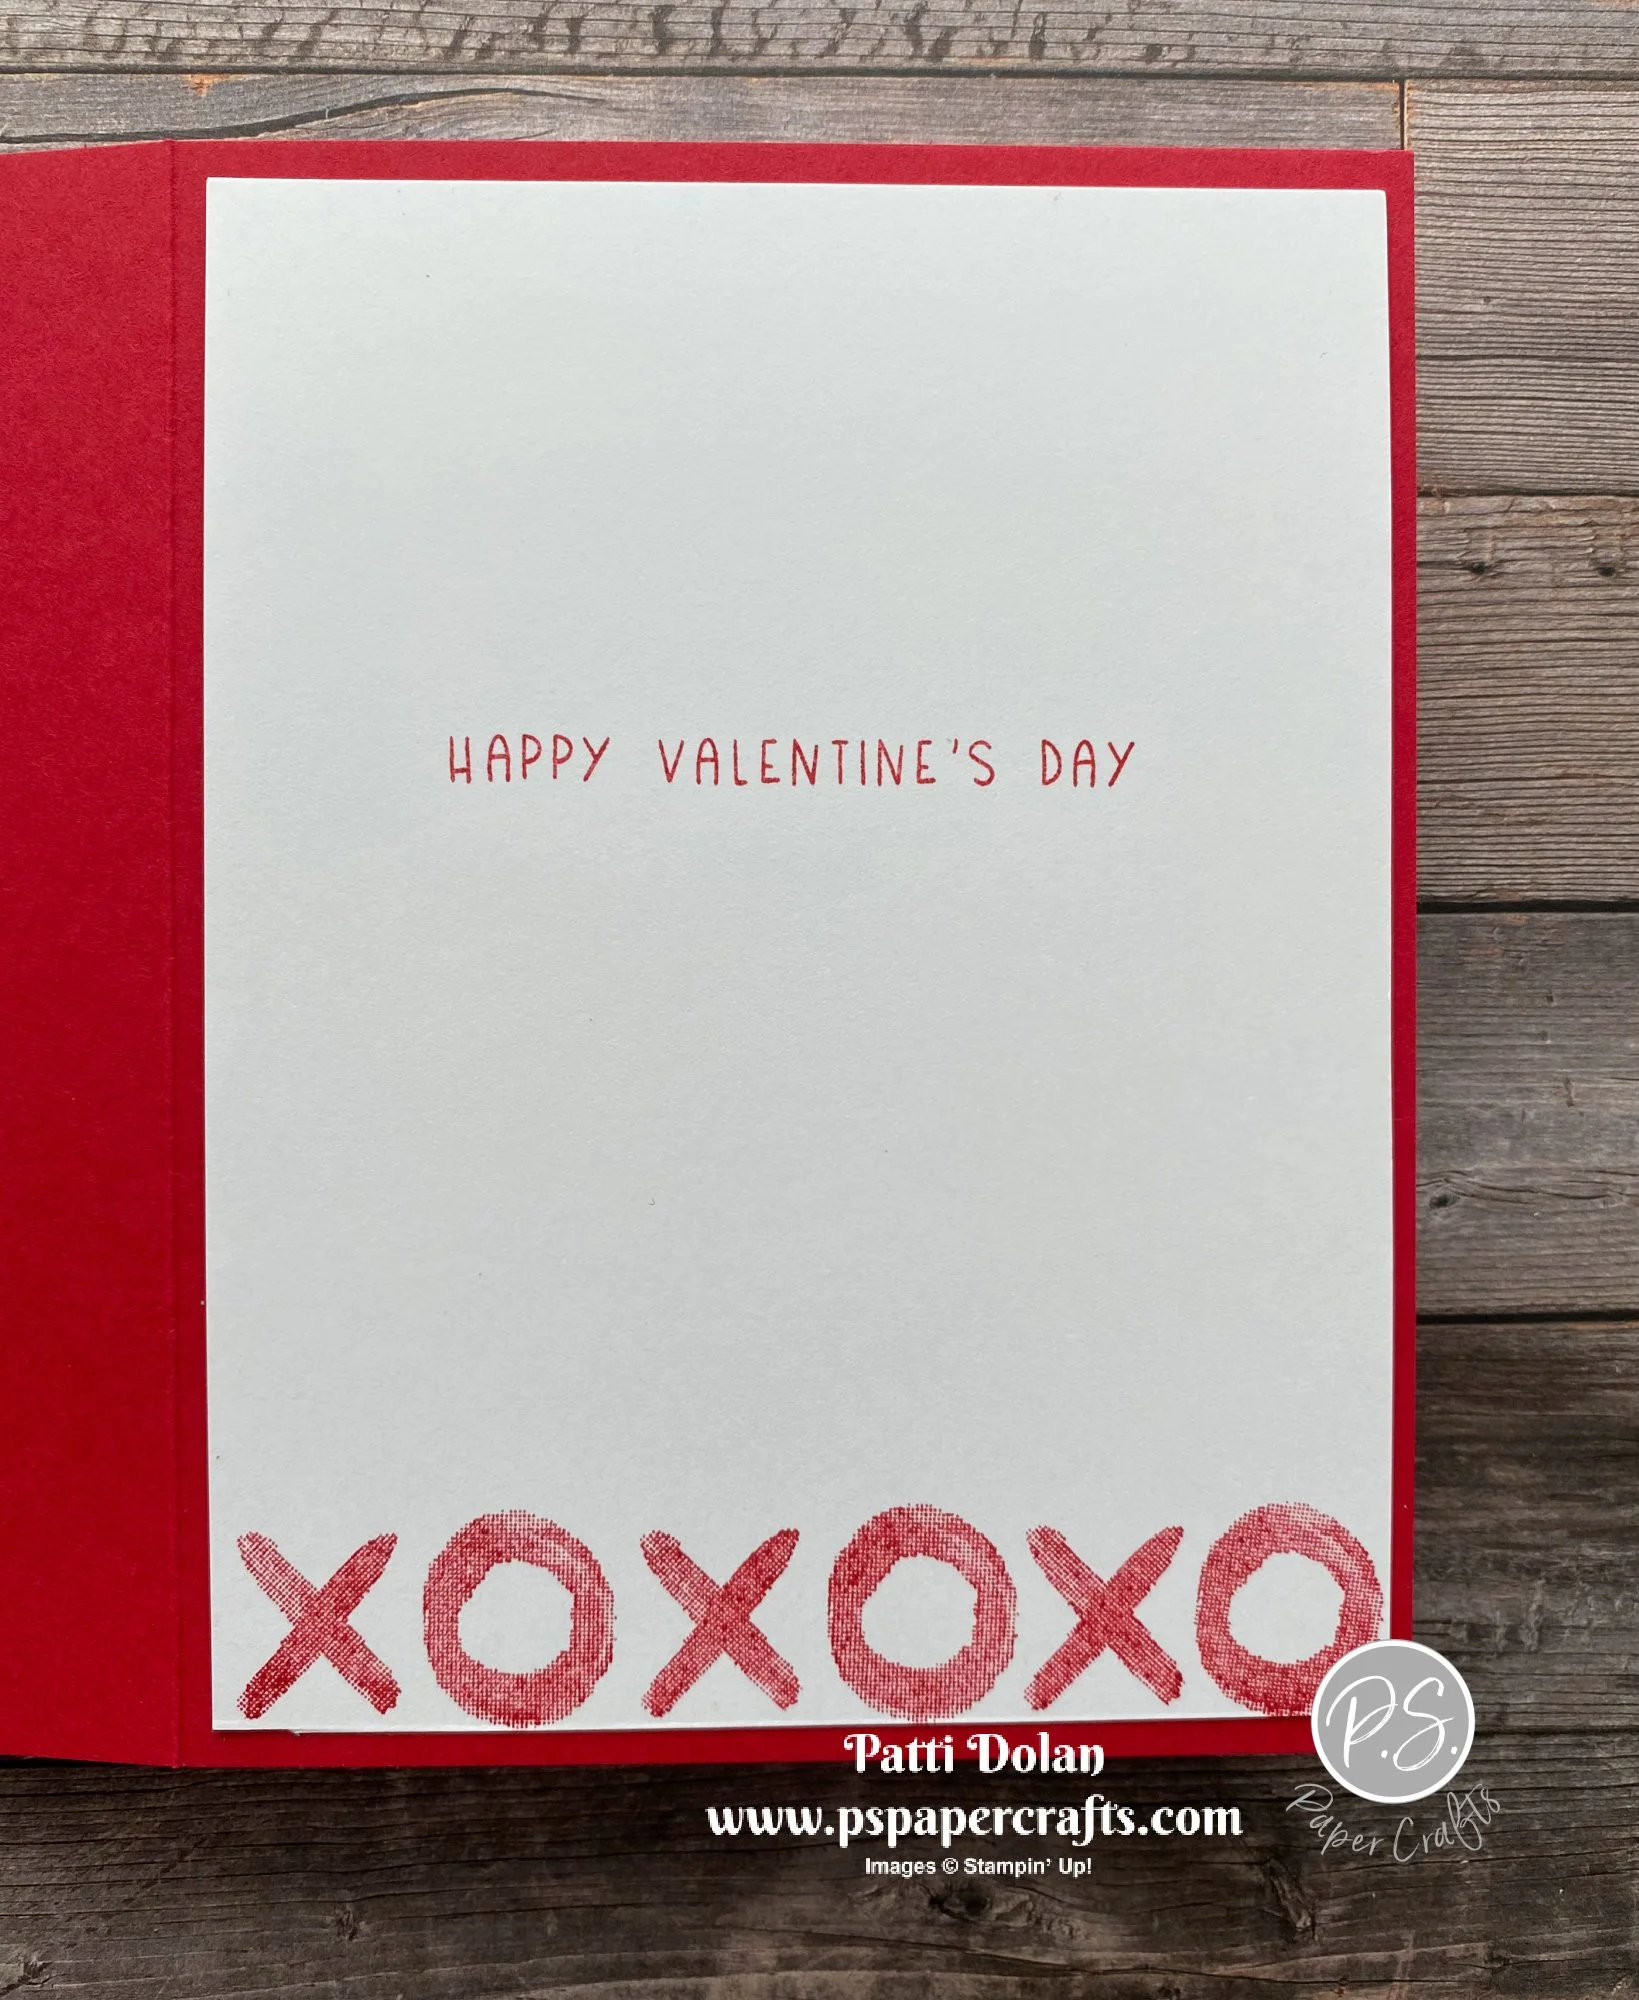
On the inside stamp the X’s and O’s across the bottom of the layer and the sentiment with Real Red Ink.


Supply List

You can click on the item to purchase it from my Online Store.

Artfully Layered Hey There Card!

I started to play with the new Artfully Layered products today and I love them. They are perfect for making masculine cards. I quickly put this card together; beautiful colors!


The stamp set has some fun sentiments and images and there are great dies in the coordinating Tropical Layers Dies. Purchase them as a bundle to save 10%.


The Artfully Composed Designer Series Paper is just gorgeous. One side of the printed designs includes a combination of hand-painted tropical plants and greenery with leaves that were cut out of paper and photographed for a unique layered look. The other side of the paper includes small print patterns like stripes, polka dots, and scripty writing.


Tips & Instructions

  • Evening Evergreen Card Base - 5 1/2 x 8 1/2, score at 4 1/4

  • Artfully Composed Designer Series Paper - 5 1/4 x 4, adhere to card base.

  • Stamp sentiment with Evening Evergreen Ink on Basic White Cardstock and cut using the 4th from largest Layering Circle Die keeping the sentiment all the way to the edge of the right side. Stamp small leaves with Mint Macaron Ink stamping off first to get a lighter shade.

  • Cut circled from Evening Evergreen Cardstock using the 3rd from largest Layering Circle Die and adhere to stamped circle. Cut left side off to make straight edge.

  • Cut greenery from Evening Evergreen and Mint Macaron Cardstock and adhere to card front.

  • Adhere sentiment to card using Dimensionals.


Here’s a closeup of the card front. Aren’t the colors so pretty?


On the inside stamp greenery with Evening Evergreen, stamping two more times without re-inking.


Supply List

You can click on the item to purchase it from my Online Store.

Simple Suite Stampers Tutorial - Pattern Party Designer Series Paper

On today’s YouTube Live I made these two fun Birthday Cards from the Simple Suite Stampers Tutorial.

Each month I collaborate with other Stampin’ Up! Demonstrators to create a tutorial with 12 beautiful projects including pictures, measurements and instructions.  This month we featured the Pattern Party Designer Series Paper and created Birthday Cards. 


Watch the replay to see how easy these cards were to make and to learn more about the Tutorial Bundle.


You can receive this Tutorial Bundle for free during January, 2021 when you place an order from my Online Store. You can also purchase the Tutorial for $9.95(US). Just click the Tutorials Button at the top of this Blog.


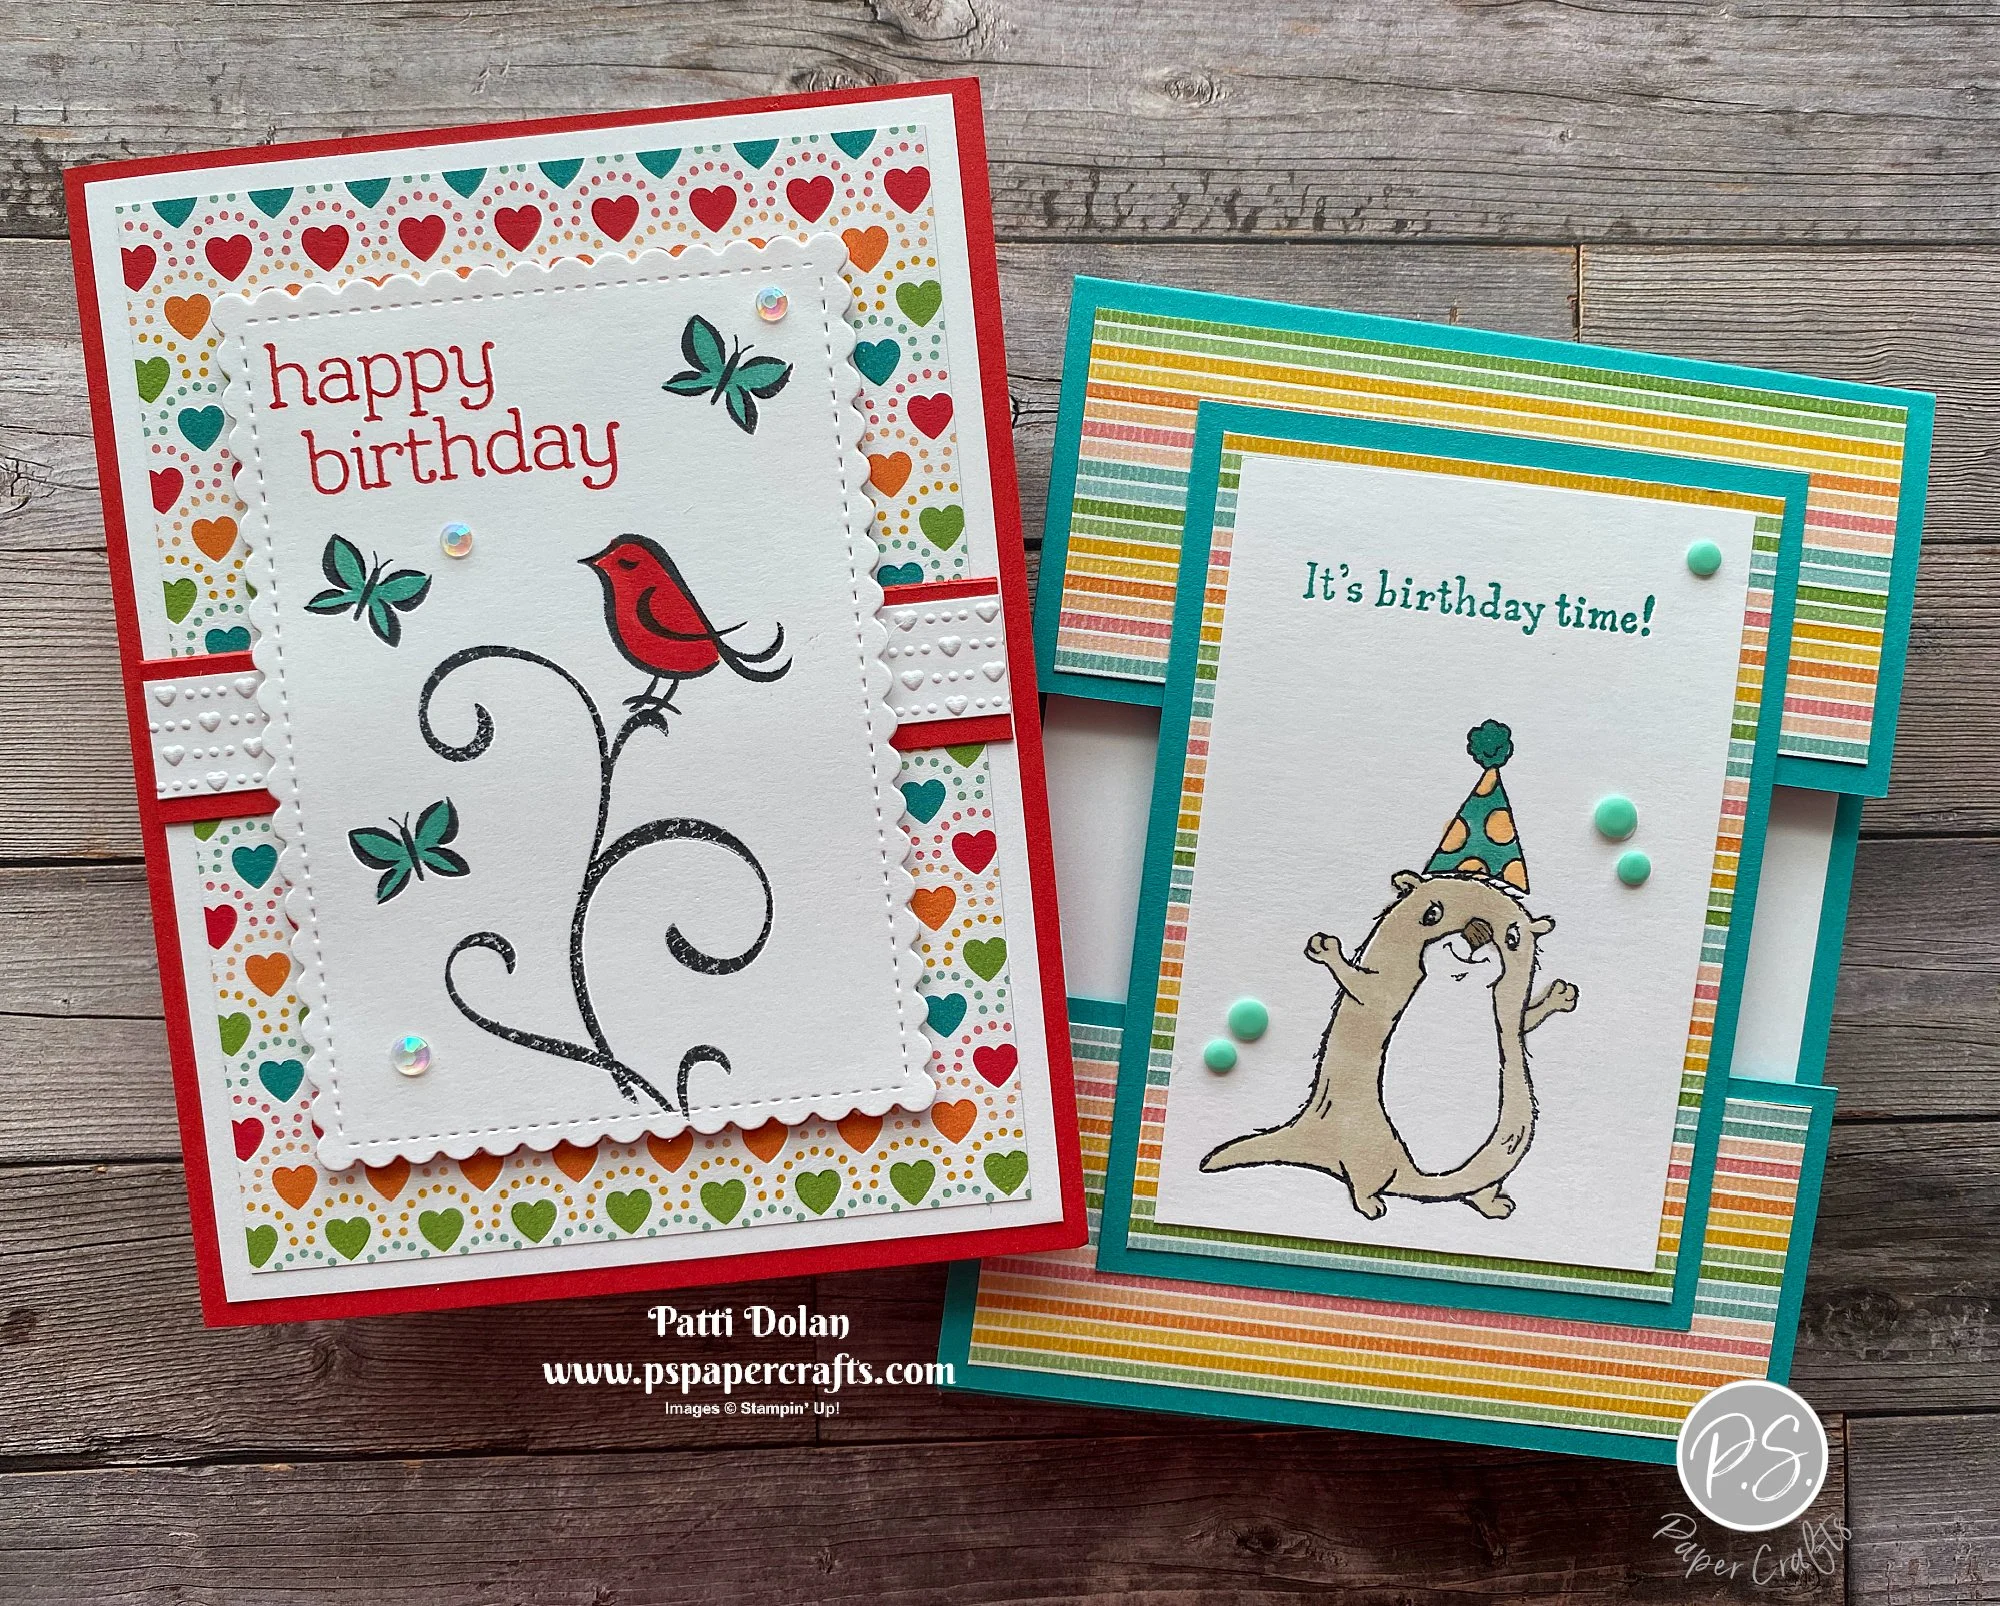
The first card was designed by me for the Tutorial. I used the Sentimental Swirls Stamp Set. The colors I used are Poppy Parade and Bermuda Bay. I think this card turned out so sweet!


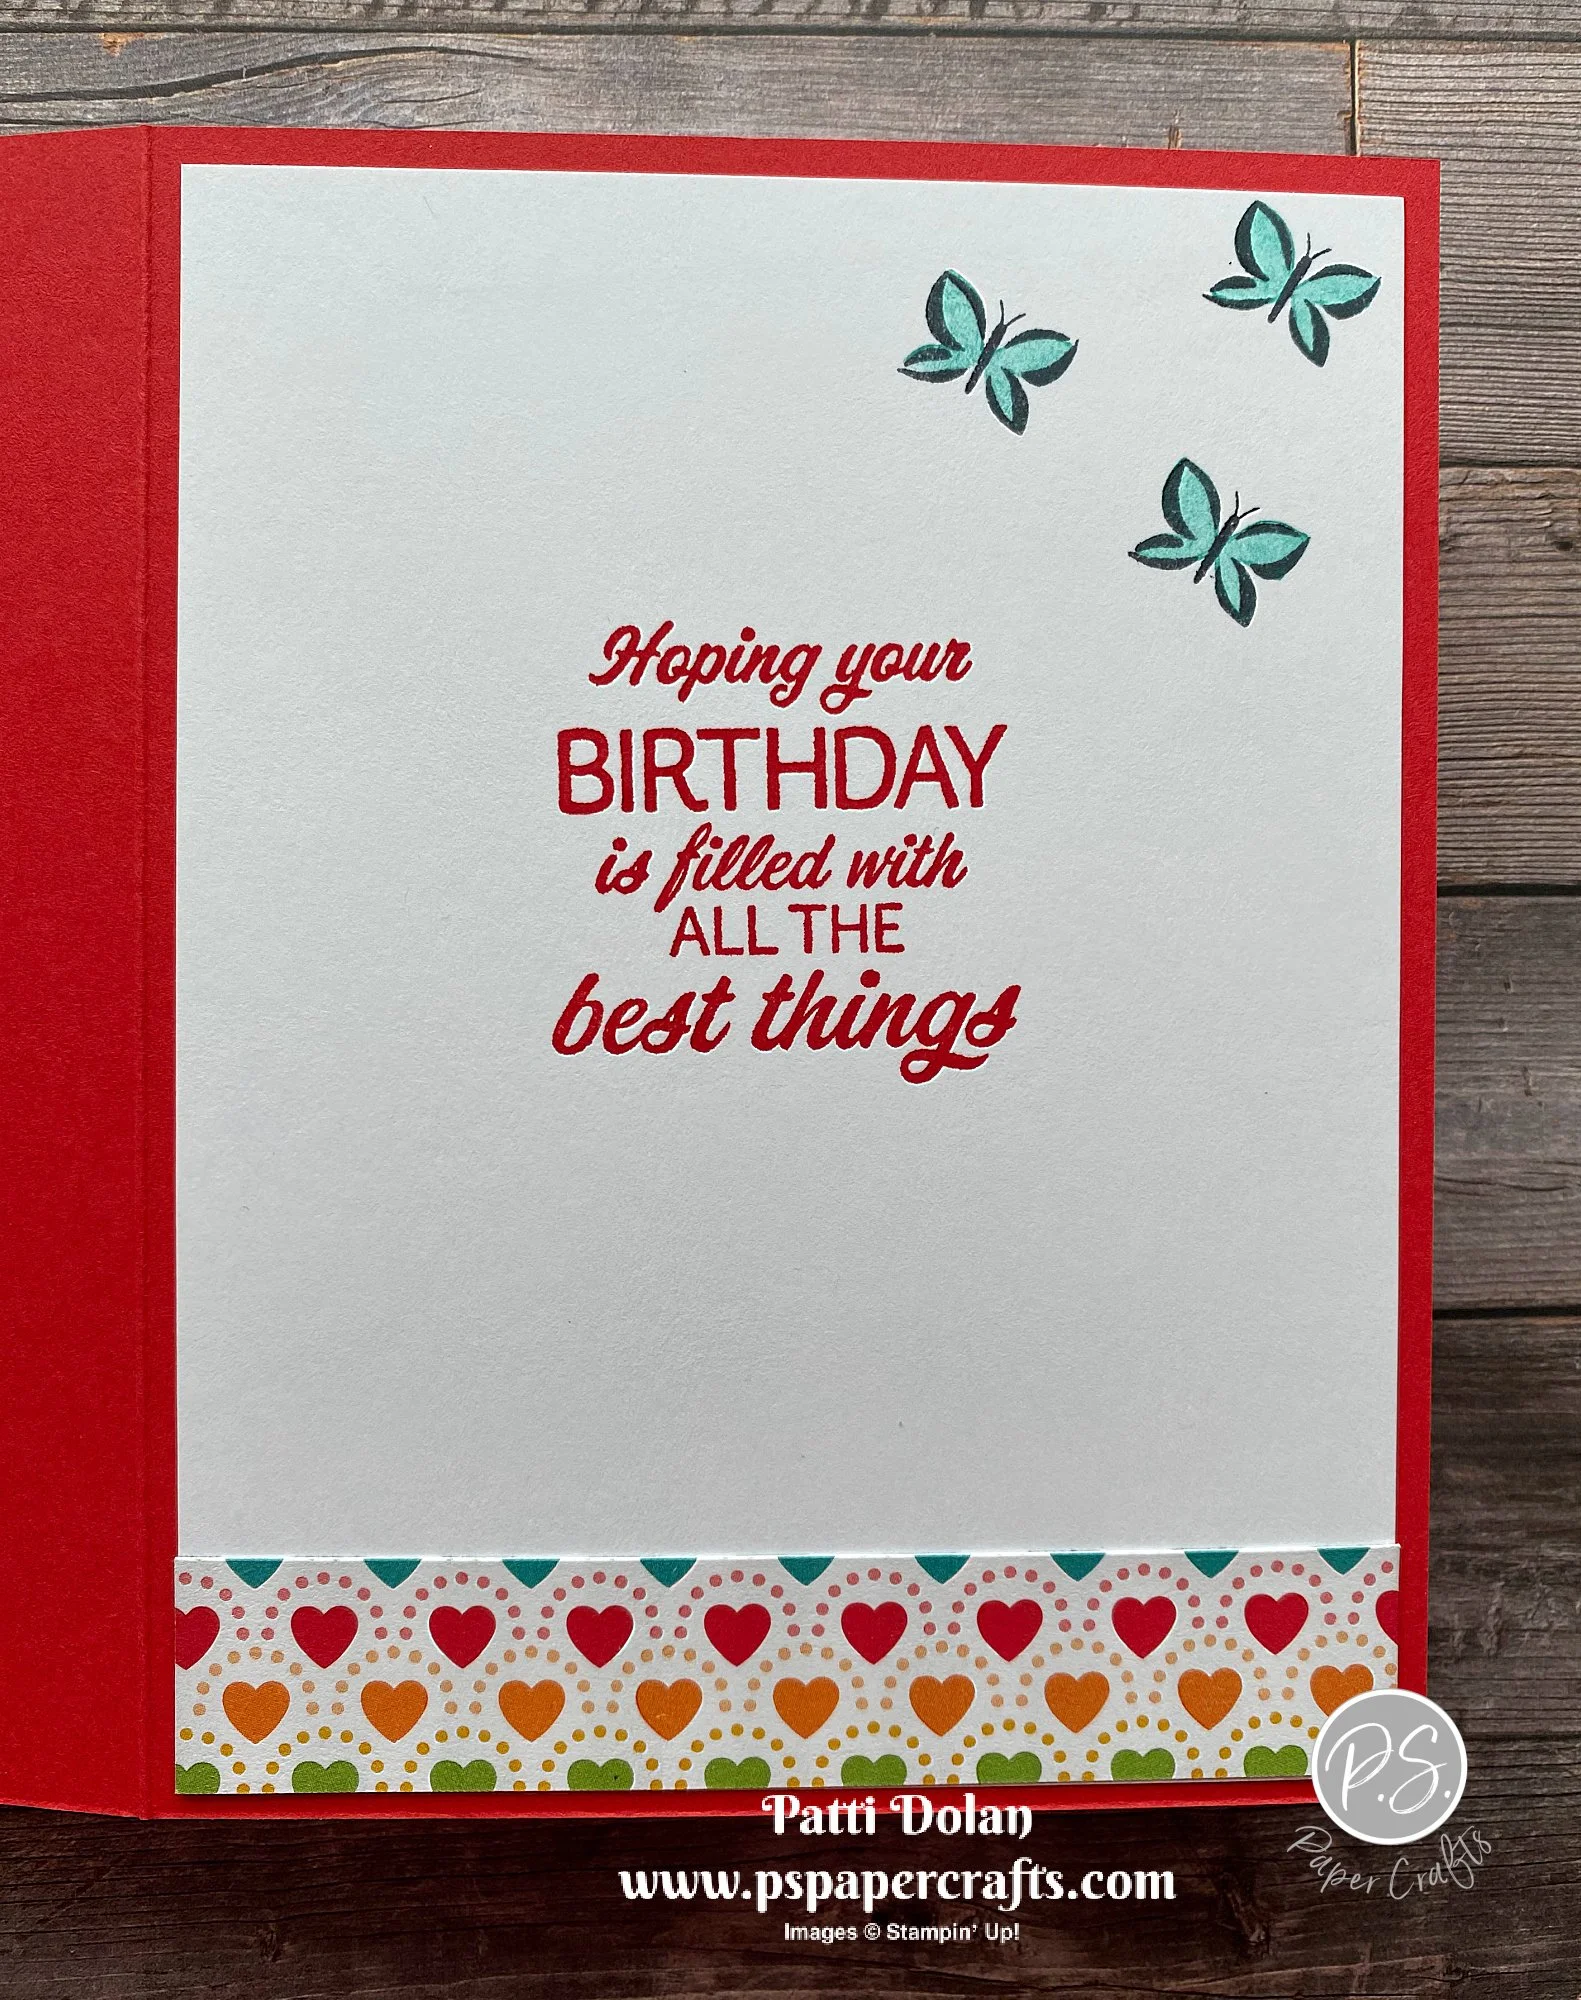
The inside sentiment is from the Sunny Sentiments Stamp Set.


This card was designed by my friend Sandra Hernandez. She used a different stamp set. I used the Awesome Otters set which has such adorable images. The beauty of this tutorial is that you can switch out the paper and stamp sets to create cards for occasions you want.


It’s such a fun card with those colorful strips and cute otter. I love it!!!


Supply List

You can click on the item to purchase it from my Online Store.

Easy Z Fold Sympathy Card using Daffodil Daydream

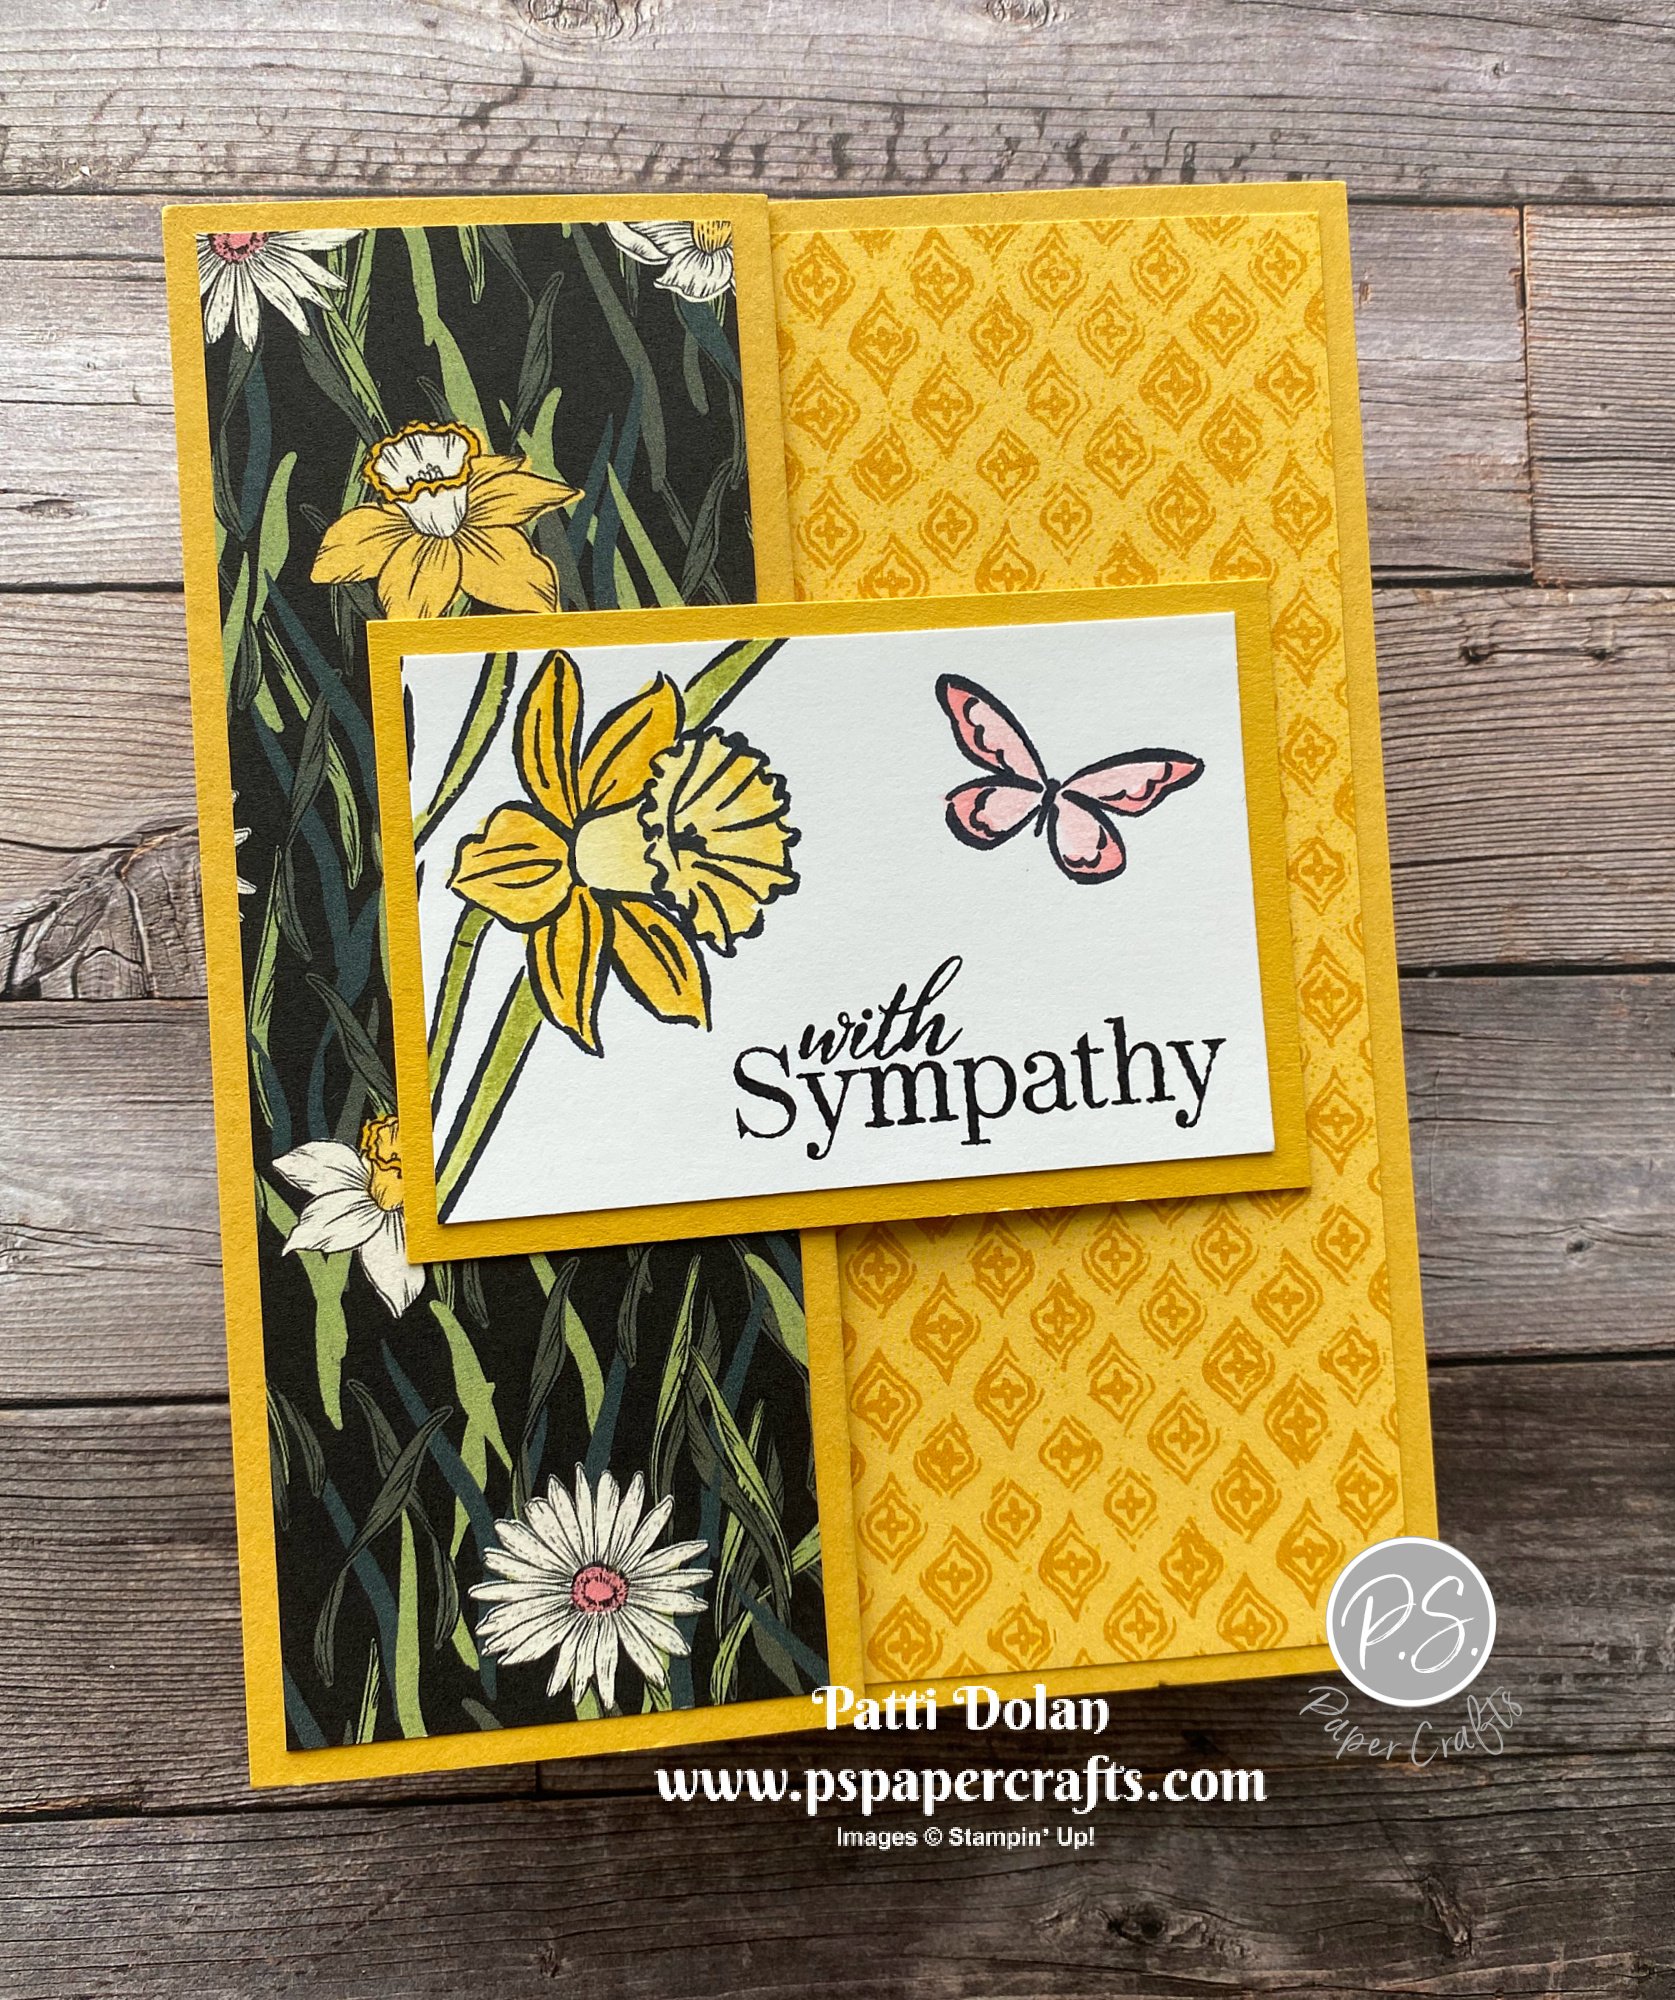
I made this beautiful Sympathy Card using the Daffodil Daydream Stamp Set along with the Daffodil Afternoon Designer Series Paper. It’s a Fun Fold, Z Fold card; so easy to make!


I used the Daffodil Daydream Stamp Set for the card but there is also a coordinating Daffodil Die Set. Bundle them together and save 10%. The sentiment I used is from the Special Moment Sale-a-bration set but this would be perfect for Easter or Mother’s Day.


If you purchase the Daffodil Daydream Bundle, you can choose the Daffodil Afternoon Designer Series Paper for FREE during Sale-a-bration. It coordinates so beautifully with the stamps and dies.


Tips & Instructions

  • Crushed Curry Card Base - 5 1/2 x 8 1/2, score at 2 1/8 and 4 1/4

  • Daffodil Afternoon Designer Series Paper Layers:

    • 2 pieces (floral) - 5 1/4 x 1 7/8

    • 1 piece (yellow pattern) - 5 1/4 x 4

  • Adhere designer series paper to card as shown.

  • Basic White Cardstock - 3 x 2, stamp sentiment (from Special Moments), butterfly and flower with Stazon Ink. Color with Pear Pizzazz, Crushed Curry and Flirty Flamingo Ink. I stamped a Clear Block in the ink pad and used a Water Painter to pick up the color and color the image.


  • Adhere stamped piece to a 3 1/4 x 2 1/4 piece of Crushed Curry Cardstock

  • Adhere focal piece to card putting glue only on the left side so the card can open.


On the inside adhere a 3 x 2 piece of Basic White Cardstock making sure it is behind the front focal piece (so it doesn’t show when card is closed).


Supply List

Sketch Saturday - Flowering Rain Boots

For this week’s sketch challenge I used the Flowering Rain Boots Bundle to make this pretty birthday card. It may be a bit of a stretch for the sketch but I like how it turned out.


The sketch is from the Atlantic Hearts Weekly Sketch Challenge.


The Flowering Boots Bundle has a stamp set and coordinating dies that you can purchase separately or bundle together and save 10%. I love the die that I used for the background with those diamonds; I thought it went with the squares from the sketch.


The background layer was embossed using the Stripes Folder from the Stripes & Splatters 3D Embossing Folders. I ran it through twice to get the full layer embossed.


Tips & Instructions

  • Pear Pizzazz Card Base - 5 1/2 x 8 1/2, score at 4 1/4

  • Basic White Layer - 5 1/4 x 4, emboss using the Stripes 3D Embossing Folder and adhere to card base.

  • Stamp the pot 3 times with Cinnamon Cider Ink and cut with coordinating die.

  • Stamp two sets of daisies with Bumblebee Ink, cut with coordinating die and adhere to pots.

  • Stamp the leaves with Pear Pizzazz Ink and tulips with Calypso Coral Ink. Snip off the excess leaves and tulips so they will fit on the pot and adhere to pot.

  • Cut 2 diamond border pieces from Cinnamon Cider Cardstock.

  • Assemble card by adhering the border pieces to embossed layer. Adhere the pots with flowers using Dimensionals.

  • Stamp sentiment with Pear Pizzazz Ink on 1/2” strip of Basic White Cardstock and punch both ends using the Banners Pick A Punch and adhere using Dimensionals.
    The sentiment is from the Calming Camellia Host Cling Stamp Set which means that you can get this for free when you place a party or personal order of $300 or more.


On the inside layer stamp the sentiment (from Calming Camellia Host Cling Stamp Set) with Pear Pizzazz Ink. Stamp pot with Cinnamon Cider Ink. Stamp daisies with Bumblebee Ink, cut with coordinating die and adhere to card. Trim off what hangs over the side.


Supply List

(Just click on the item you want and it will bring you to my Online Store)

Wildflower Path Birthday Card

I’m so happy with how this card turned out. The Wildflower Stamp Set lets you create a beautiful that looks like you painted it with watercolors.


In the video I’ll show you how easy it is to use the two step stamping technique to create this pretty birthday card.


These are the images and sentiments in this stamp set. I love the font used for the sentiment and the “My heart is smiling because of you.” is so beautiful.


Tips & Instructions

  • Polished Pink Card Base - 5 1/2 x 8 1/2, score at 4 1/4

  • Basic White Layer - 5 1/4 x 4

  • Stamp images and sentiment as demonstrated on the video. I used Granny Apple Green, Old Olive, Mossy Meadow and Polished Pink Ink Pads.

  • Adhere stamped layer to the card base.

  • Tie bow with Polished Pink Open Weave Ribbon and adhere with a Glue Dot.


On the inside stamp the flowers and grasses like you did on the front. Stamp the sentiment with Polished Pink Ink. The sentiment is from the Special Moments Stamp Set which is a Free Sale-a-bration product with a qualifying order.


Here’s one more look at the card!


Supply List

Quick & Easy Thank You Card using the Wildflower Path Stamp Set

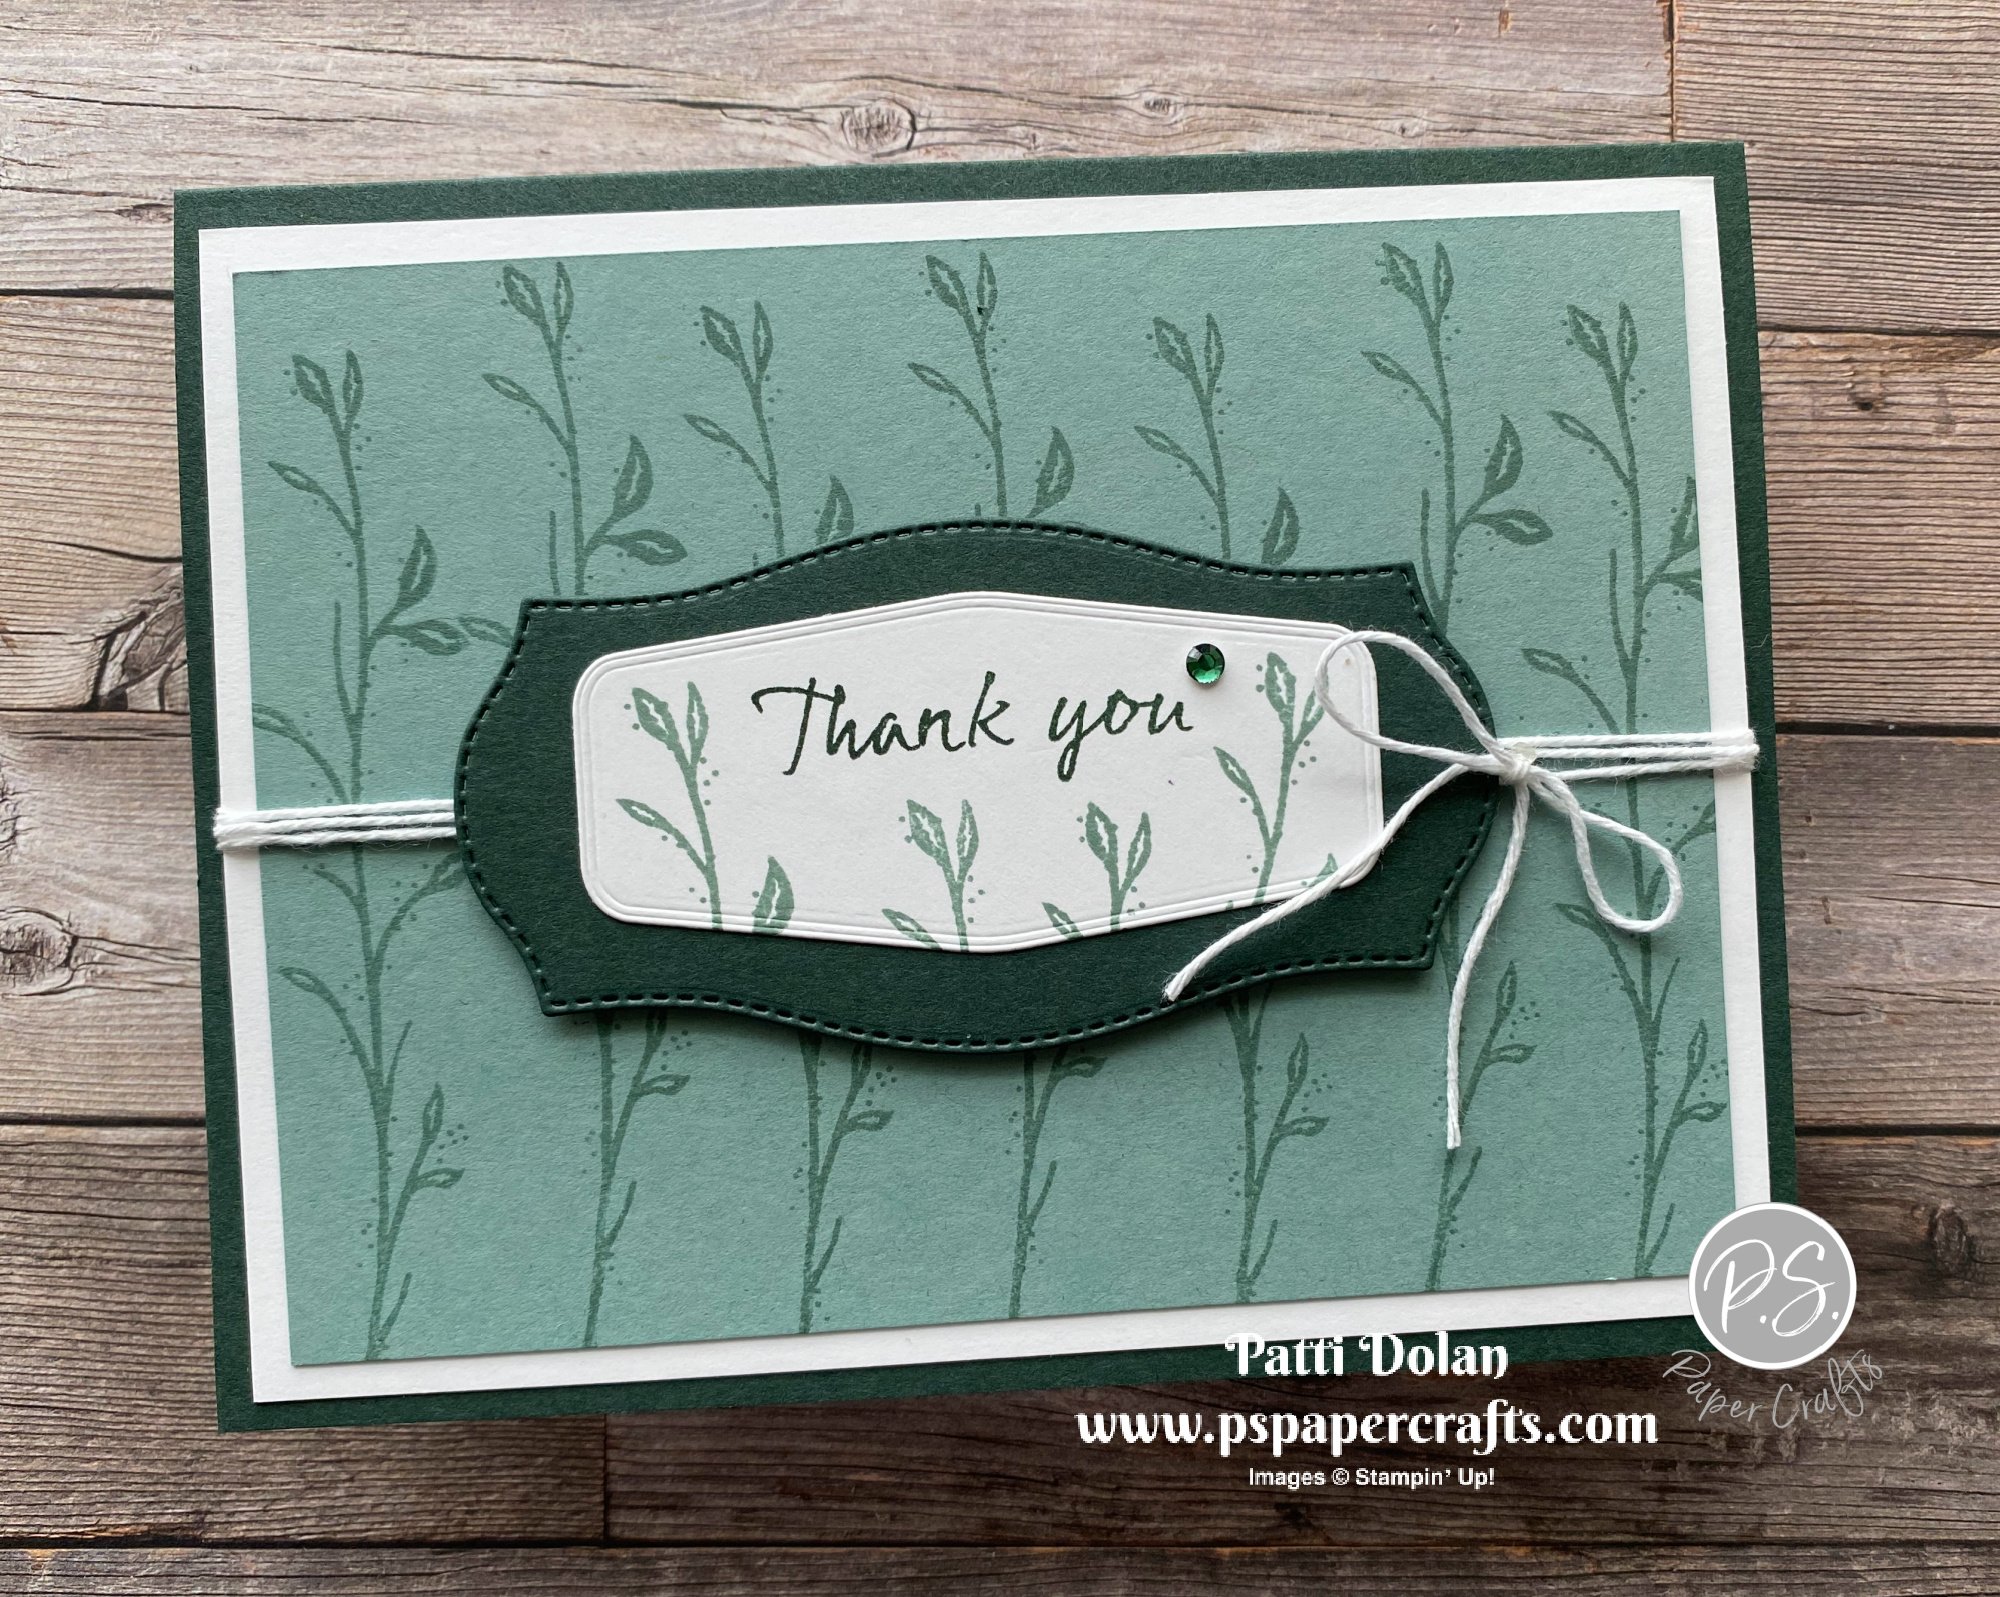
This was such an easy Thank You Card to make using the Wildflower Path Stamp Set. I used Evening Evergreen and Soft Succulent colors which work so well together.


Look at all the beautiful images in this stamp set. The flowers are grouped together on a stamp to easily stamp them on the stems. I love the sentiments and the fonts.


Tips & Instructions

  • Evening Evergreen Card Base - 5 1/2 x 8 1/2, score at 4 1/4

  • Basic White Layer - 5 1/4 x 4

  • Soft Succulent Layer - 5 x 3 3/4, stamp the stem across the layer with Soft Succulent Ink. I started in the middle and worked my way out on each side.

  • Adhere stamped layer to white layer and wrap Baker’s Twine around them 3 times. Adhere to back and then adhere layers to card base.

  • Cut large label from Evening Evergreen Cardstock and smaller label from Basic White Cardstock using the Tasteful Labels Dies.

  • Stamp sentiment on white label with Evening Evergreen Ink and stems with Soft Succulent Ink. Adhere to Evening Evergreen Label and then adhere labels to card using Dimensionals.

  • Tie bow with Baker’s Twine and adhere with a Glue Dot.

  • Add an In Color Jewel to sentiment.


On the inside stamp sentiment with Evening Evergreen Ink and stems with Soft Succulent Ink.


Supply List

How To Created a Textured Background Layer

I created a pretty, textured background for this Birthday Card using the Sentimental Swirls Stamp Set and Tasteful Textiles Embossing Folder.


Watch the video to see how easy it was to stamp the images using the two step stamping technique and then embossing it.


The Sentimental Swirls Stamp Set had so many fun images you can use to build a pretty scene if you want. Make it simple or make it detailed as you want.


Measurements:

  • Polished Pink Card Base - 5 1/2 x 8 1/2, score at 4 1/4

  • Basic White Layer - 5 1/4 x 4

  • Basic White Banner - 3 1/2 x 2, cut banner at one end

  • Polished Pink Banner - 3 3/4 x 1 x 1/2, cut banner at one end


The sentiment is from the Special Moments Stamp Set which is a free set during Sale-A-Bration with a $100 order. It’s a great set to have in your stash.


Supply List

Hello, World!

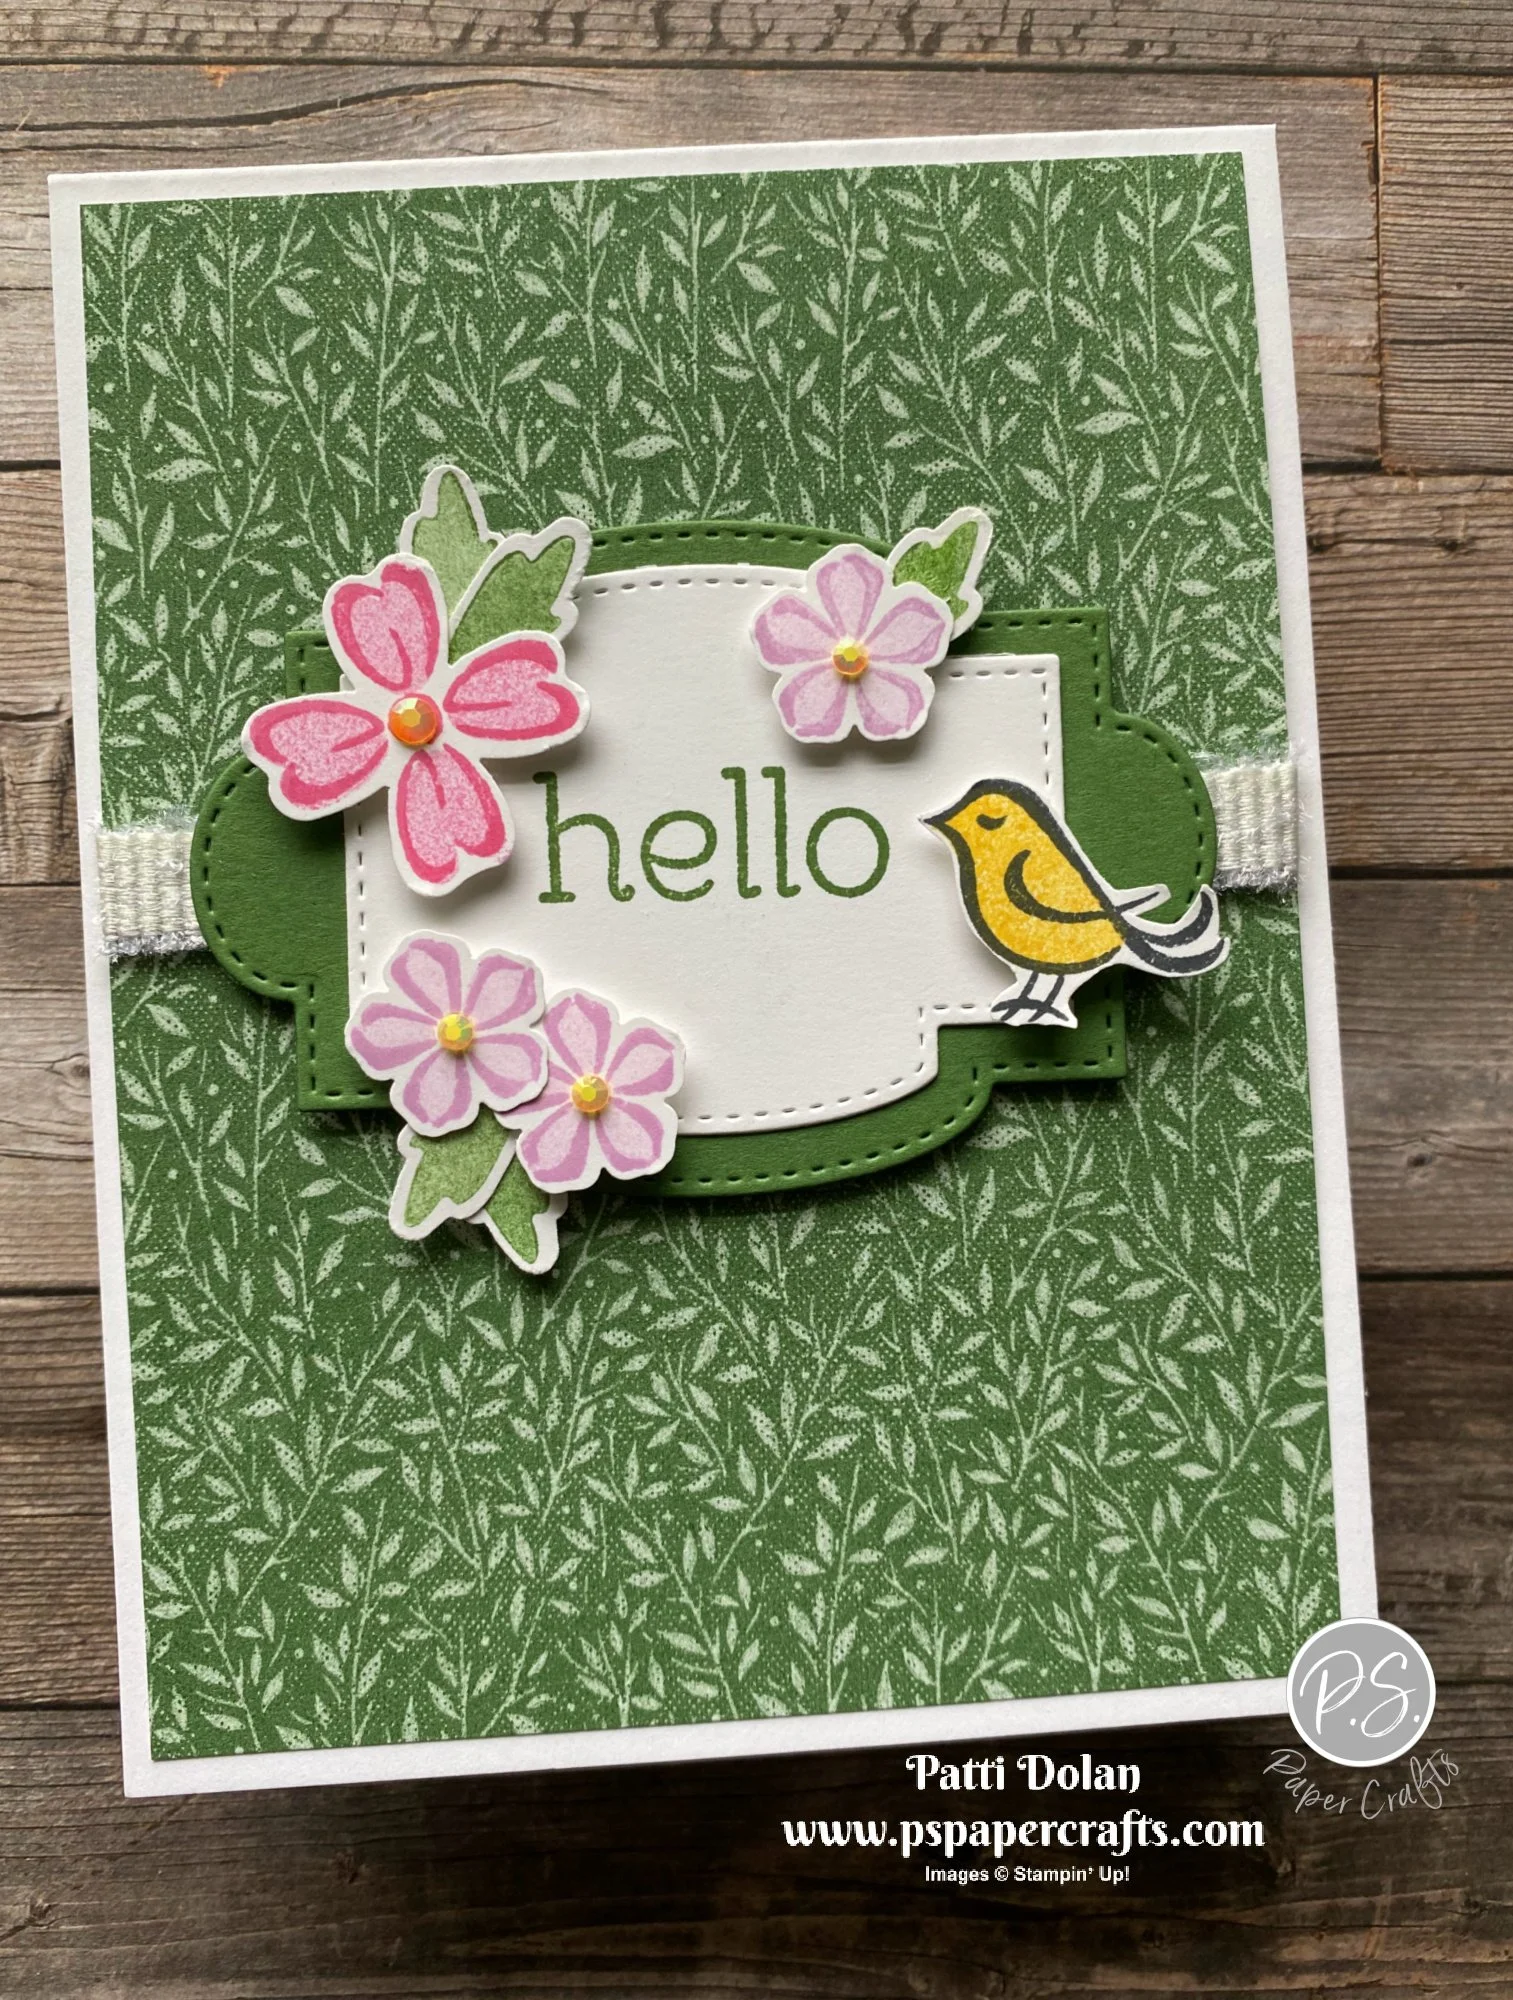
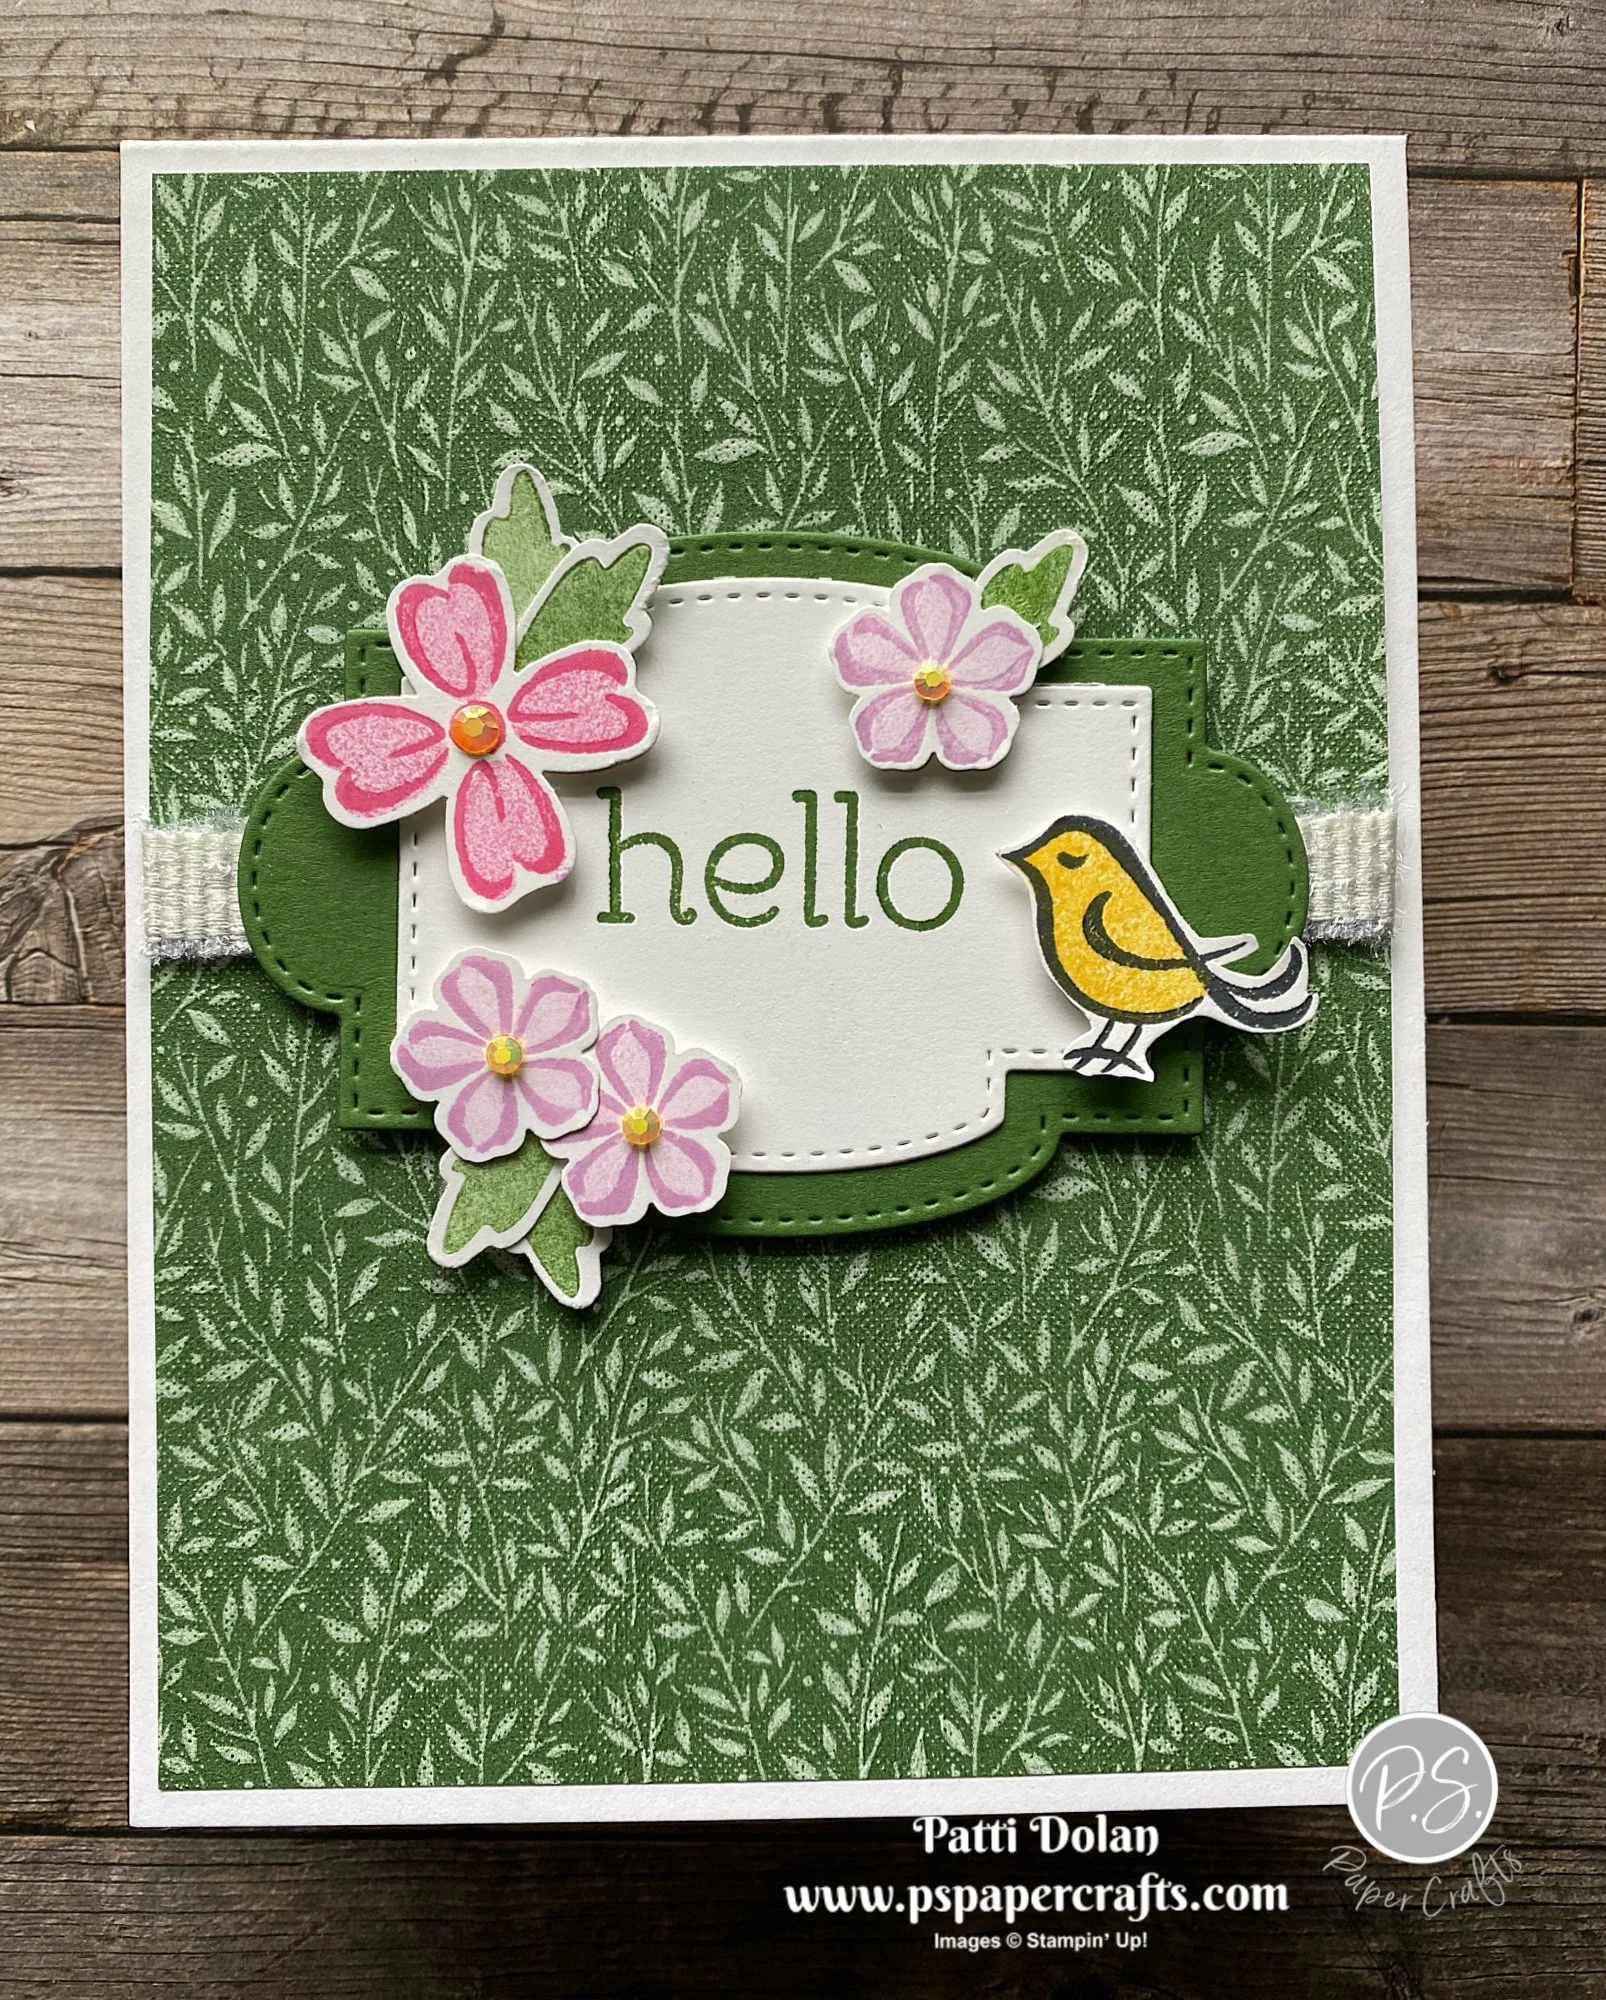
Sentimental Swirls Hello Card

I’m so happy to share a card I made using the Sentimental Swirls Stamp Set and Heart & Home Designer Series Paper from the new Mini Catalog.


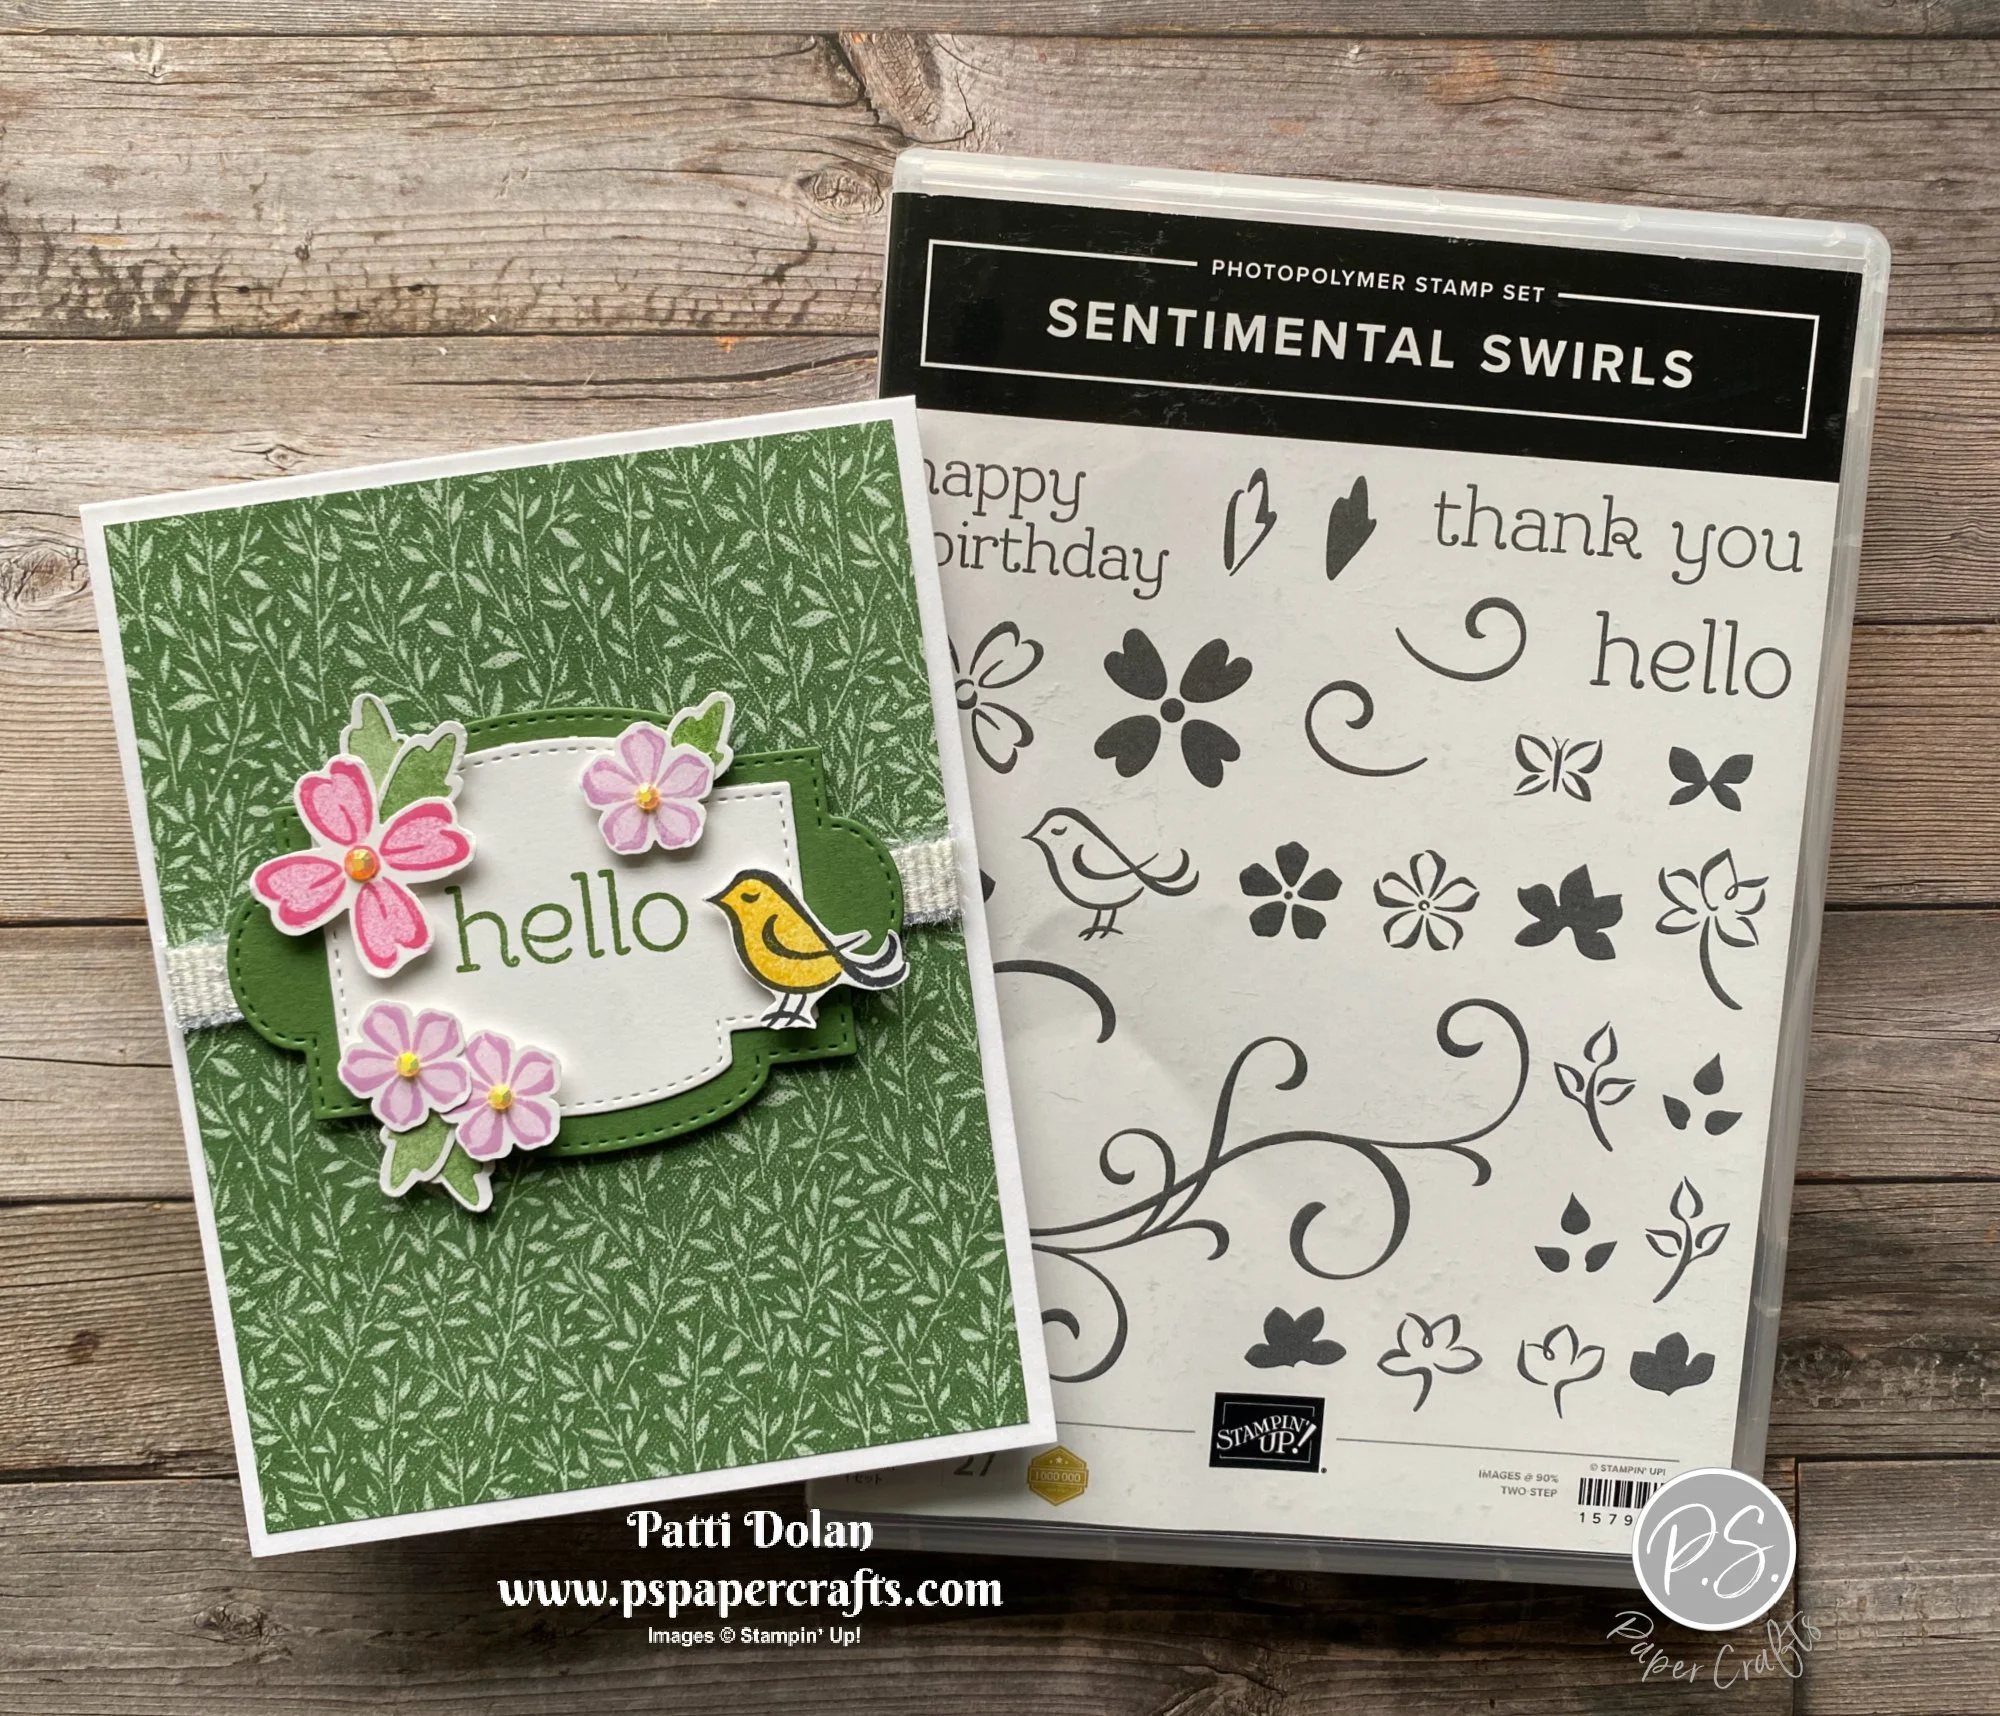
This stamp set was inspired by Million Sales Achiever Sam Hammond (Pootles). There’s lots of stamps in this set, some are outlines and some are fillers. The sentiments are simple and definitely sentiments I will use over and over. Some of the images coordinate with the Flowers & Leaves and the Strawberry Builder Punches.


Tips & Instructions

  • Thick Basic White Card Base - 4 1/4 x 11, score at 5 1/2 (top folding)

  • Heart & Home Designer Series Paper - 5 1/4 x 4

  • Basic White Cardstock - cut label using Stitched So Sweetly Dies, stamp sentiment with Garden Green Ink. Cut larger label from Garden Green Cardstock and adhere behind stamped label.

  • Basic White Cardstock scraps

    • Stamp bird with Black Memento Ink and bird filler with Daffodil Delight Ink. Fussy Cut.

    • Stamp large flower with Polished Pink Ink. (stamp outline directly and then stamp filler by stamping off first.) Punch using the Flowers & Leaves Punch.

    • Stamp 3 small flowers with Fresh Freesia Ink (stamp outline directly and then stamp filler by stamping off first.) Punch using the Strawberry Builder Punch.

    • Stamp leaves with Garden Green Ink (stamp off first to get lighter shade and punch using the Flowers & Leaves Punch.

  • Adhere bird, flower and leaves to label using Dimensionals (adhere leaves with Liquid Glue to flowers).

  • Cut piece of White Frayed Ribbon in half and pull strings to fray the cut end. Wrap around Designer Series Paper, adhere to back and adhere layer to card base.


  • Adhere sentiment to card using Dimensionals.

  • Add In Color Jewels to flower centers.


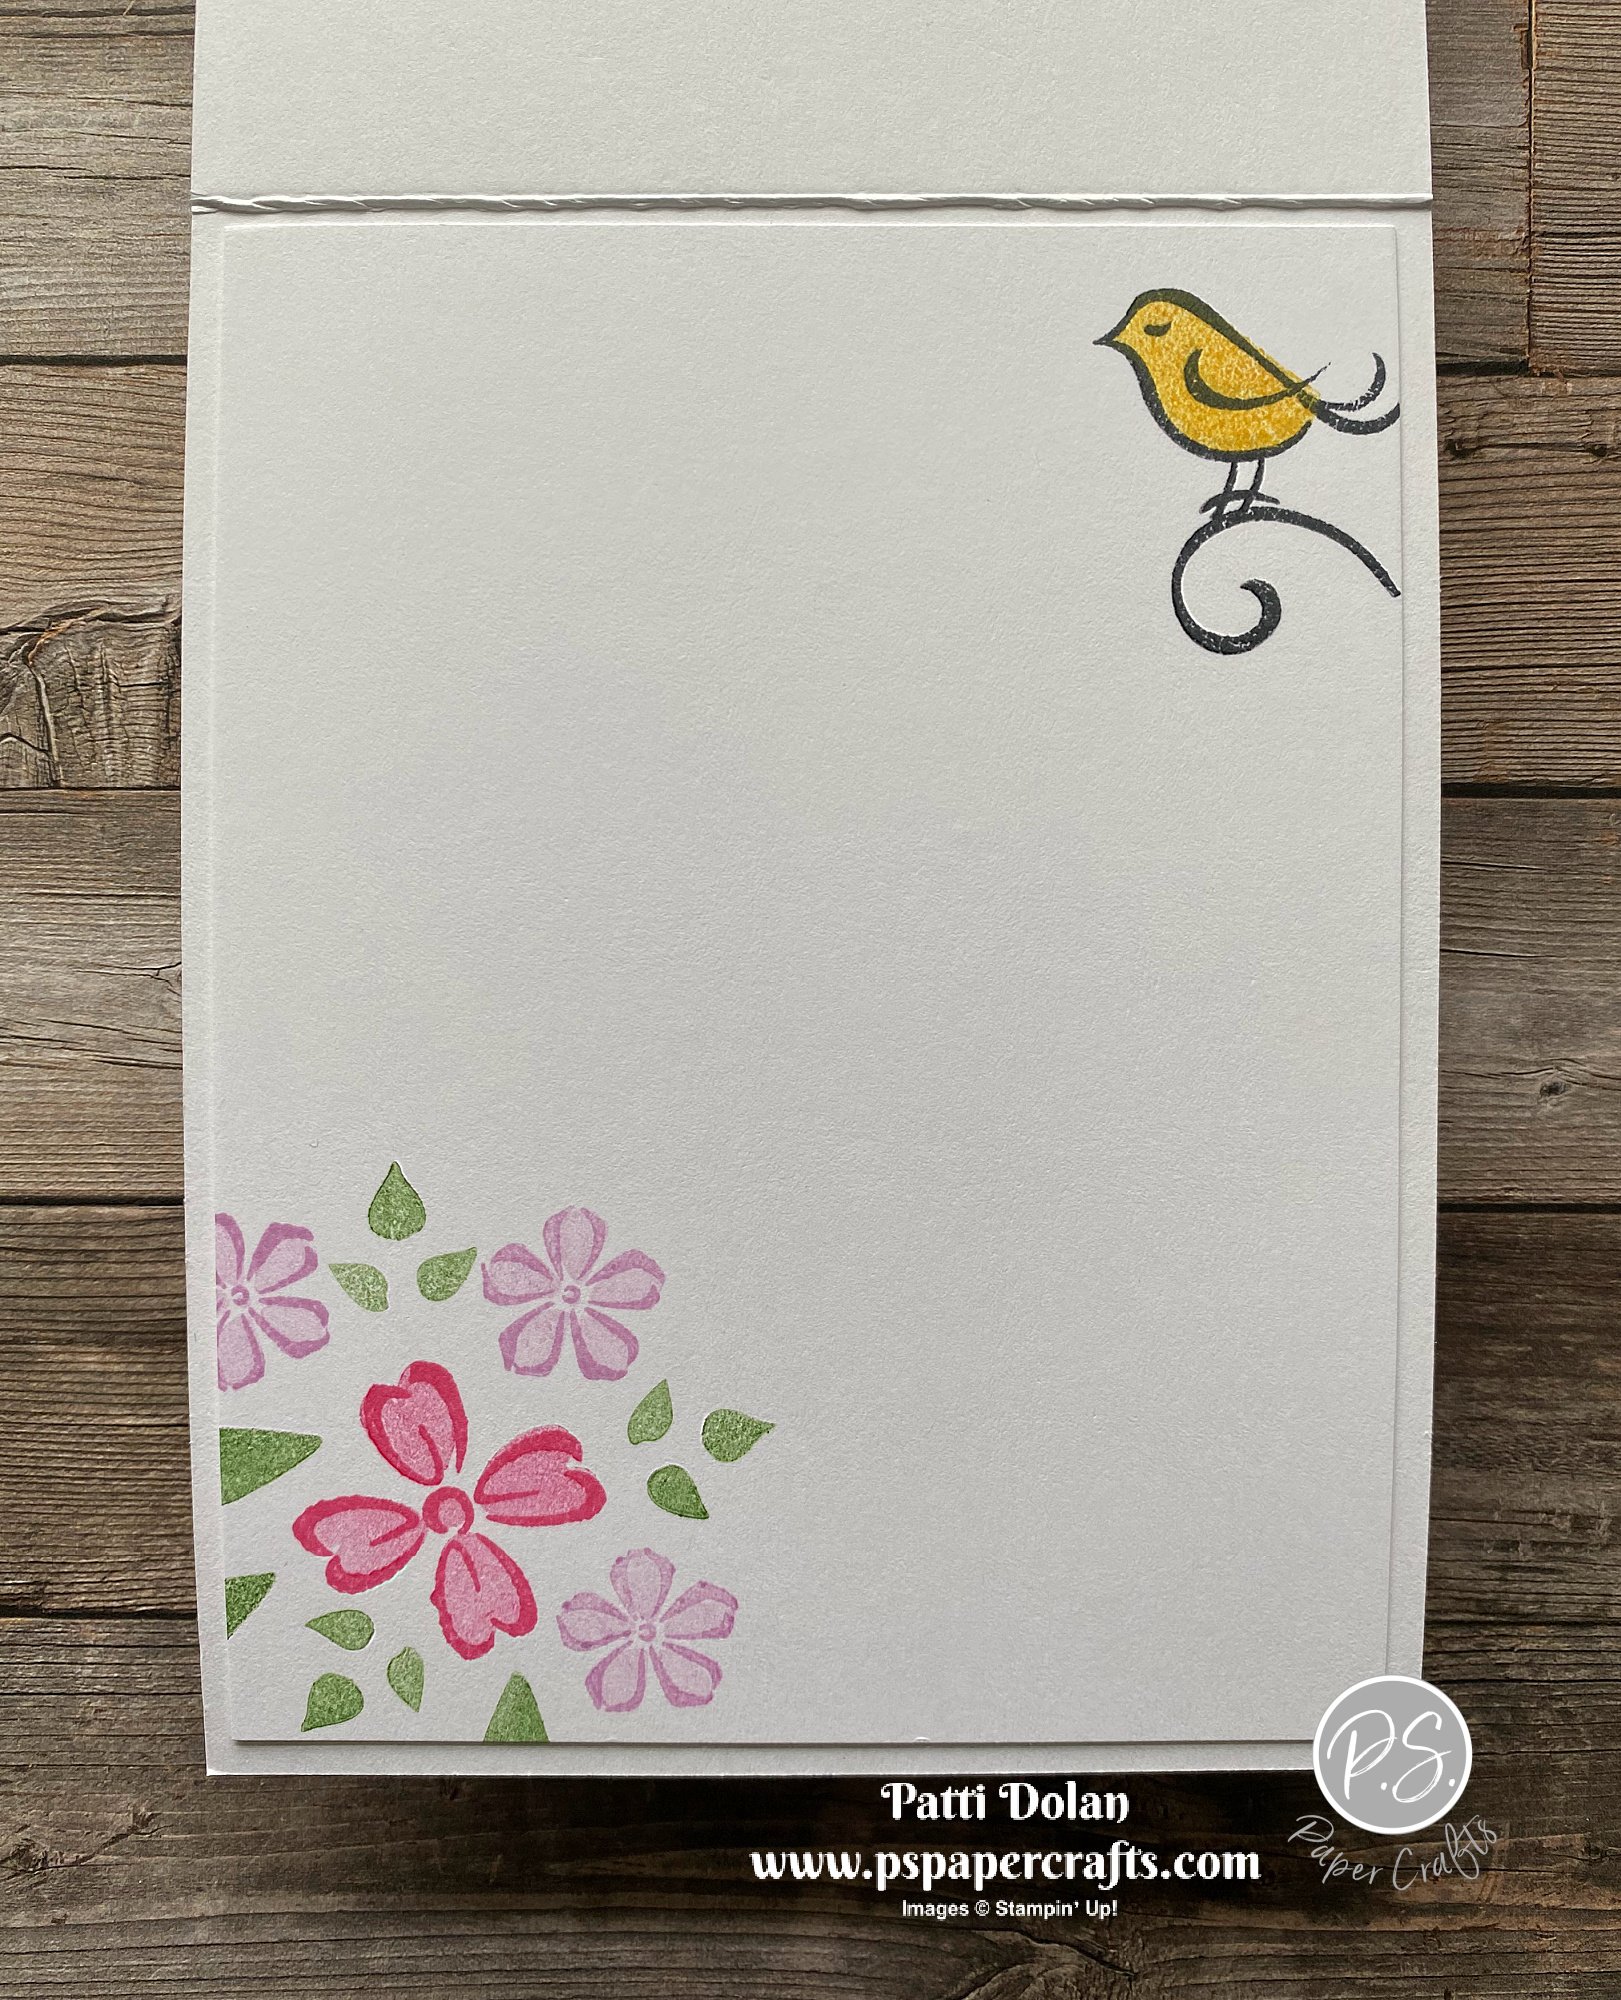
On the inside layer stamp flowers, leaves and bird.


Shop Here

Sketch Saturday - Friendly Hello

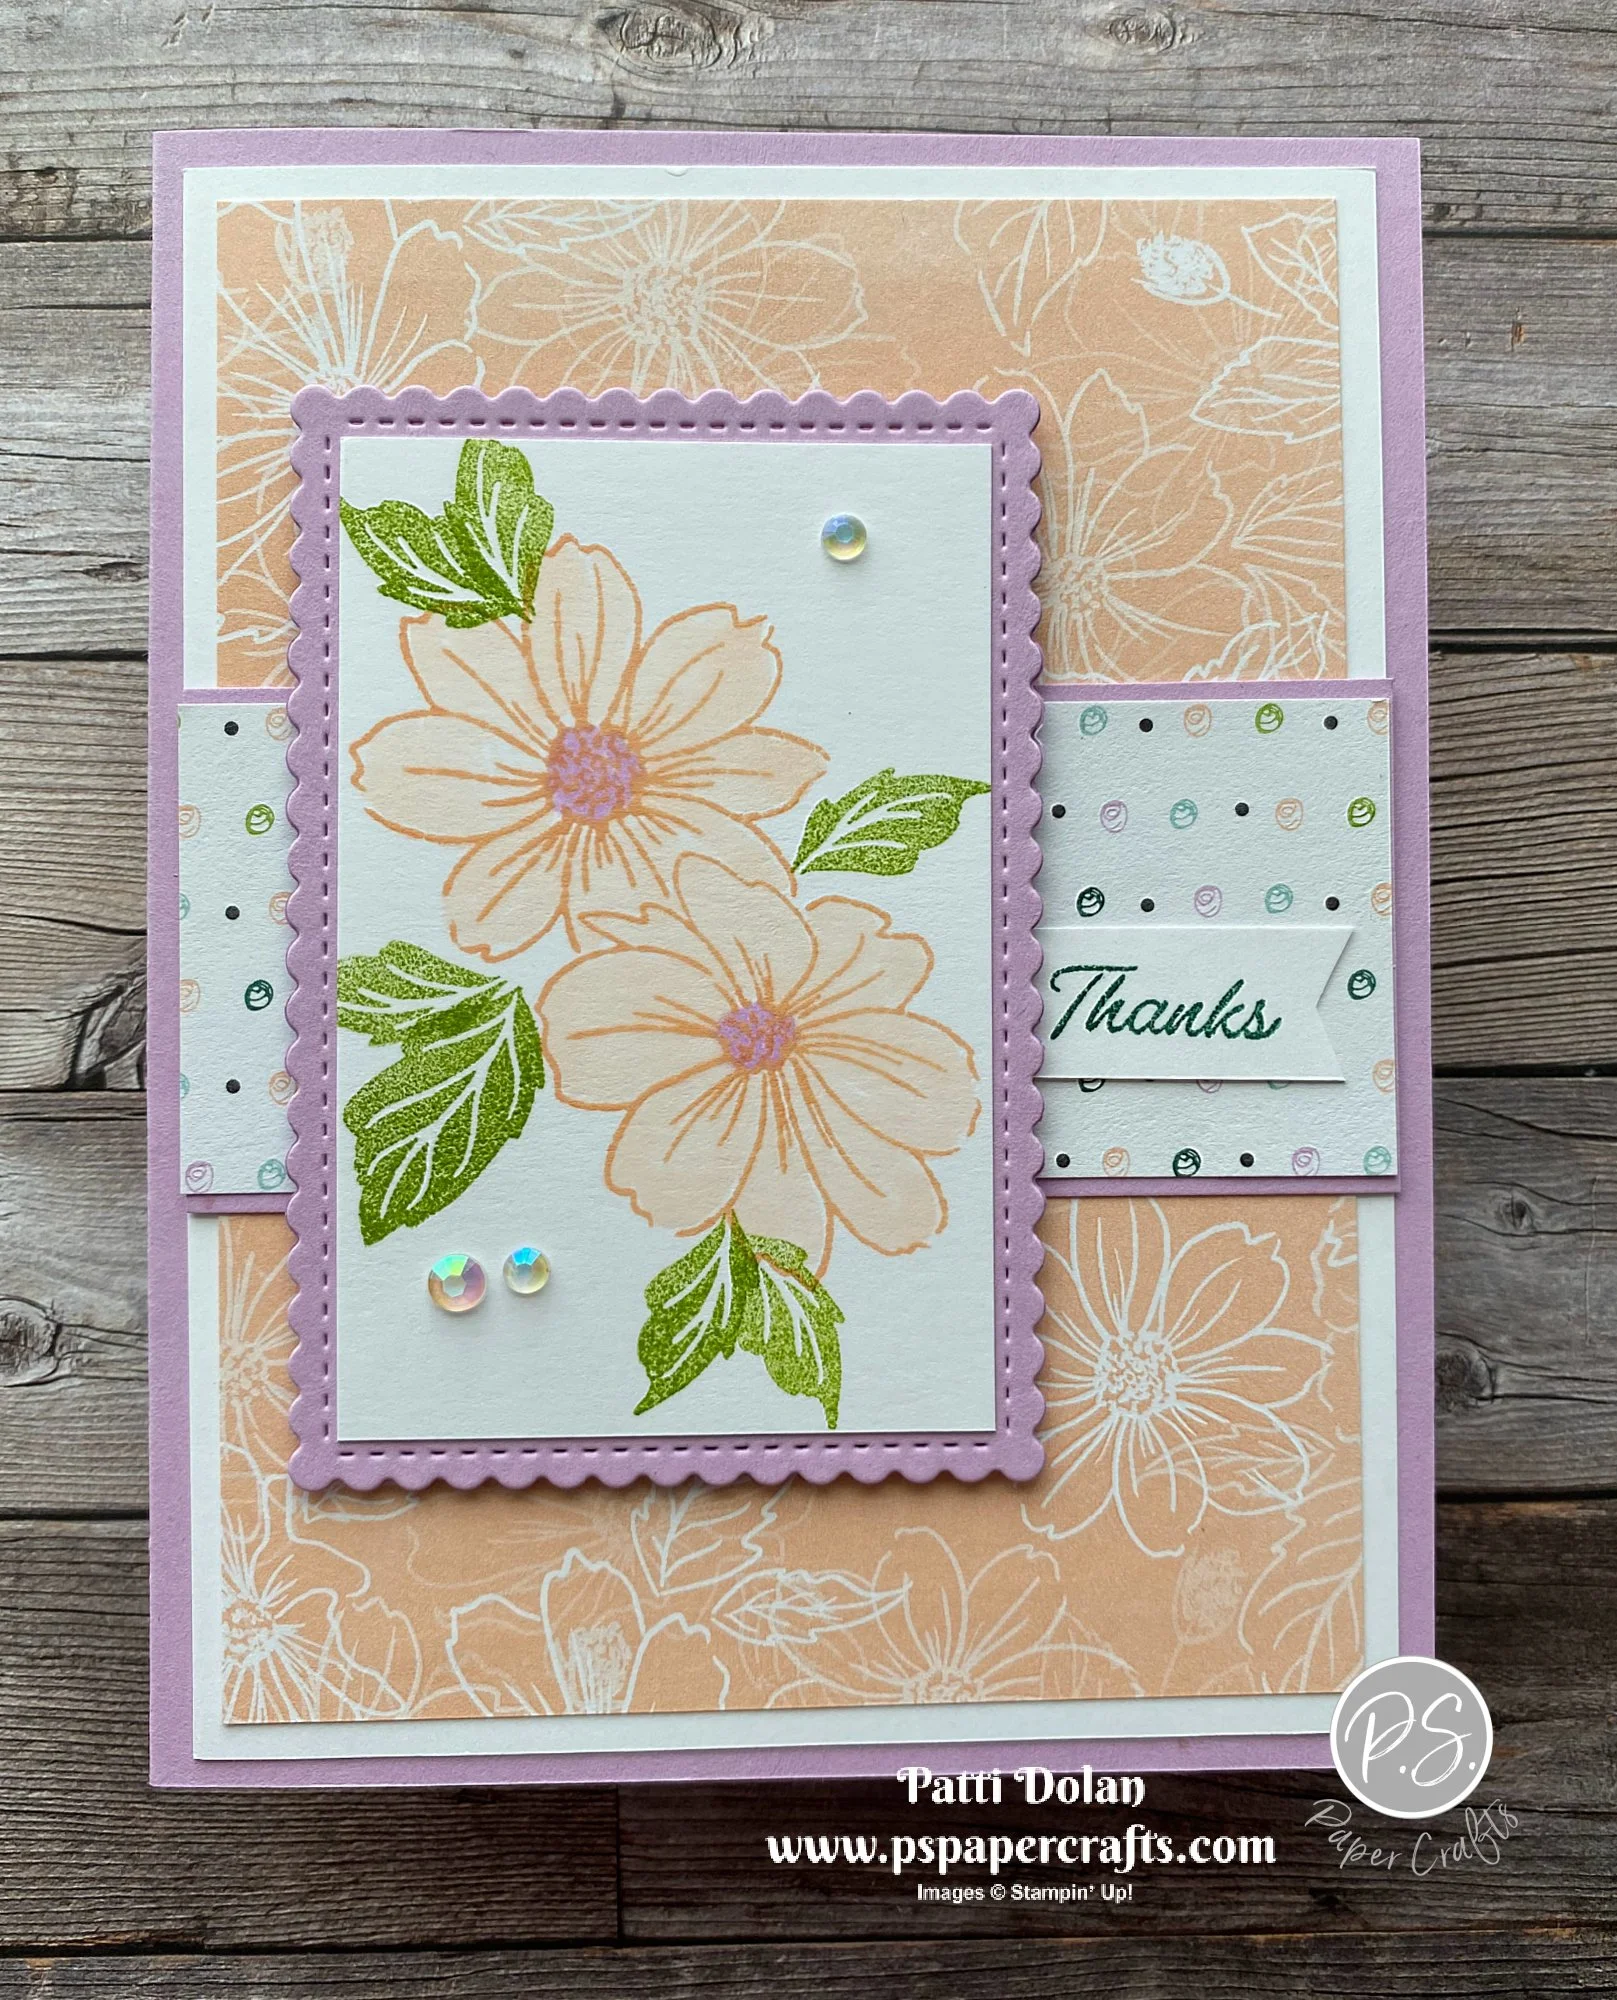
For today’s sketch challenge I used the Friendly Hello Stamp Set with the Friendly Hello Designer Series Paper.

These products are bundled together in the Sale-a-bration Brochure and you can earn them for free with a qualifying purchase starting January 4, 2022.


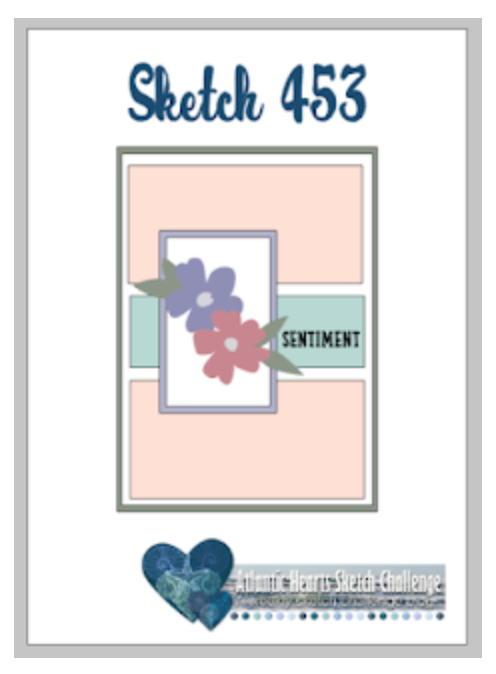
The sketch I used is from the Atlantic Hearts weekly Sketch Challenge. I love doing their sketch challenges.


Tips & Instructions

  • Fresh Freesia Card Base - 5 1/2 x 8 1/2, score at 4 1/4

  • Basic White Layer - 5 1/4 x 4

  • Friendly Hello Designer Series Paper (flowers) - 5 x 3 3/4

  • Fresh Freesia Strip - 4 x 1 3/4

  • Friendly Hello Designer Series Paper (dots) - 4 x 1 1/8

  • Adhere all layers together and adhere to card base

  • Fresh Freesia Cardstock - cut using the 2nd from largest Stitched So Sweetly Dies

  • Basic White Cardstock - 3 1/4 x 2 1/8, stamp flowers with Petal Pink Ink and leaves with Granny Apple Green Ink. Color flowers with Light Petal Pink Stampin’ Blends Marker and the center with Light Fresh Freesia Stampin’ Blends Marker.

  • Adhere stamped layer to Fresh Freesia scalloped piece using Dimensionals

  • Stamp sentiment with Shaded Spruce Ink on 1/2” strip of Basic White Cardstock. The sentiment is from the Special Moments Stamp Set. Banner one end using the Banners Pick A Punch and adhere to card just behind the focal image.

  • Add some Iridescent Rhinestones.


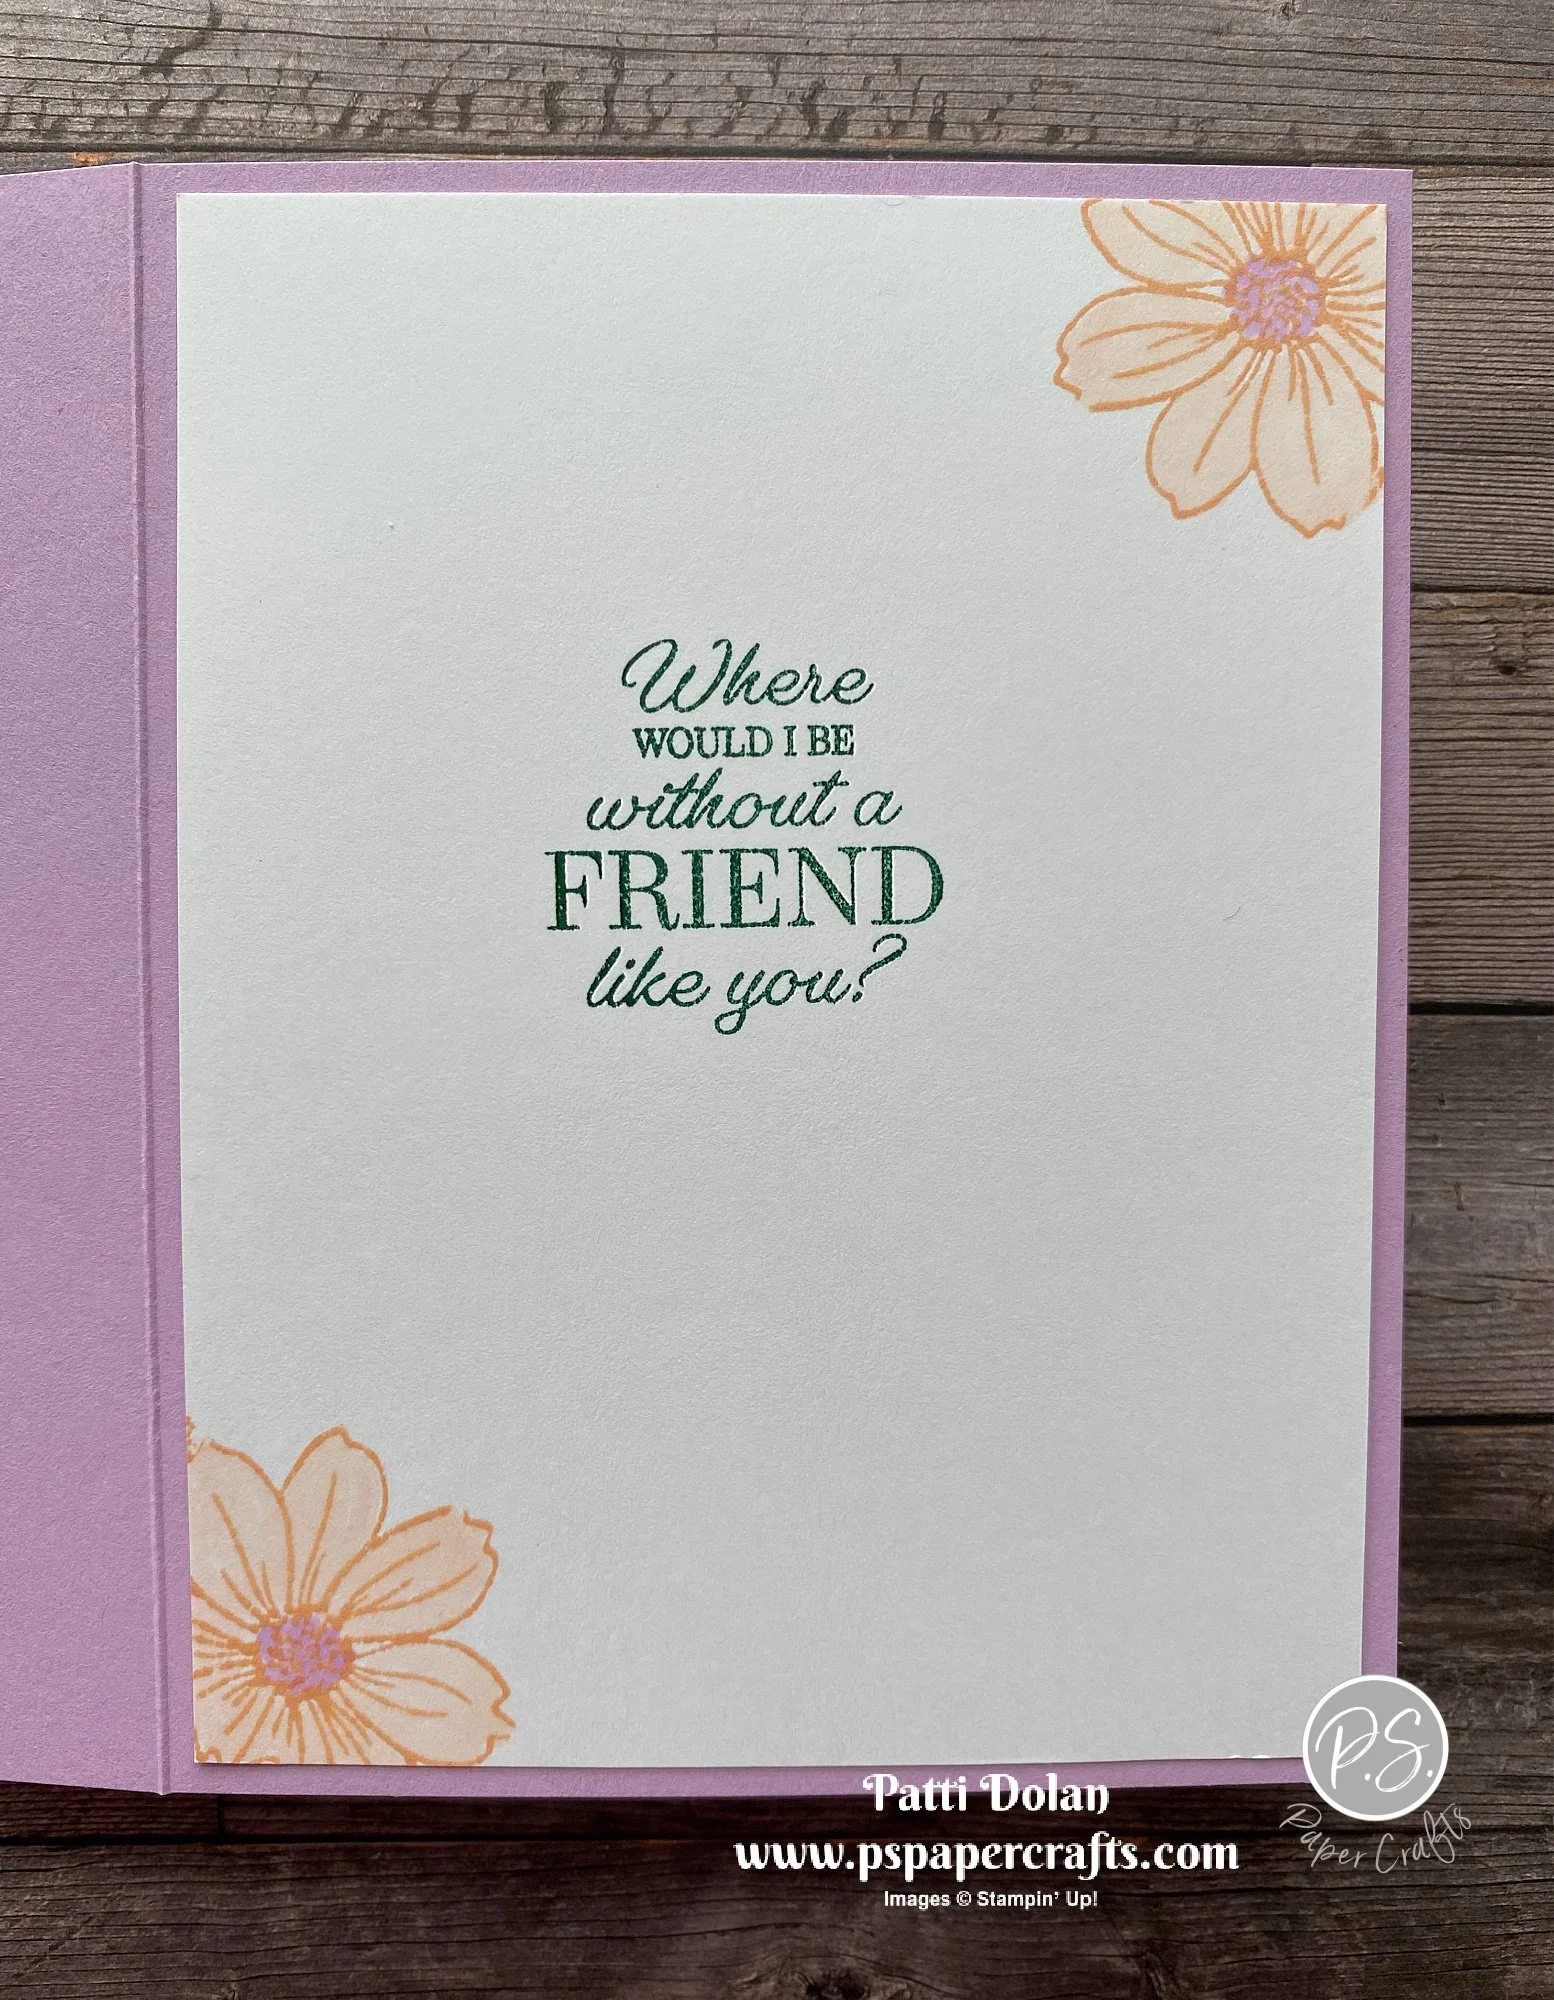
On the inside stamp sentiment (from the Special Moments Stamp Set) with Shaded Spruce Ink. Stamp and color flower at top and bottom corners.


Supply List (click on links to purchase from my Online Store.)

Note: the Friendly Hello and Special Moments products can be earned for FREE during Sale-a-bration with a qualifying order starting January 4, 2022.

Dahlia Days - Create Your Own Background

Dahlias are one of my favorite flowers and when I saw the Dahlia Days Bundle, I knew I had to get it. These flowers stamp beautifully.

This bundle is available starting January 4, 2022 when the new Mini Catalog launches. Shop right here to get these products….just hit the Shop Button!


In the video I’ll show you how easy it is to make your own background layer using stamps and how to color your stamp to create the beautiful sentiment label. You’ll see all these great products in action.


Tips & Instructions

  • Poppy Parade Card Base - 5 1/2 x 8 1/2, score at 4 1/4

  • Basic White Layer - 5 1/4 x 4, stamp images starting with the largest and filling in with smaller images. I used Melon Mambo, Flirty Flamingo, Poppy Parade for the flowers and Granny Apple Green and Mossy Meadow for the leaves.

  • Poppy Parade Strip 4 1/4 x 3/4, emboss using the Greenery Embossing Folder.

  • Adhere layer and strip to card base.

  • Color label stamp using Stampin’ Write Markers, breath on the stamp to moisten and stamp on a piece of Basic White Cardstock. Cut using coordinating die from the Detailed Dahlias Dies.

  • Stamp 3 small flowers with Poppy Parade Ink and cut with coordinating die. Adhere flowers to sentiment label and add some Rhinestones to the center.

  • Adhere label to card using Dimensionals.


This card was made the same way but I used Mossy Meadow for the card base and the embossed strip.

Which do you like better, Poppy Parade or Mossy Meadow?


On the inside stamp sentiment and flowers.


For the inside sentiment I used the Special Moments Stamp Set. This is a great set to have on in your craft room. It has awesome sentiments for just about everything you’ll need.

Get this for FREE during Sale-a-bration with a $100(US) product order. Here’s an idea of what you can purchase to get to $100 with your order.


Supply List (click on links to purchase from my Online Store.

Note: the Dahlia Days Bundle will be available for purchase starting January 4, 2022.