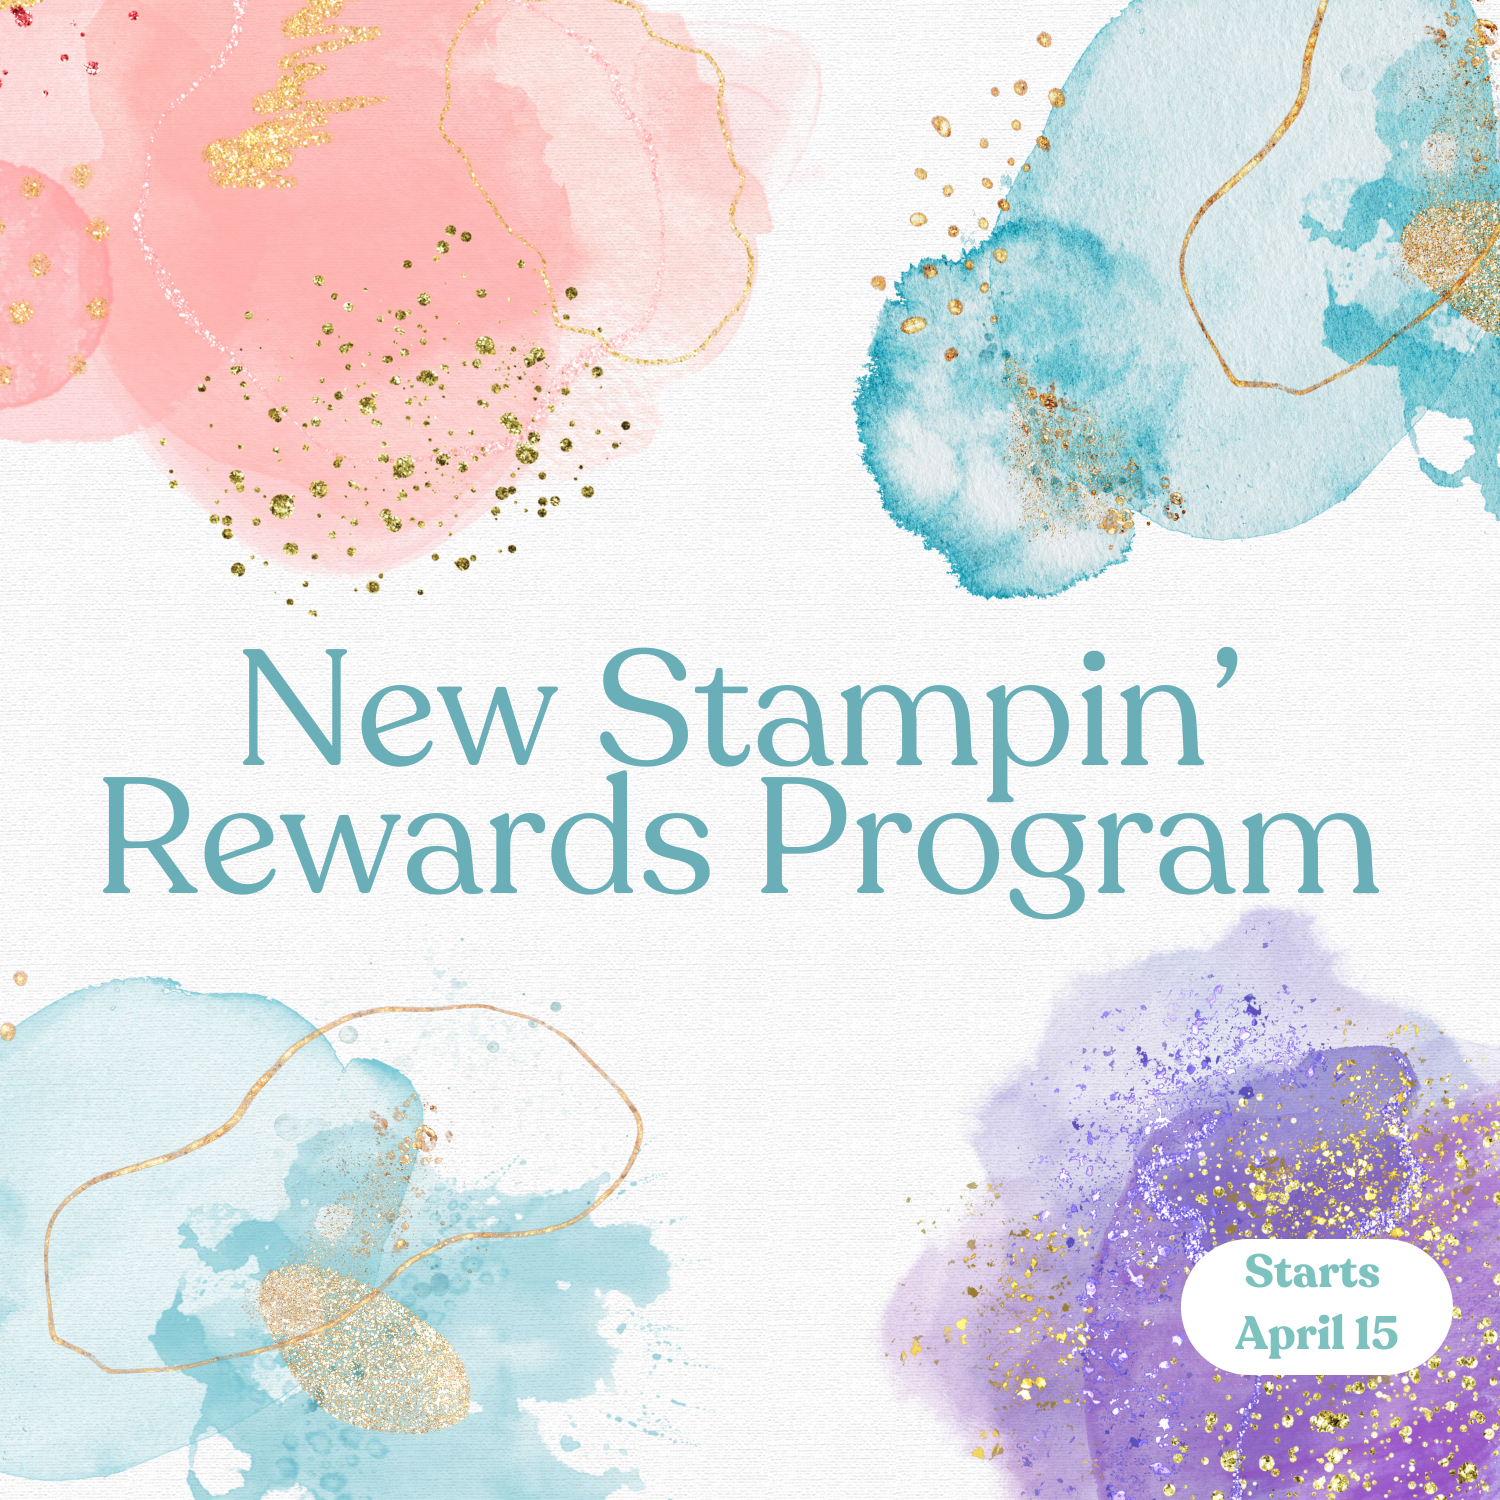
Sketch Saturday - Choose Happy

This is such a simple card but it really screams SPRING! I used the flower image from the Choose Happy Stamp Set to make it.


I made this card for the weekly Atlantic Hearts Sketch Challenge. Here’s the sketch.


Tips & Instructions

  • Lemon Lolly Card Base - 5 1/2 x 8 1/2, score at 4 1/4

  • Basic Black Layer - 4 x 5 1/4

  • Basic White Layer - 3 7/8 x 5 1/8

  • On the white layer stamp the flower image from the Choose Happy Stamp Set around the bottom and right side of the card in Black Memento Ink.

  • Stamp the sentiment in Black Memento Ink.

  • Color the flowers and leaves with Stampin’ Blends Markers. I used Dark Blends in Peach Pie, Lemon Lolly and Granny Apple Green.

  • Adhere the white layer to the Black Layer and then to the card base.

  • Add a few Peach Pie Shimmer Gems to some of the flower centers. I added 3 of them randomly.


On the inside layer (4 x 5 1/4) stamp the bee and flowers in Black Memento Ink and color with Stampin’ Blends Markers.


I think the few Shimmer Gems add a little extra interest to the card.


Supply List

You can click on the item to purchase it from my Online Store.

Matchbook Fun Fold Cards

This fun fold is an oldie but goodie. It’s called a Matchbook Fold and the cards are easy to make and fun to open.


Watch the video to see step by step instructions to make these cards.

Click on the button below to get a printable pdf with measurements and instructions.


I used the Serene Love Designer Series Paper and Happiest Day Stamp Set for this card. The arches were die cut using the Everyday Arches Dies.


This is a great masculine card. I used the Timeless Plaid Designer Series Paper and Gone Fishing Stamp Set. On the inside I stamped a Happy Retirement sentiment and some fishing images.


Supply List

You can click on the item to purchase it from my Online Store.

Darling Dinos - Color Combo

Isn’t this a cute card? I created it using the Darling Dinos Bundle along with this week’s Color Combo.


The color combo is from my March Inspiration Calendar - Flirty Flamingo, Old Olive and Misty Moonlight.


You can get my Inspiration Calendar each month when you subscribe to my email list.

Tips & Instructions

  • Thick Basic White Card Base - 5 1/2 x 8 1/2, score at 4 1/4

  • Misty Moonlight Layer - Die Cut using the largest die from the Textured Notes Dies.

  • Basic White Layer - Die Cut using the 3rd from largest die from the Textured Notes Dies.

  • Basic White - Stamp the dinosaur in Black Memento Ink and color with Flirty Flamingo Stampin’ Blends Markers. Die cut using the coordinating die.

  • Basic White - Use Flirty Flamingo, Misty Moonlight and Old Olive Stampin’ Blends Markers to scribble on an area. Die Cut using the balloon die.


  • On the white layer stamp some grass images across the bottom in Old Olive Ink. Stamp the sentiment at the top in Misty Moonlight Ink.

  • Arrange the dinosaur and balloons on the layer to determine where to stamp the strings. Stamp them in Black Memento ink.

  • Adhere the dinosaur with Dimensionals and the balloons, using Dimensionals on the center balloon.

  • Add some Misty Moonlight Tinsel Gems.


On the inside layer (4 x 5 1/4), stamp the dinosaur in Black Memento Ink and color using Flirty Flamingo and Old Olive Stampin’ Blends Markers. Stamp the sentiments in Misty Moonlight Ink and some grass in Old Olive Ink.


This dinosaur smiling makes me happy, she’s adorable.


Supply List

You can click on the item to purchase it from my Online Store.

Sketch Challenge - Beautiful Butterflies

There’s lots of texture in this card. I embossed the white layer using the Plaster Painting 3D Embossing Folder and added the Vellum circle behind the butterfly. I made it for this week’s Sketch Challenge.


The sketch is from the weekly Splitcoaststampers Sketch Challenge. Click on the sketch to see the other cards made for the challenge.


Tips & Instructions

  • Thick Basic White Card Base - 5 1/2 x 8 1/2, score at 4 1/4

  • Beautiful Bokeh Designer Series Paper - 4 1/4 x 5 1/2, adhere to the card base.

  • Basic White Layer - 2 x 5 1/4, emboss using the Plaster Painting 3D Embossing Folder and adhere to the card.

  • Beautiful Bokeh Designer Series Paper Square - 3 1/4 x 3 1/4. Stamp sentiment at the bottom corner in Berry Burst Ink and adhere to the card.

  • Graceful Greenery Vellum (white) - die cut using the 2nd from largest circle from the Stylish Shapes Dies. Adhere to the card. I used a little Liquid Glue and spread it around with my finger.

  • Beautiful Bokeh Designer Series Paper - Die cut the large detailed butterfly. Adhere it to the card putting glue just on the body area.

  • Berry Burst - Die cut the large butterfly body and adhere it to the butterfly.

  • Add 3 Itty Bitty Bokeh Mix embellishments using a little dot of Liquid Glue.


Die cut 3 small detailed butterflies from the Beautiful Bokeh Designer Series Paper and 3 small bodies from Berry Burst Cardstock and adhere to the inside layer (4 x 5 1/4)


I love all the soft, subtle colors in this paper back. It’s great for die cutting intricate images.


Supply List

You can click on the item to purchase it from my Online Store.

Diagonal Gate Fold Cards

I decided to use some older products from the Annual Catalog to create these fun Diagonal Gate Fold Cards. I love the blues on the smile card and the flowers on the birthday card are so pretty.


Watch the video to see step by step instructions to make these cards.

Click on the button below to get a printable pdf with measurements and instructions.


I used the Unbounded Beauty Designer Series Paper and Unbounded Love Stamp Set for this card. The circles were die cut using the Stylish Shapes Dies.


This card was made using the Mediterranean Blooms Designer Series Paper. One side of these papers are citrus fruit patterns and the other side has pretty tile pattern designs. I used the Spotlight On Nature Dies for the circles and the sentiment is from the Pattern of Friendship Stamp Set.


Supply List

You can click on the item to purchase it from my Online Store.

Grow With Love - Color Combo

The Grow With Love is a great stamp set to use to create your own background layer. I stamped the plants across the bottom and top and then added the sentiment label in the center.


The color combo I used for this card is from my March Inspiration Calendar - Shy Shamrock, Shaded Spruce and Pretty In Pink.


You can get my Inspiration Calendar each month when you subscribe to my email list.

Tips & Instructions

  • Shy Shamrock Card Base - 5 1/2 x 8 1/2, score at 4 1/4

  • Basic White Layer - 4 x 5 1/4, stamp the plants across the bottom and top of the card in Shy Shamrock, Shaded Spruce and Pretty In Pink Inks.

  • Adhere the stamped layer to the card base.

  • Add a piece of Pretty In Pink Bordered Ribbon, trimming the ends at an angle. I used Tear & Tape to adhere it.

  • Basic White - Die cut the label using the Grow With Love Dies and stamp the sentiment in Shy Shamrock Ink. Adhere with Dimensionals.

  • Add some Pretty In Pink Resin Dots.


On the inside layer (4 x 5 1/4), stamp the plants across the bottom of the layer.


I love the pop of pink mixed in with the greens on this card.


Supply List

You can click on the item to purchase it from my Online Store.

Sketch Challenge - Courage & Faith

This pretty Black & White Faith Card is my project for this week’s sketch challenge. I love the sentiment from the Courage & Faith Stamp Set.


The sketch is from the weekly Splitcoaststampers Sketch Challenge.

Click on the sketch to see the other cards made for the challenge.


Tips & Instructions

  • Basic Black Card Base - 5 1/2 x 8 1/2, score at 4 1/4

  • Basic White Layer - 4 x 5 1/4, emboss using the Distressed Tiled 3D Embossing Folder and adhere to the card base.

  • Basic Black panels - cut 6 pieces at 1 1/8 x 2 1/4

  • Botanical Textures Designer Series Paper panels - cut 5 pieces at 1 x 2 1/8, adhere to the black panels.

  • Basic White sentiment panel - 1 x 2 1/8, stamp sentiment in Black Memento Ink. Adhere to a black panel.

  • Arrange the panels on the card as shown and adhere. I used Dimensionals for the sentiment panel.


On the inside layer (4 x 5 1/4) stamp sentiment and floral images in Black Memento Ink.


This paper is so pretty. I used light and dark panels, alternating them on the card. The black mats make them pop!


Supply List

You can click on the item to purchase it from my Online Store.

Sketch Saturday - Slimline Card

I made a slimline card for this week’s sketch challenge using the Woven Texture Designer Series Paper. The paper pack features a variety of woven materials and designs in different natural hues.


The sketch is from the weekly Atlantic Hearts Sketch Challenge.


Tips & Instructions

  • Thick Basic White Card Base - 7 x 8 1/2, score on the 7” side at 3 1/2

  • Early Espresso Layer - 3 1/4 x 8 1/4, adhere to the card base

  • Woven Textures Designer Series Paper Layer - 3 1/8 x 8 1/8, adhere to the card.

  • Basic White Strip - 1 x about 4 1/2, stamp sentiment in Early Espresso Ink and banner each side. Adhere to the card with Dimensionals.

  • Die cut some leaves from the Designer Series Paper. I used one of the dark patterns. Die Cut the branch from Early Espresso Cardstock. Adhere behind the sentiment with Liquid Glue.

  • Add some Neutral Matte Dots


On the inside layer (3 1/4 x 8 1/4) stamp sentiment in Early Espresso Ink. Die cut the leaves from the Designer Series Paper and adhere to the top corner.


The texture in this paper is so realistic. It makes me want to run my hand over it to feel it.


Supply List

You can click on the item to purchase it from my Online Store.

Winged Gate Fold Cards

Today’s Winged Gate Fold Card is so fun. I found it on Pinterest and watched Barry & Jay from Mitosu Crafts in the UK to learn how to make them. There are lots of layers but once you have them cut, it’s easy to put together.


Watch the video to see step by step instructions to make these cards.

Click on the button below to get a printable pdf with measurements and instructions.


I used the Mixed Media Designer Series Paper for this card. The sentiment and butterflies are from the Beautiful Butterflies Bundle. The butterflies were die cut from the the Mixed Media Paper which gives them a colorful look.


This bright and fun card was made using the Friends of the Ocean Designer Series Paper and Ocean Friends Bundle. It’s so great that you can die cut the crab from the paper using the coordinating die.


Supply List

You can click on the item to purchase it from my Online Store.

You Are Remarkable - Color Combo

I’m enjoying these new Online Exclusive Products. The You Are Remarkable Stamp Set has this pretty flower image and I love the Textured Notes Dies that I used to cut the white and green layers.


The color combo I used for this card are from my March Inspiration Calendar - Peach Pie, Lemon Lime Twist and Granny Apple Green, fun.


You can get my Inspiration Calendar each month when you subscribe to my email list.

Tips & Instructions

  • Thick Basic White Card Base - 5 1/2 x 8 1/2, score at 4 1/4

  • Brights In Color Designer Series Paper (Lemon Lime Twist) - 4 x 5 1/4

  • Granny Apple Green Layer - die cut using the Textured Notes Dies.

  • Basic White Layer - die cut using the Textured Notes Dies.

  • Stamp the flower image on the white layer in Black Memento Ink. Color with Peach Pie and Granny Apple Green Stampin’ Blends Markers.

  • Adhere the layers together on the card base.

  • Stamp the sentiment on a 1/2” strip of Basic White in Lemon Lime Twist. The sentiment is from the Beautiful Butterflies Stamp Set. Adhere to the card with Dimensionals.

  • Add some Peach Pie Shimmer Gems.


On the inside layer (4 x 5 1/4), stamp the sentiment in Black Memento Ink and the greenery in Granny Apple Green Ink.


I love this embossing around the edges of the layers. You get 8 rectangle dies each with a gorgeous, unique border.


Supply List

You can click on the item to purchase it from my Online Store.

Sketch Challenge - In The Grove

I used lots of products on this card because I’m making it for my son who loves the outdoors. The mountain stamp was an easy find and then I looked through my stamp sets to find just the right the sentiment for it.


The sketch is from the weekly Splitcoaststampers Sketch Challenge.

Click on the sketch to see the other cards made for the challenge.


Tips & Instructions

  • Azure Afternoon Card Base - 5 1/2 x 8 1/2, score at 4 1/4.

  • Basic White Layer - 4 x 5 1/2, adhere to the card base.

  • Everyday Skies Designer Series Paper - 3 3/4 x 5

  • Basic White - stamp the mountains 3 times, once in Gorgeous Grape ink, again in Gorgeous Grape ink but stamp off twice before stamping and then lastly in Smoky Slate ink. Die cut each using the coordinating dies.

  • Adhere the mountains to the Designer Series Paper layer letting them hang over on each side. Start with the Smoky Slate one, then the light purple. Adhere the dark purple with Dimensionals. Trim off the overhang from the back.

  • Die cut the sun shape from the Everyday Skies Designer Series Paper using the Spring Corners Dies. Adhere to the top corner with Dimensionals and trim off the overhang from the back. Adhere layer to the card.

  • Stamp the sentiment in Smoky Slate ink on a 1” strip of Basic White. I used the sentiment from the Everyday Arches Stamp Set and adhere to the card with Dimensionals.


On the inside layer (3 3/4 x 5) stamp the mountains in Gorgeous Grape ink and then stamp a secind time on scrap and then a third time on the card, right over the other mountains.


I love the blue background behind the mountains! By stamping the mountains in the back with in lighter shades, you get the feel that they are in the distance.


Supply List

You can click on the item to purchase it from my Online Store.

Sketch Saturday - Meant To Bee

The Cute As Can Bee Designer Series Paper has fun patterns and I decided to use it to make my card for this week’s sketch challenge.


The sketch is from the weekly Atlantic Hearts Sketch Challenge.


Tips & Instructions

  • Old Olive Card Base - 5 1/2 x 8 1/2, score at 4 1/4

  • Basic White Layer - 3 3/4 x 5

  • Cute As Can Bee Designer Series Paper Strips - cut 3 different patterns at 1/2 x 5.

  • Lay the strips on the white layer to determine positioning. Stamp the sentiment in Old Olive Ink.

  • Adhere the strips to the white layer and adhere layer to card base.

  • Fussy cut the bee from the Designer Series Paper and adhere it to the card with Dimensionals.

  • Add some Petunia Pop Shimmer Gems.


On the inside layer (4 x 5 1/4) stamp sentiment in Old Olive Ink. Stamp 3 flowers in Petunia Pop Ink. Adhere a 3/4 x 5 1/4 strip of the Designer Series Paper to the bottom and then adhere the layer to the inside of the card.


I love all the fun patterns in this paper, lots of choices for the strips.


Supply List

You can click on the item to purchase it from my Online Store.

Simple Z Fun Fold Cards

Today’s fun fold is an easy one, it’s a Z Fold! There are various ways to make this design and I chose to use the Everyday Arches Dies to create the pretty card front.


Watch the video to see step by step instructions to make these cards.

Click on the button below to get a printable pdf with measurements and instructions.


I new Online Exclusive Products that will be available for purchase starting March 4, 2025. The suite is called the Lovely Garden and has beautiful floral images. I used the Everyday Arches for the front panel.


For this card I used the Fruit Salad Designer Series Paper and Pick A Season Stamp Set. Both products are free during Sale-A-Bration with a $60 (USD) product order but today is the last day you can get them.


Supply List

You can click on the item to purchase it from my Online Store.

(Note - the Lovely Garden Designer Series Paper, Thankful Garden Bundle and Starburst Sequins will be available with the new Online Exclusives starting March 4, 2025.)

Fancy Borders - Color Combo

Oh my goodness, the new Fancy Borders Bundle is amazing and it’s one of our new Online Exclusives that will be available starting March 4, 2025. I love the dies in the bundle and the floral image that I used on this card is so pretty.


The color combo I used for this card is from my February Inspiration Calendar - Melon Mambo, Gorgeous Grape and Summer Splash, such bright, bold colors.


You can get my Inspiration Calendar each month when you subscribe to my email list.

Tips & Instructions

  • Melon Mambo Card Base - 5 1/2 x 8 1/2, score at 4 1/4

  • Melon Mambo Layer - 4 1/4 x 5 1/2, emboss using the Soft Waves 3D Embossing Folder and adhere to the card base.

  • Basic White - 4 1/4 x 5 1/2, stamp the floral image in Black Memento ink at the top and bottom leaving space to allow for the die cutting. Use the Fancy Borders Dies to die cut the top and bottom, lining up the curves so they match the greenery.

  • Stamp the sentiment in the middle of the floral images in Gorgeous Grape ink. Stamp the heart at the top and bottom in Gorgeous Grape ink.

  • Color the leaves on the floral images using Light & Dark Summer Splash Stampin’ Blends.

  • Gorgeous Grape Cardstock - 2 pieces cut at 1 1/2 x 5 1/2, die cut each piece using the same die you used on the white layer.

  • Adhere the 2 Gorgeous Grape pieces behind the white layer to create a border at the top and bottom. Adhere to to the card.


On the inside layer (4 x 5 1/4), stamp the sentiment in Melon Mambo ink and the hearts in Gorgeous Grape ink. Stamp the leaves in Black Memento ink and color with a Dark Summer Splash Stampin’ Blends Marker.


I love this color combo and will definitely be playing more with the Fancy Borders Bundle!


Supply List

You can click on the item to purchase it from my Online Store.

Note:: The Fancy Borders Bundle will be available for purchase starting March 4, 2025.

Sketch Challenge - Fruit Salad

I used the fun Fruit Salad Designer Series Paper for this week’s sketch challenge. It’s a Sale-A-Bration product you can earn for free with a qualifying order.


The sketch is from the weekly Splitcoaststampers Sketch Challenge.

Click on the sketch to see the other cards made for the challenge.


Tips & Instructions

  • Thick Basic White Card Base - 5 1/2 x 8 1/2, score at 4 1/4.

  • Basic Black Layer - 3 7/8 x 5 1/8, adhere to the card base.

  • Fruit Salad Designer Series Paper Layer - 3 3/4 x 5, adhere to the card.

  • Cut a triangle from the Designer Series Paper.

  • Lay the triangle on a piece of Basic Black Cardstock and cut so there is a small border around the patterned paper. Adhere the triangles together and then adhere to the card.

  • Stamp sentiment in Black Memento ink on a 3/4 strip of Basic White and banner each end. Adhere to the card with Dimensionals.

  • Add some black Sparkle Gems.


On the inside layer (4 x 5 1/4) add some Designer Series Paper. I cut along wavy lines on the rind and then adhered it to a 3/4 x 5 1/4 strip of the red with seeds pattern.


This Designer Series Paper has so many fun patterns, apples, oranges, pineapples, etc. It was so hard to choose which pattern to use for this card.


Supply List

You can click on the item to purchase it from my Online Store.

Sketch Saturday - Mixed Media

I love a black and white card! The Mixed Media Designer Series Paper has some wonderful patterns for a card like this.


The sketch is from the weekly Atlantic Hearts Sketch Challenge.


Tips & Instructions

  • Basic Black Card Base - 5 1/2 x 8 1/2, score at 4 1/4.

  • Basic White Layer - 3 7/8 x 5 1/8, adhere to the card base.

  • Mixed Media Designer Series Paper (dotted pattern) - 3 3/4 x 5

  • Mixed Media Designer Series Paper (floral pattern) - 2 3/4 x 3 3/4, die cut a partial circle using the Spotlight on Nature Dies.

  • Adhere layers and partial circle to the card base.

  • Basic White - die cut label using the Mixed Labels Dies. Stamp sentiment on label inBlack Memento ink. Adhere to the card with Dimensionals.

  • Die cut 3 small butterflies from Basic White using the Sketched Butterflies Dies. Adhere to the card with Liquid Glue just putting glue on the body.

  • Add Rhinestones to the center of the butterflies.


On the inside layer (4 x 5 1/4) stamp sentiment in Black Memento ink. Stamp the floral image, stamping a second and third time without re-inking.


I love the white butterflies on the side of the card, it finishes it off so nicely.


Supply List

You can click on the item to purchase it from my Online Store.

Double Diamond Fun Fold Cards

I saw a post from Patty Bennett showing how to make these Double Diamond Fun Fold Cards and wanted to give it a try. These are so fun and stand up nicely. I love the bright and fun patterns on both cards, it’s a great way to highlight your Designer Series Paper.


Watch the video to see step by step instructions to make these cards.

Click on the button below to get a printable pdf with measurements and instructions.


I used the Cute As A Bee Designer Series Paper for this card. The sentiment is from the Simply Said Stamp Set and the strip was embossed using the Starstruck Embossing Folder. This folder is Free with a qualifying order during Sale-A-Bration.


The Toadstool Gardens Designer Series Paper is also a Sale-A-Bration product that you can get for free with a qualifying order. The sentiment is from the Ocean Friends Stamp Set.


Supply List

You can click on the item to purchase it from my Online Store.

Natural Botanicals - Color Combo

For today’s card I used ink and Wink of Stella to color the flowers and leaves. The rectangle dies are so cool, they are from the Textured Notes Die Set which is a new Online Exclusive that will be available starting March 4, 2025


The color combo is from my February Inspiration Calendar - Crumb Cake, Daffodil Delight and Pumpkin Pie.


You can get my Inspiration Calendar each month when you subscribe to my email list.

Tips & Instructions

  • Thick Basic White Card Base - 4 1/4 x 11, score at 5 1/2 (top folding)

  • Crumb Cake Layer - die cut using the largest rectangle from the Textured Notes Dies and adhere to the card base.

  • Basic White Layer - die cut using the second from largest rectangle from the Textured Notes Dies.

  • Stamp the flower image twice on the white layer in Crumb Cake ink. Color the petals with Daffodil Delight and the leaves and flower centers with Pumpkin Pie ink. I colored them using Wink of Stella. To do this press a clear block into the stamp pad and then pick up ink with a Wink of Stella brush. Color on scrap first to get some ink so it’s not too dark.

  • Stamp the sentiment in Pumpkin Pie ink. The sentiment is from the Round We Go Stamp Set. Adhere the layer to the card using Dimensionals.

  • Add some Tiny Bee Trinkets.


On the inside layer (4 x 5 1/4), stamp the sentiment in Pumpkin Pie ink and the flower and leaves in Crumb Cake ink. Color the flower the way you did on the card front.


I love how pretty and sparkly the flowers look with the Wink of Stella. It’s hard to tell in the picture but in person, it’s beautiful.


Supply List

You can click on the item to purchase it from my Online Store.

Sketch Challenge - Submarine Life

The Submarine Life Stamp Set has such cute images of sea creatures. I think I’ll send this to my grandson just to say hello!


I made the card for this week’s Splitcoaststampers Sketch Challenge. Click on the sketch to see the other projects posted for this week.


Tips & Instructions

  • Azure Afternoon Card Base - 5 1/2 x 8 1/2, score at 4 1/4

  • Basic White Layer - 4 1/4 x 5 1/4, stamp the HELLO sentiment in Poppy Parade ink at the top, right area and adhere the layer to the card base.

  • Azure Afternoon Panels - cut 2 pieces at 2 1/8 x 3 5/8

  • Otterly Adorable Designer Series Paper (water pattern) - cut 2 pieces at 2 x 3 1/2

  • Adhere the Designer Series Panels to the Azure Afternoon Panels and then to the card.

  • Die cut 3 diamonds from Basic White using the Stylish Shape Dies, one larger and two smaller.

  • Stamp the sea creatures on the diamonds. I used Azure Afternoon, Lemon Lime Twist and Poppy Parade inks.

  • Adhere the diamond pieces to the card using Dimensionals.


On the inside layer (4 x 5 1/4) stamp the sentiment in Poppy Parade ink and the fish along the bottom in Azure Afternoon ink.


I love this week’s sketch. When I looked through my stamp sets, I decided on Submarine Life to fit the size of the diamond shapes.


Supply List

You can click on the item to purchase it from my Online Store.

Sketch Saturday - Friendly Seagulls

Sketch Saturday…..a day late! I had a busy day yesterday so I’m a little late with posting my card sketch for this week. I used the Friendly Seagulls Stamp Set. It’s a Sal-A-Bration product you can earn for free with a qualifying order.


The sketch is from the weekly Atlantic Hearts Sketch Challenge.


Tips & Instructions

  • Lost Lagoon Card Base - 5 1/2 x 8 1/2, score at 4 1/4.

  • Basic White Layer - 4 x 5 1/4, adhere to the card base.

  • Lost Lagoon Mat - 2 5/8 x 4 1/8

  • Everyday Happiness Designer Series Paper - 2 1/2 x 4, adhere to the Lost Lagoon Mat and then to the card.

  • Lost Lagoon Mat - 2 5/8 x 2 7/8

  • Everyday Happiness Designer Series Paper - 2 1/2 x 2 3/4, stamp the seagull, dots, sentiment and birds in Black Memento ink. Color the seagull’s feet, beak and french fries with Dark Daffodil Stampin’ Blends Marker. Color the wings with Dark and light Gray Granite Stampin’ Blends Markers. Adhere layer to the Lost Lagoon Mat and then to the card using Dimensionals.

  • Add some Riverside Irregular Pearls.


On the inside layer (4 x 5 1/4) stamp sentiment seagull and fries in Black Memento. Color the with Stampin’ Blends Markers (Dark Daffodil Delight, Light and Dark Gray Granite and Dark Poppy Parade).


This is such a fun card and I love how the focal piece turned out stamping directly on the Designer Series Paper.


Supply List

You can click on the item to purchase it from my Online Store.