0
items
$0


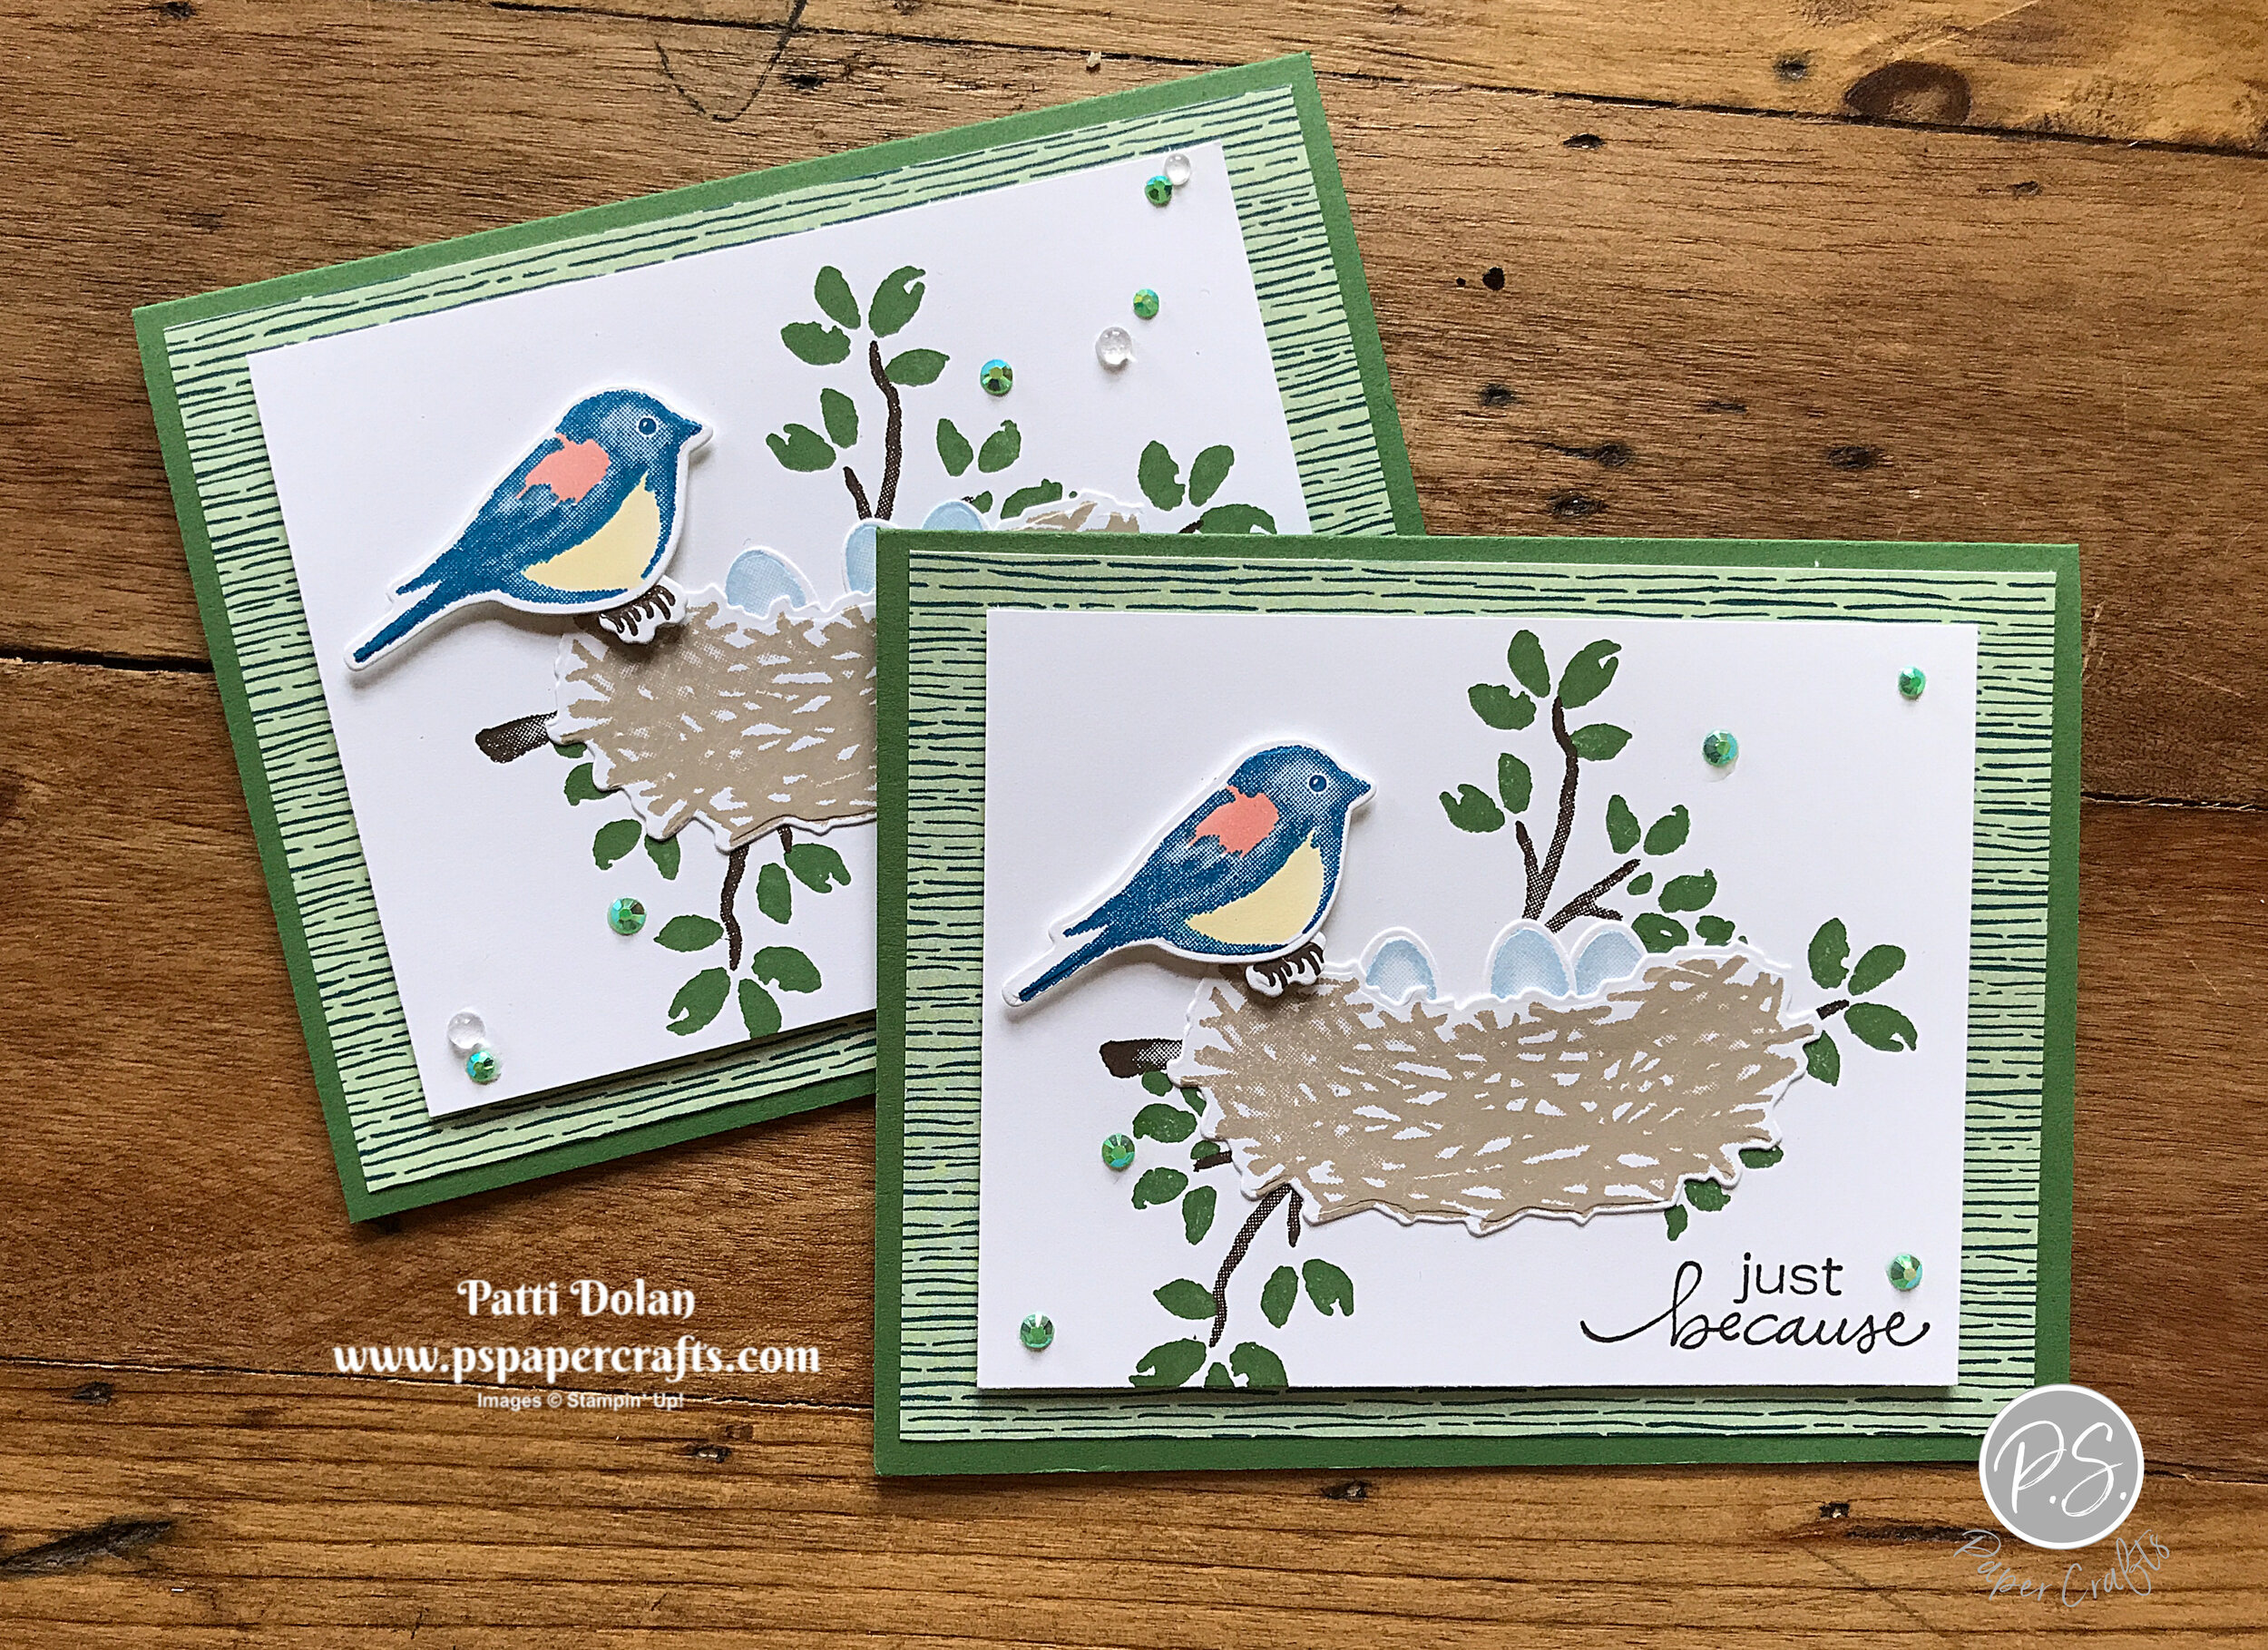
Pretty Peony Sympathy Card
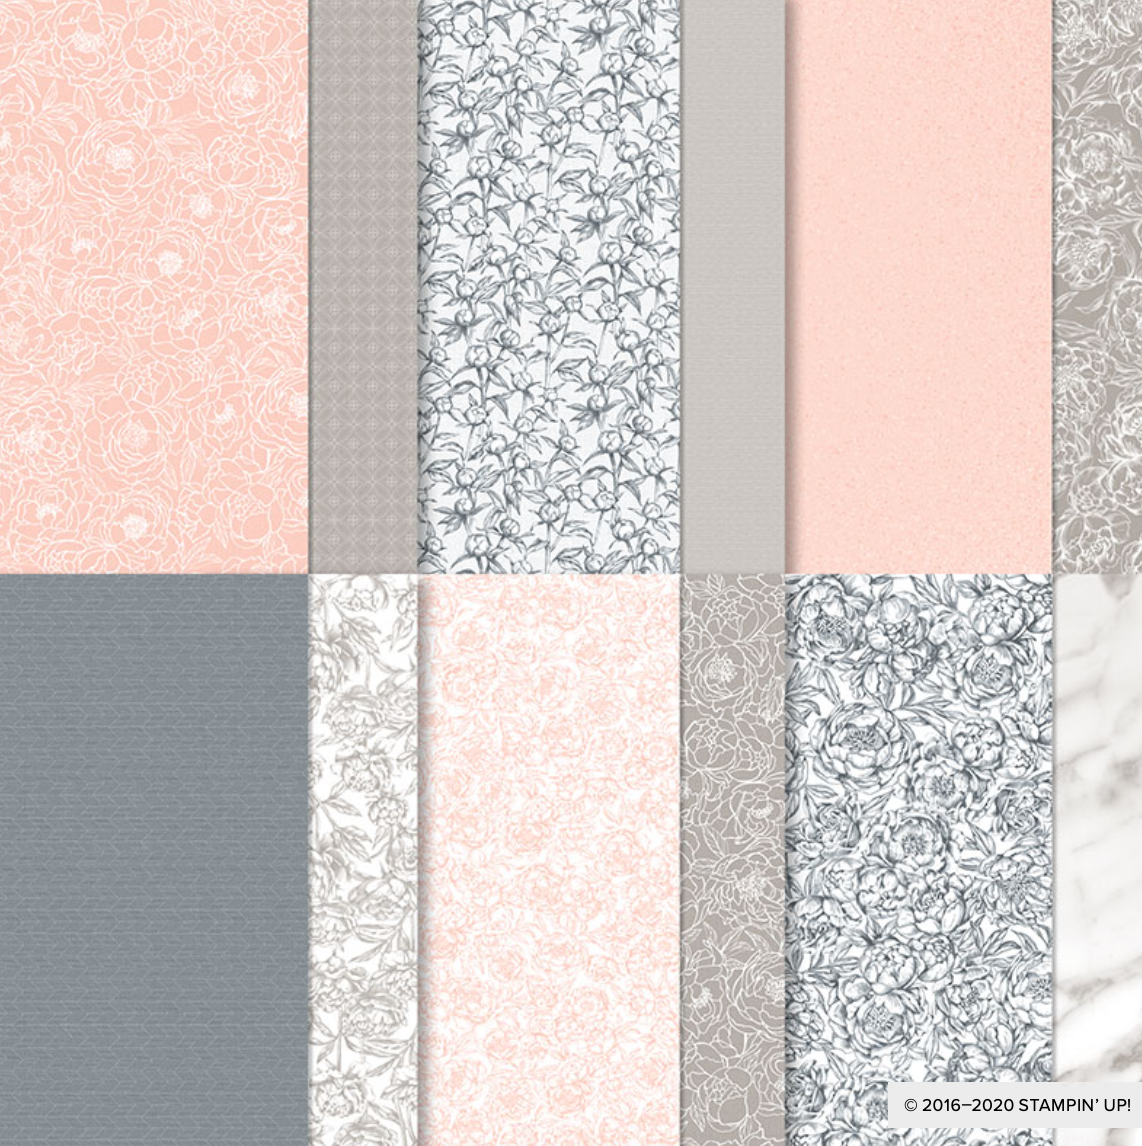
I used the Peony Garden Designer Series Paper along with the Prized Peony Bundle to make this pretty Sympathy Card.

The Designer Series Paper is really pretty in grays, pinks and white. You can color it or use it as a background. On this card the background layer is one side and the small piece for the banner is the other side of one of the sheets.
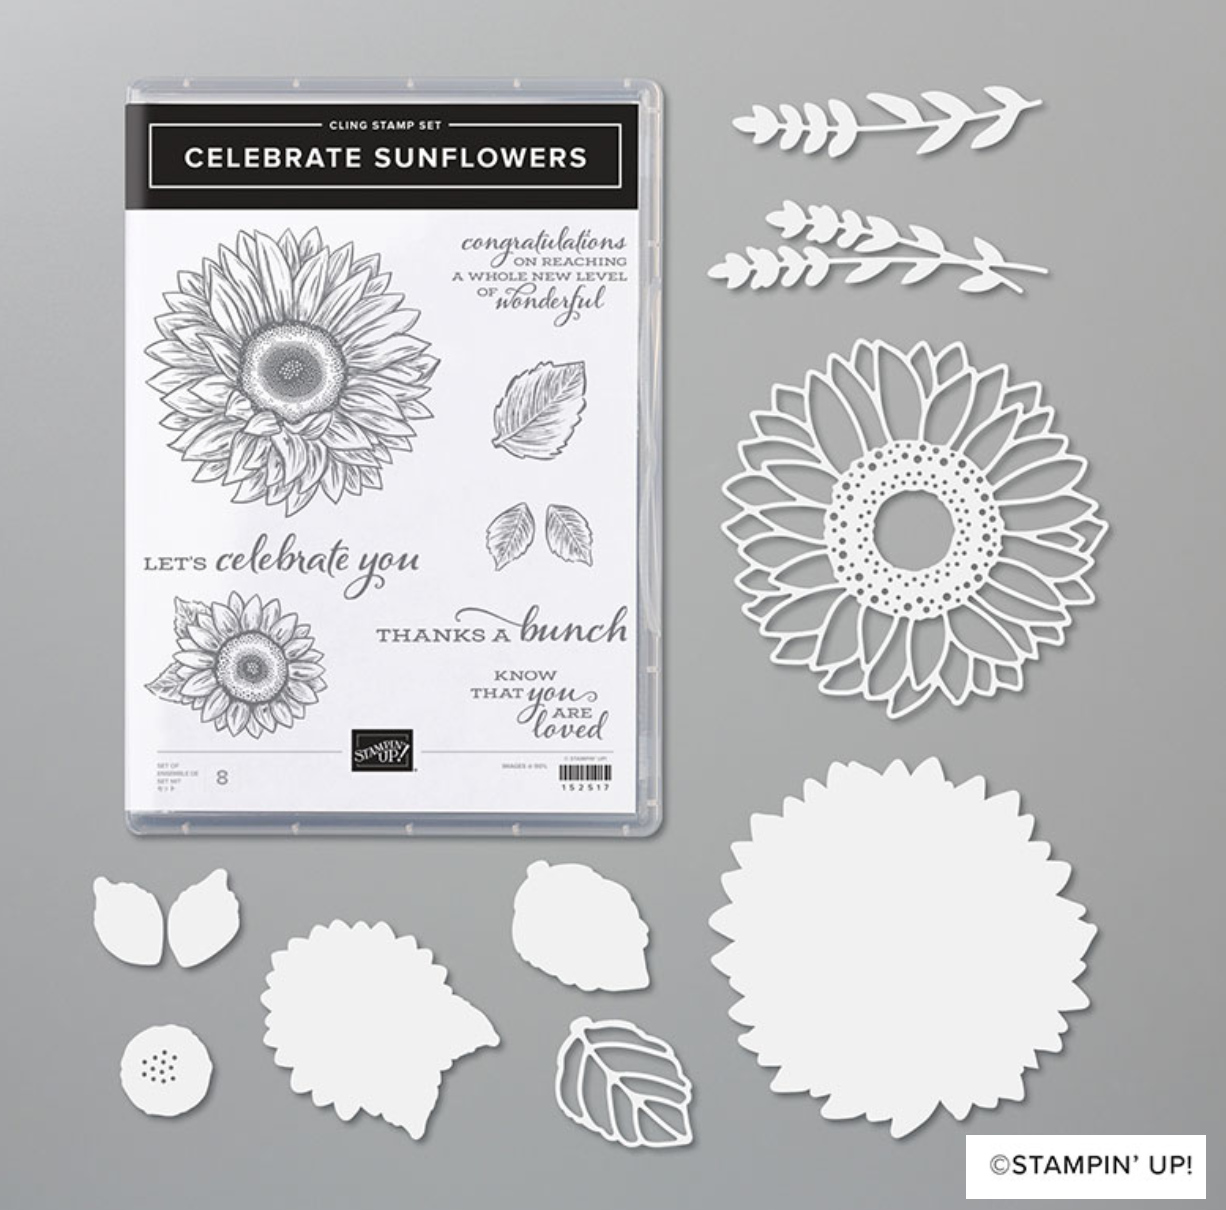
These are the stamps and coordinating dies that are in the bundle. You can actually build a 3D flower with some of the dies.

Tips & Instructions
Basic Gray Card Base - 5 1/2 x 8 1/2, score at 4 1/4
Flirty Flamingo Layer - 5 3/8 x 4 1/8
Peony Garden Designer Series Paper - 5 1/4 x 4
Stamp peony on Whisper White Cardstock with Black Memento Ink and color using Flirty Flamingo and Mossy Meadow Stampin’ Blends. I used both the dark and light to add some shading. Cut with coordinating die.
Peony Garden Designer Series Paper - 1 1/4 x about 2, then punch banner on one end with Banner Triple Punch.
Whisper White Cardstock - 1 3/8 x 1 1/8 stamp sentiment and adhere to banner.
Adhere peony and sentiment using Dimensionals
Add some Elegant Faceted Gems