Pretty Dahlia Days Thank You Card

This card is for my “purple” lovers!!! I used the beautiful Dahlia Days from the new Mini Catalog to simply cut out the delicate background layer, add some ribbon, a sentiment and some pearls! Easy!!!


I love this delicate background die from the Detailed Dahlia Dies. You don’t really need to add much to it to get a “wow” card.

You can bundle together the Dahlia Days Stamp Set and Detailed Dahlia Dies and save 10% PLUS, you will earn a FREE $50 Sale-a-bration Product.


Tips & Instructions

  • Thick Basic White Card Base - 5 1/2 x 8 1/2, score at 4 1/4

  • Gorgeous Grape Layer - 5 3/8 x 4 1/8, adhere to card base.

  • Basic White Cardstock - 5 1/2 x 4 1/4, cut using the large floral Detailed Dahlia Die.
    (Tip: Back the layer with an Adhesive Sheet before cutting to make it a sticker piece.)

  • Adhere the detailed piece to card base.

  • Stamp sentiment with Gorgeous Grape Ink on Basic White Cardstock and cut using the Tasteful Labels Dies.

  • Fold a piece of Gorgeous Grape Sheer Ribbon and use some Glue Dots to hold it in place. Adhere to card with Glue Dots.

  • Adhere sentiment over the ribbon with Dimensionals.

  • Add some Pastel Pearls to sentiment and flower centers.


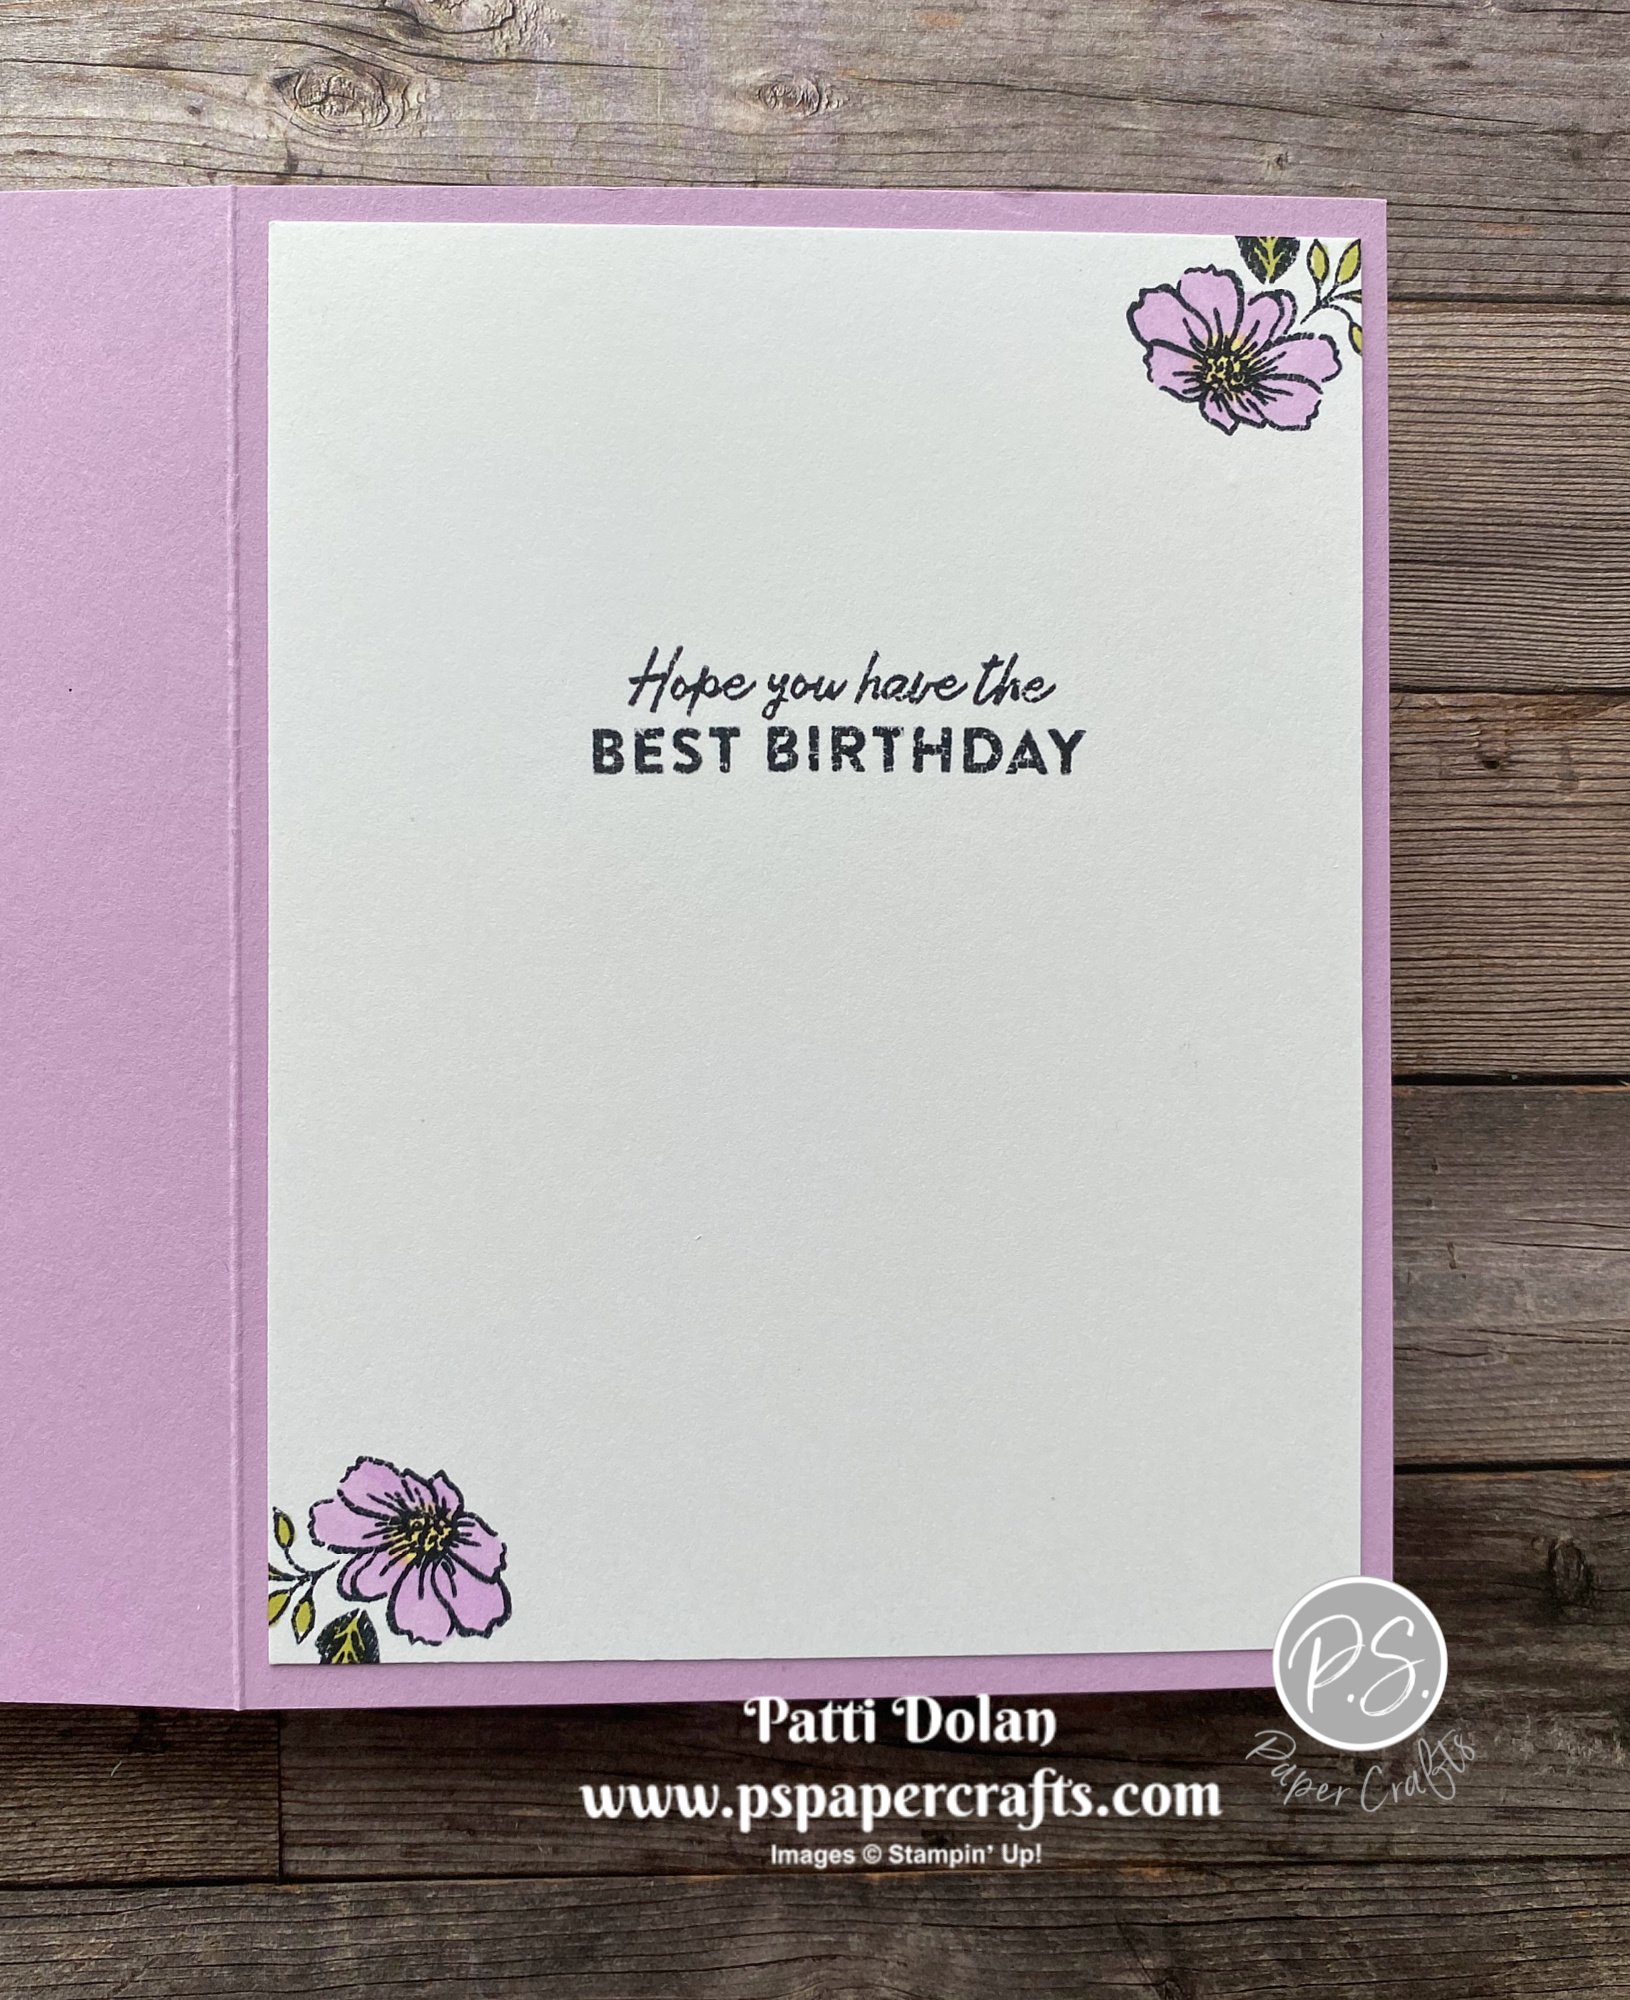
On the inside stamp the dahlia image and 3 small flowers using Gorgeous Grape Ink.


Supply List (click on links to purchase from my Online Store.

Note: the Dahlia Days Bundle will be available for purchase starting January 4, 2022.

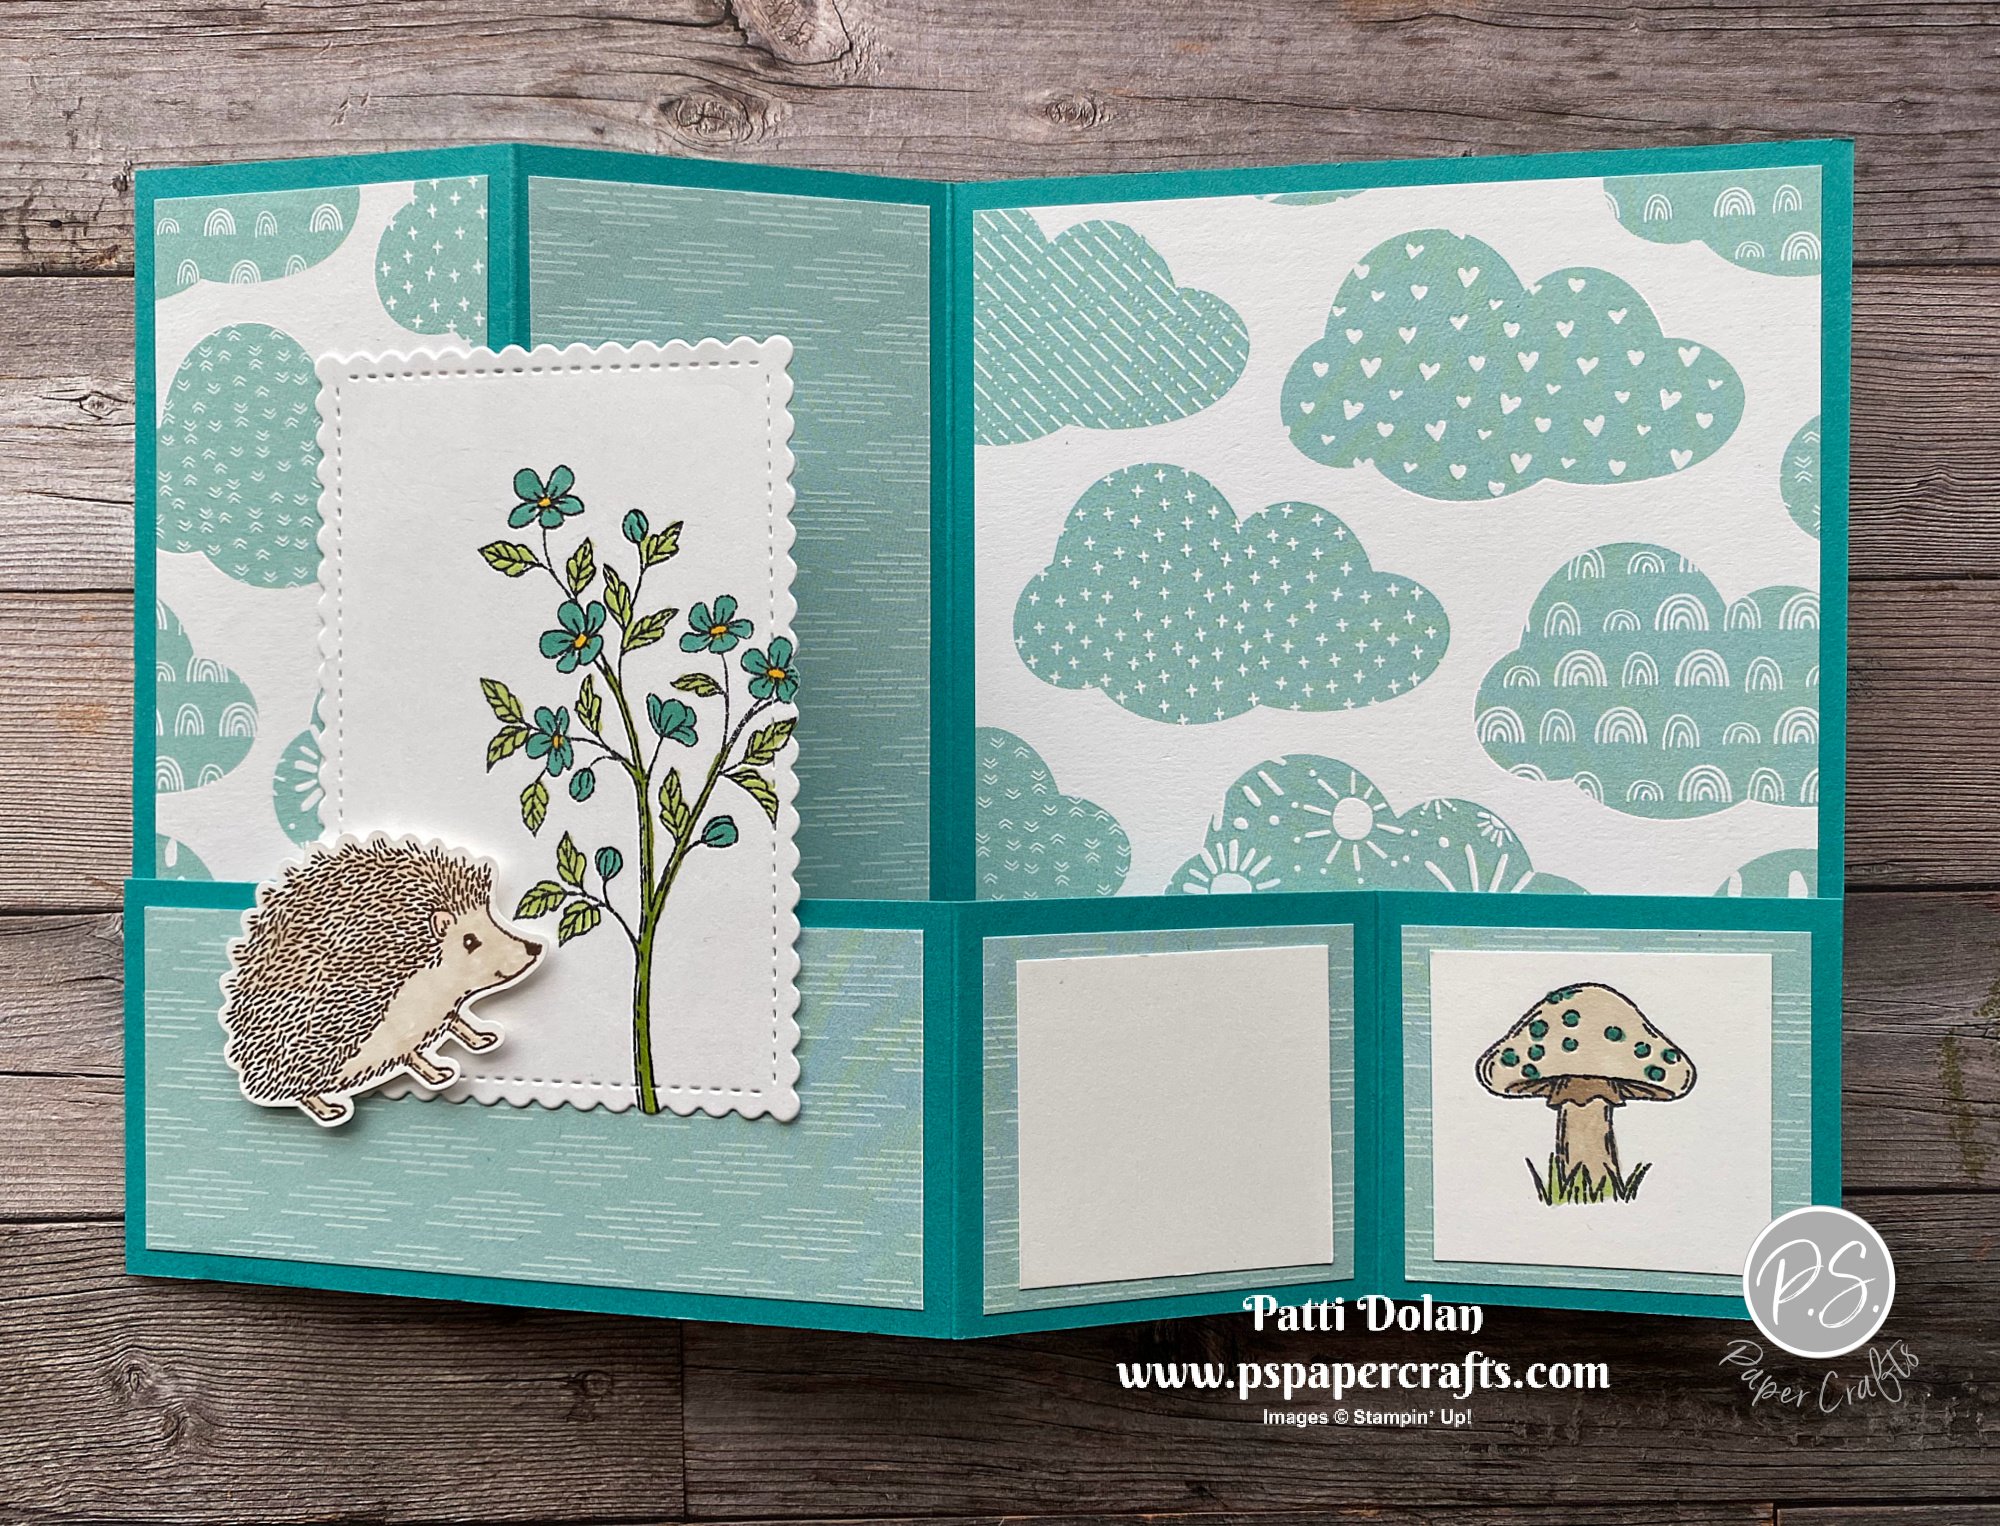
Happy Hedgehogs Fun Fold Card

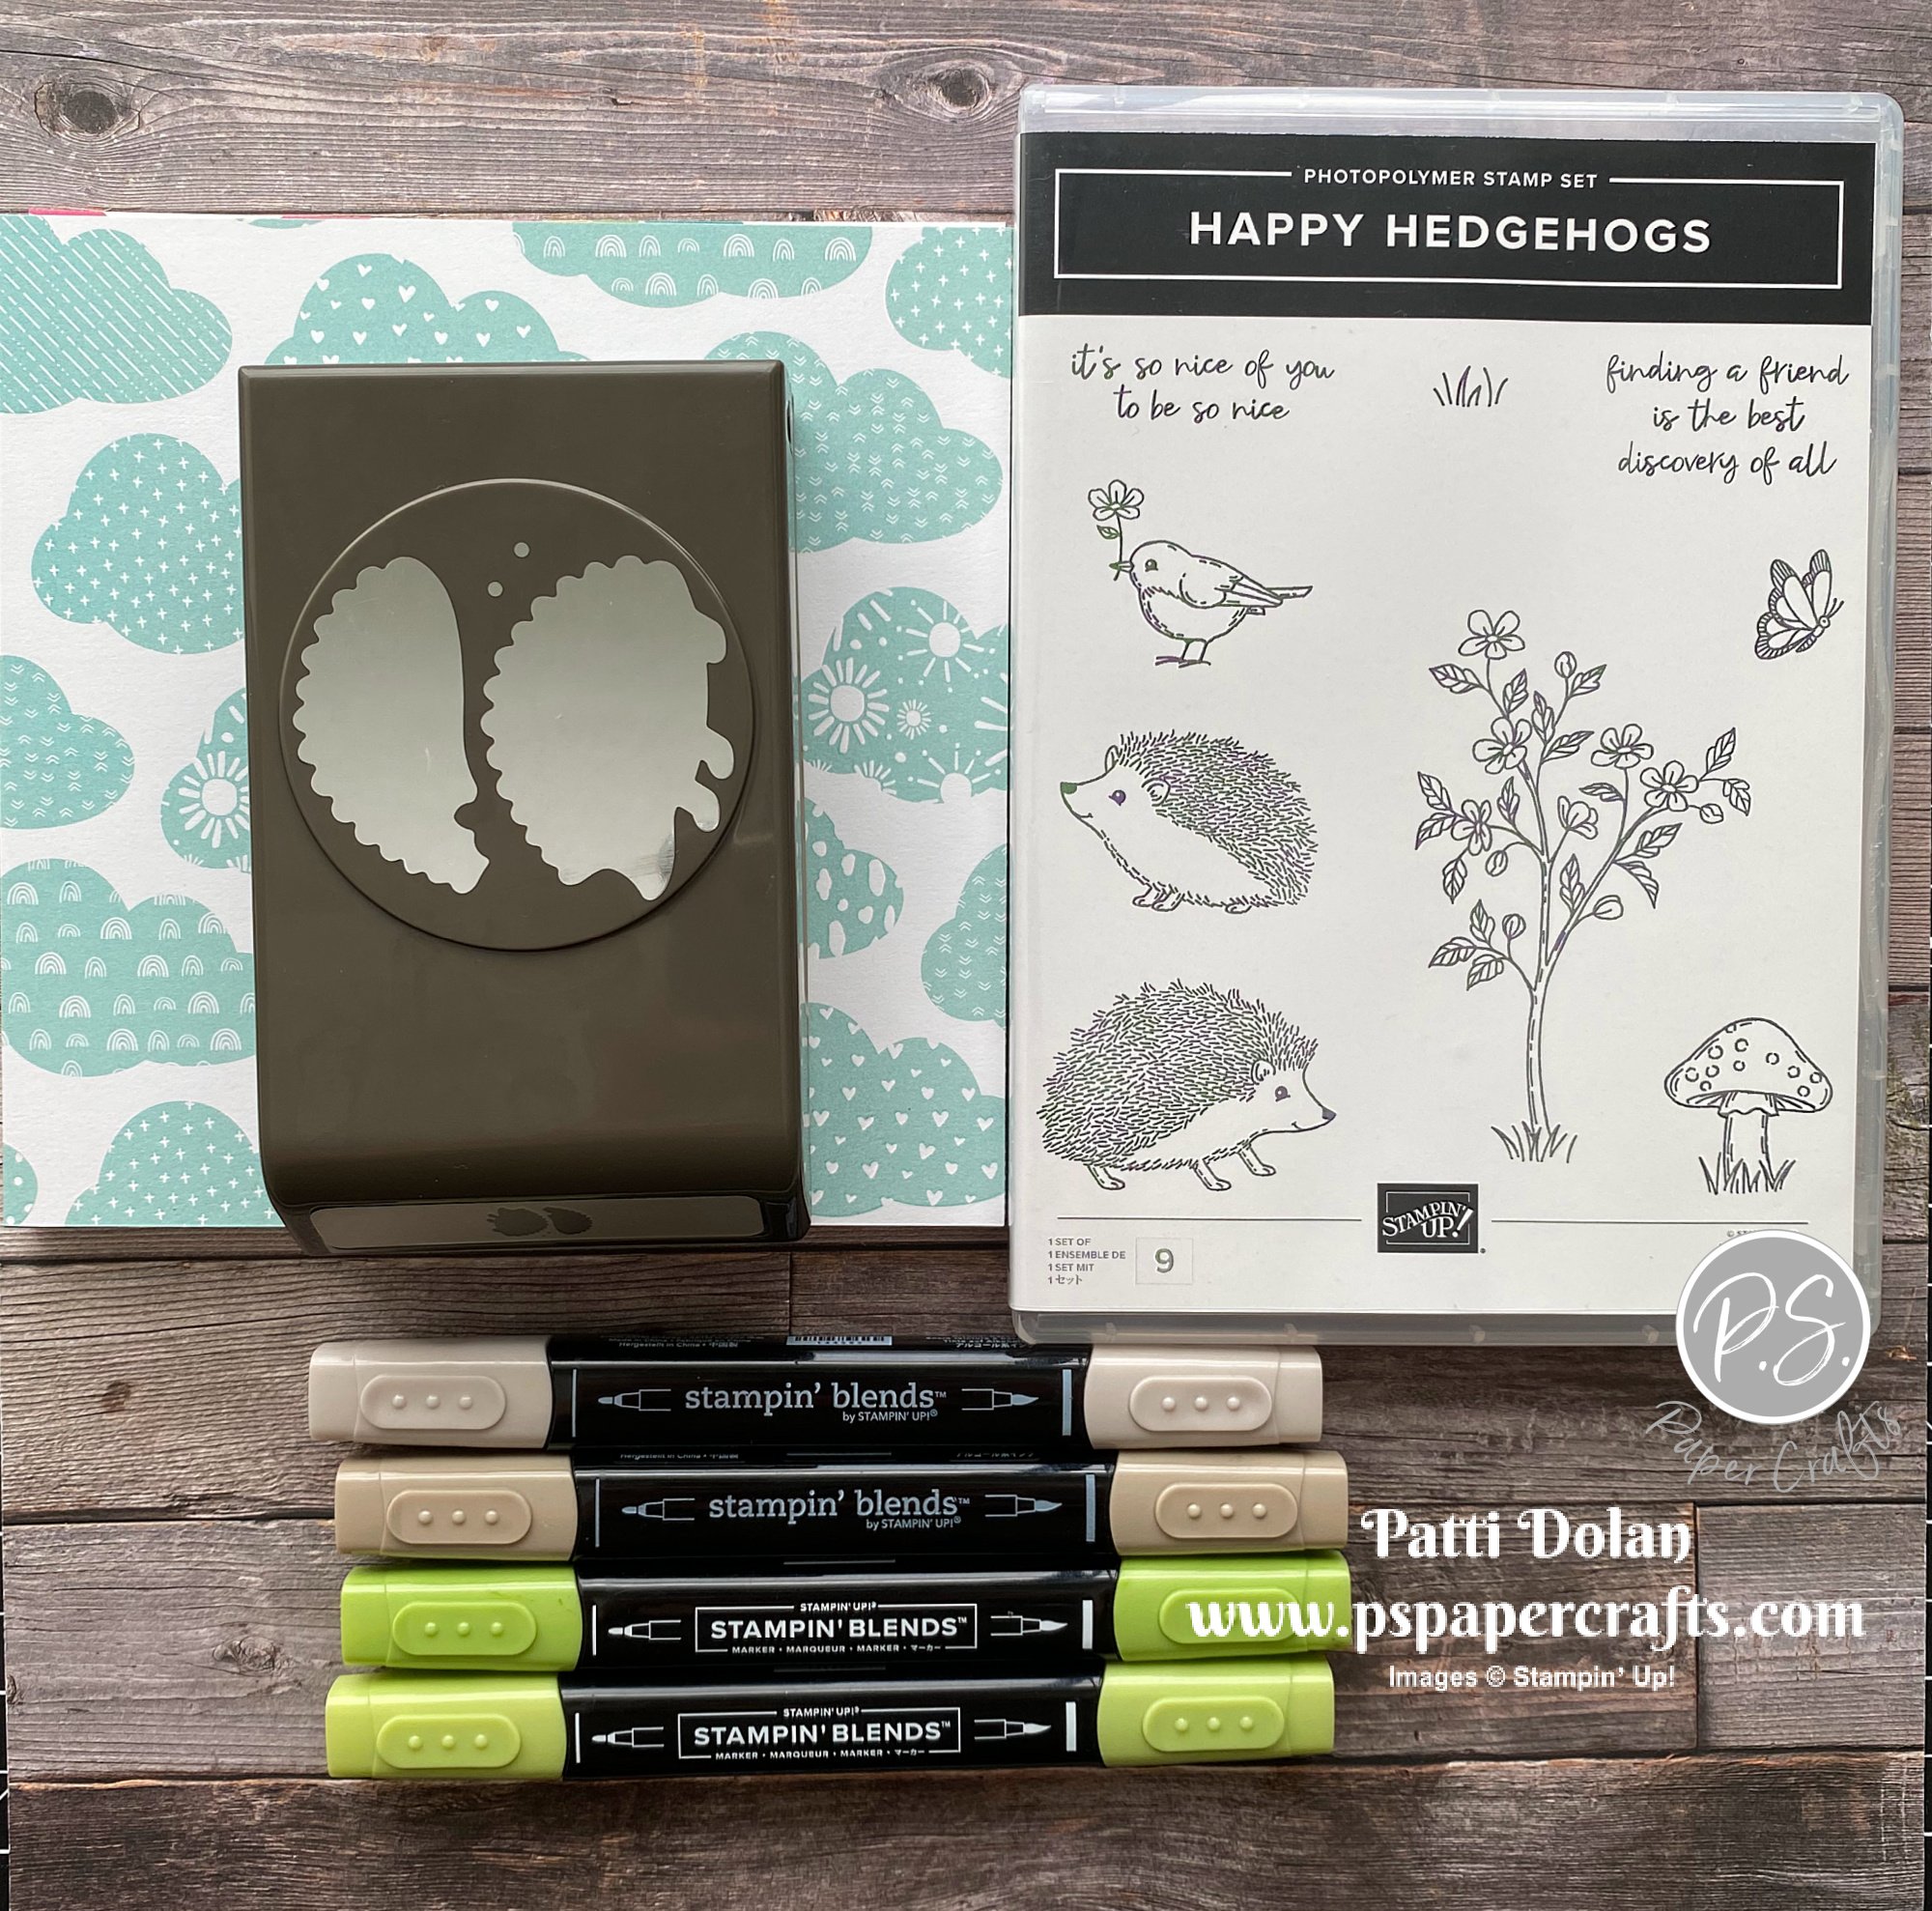
I made this fun Bottom Z Fold Card using the new Happy Hedgehogs Bundle and Sunshine & Rainbows Designer Series Paper. These are some of the amazing products from the upcoming Mini Catalog and Sale-a-bration Brochure.


In the video I’ll show you how easy it is to make this fun fold card. You’ll also see this great bundle and Designer Series Paper I used. I’m so excited about the new mini catalog.


Here’s an idea of what you can purchase to earn the Sunshine & Rainbows Designer Series Paper for FREE.

Purchase the Happy Hedgehogs Bundle, two Stampin’ Blends Combo packs and your total will come to $50.25 which means you can get the Sunshine & Rainbows Designer Series Paper for free.


Measurements

  • Bermuda Bay Card Base - 5 1/2 x 8 1/2, score at 2 1/8 and 4 1/4

  • Bermuda Bay Bottom Fold Piece - 2 x 8 1/2, score at 2 1/8 and 4 1/4

  • Designer Series Paper (cloud pattern):

    • 5 1/4 x 1 7/8 for front panel

    • 5 1/4 x 4 for inside layer

  • Sunshine & Rainbows (plain pattern):

    • 4 x 1 3/4 for front horizontal panel

    • 4 x 1 7/8 for inside vertical panel

    • 2 pieces cut at 1 7/8 x 1 3/4

  • Basic White:

    • Cut with Stitched So Sweetly Dies

    • Scrap for Hedgehog

    • 2 pieces cut at 1 5/8 x 1 1/2


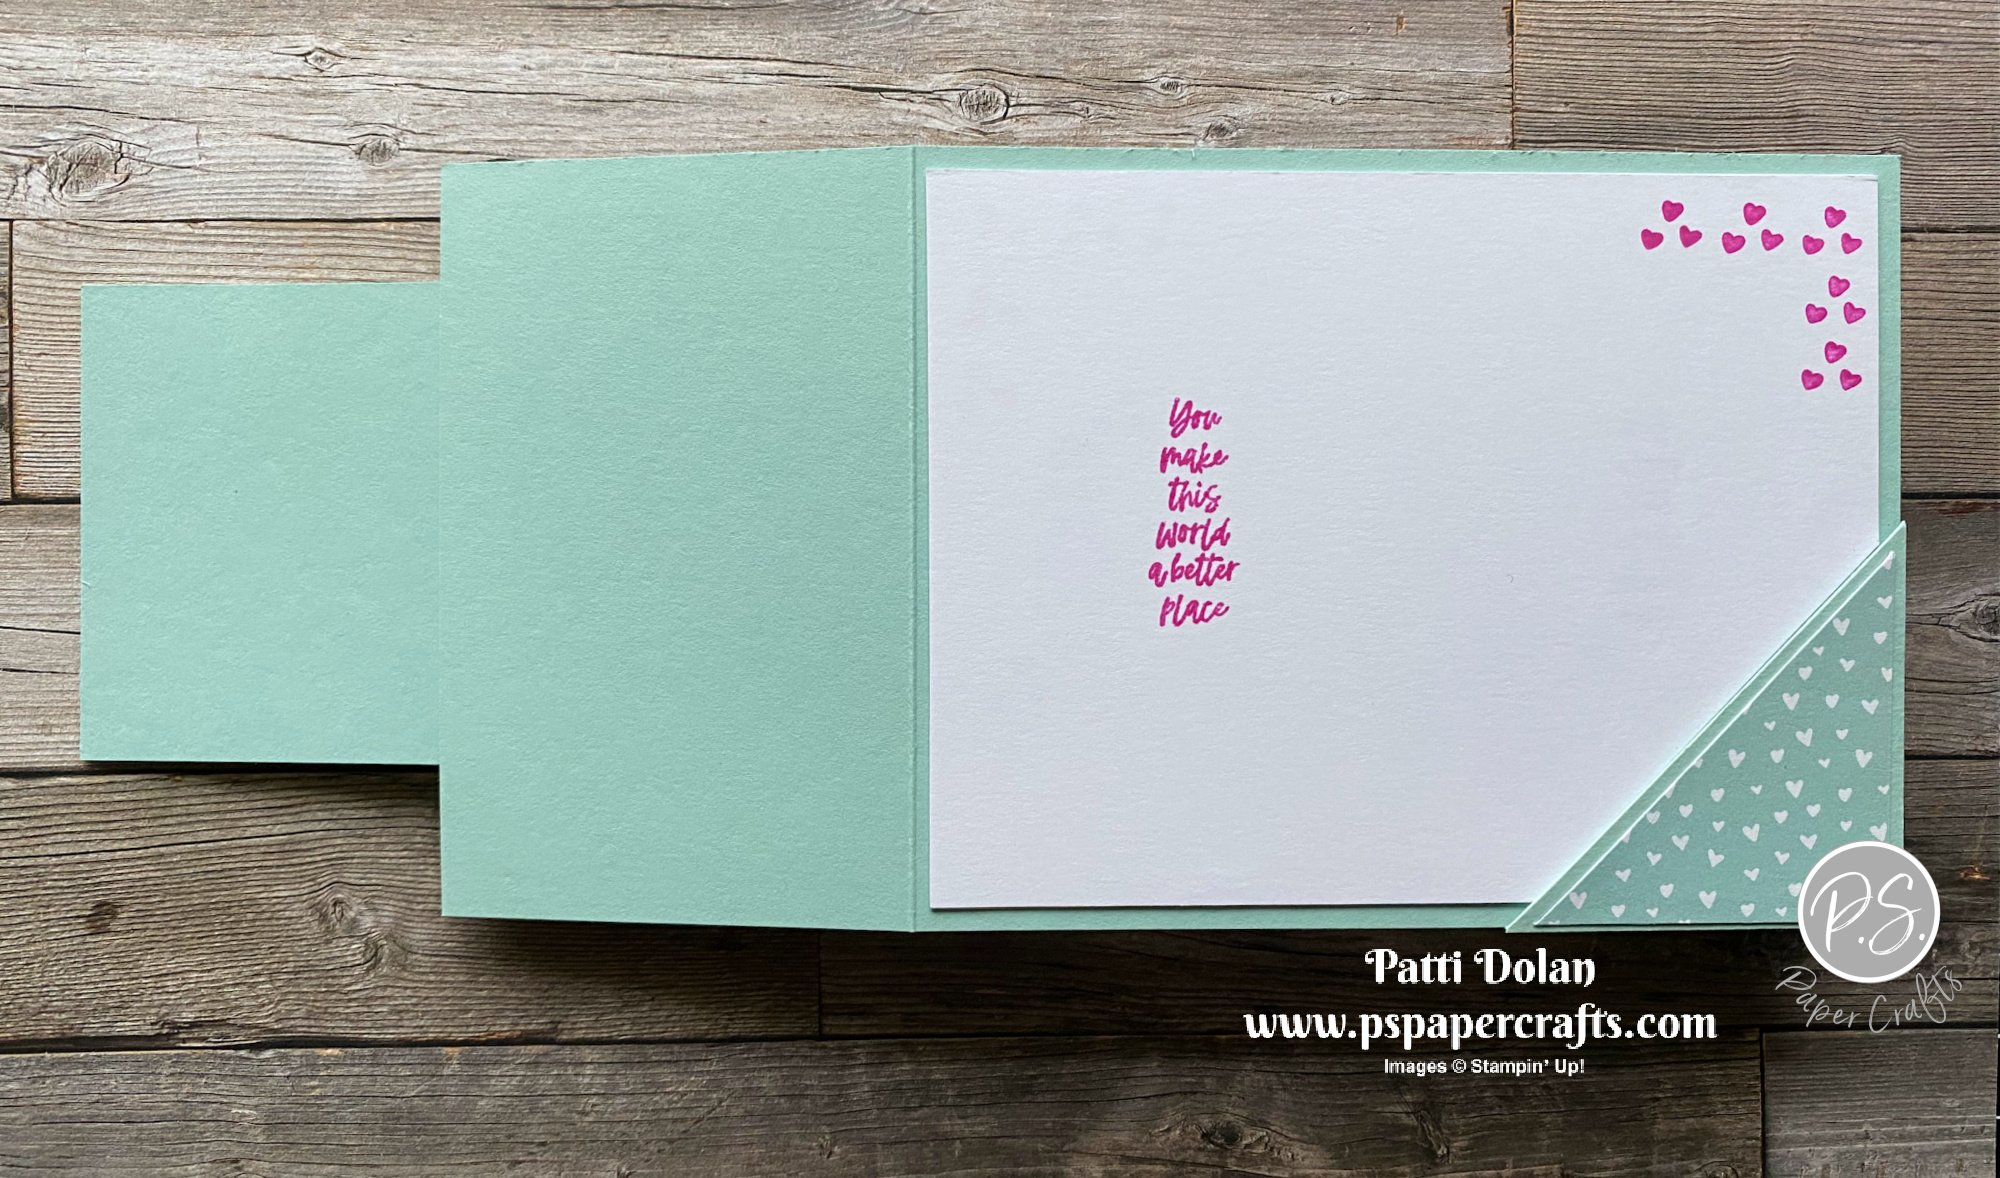
There’s a small area to write a little note on the inside.


Need a new Mini Catalog? Email me with your address and I’ll get one in the mail for you.

Email: patti@pspapercrafts.com


Supply List (click on links to purchase from my Online Store.

Note: the Happy Hedgehogs Stamp Set will be available for purchase starting January 4, 2022.

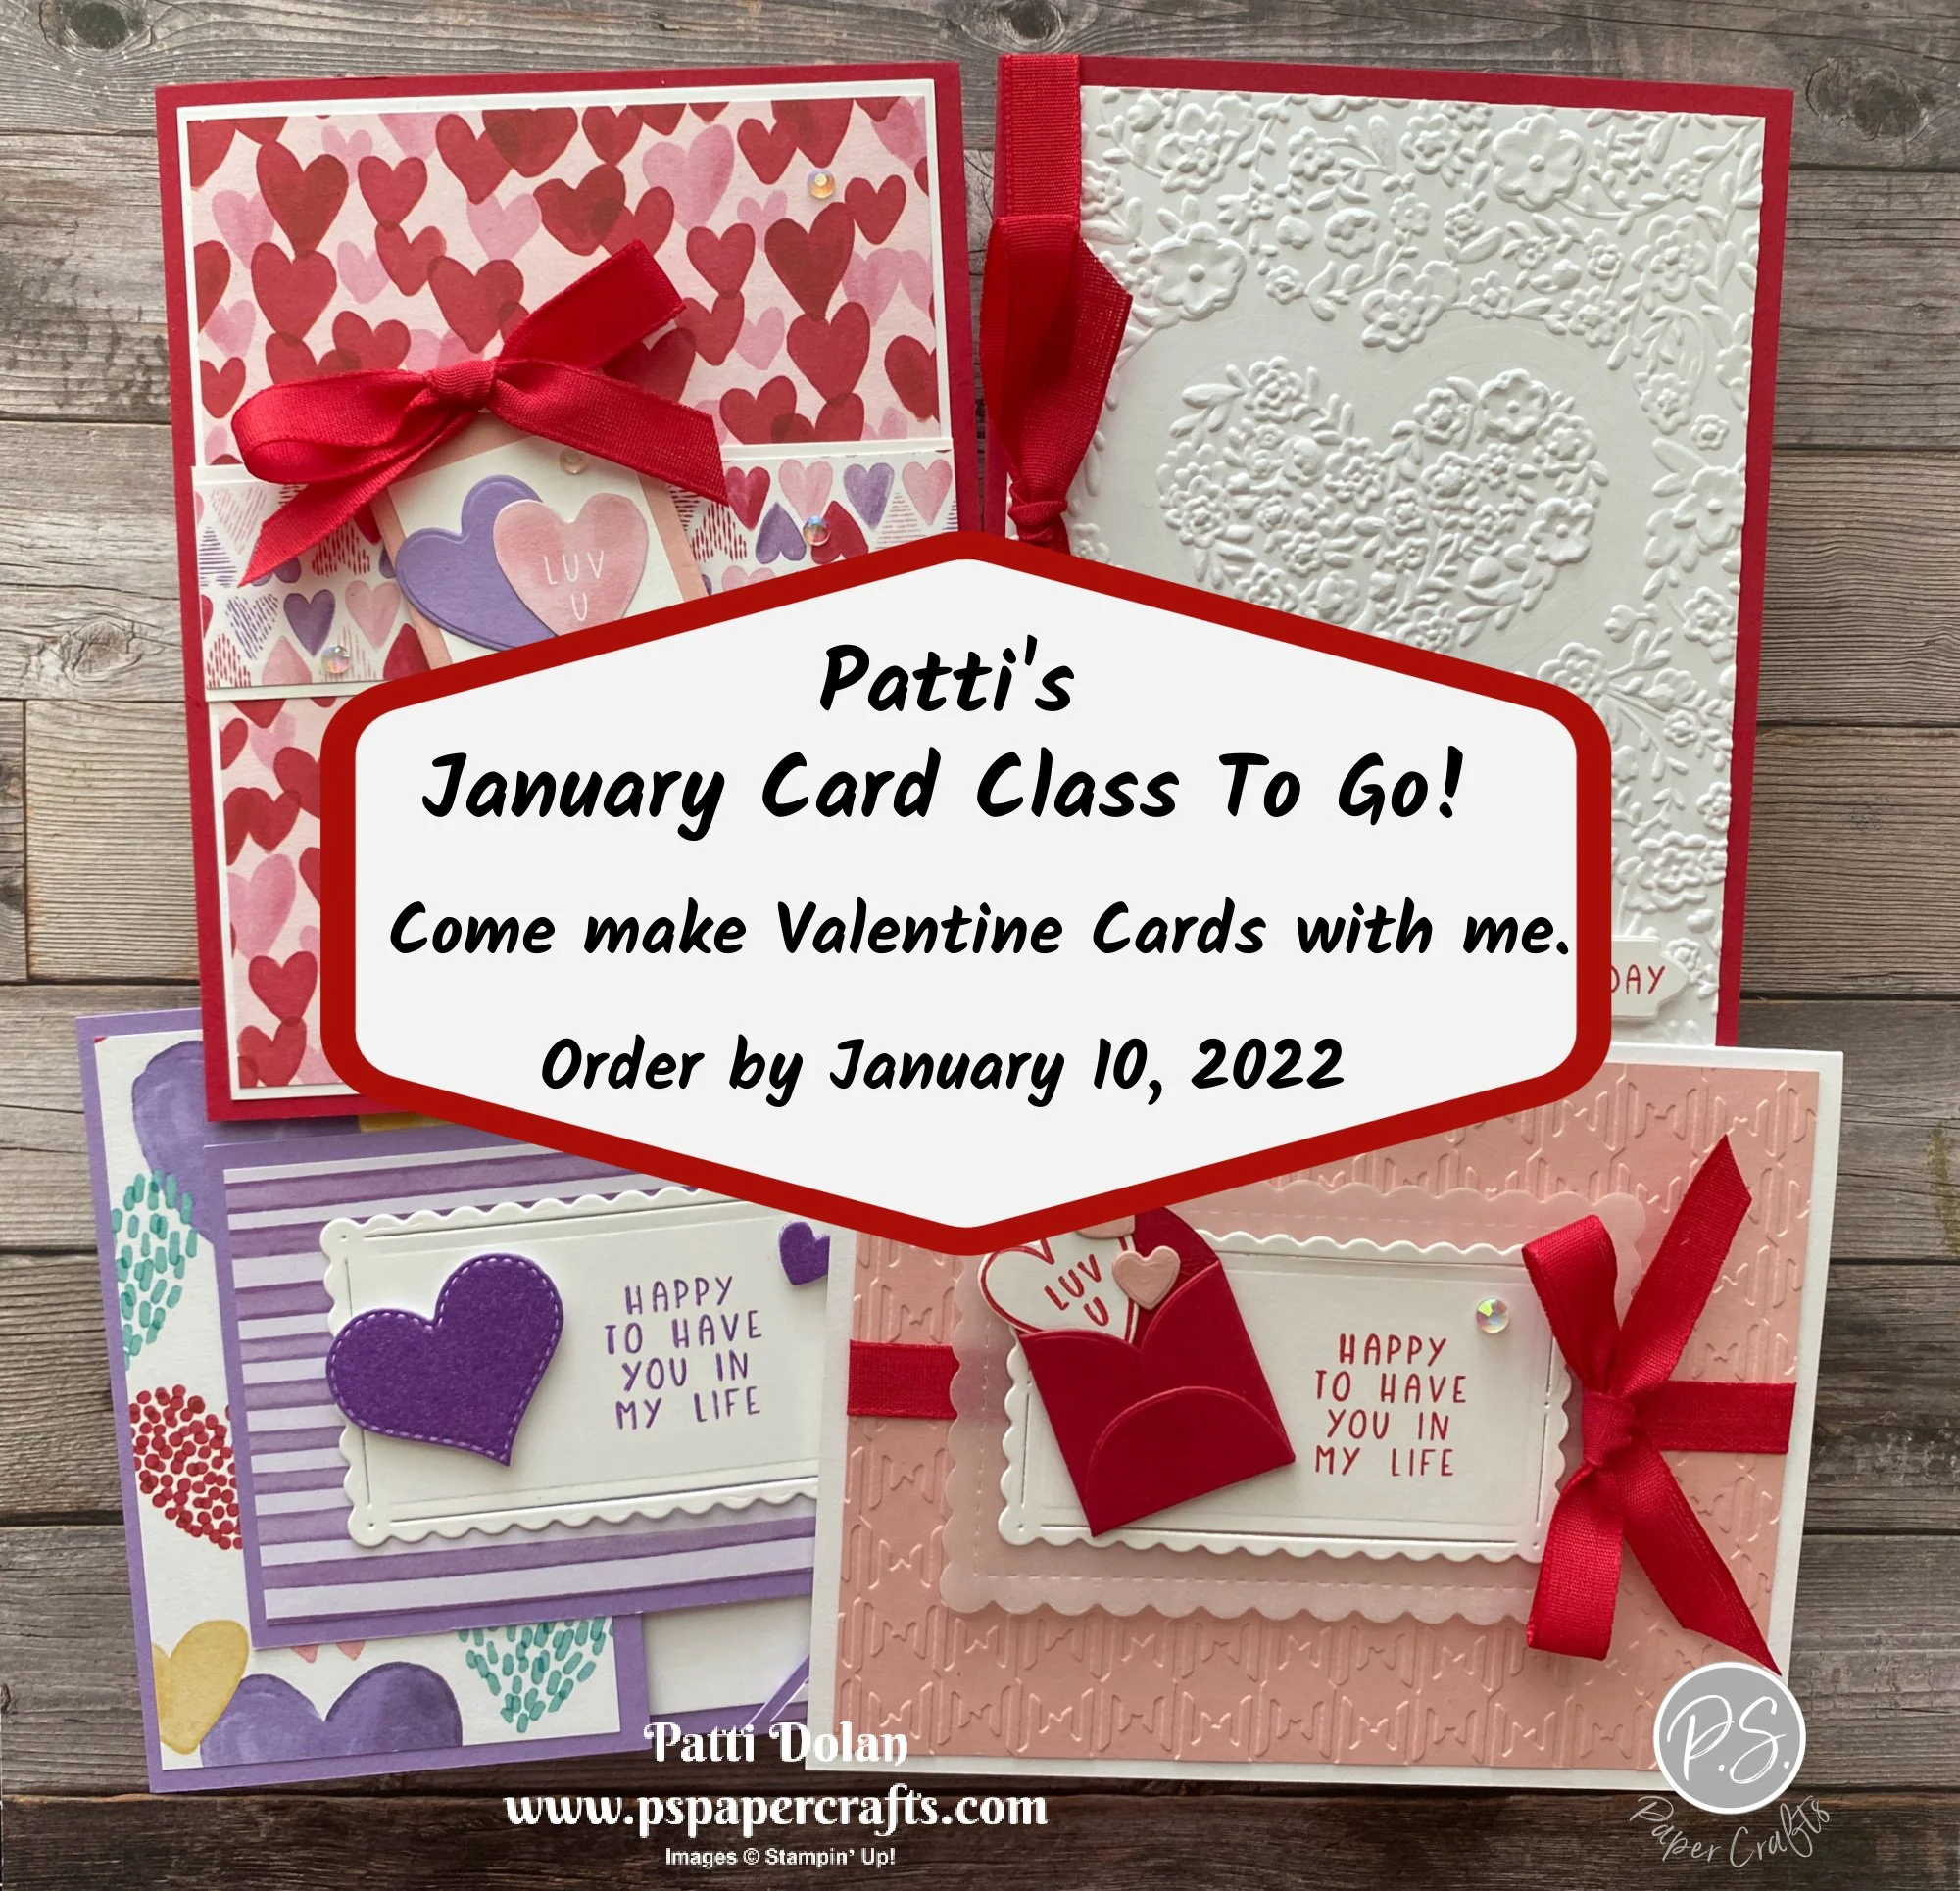
January Card Kits - Let's Celebrate Valentine's Day

Join me in making fun Valentine's Day Cards using the Sweet Talk Suite of Products from the new Mini Catalog!  The Designer Series Paper has some bold patterns and I love the colors in the patterns. 

You'll get kits to make 8 beautiful cards, 4 designs, 2 of each. 

Here’s a sneak peak of the cards you’ll make.


Email patti@pspapercrafts.com to sign up!!!
Deadline to pay January 10, 2022

Here's what you get:

  • 8 card kits, including envelopes, embossed layers and die cuts

  • Product goody bag of over $25 (you'll use to make the cards)

  • PDF & videos with complete measurements & instructions

Class Fee Options:

  • January Card Class To Go - $38 ($32 for local pickup)

  • Add on Sweet Conversations Stamp Set - $56.00

  • Add on Sweet Conversations Bundle (includes stamp set & dies) - $80.25
    (pick one $50 Sale-a-bration product)

  • Add on Bouquet Of Love Hybrid Embossing Folder - $67
    (pick one $50 Sale-a-bration product)

  • I want it all (Kits, Bundle & Embossing Folder - $109.25
    (pick two $50 or 1 $100 Sale-a-bration products)

Other Info:

  • Email me and I will send you a PayPal Invoice.

  • Payment due by January 10, 2022.

  • I will pick up the shipping and tax for any Add-Ons.

  • You will require stamps, ink and adhesive to complete the cards.

  • If there is a product availability issue, I may have to substitute products or there may be a delay in getting the kits to you. The sooner you order, the better the chance to get the supplies.

  • Invite a friend and I will include a free gift with your kits.

Email patti@pspapercrafts.com to sign up!!!

Quick Thank You Cards

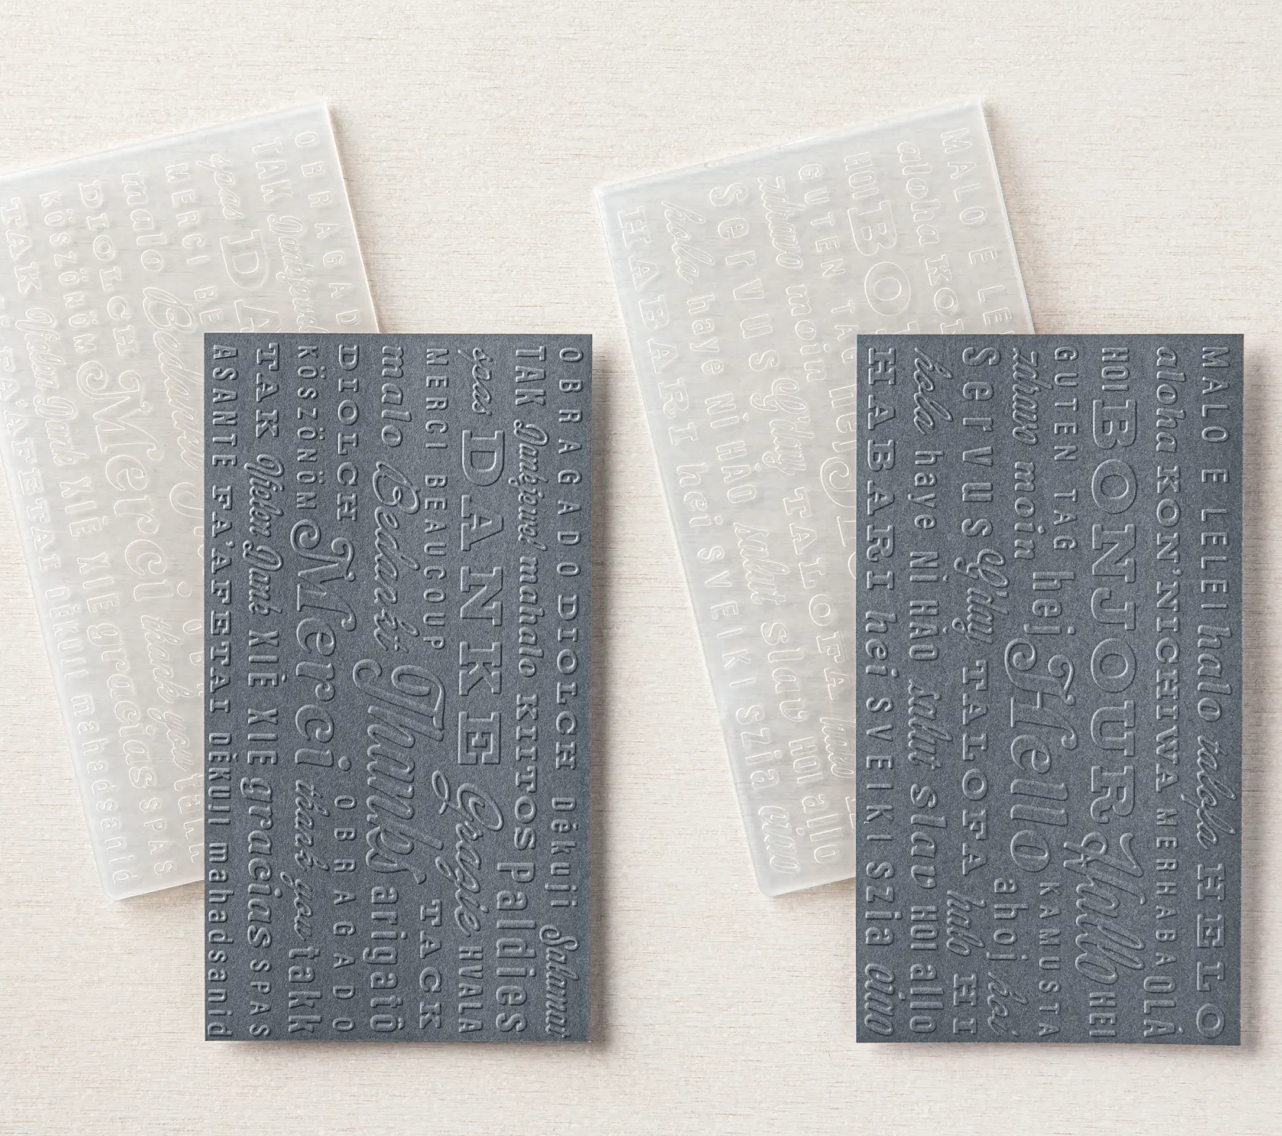
Do you need to make some quick thank you cards after the holidays? Using the Thanks & Hello Embossing Folders is so easy and fills your card front; you don’t need to add much more!


You get 2 embossing folders in the Thanks & Hello Set. They work in the Mini Stampin’ Cut & Emboss Machine. One folder has Thanks and the other Hello in many languages!


The Happy Hedgehogs Stamp Set has such cute images. It’s a product from the new Mini Catalog which goes live on January 4, 2022. There’s a coordinating punch that you can purchase with it as a bundle and save 10%.


Tips & Instructions

  • Balmy Blue Card Base - 5 1/2 x 8 1/2, score at 4 1/4

  • Basic White Layer - 5 1/2 x 3 1/2

  • Balmy Blue Layer - 5 1/2 x 3 1/4, emboss with the Thanks embossing folder.

  • Adhere embossed layer to white layer and then to card base.

  • Stamp bird from the Happy Hedgehogs Stamp Set with Black Memento Ink. Color using Stampin’ Blends. I used Balmy Blue, Daffodil Delight, Petal Pink and Granny Apple Green.

  • Cut using the Layering Circle Dies. Cut scalloped circle from Balmy Blue Cardstock. Adhere circles together and adhere to card base using Dimensionals


On the inside stamp sentiment and floral image with Black Memento Ink. Color the flowers with Daffodil Delight and the leaves and stems with Granny Apple Green Stampin’ Blends.


Need a new Mini Catalog? Email me with your address and I’ll get one in the mail for you.

Email: patti@pspapercrafts.com


Supply List (click on links to purchase from my Online Store.

Note: the Happy Hedgehogs Stamp Set will be available for purchase starting January 4, 2022.

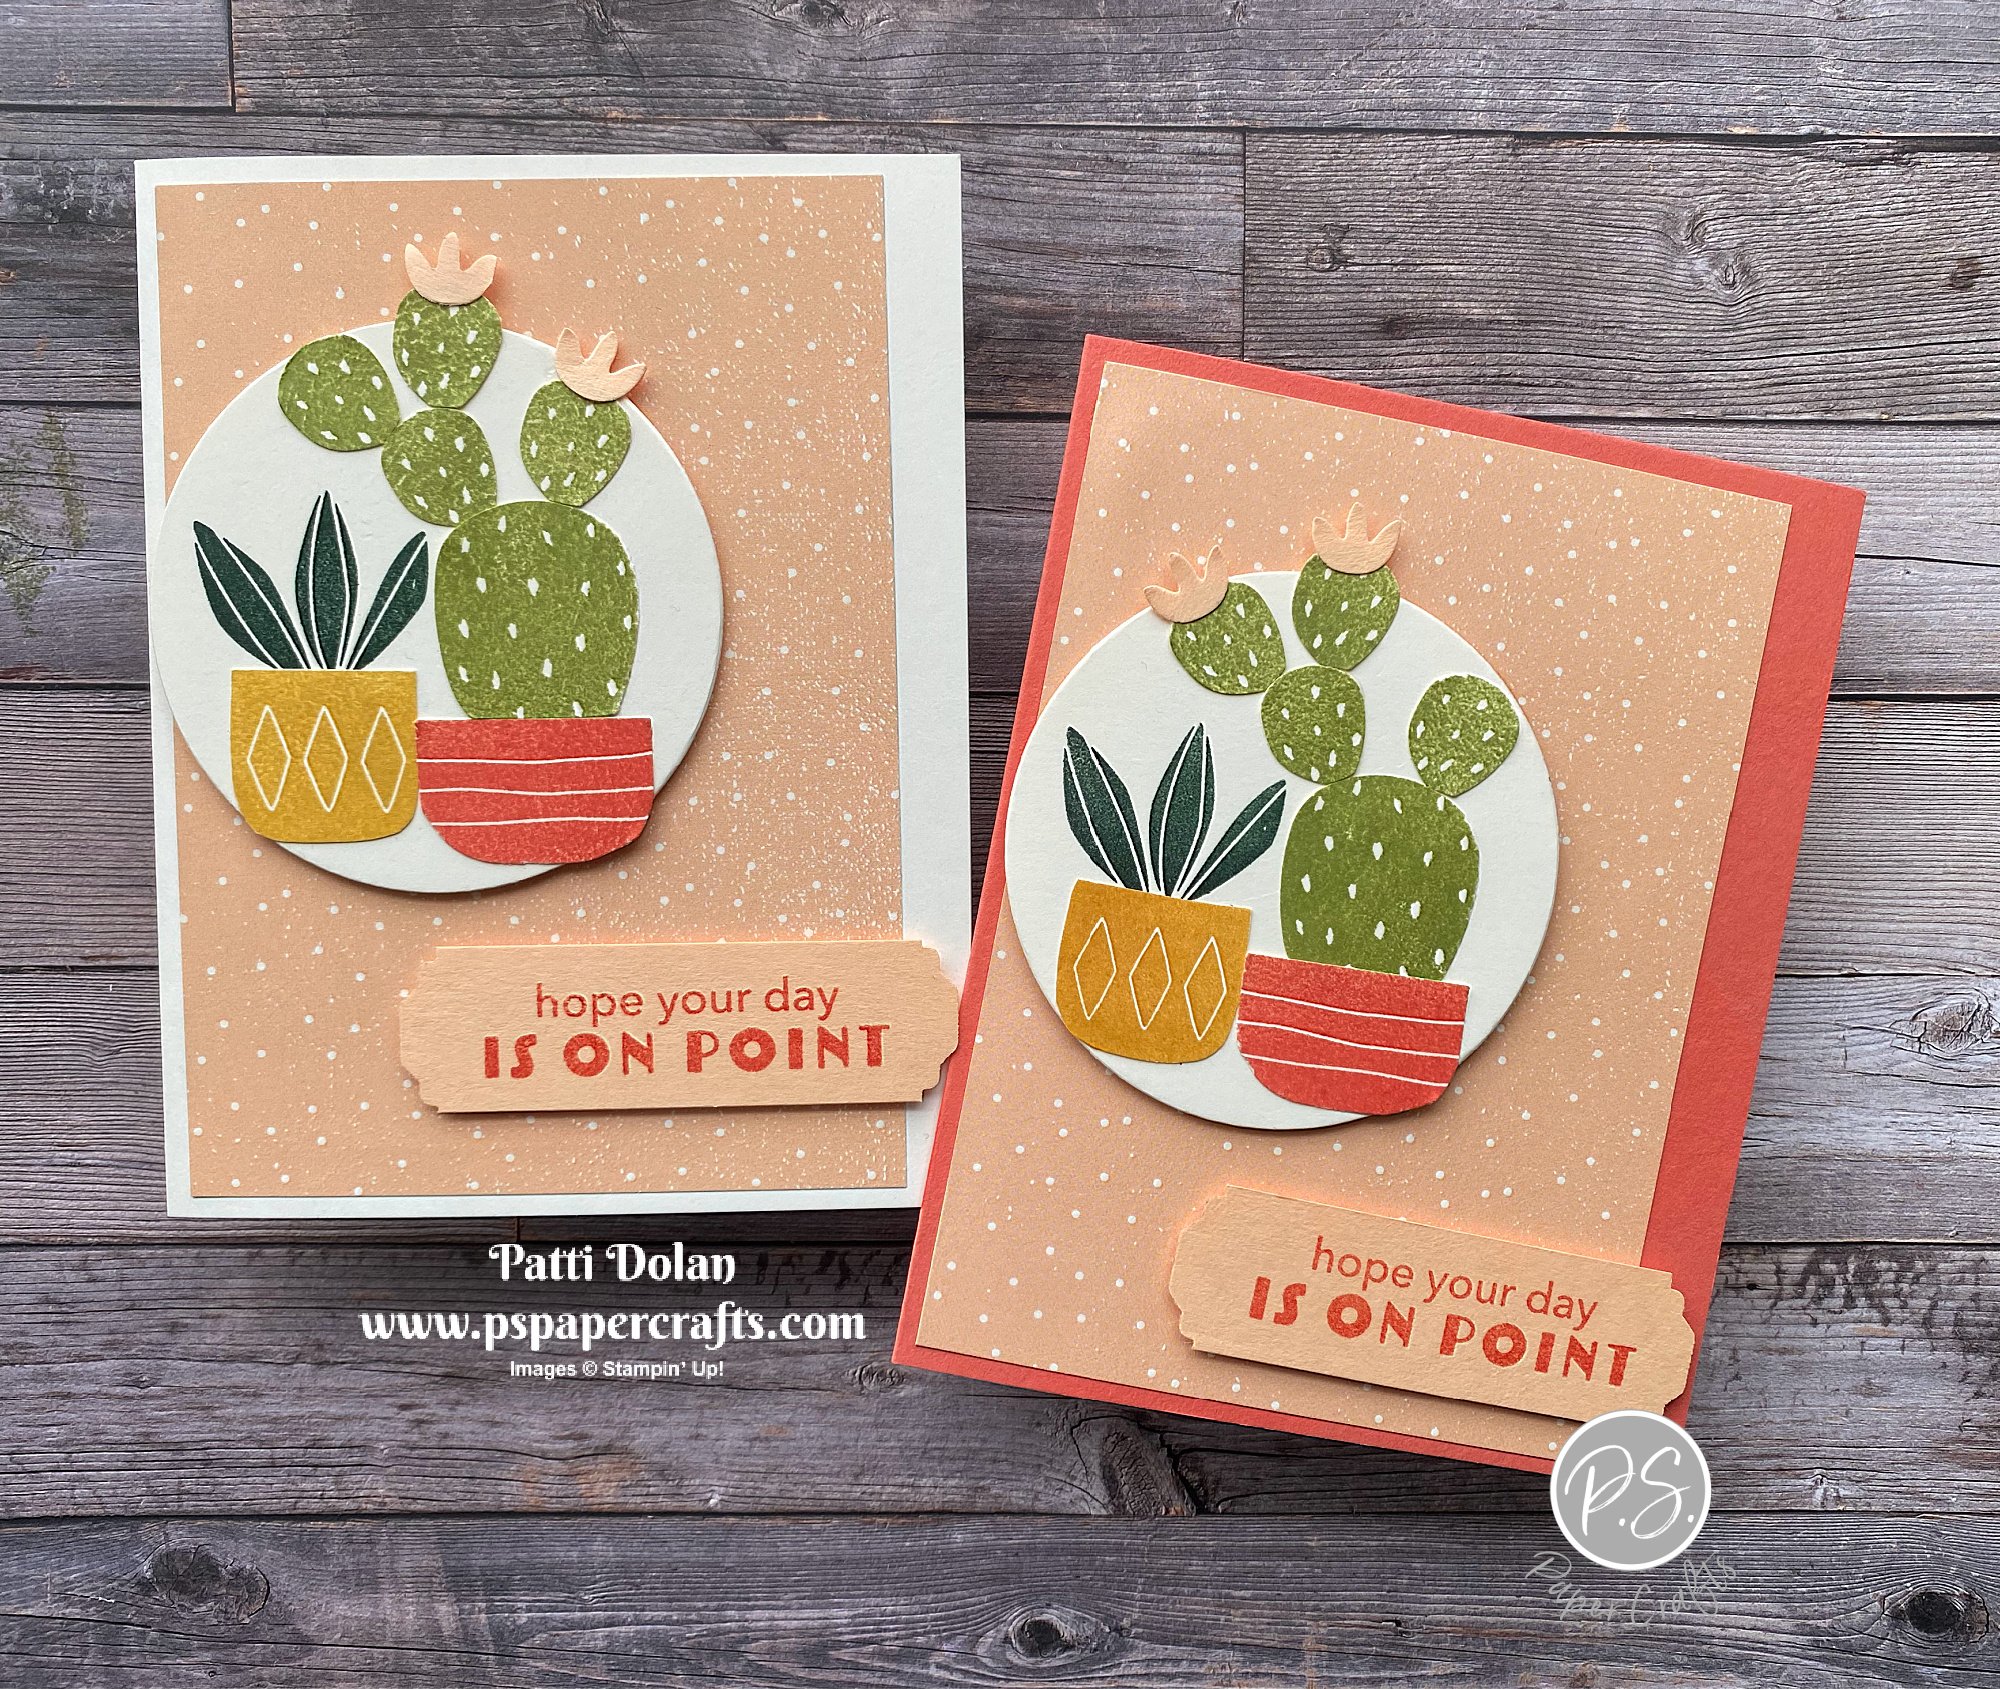
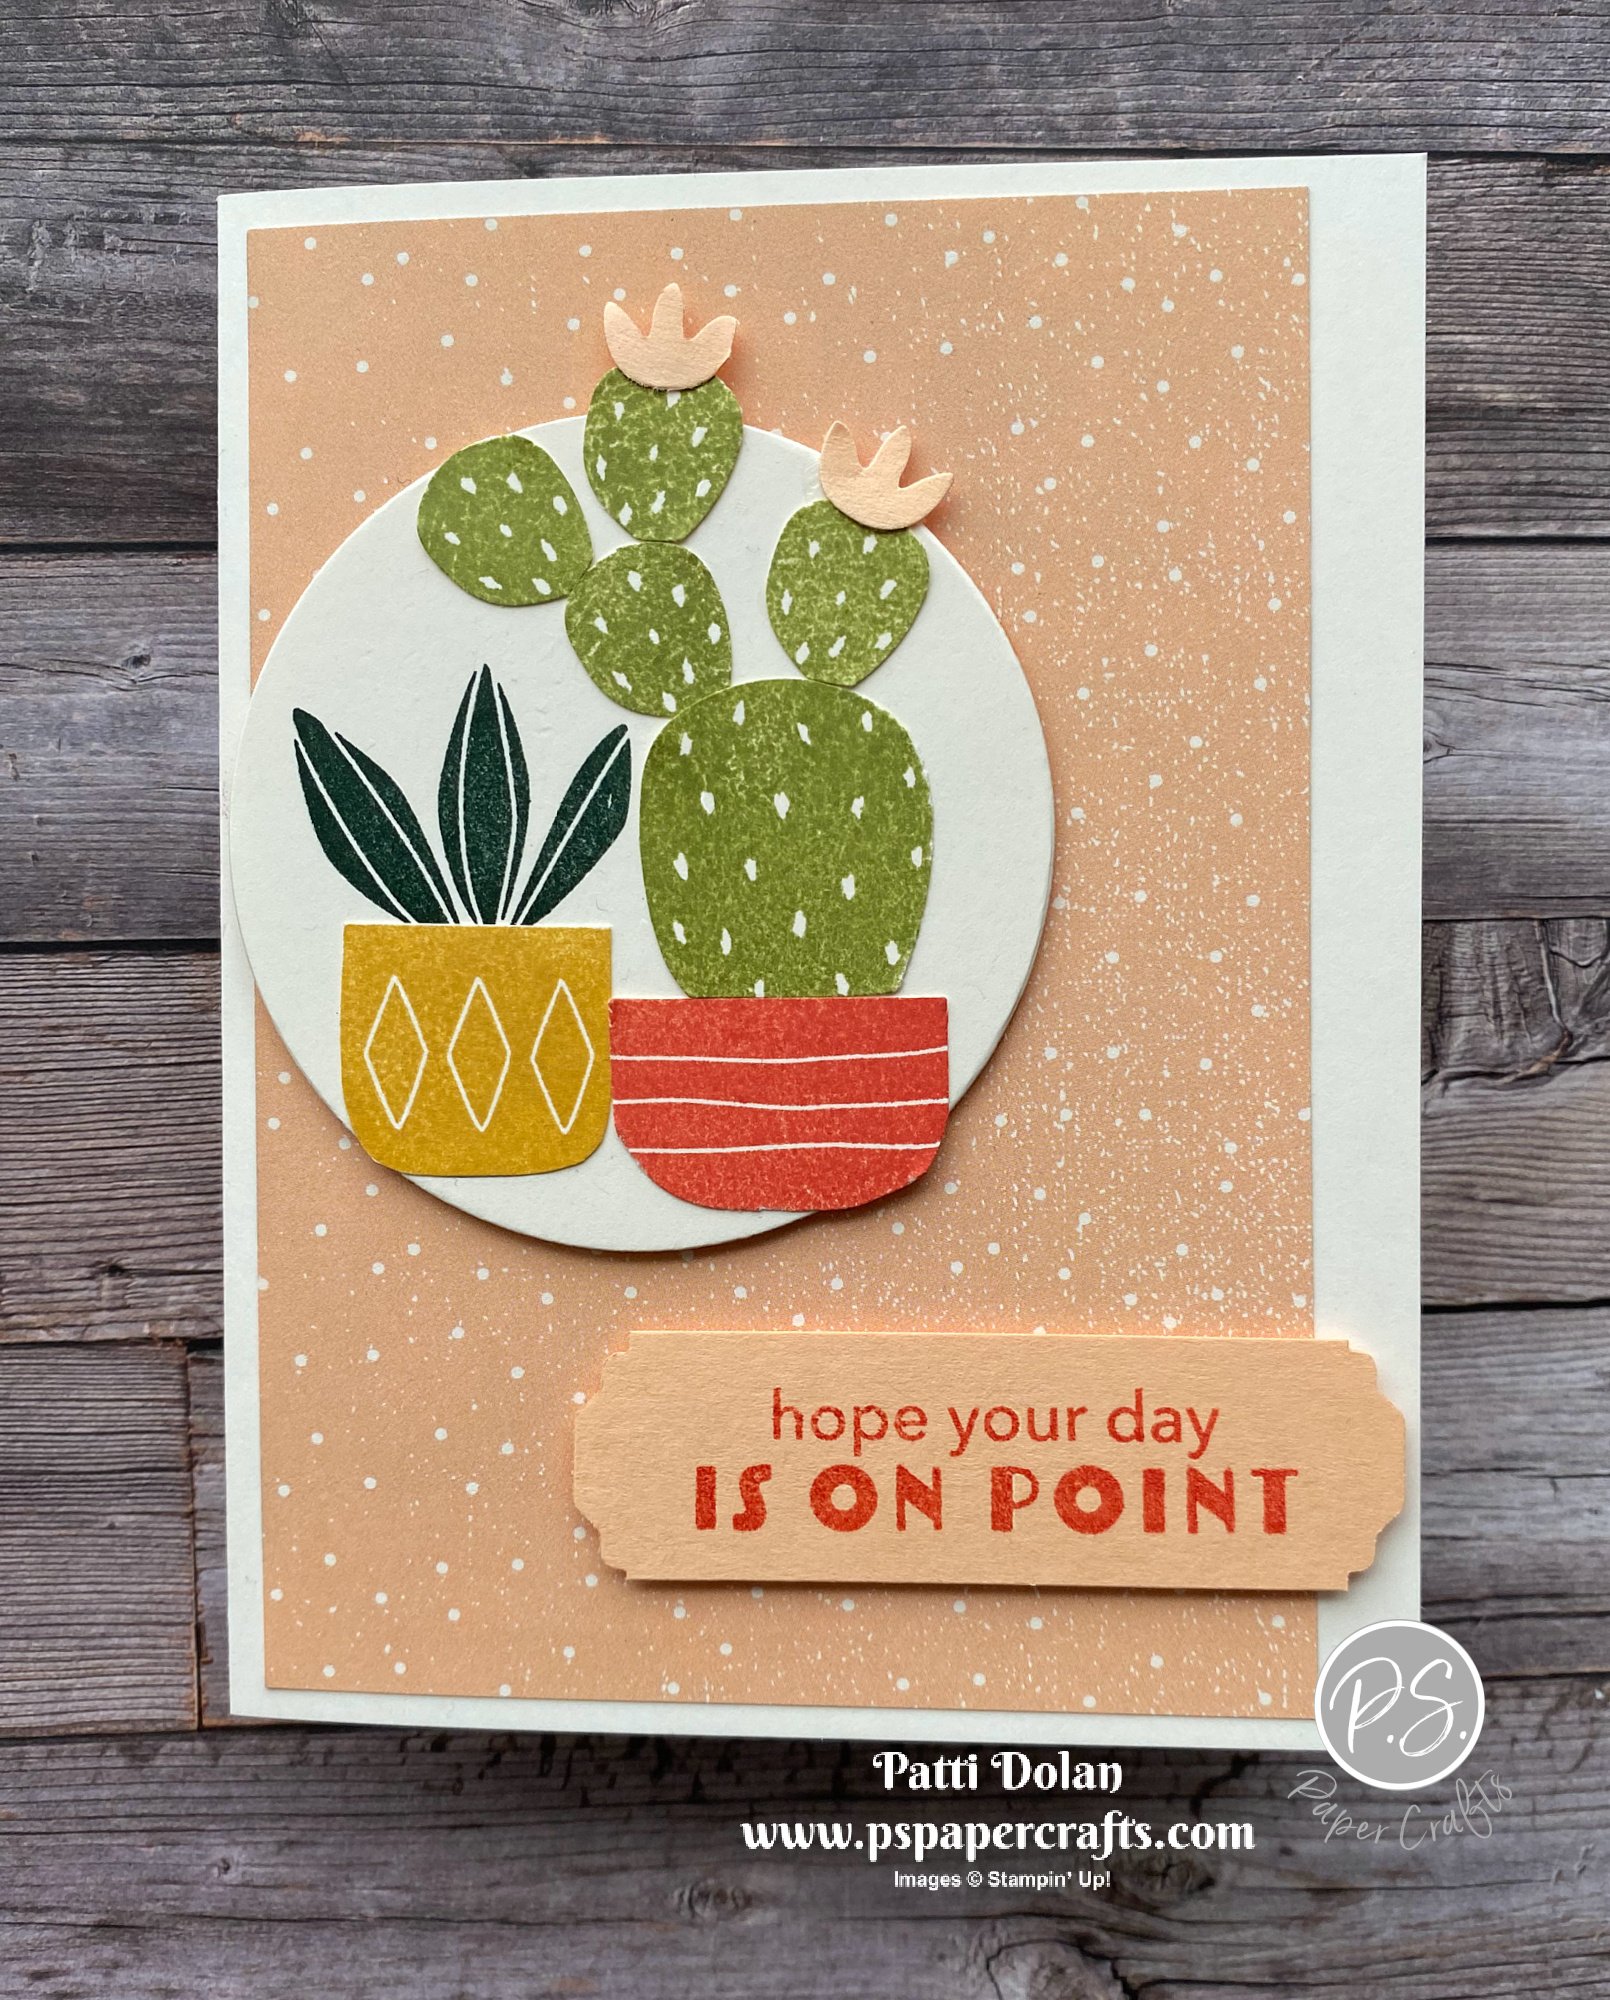
Cactus Cuties On Point Card

I CASEd this card from the new Mini Catalog. I changed it up a little bit but the design is from the catalog. These cactuses are just so cute!


In the video below, I’ll show you the stamp set and coordinating Cactus Builder Punch along with the Daffodil Afternoon Designer Series Paper a Sale-a-bration item. Oh, and of course, I’ll show you how to make the card!


The Cactus Cuties Stamp Set has fun images and I love the bold sentiments. The coordinating Cactus Builder Punch can be purchase separately or bundle it together to save 10%.


Measurements

  • Calypso Coral Card Base - 5 1/2 x 8 1/2, score at 4 1/4

  • Daffodil Afternoon Designer Series Paper - 5 1/4 x 3 3/4

  • Very Vanilla Cardstock - cut with largest Layering Circle Die

  • Scraps of Very Vanilla Cardstock - stamp pots, and cactus pieces and punch with Cactus Builder Punch

  • Scraps of Pale Papaya Cardstock - punch flowers

  • Pale Papaya Cardstock - 3 x 7/8, stamp sentiment and punch ends with Lovely Labels Pick A Punch.


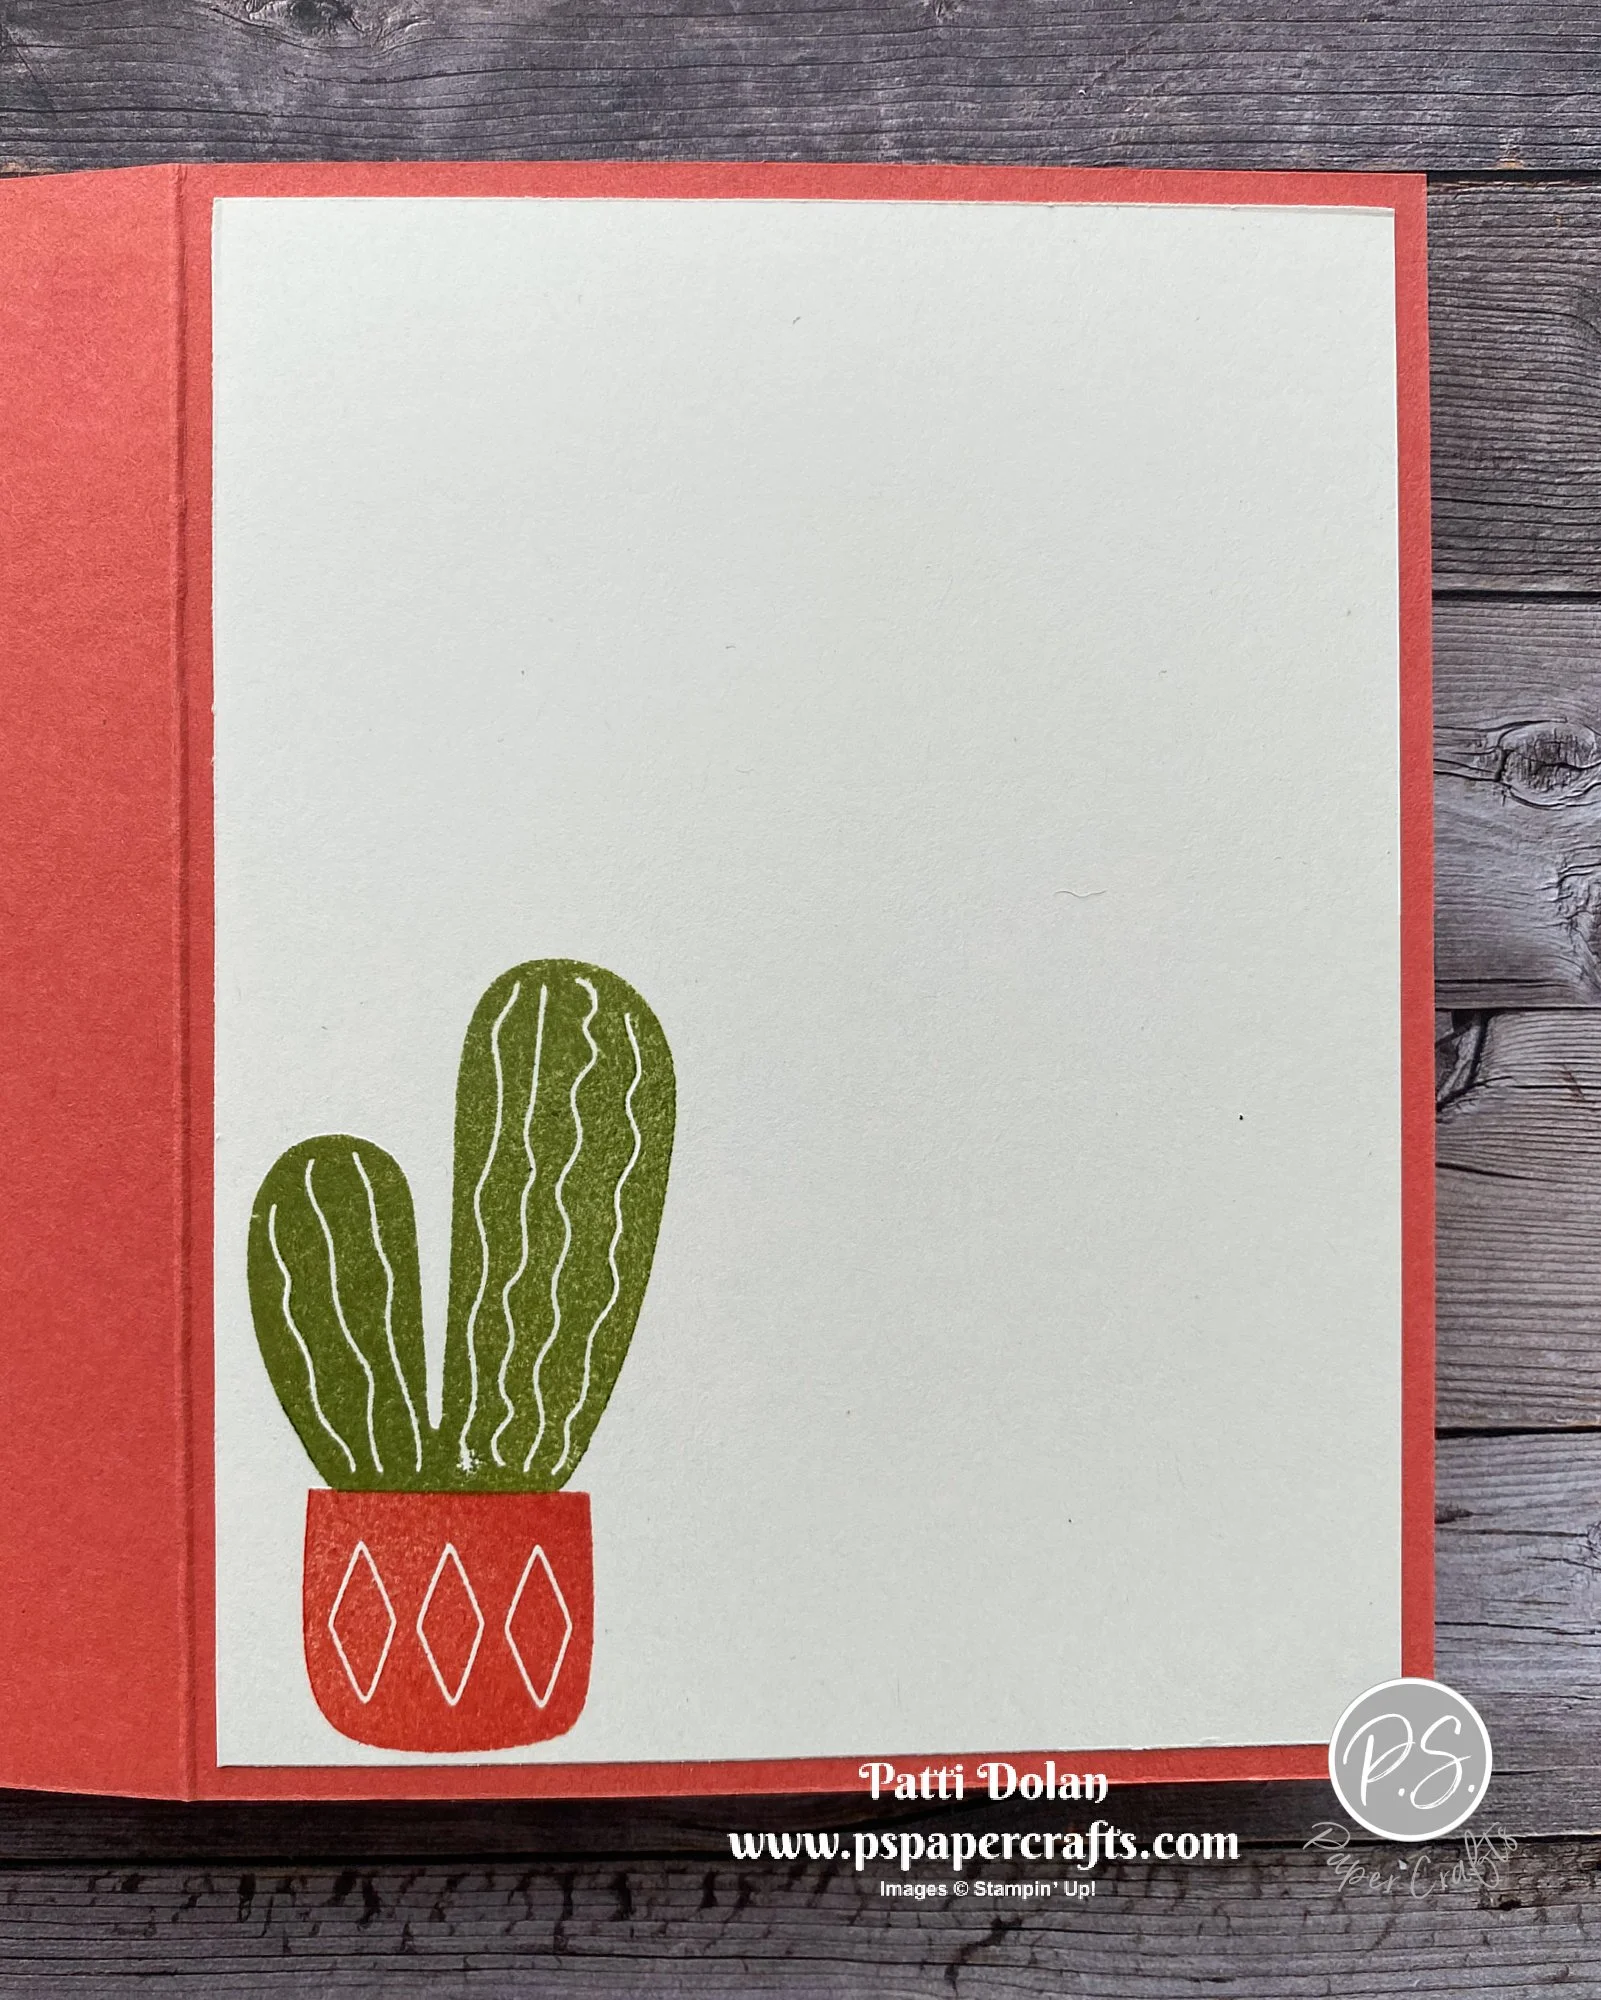
On the inside stamp pot with Calypso Coral Ink and cactus with Pear Pizzazz Ink.


I used Thick Very Vanilla Cardstock for the card base on this one.


Supply List

Note: The Cactus Cuties Bundle and Daffodil Designer Series Paper will be available on my Online Store starting January 4, 2022.

Cactus Cuties Just A Note Card

This may be one of my favorite new stamp sets. It’s called Cactus Cuties and it’s from the new Mini Catalog that launches January 4, 2022.


The images in this set are so fun and there is a Cactus Builder Punch that coordinates with some of them. I’ll have a video on my Blog tomorrow using it and showing the products in more detail.

The Daffodil Afternoon Designer Series Paper that I used for the background layer is a Sale-a-bration product you can earn for FREE with a qualifying order.


Tips & Instructions

  • Evening Evergreen Card Base - 5 1/2 x 8 1/2, score at 4 1/4

  • Daffodil Afternoon Designer Series Paper - 5 1/4 x 4, adhere to card base.

  • Very Vanilla Cardstock - cut circle using Layering Circle Dies.

  • Pear Pizzazz Cardstock - cut scalloped circle using Layering Circle Dies.

  • Stamp flower pot on scrap of Very Vanilla Cardstock with Calypso Coral Ink and fussy cut.

  • Stamp cactus with Evening Evergreen Ink on circle. Adhere pot just below it.

  • Punch 2 flowers from Calypso Coral Cardstock using the Cactus Builder Punch. and adhere to cactus.

  • Adhere stamped circle to scalloped circle and then adhere to card using Dimensionals.

  • Stamp sentiment with Evening Evergreen Ink on 1/2” Very Vanilla strip and punch both ends using the Banners Pick A Punch. Adhere to card using Dimensionals.

  • Add some Classic Matte Dots.


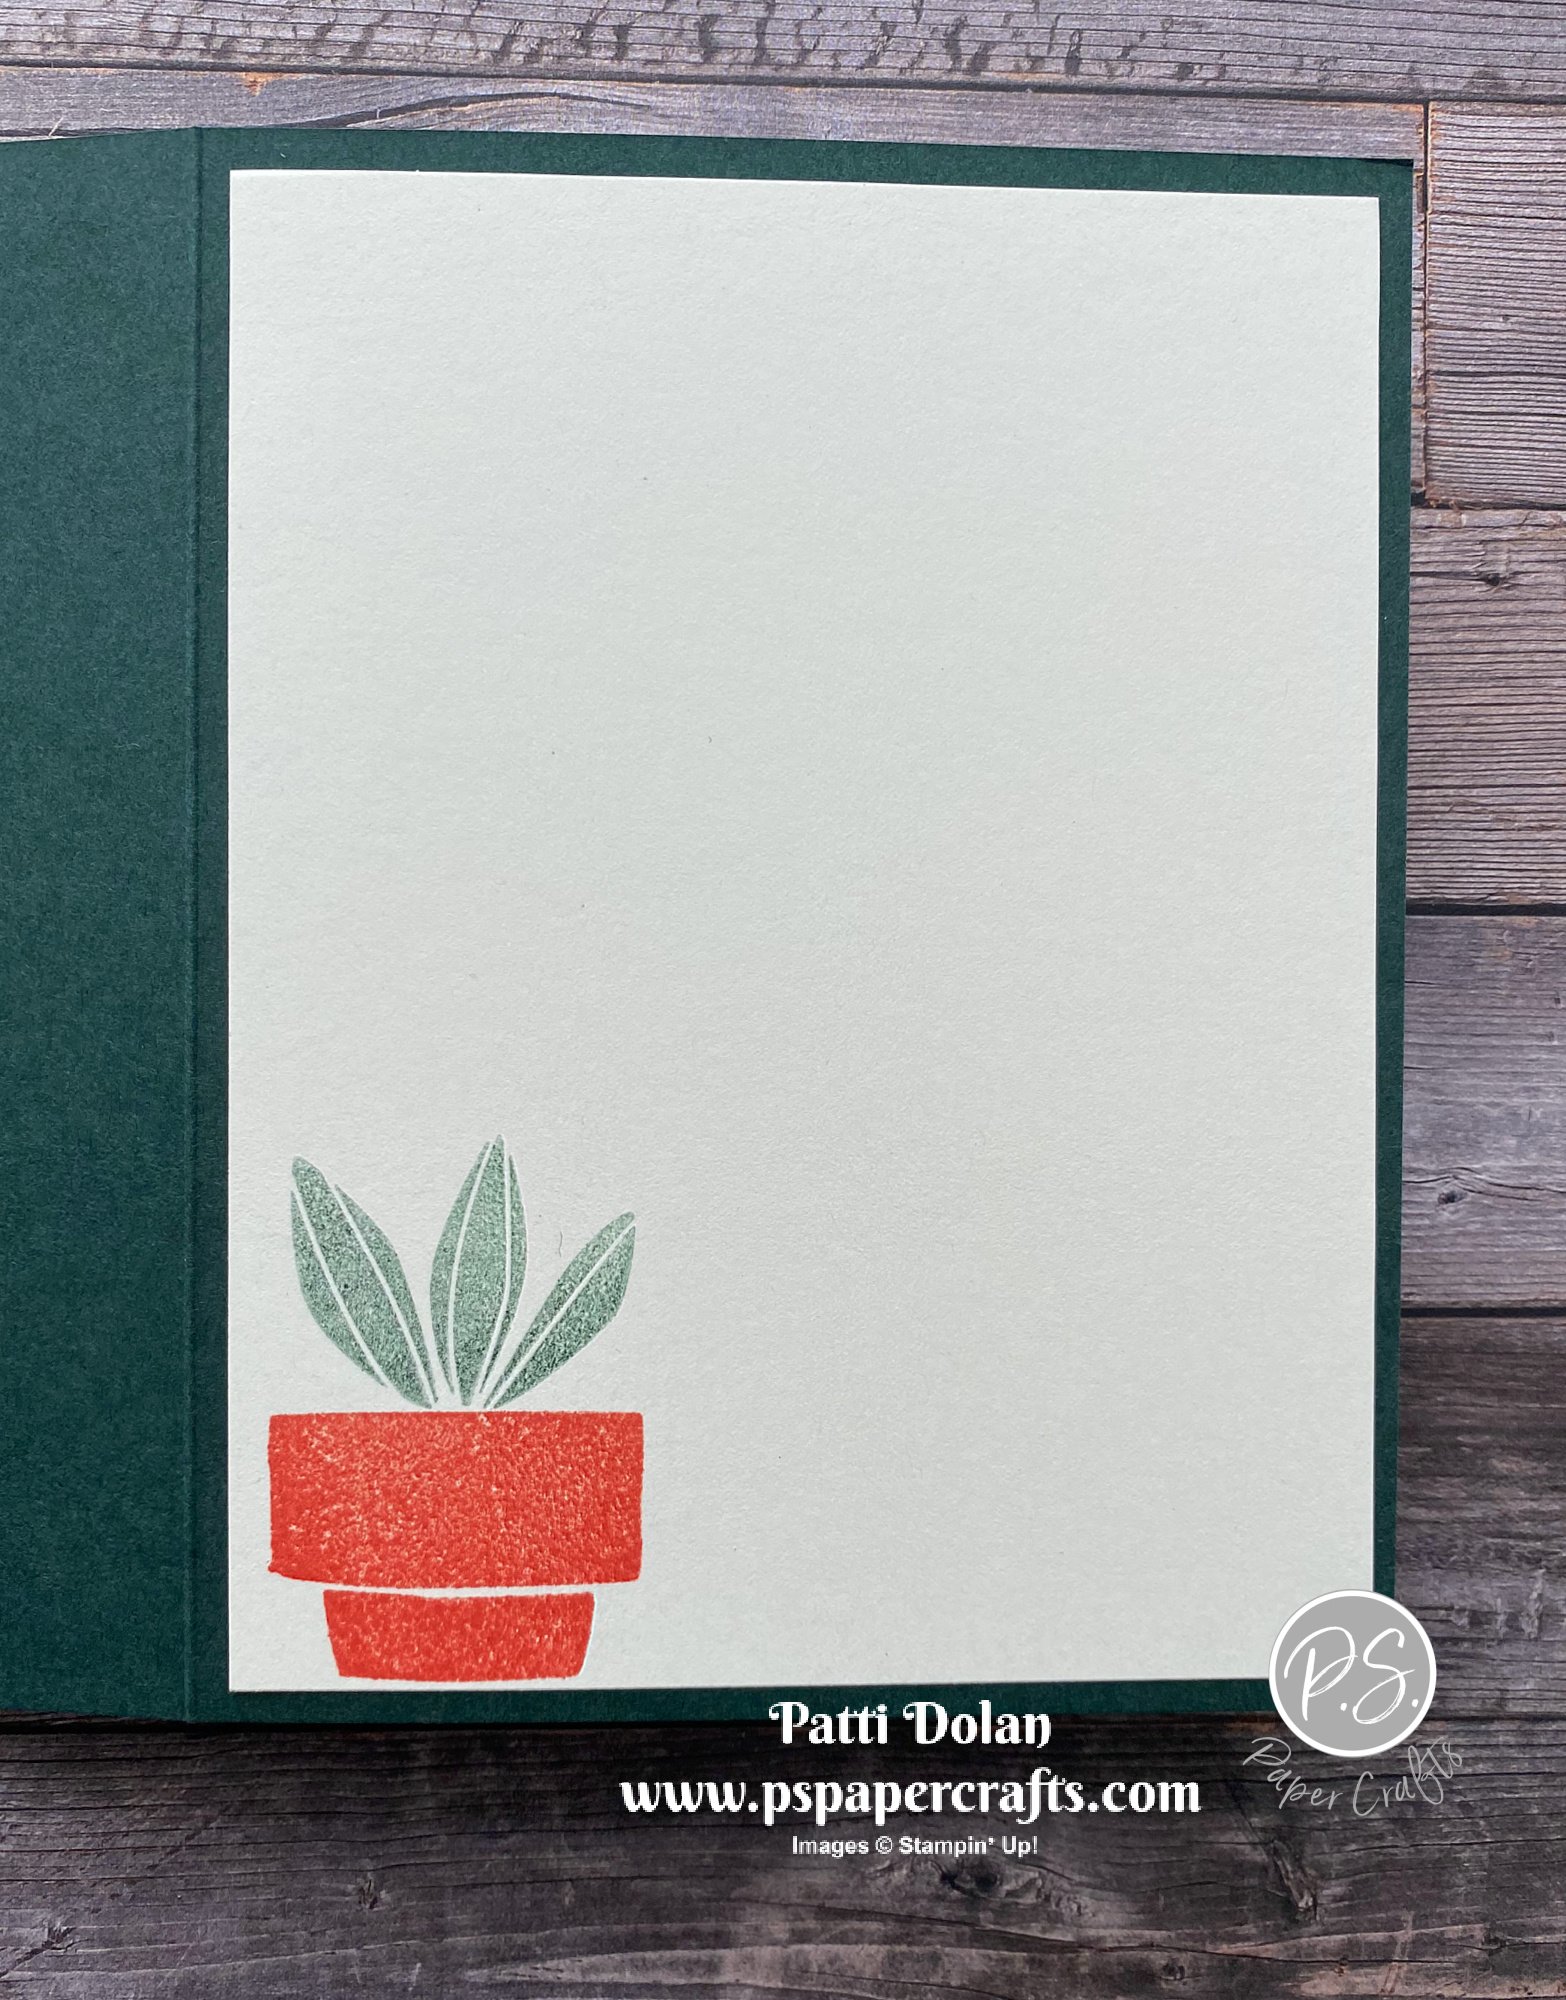
On the inside stamp pot using Calypso Coral Ink and the cactus with Evening Evergreen Ink, stamping off first to get a lighter shade.


Shop Here

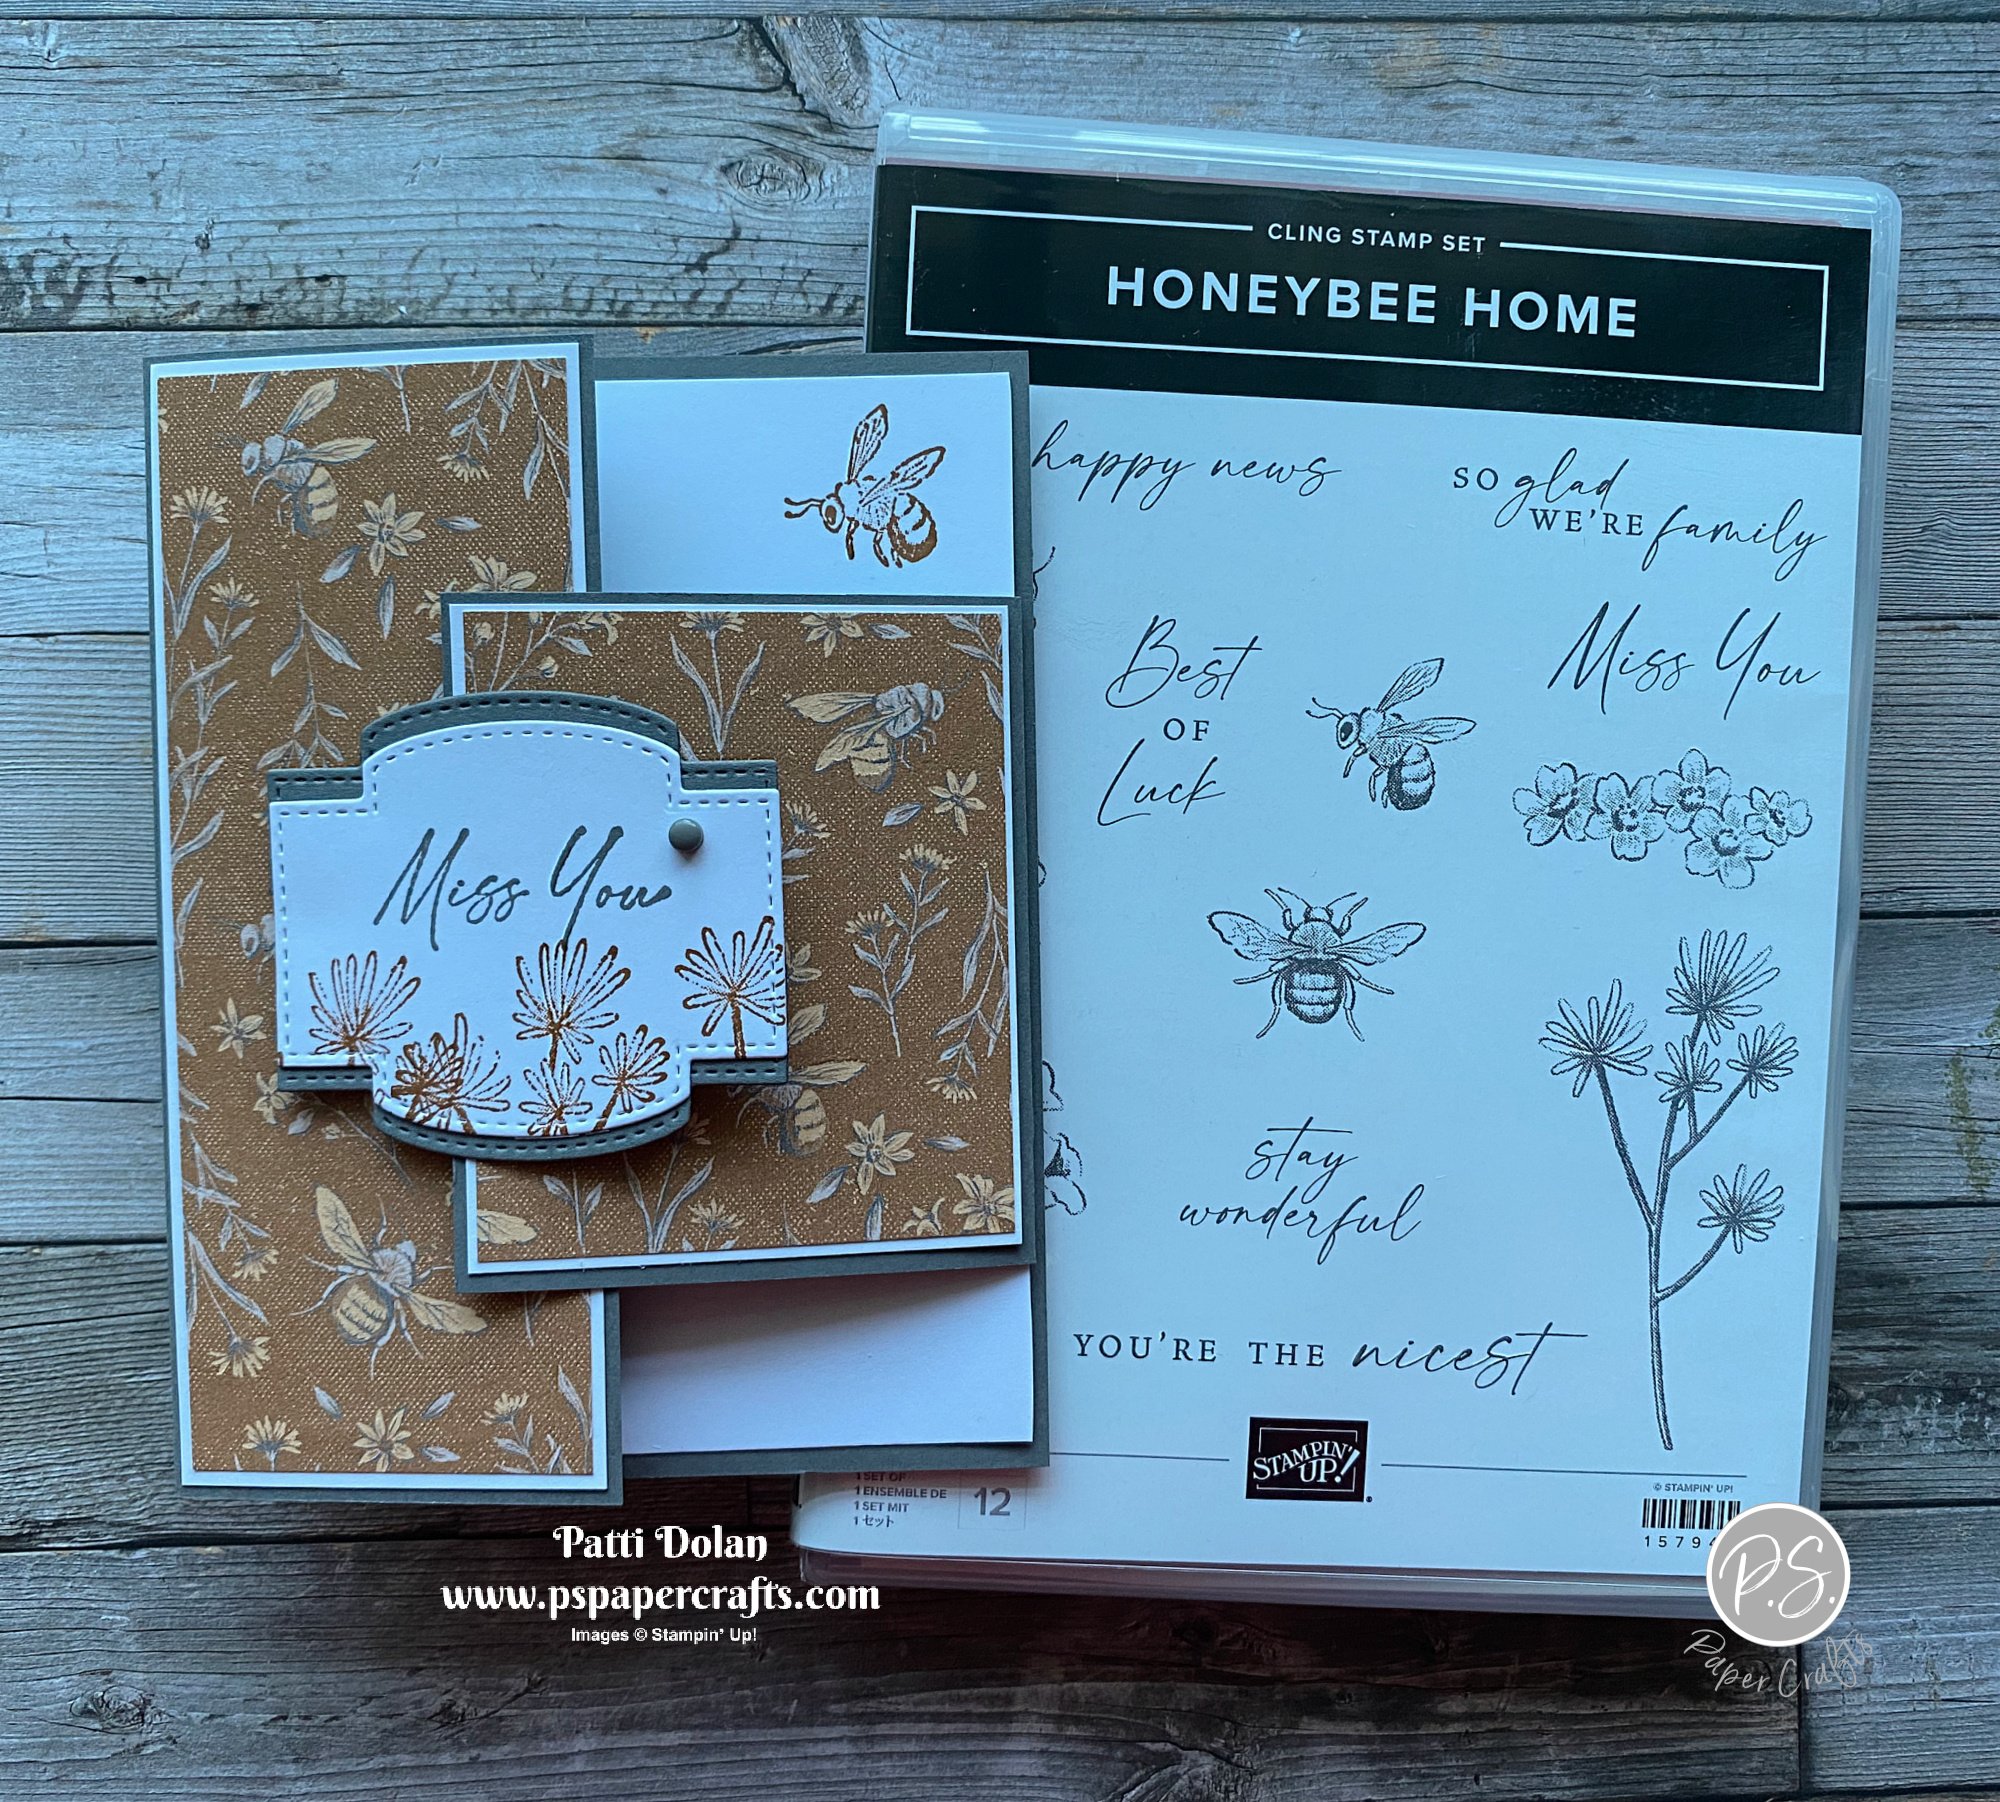
Latch Fold Miss You Card

I made this pretty Latch Folder card using products from the Heart & Home Suite from the new Mini Catalog, available starting January 4, 2022.


In the video, I’ll show you how easy it is to make this fun fold card. The products in this suite are so beautiful. Check them out on my video.


I love the sentiments and the fonts in the Honeybee Home Stamp Set. It’s a DistINKtive set so the bees look very realistic.


Measurements

  • Basic Gray Card Base - 5 1/2 x 6 1/2, score at 4 1/4

  • Basic Gray small layer - 3 1/2 x 3 1/4, score at 2 3/4

  • Basic White Layers

    • Inside layer - 5 1/4 x 4

    • Left fold layer - 5 3/8 x 2 1/8

    • Small fold layer - 3 1/8 x 2 3/8

  • Heart & Home Designer Series Paper Layers

    • Left fold layer - 5 1/4 x 2

    • Small fold layer - 3 x 2 1/2

  • Basic White scrap - cut using the Stitched So Sweetly Dies, stamp sentiment with Basic Gray Ink and some flowers with Cinnamon Cider Ink.

  • Basic Gray scrap - cut using the same Stitched So Sweetly Die. Cut across horizontally, spread apart and adhere pieces behind stamped sentiment layer.

  • Add a Classic Matte Dot to the sentiment label.


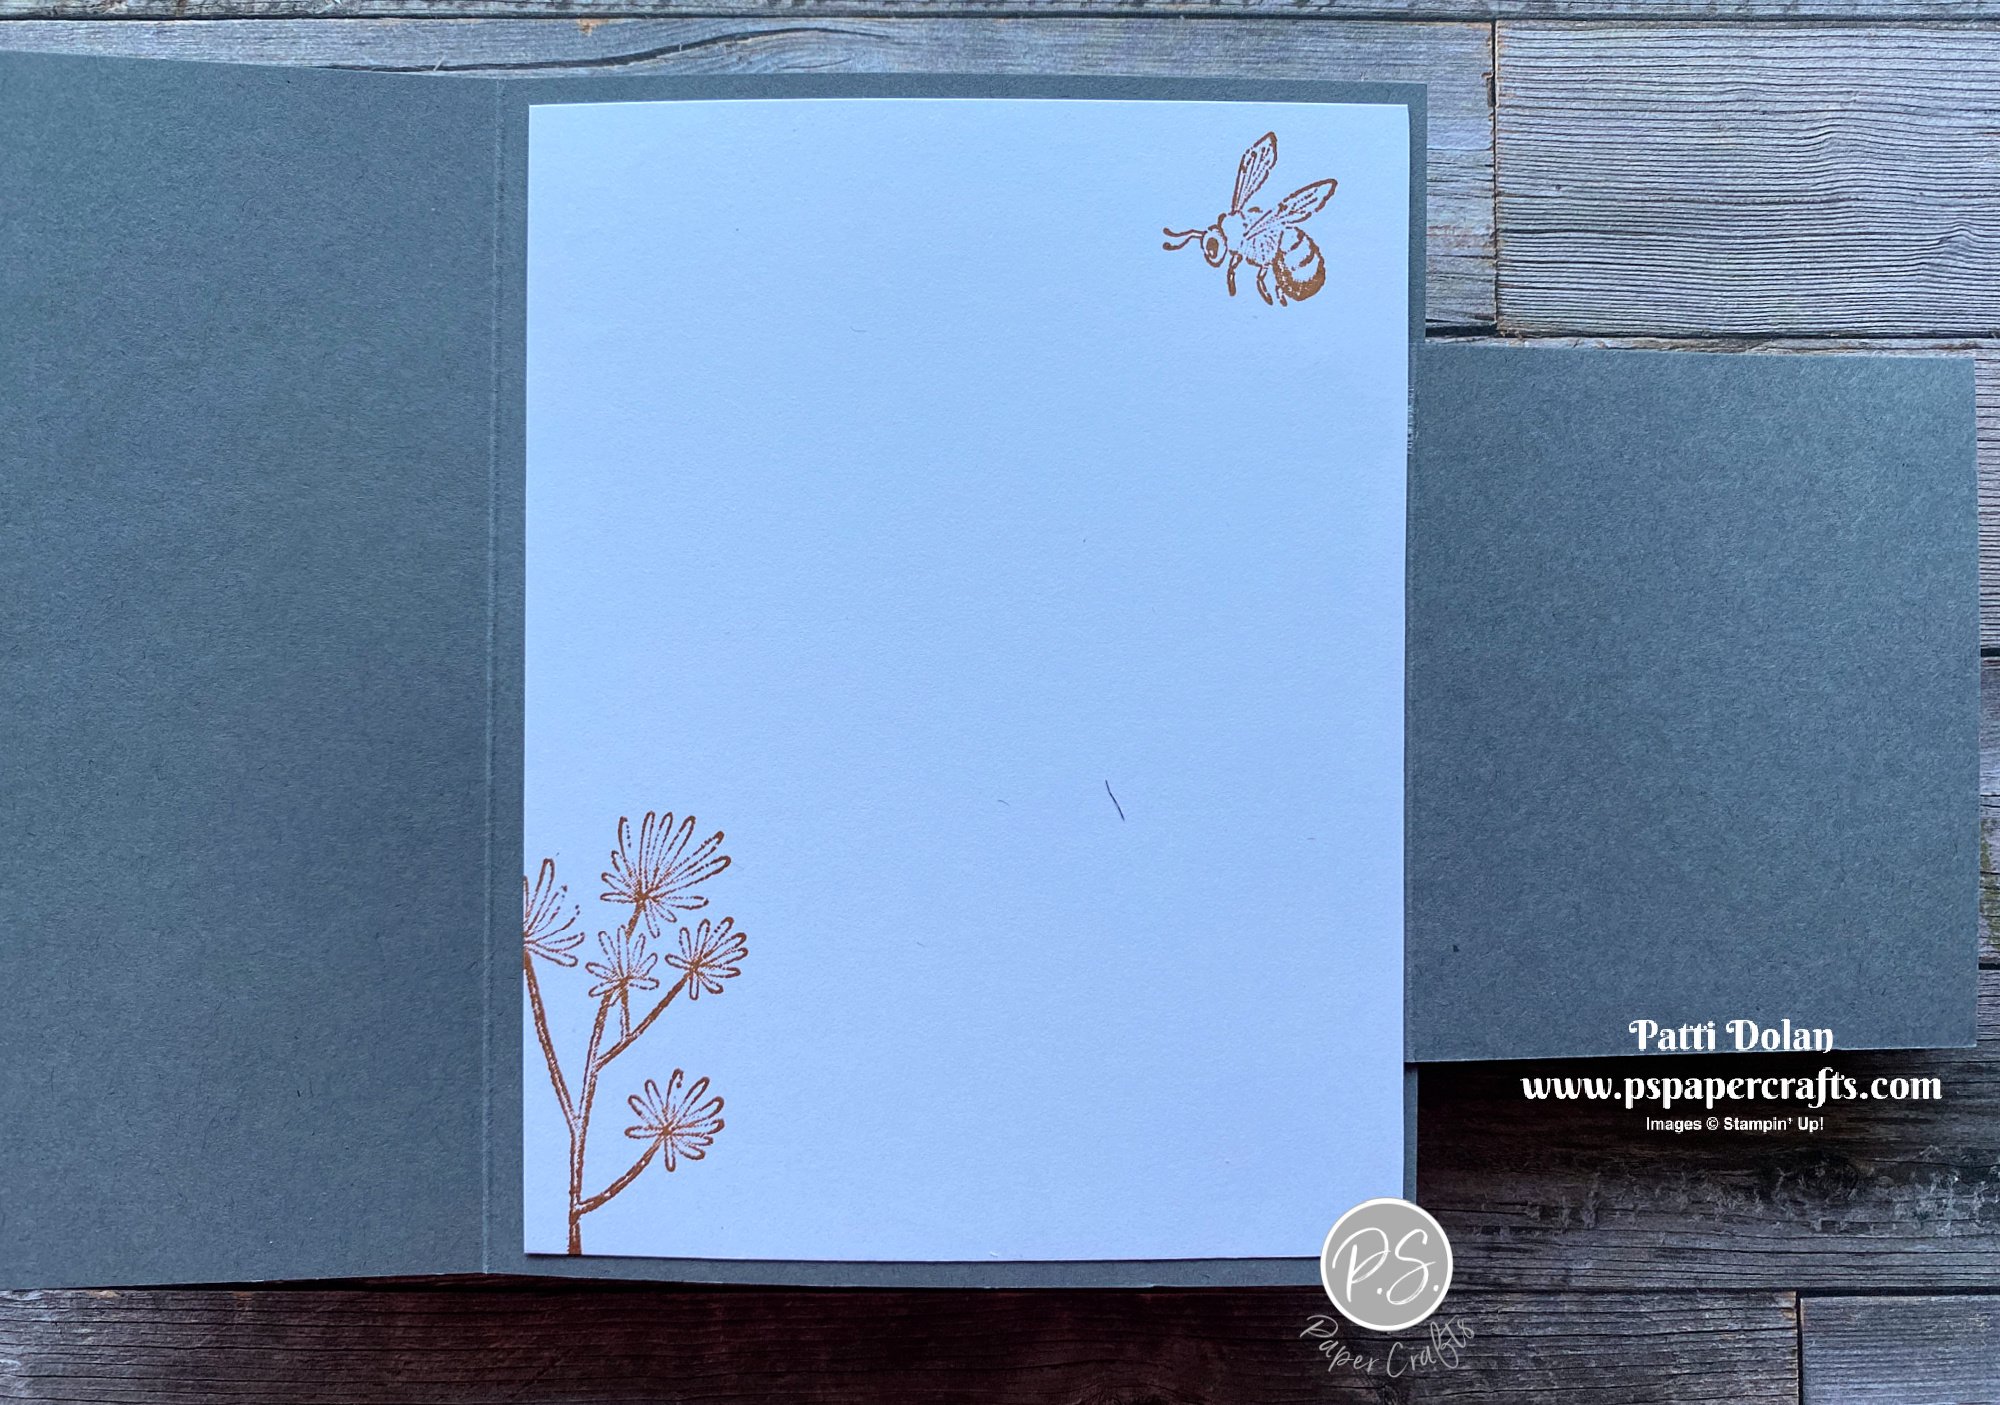
On the inside stamp flowers at the bottom left corner and bee at the top right corner with Cinnamon Cider Ink.


Supply List

Note: Heart & Home Suite products will be available for purchase starting January 4, 2022.

Sketch Saturday - Penguin Place

I used the Penguin Place Bundle for this week’s sketch challenge. I love that there is a punch that punches out that cute penguin.


The sketch is from the Atlantic Hearts Weekly Sketch Challenge. I love doing there sketch challenges; so fun and it’s amazing to see what other crafters make.


Tips & Instructions

  • Cherry Cobbler Card Base - 4 1/4 x 11, score at 5 1/2 (top folding)

  • Basic White Cardstock - 5 1/4 x 4, emboss the right side using the pine bough pattern folder from the Wintry 3D Embossing Folders.

  • Painted Christmas Designer Series Paper - 5 1/4 x 2, adhere to left side of white layer.

  • Basic White Cardstock - cut using 3rd from largest Scalloped Contour Dies.

  • Cherry Cobbler Cardstock - 3 1/4 x 1 15/16, adhere to scalloped layer.

  • Basic White Cardstock - 3 1/8 x 1 13/16

  • Scrap of Basic White Cardstock - stamp penguin with Black Memento Ink and punch with coordinating punch. Stamp beak and feet with Pumpkin Pie Ink. Stamp hat and scarf with Cherry Cobbler Ink and fussy cut. Adhere to penguin.

  • Stamp Christmas Tree with Soft Sea Foam Ink and just the Be Merry part of the sentiment with Cherry Cobbler Ink. (Tip - cover the part of the sentiment that you don’t want with a Post-It Note, press in your ink pad, remove the Post-It Note and stamp. Stamp snowflakes with Balmy Blue Ink.

  • Adhere penguin with Dimensionals and then adhere layer to card.


On the inside stamp sentiment with Cherry Cobbler, 3 trees with Soft Sea Foam and snowflakes with Balmy Blue Inks.


Supply List

Merry Christmas Gift Card Holders

You can never have enough gift card holders, especially at Christmas, right? I made these fun gift card holders using the Painted Christmas Designer Series Paper.


In my video I’ll show you all the steps to make these cards. You can change up the Designer Series Paper and sentiment for any occasion.


The sentiments and images are from the Christmas To Remember and Christmas Season Stamp Sets. These are all part of the Painted Christmas Suite.


Here’s a look at the inside. I punched the top of the pocket for the gift card using the Tailor Tag Punch. I used this for the sentiment label on the belly band as well.


Measurements:

  • Real Red Card Base - 8 1/2 x 6 1/4, score at 4 1/4, turn and score at 3 1/8. Cut off top left panel, cutting about 1/8” below the score line to accommodate the bulk of the gift card.

  • Painted Christmas Designer Series Paper

    • 2 pieces - 4 1/8 x 3

    • 1 piece - 4 1/8 x 2 7/8

  • Basic White Layer 4 1/8 x 2 7/8

  • Real Red Belly Band - 7 1/2 x 1

  • Scraps of Basic White for sentiment labels

  • For the front sentiment label stamp some greenery with Soft Sea Foam Ink and then stamp the Merry and Christmas with Real Red Ink using the masking technique from the video. I added some Wonderful Gems to the sentiment label.


On the inside layer stamp some greenery with Soft Succulent and Soft Sea Foam Ink. Add some berries stamped with Real Red Ink.

Stamp the inside sentiment with Real Red Ink and cut using the Seasonal Labels Dies.


Supply List

Hello Friend Card

When I see a stamp set with a bird, I have to get it. I just love birds! I made this pretty card for a friend’s birthday and know she’ll really enjoy it!


The Friendly Hello Stamp Set is from the new Mini Catalog that launches January 4, 2022. It has the pretty bird and flower images and then some little do-dads for filling in the white spaces.


Tips & Instructions

  • Fresh Freesia Card Base - 5 1/2 x 8 1/2, score at 4 1/4

  • Fresh Freesia Layer - 5 1/4 x 4

  • Basic White Cardstock - cut with the largest Scalloped Contour Die

  • Stamp sentiment, bird image and small flower images with Black Memento Ink. Color using Stampin’ Blends. I used Light Balmy Blue for the bird and then blended some Light So Saffron and Light Crumb Cake for the belly. Color the smaller flowers with Dark So Saffron and Dark Fresh Freesia. Color leaves with Light Old Olive.

  • Fill in the blank spots by stamping the dots with Crumb Cake Ink.

  • Feed piece of Fresh Freesia Open Weave Ribbon through the scalloped sides. Adhere the scalloped layer to the Fresh Freesia Layer and then adhere the ribbon to the back of the Fresh Freesia Layer. Adhere layer to card base using Foam Adhesive Sheet pieces.

  • Tie bow and adhere with a Glue Dot.


On the inside stamp the sentiment and small flowers with Black Memento Ink. Color flowers with Stampin’ Blends.


Supply List

Corner Latch Rainbow Of Happiness Card

The Rainbow Of Happiness Bundle is so much fun. I love the sentiments in the stamp set and there are so many cool things you can do with the Brilliant Rainbow Dies.

The Sunshine & Rainbows Designer Series Paper is a Sale-a-bration product which means you can get it for FREE with a qualifying order. Order the bundle and a stamp pad or pack of cardstock and get the paper for free.


You can watch the replay of my Live video to see all the products and learn how to make this Corner Latch Fun Fold Card. It’s easy to make and turns out so cute!


Measurements

  • Pool Party Card Base - 4 1/4 x 11, score at 5 1/2 and cut off piece at 2 3/4

  • Sunshine & Rainbows Designer Series Paper - 2 pieces cut at 2 1/2 x 4

  • Basic White Inside Layer - 5 1/4 x 4

  • Basic White - cut with second from smallest Scalloped Contour Dies for sentiment

  • Pool Party Corner Piece - 2 1/4 x 2 1/4, cut diagonally

  • Sunshine & Rainbows Designer Series Paper Corner Piece - 2 x 2, cut diagonally

  • Cut rainbow from Designer Series Paper using coordinating Brilliant Rainbow Die


Put card together as shown on the video, adhering the focal piece last so you can fit it into the corner piece.


This is what the inside looks like. Be careful not to write on the right hand side so it doesn’t show up when the card is closed.


Need a catalog? Email me - patti@pspapercrafts.com and I’ll send you one.


Supply List

Note: New Product will be available for purchase beginning January 4, 2021.

Sunshine & Rainbows - You Make Me Happy

I’m so excited that Sale-a-bration is right around the corner. Along with the new Mini Catalog coming out on January 4th, there’s a new Sale-a-bration promotion.

I used the Sunshine & Rainbows 6x6 Designer Series Paper for this card and it’s FREE during Sale-a-bration with a qualifying order. This paper has such bright and fun patterns.


The paper coordinates with the Rainbow Of Happiness Stamp Set and Brilliant Rainbow Dies. The sentiment I used on this card is from that stamp set.


Tips & Instructions

This is one of my favorite designs to use with designer series paper. It’s so easy and the paper does all the work!

  • Thick Basic White Card Base - 5 1/2 x 8 1/2, score at 4 1/4

  • Basic White Layer - 5 1/4 x 4

  • Sunshine & Rainbows Designer Series Paper

    • Sun pattern - 5 1/4 x 2 3/4

    • Striped pattern - 5 1/5 x 1 1/2

  • Adhere patterned paper to the white layer and wrap a piece of white Flowers For Every Season ribbon around the layers adhering to the back. Adhere layer to card base.

  • Stamp sentiment with Misty Moonlight Ink on 1/2” strip of So Saffron Cardstock. Punch each end with the Banners Pick A Punch and adhere to card using Dimensionals.

  • Tie bow and adhere with a Glue Dot.


On the inside adhere a 5 1/4 x 3/4 strip of the striped patterned paper.


Supply List

Note: New products will be available for purchase starting January 4, 2021.

Sketch Saturday - Whimsy & Wonder

I used the Whimsy & Wonder Designer Series Paper to make this card for this week’s sketch challenge. I fussy cut the presents which were so easy to cut and used a die for the tree. I love that the dies cut out some of the patterns on the Designer Series Paper.


The sketch I used is from the weekly Atlantic Hearts Sketch Challenge. This one was a “challenge” for me!


Tips & Instructions

  • Mint Macaron Card Base - 5 1/2 x 8 1/2, score at 4 1/4

  • Basic White Layer - 5 1/4 x 4

  • Whimsy & Wonder Specialty Designer Series Paper - fussy cut some presents and cut the tree using the coordinating Christmas Trees Dies.

  • Stamp sentiment (from For Unto Us) with Versamark Ink and emboss with Silver Embossing Powder.

  • Adhere gifts along one side.

  • Adhere tree using Dimensionals.

  • Cut silver star using the Stitched Stars Dies. (I used the swoosh die which gave me the right size for the tree and a second one for the inside.

  • Wrap piece of silver trim around and adhere to back. Adhere layer to card base.


On the inside stamp sentiment with Mint Macaron Ink. Cut small tree and star and adhere to layer.


Supply List

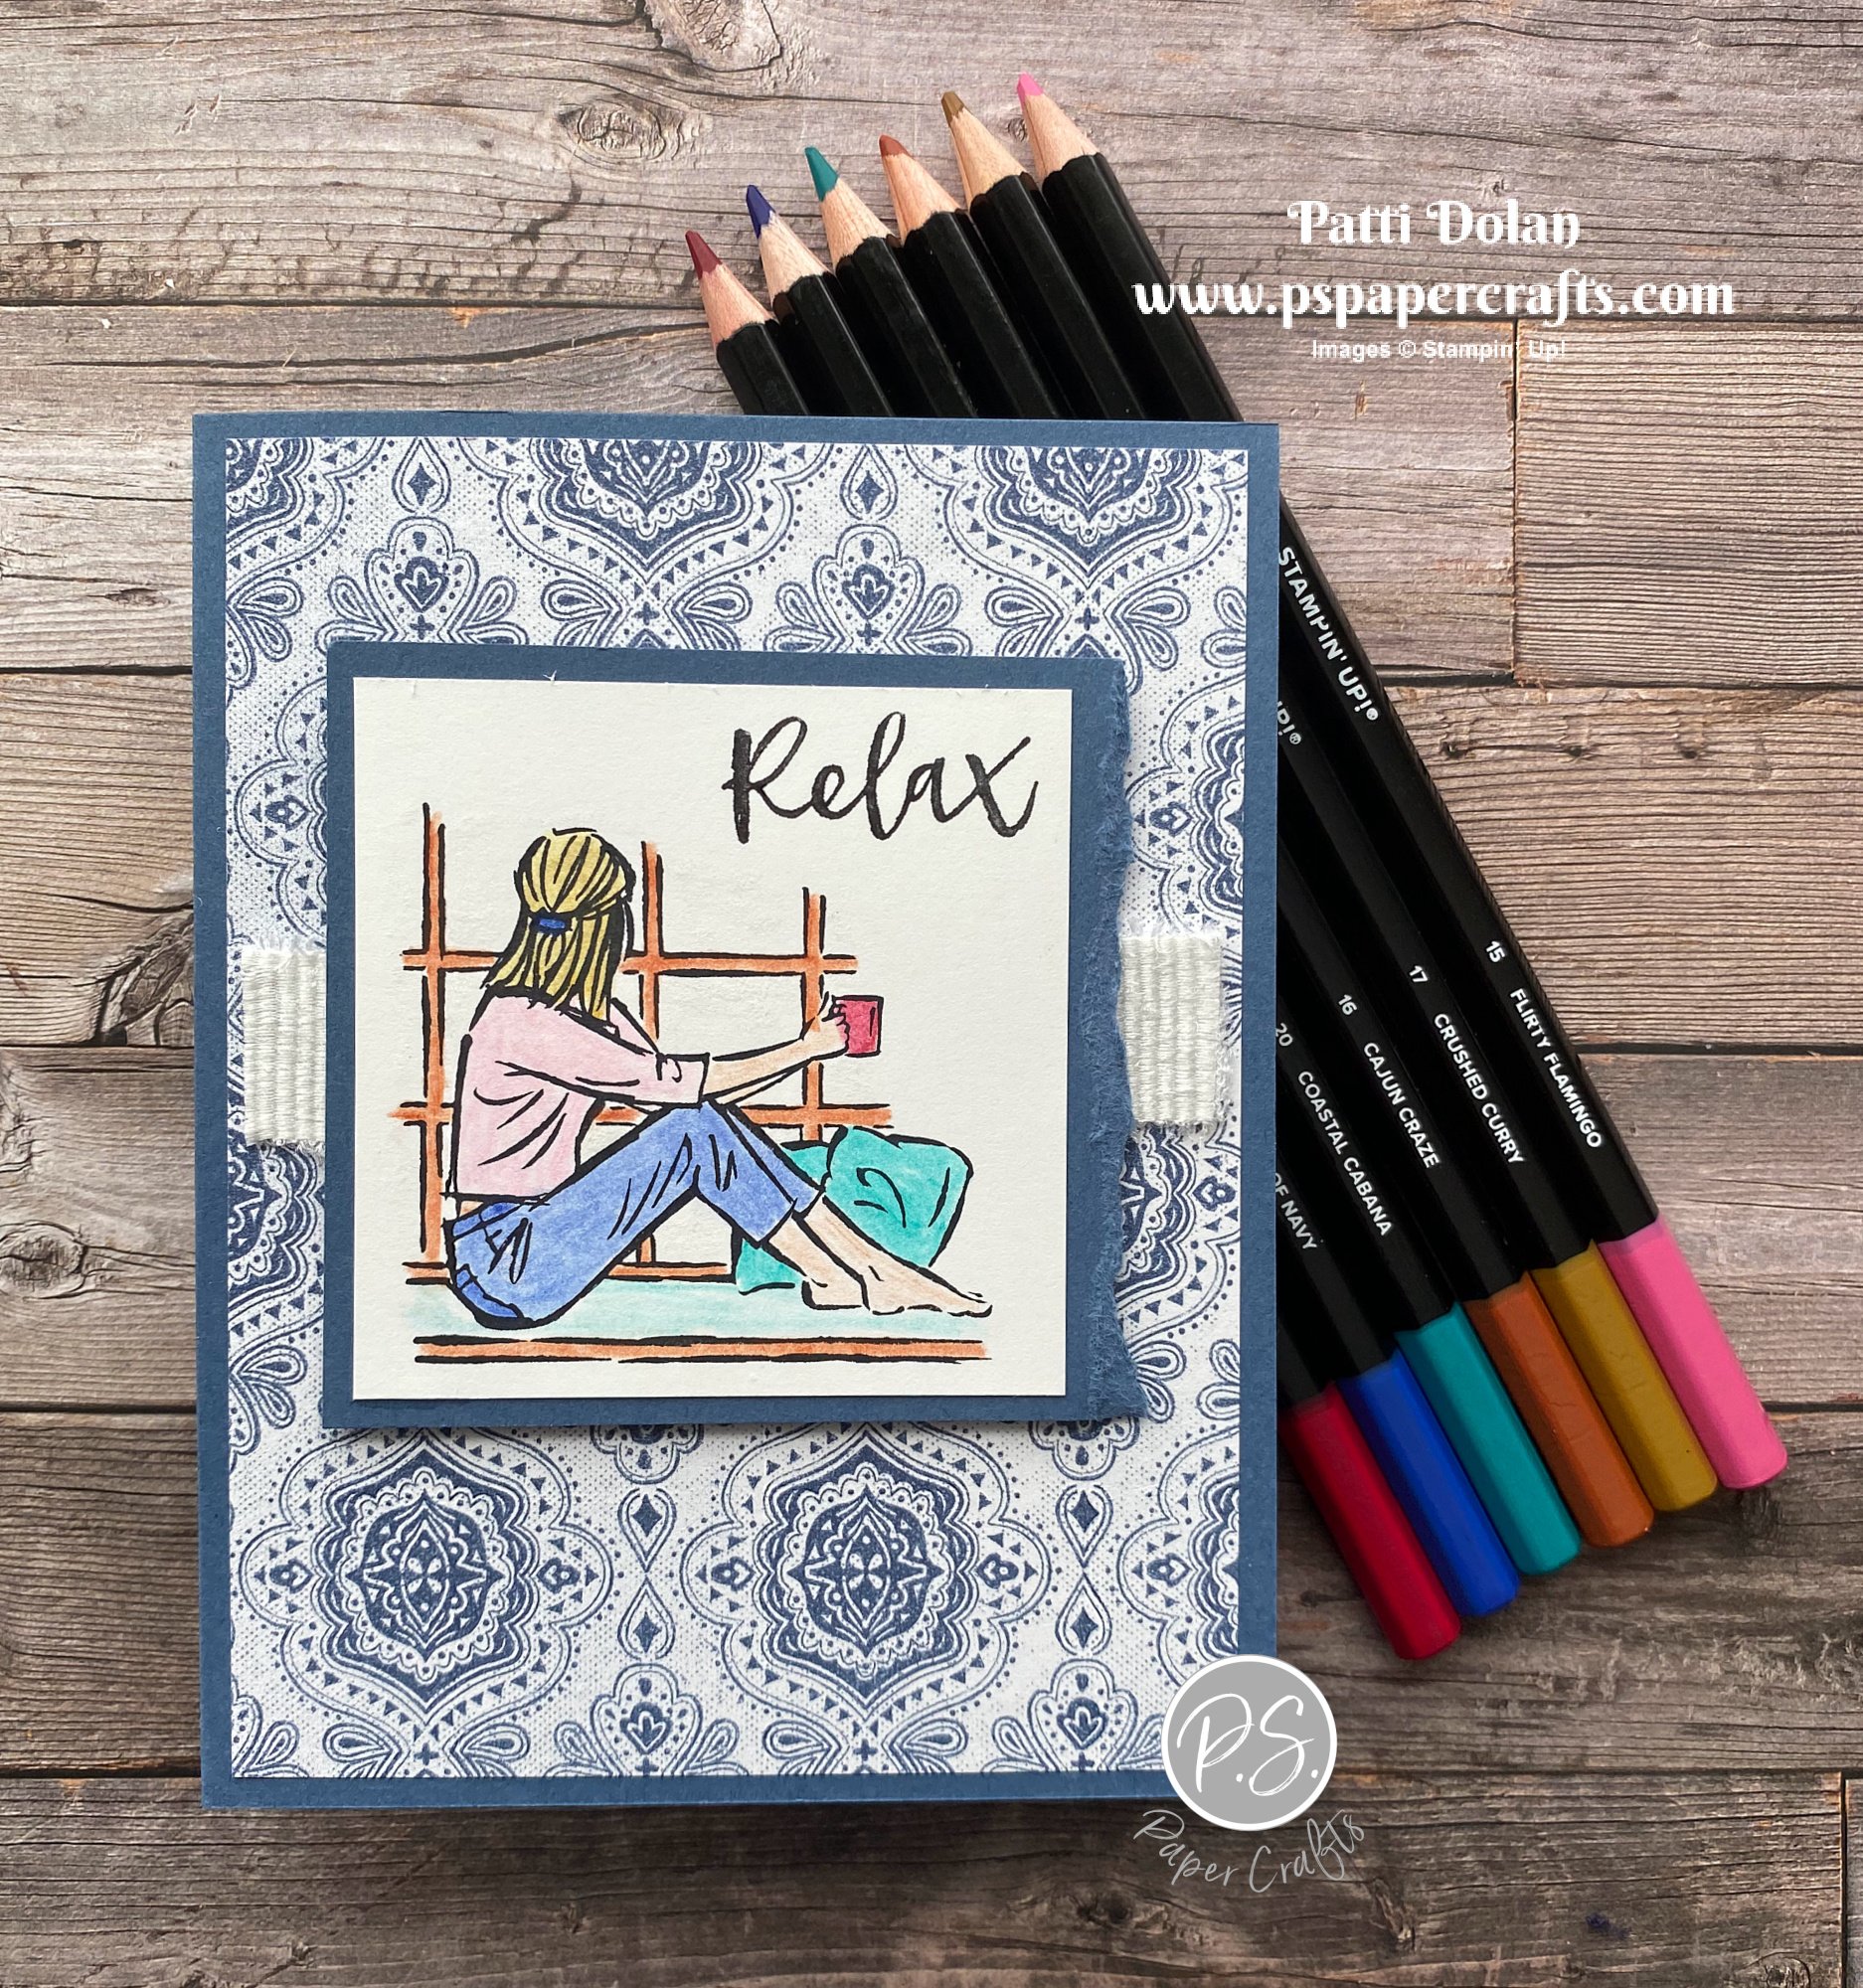
Coloring the In The Moment image with Watercolor Pencils

I love the images in the In The Moment Stamp Set from the new Mini Catalog. The catalog will be available for customer’s to order from starting January 4th.


Watch the video to see how I colored this image with Watercolor Pencils and a Blender Pen. I’ll show you all the patterns in the Heart & Home Designer Series Paper and this pretty new Frayed Ribbon.


Coloring with our Watercolor Pencils and then blending with a Blender Pen creates such a soft, beautiful look. We have 2 assortments of pencils with Stampin’ Up! colors!


Tips & Instruction

  • Misty Moonlight Card Base - 5 1/2 x 8 1/2, score at 4 1/4

  • Heart & Home Designer Series Paper - 5 1/4 x 4, adhere to card base.

  • Basic White Cardstock - 2 3/4 x 2 3/4, stamp image with Stazon Ink.

  • Using a Basic Black Stampin’ Write Marker, color just the word “Relax” and stamp at top corner.

  • Color the image with Watercolor Pencils and blend with a Blender Pen. I used the Assortment 2 pack of pencils.

  • Misty Moonlight Cardstock - 3 x 3 1/4, tear off about 1/4” on the 3 1/4 side. Adhere behind the stamped layer.

  • Cut a piece of the White Frayed Ribbon a little shorter than the Designer Series Paper Layer and adhere. Adhere the stamped layer to the card using Dimensionals.


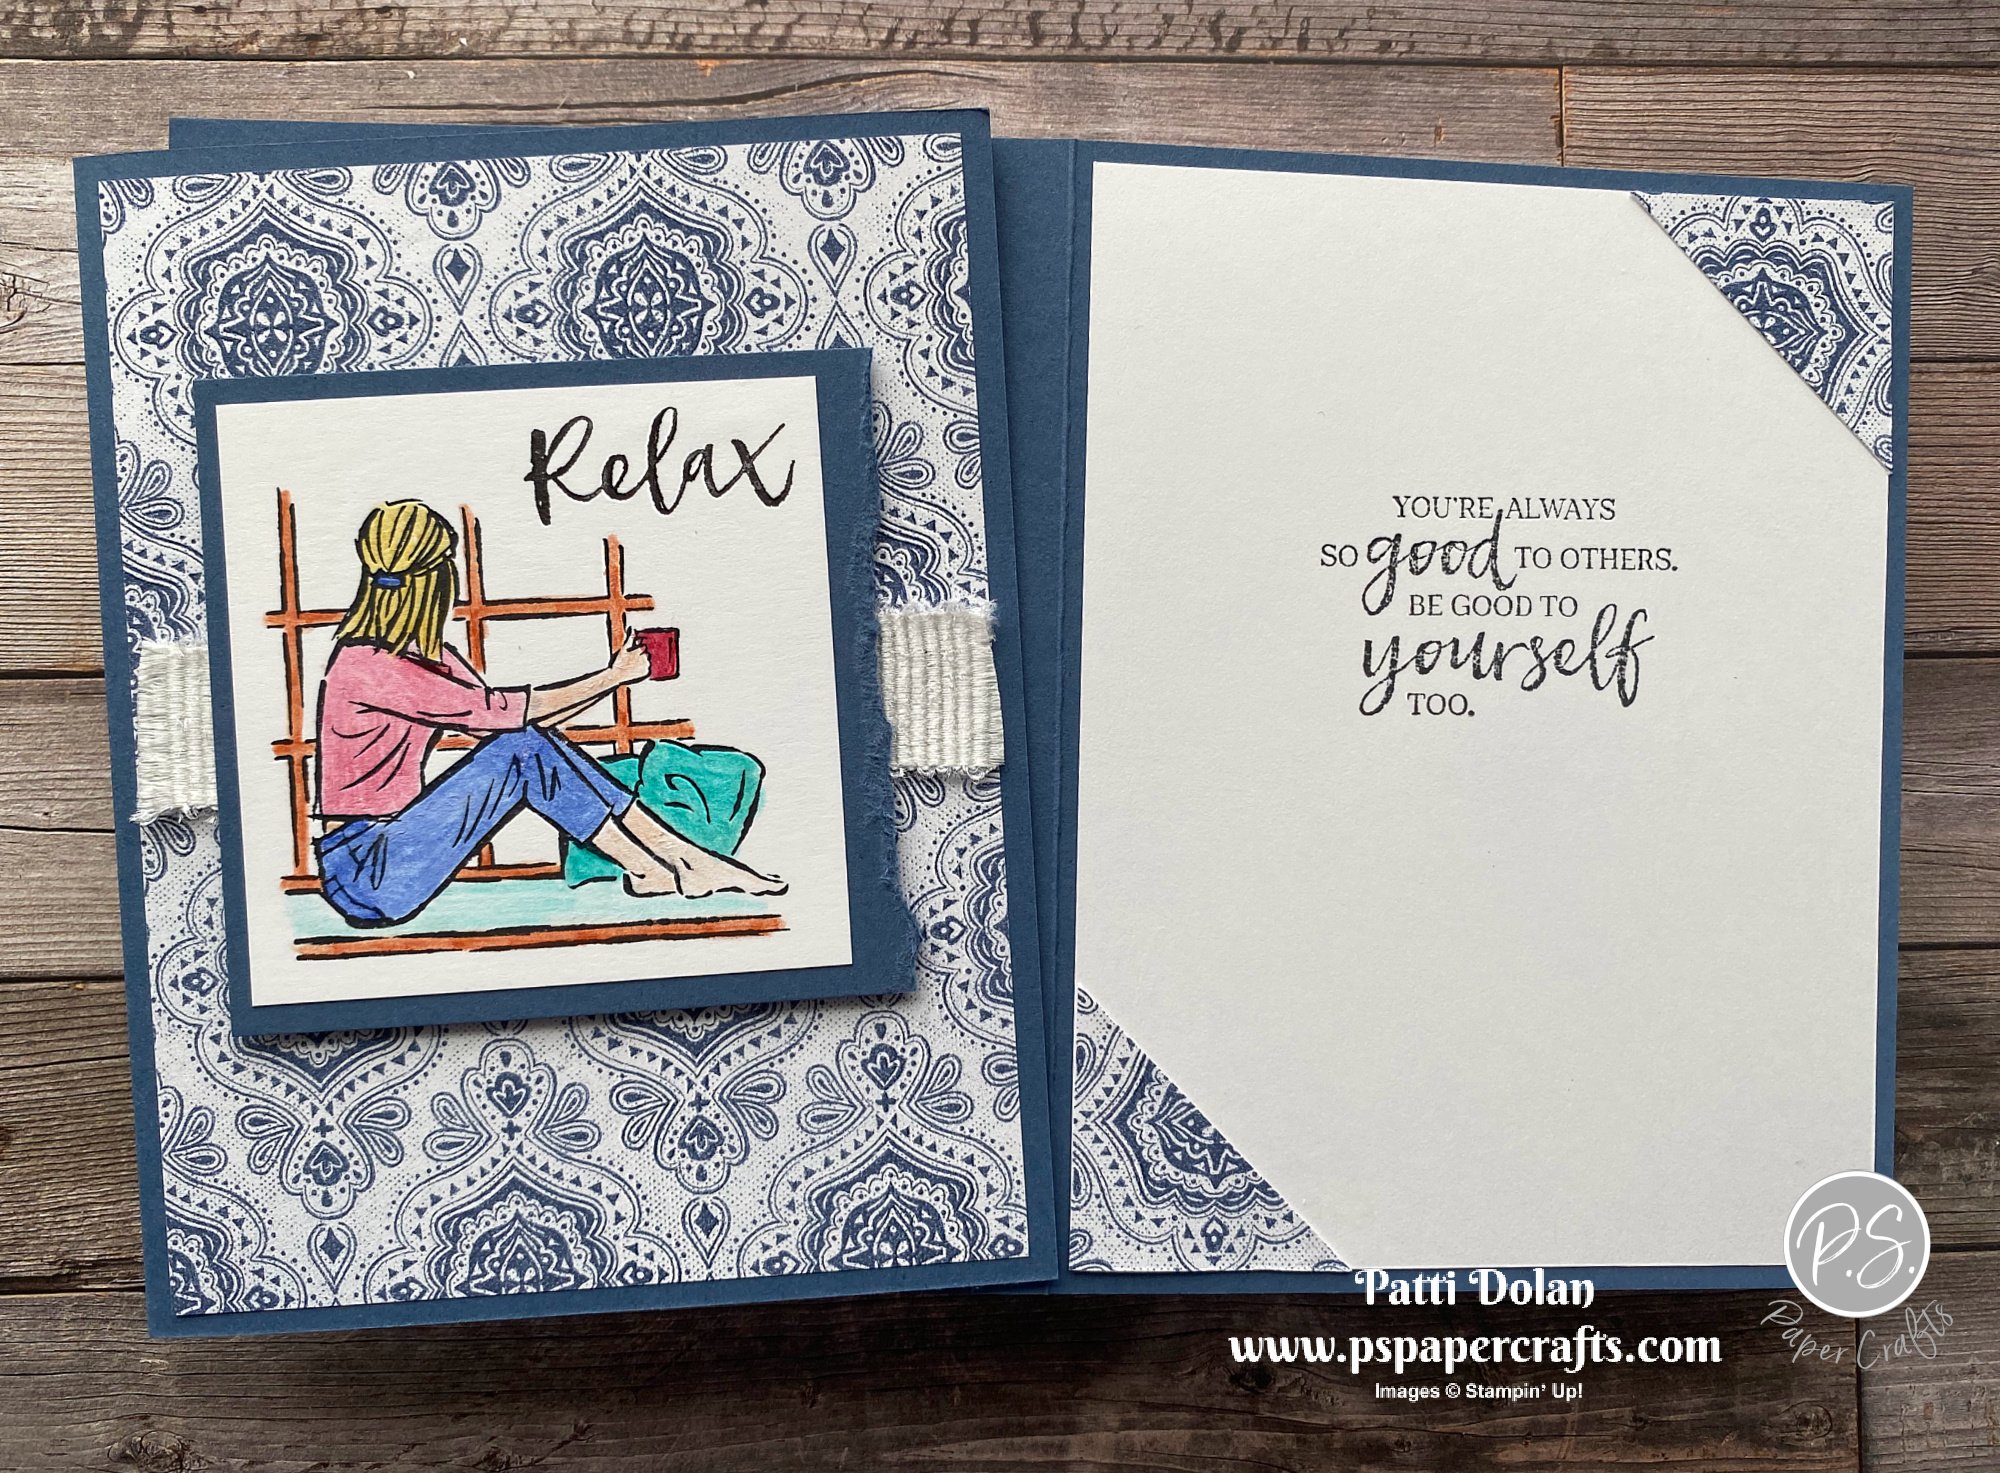
On the inside stamp sentiment with Black Ink (I used Black Memento). Cut one of the medallions into a square and cut on the diagonal. Adhere each triangle to the top and bottom corners of the inside layer.


Supply List

Note: the new products will be available for purchase starting January 4, 2022.

New Product - Heart & Home Suite

There’s a new mini catalog coming out in January and as a Demonstrator I get to pre-order products from any new catalog. I used products from the Heart & Home Suite to make this pretty card. I didn’t put a sentiment on the card front so it can be used for any occasion.


The Blessings Of Home Stamp Set has beautiful floral images and a nice variety of sentiments. There are coordinating dies that can be bundled together.


I colored the flowers with Watercolor Pencils and blended using a Blender Pen. I love the soft and pretty look this technique creates.


Tips & Instructions

  • Thick Basic White Card Base - 5 1/2 x 8 1/2, score at 4 1/4

  • Heart & Home Designer Series Paper - 5 1/4 x 4

  • Vellum Cardstock - 4 x 2 1/2, adhere to Designer Series Paper, just putting adhesive behind where the floral panel will go.

  • Wrap White Bakers Twine around layers 3 times and adhere to back. Adhere layer to card.

  • Basic White Cardstock - cut using the Stitched So Sweetly Dies and stamp floral image using Stazon Ink.

  • Color the flowers and leaves with Watercolor Pencils. I used Garden Green, Flirty Flamingo, Crushed Curry and Gorgeous Grape from the Assortment 2 Set. Blend using a Blender Pen.

  • Adhere to card using Dimensionals.

  • Tie bow with 3 strands of Bakers Twine and adhere using a Glue Dot.

  • Add some Iridescent Rhinestone Basic Jewels.


On the inside layer stamp floral image and sentiment with Stazon Ink. Color floral image with Watercolor Pencils and blend with Blender Pen.


Supply List

Note: New Mini Catalog Products will be available for purchase starting Jan. 4, 2022.

Simple Double Z Fold Christmas Cards

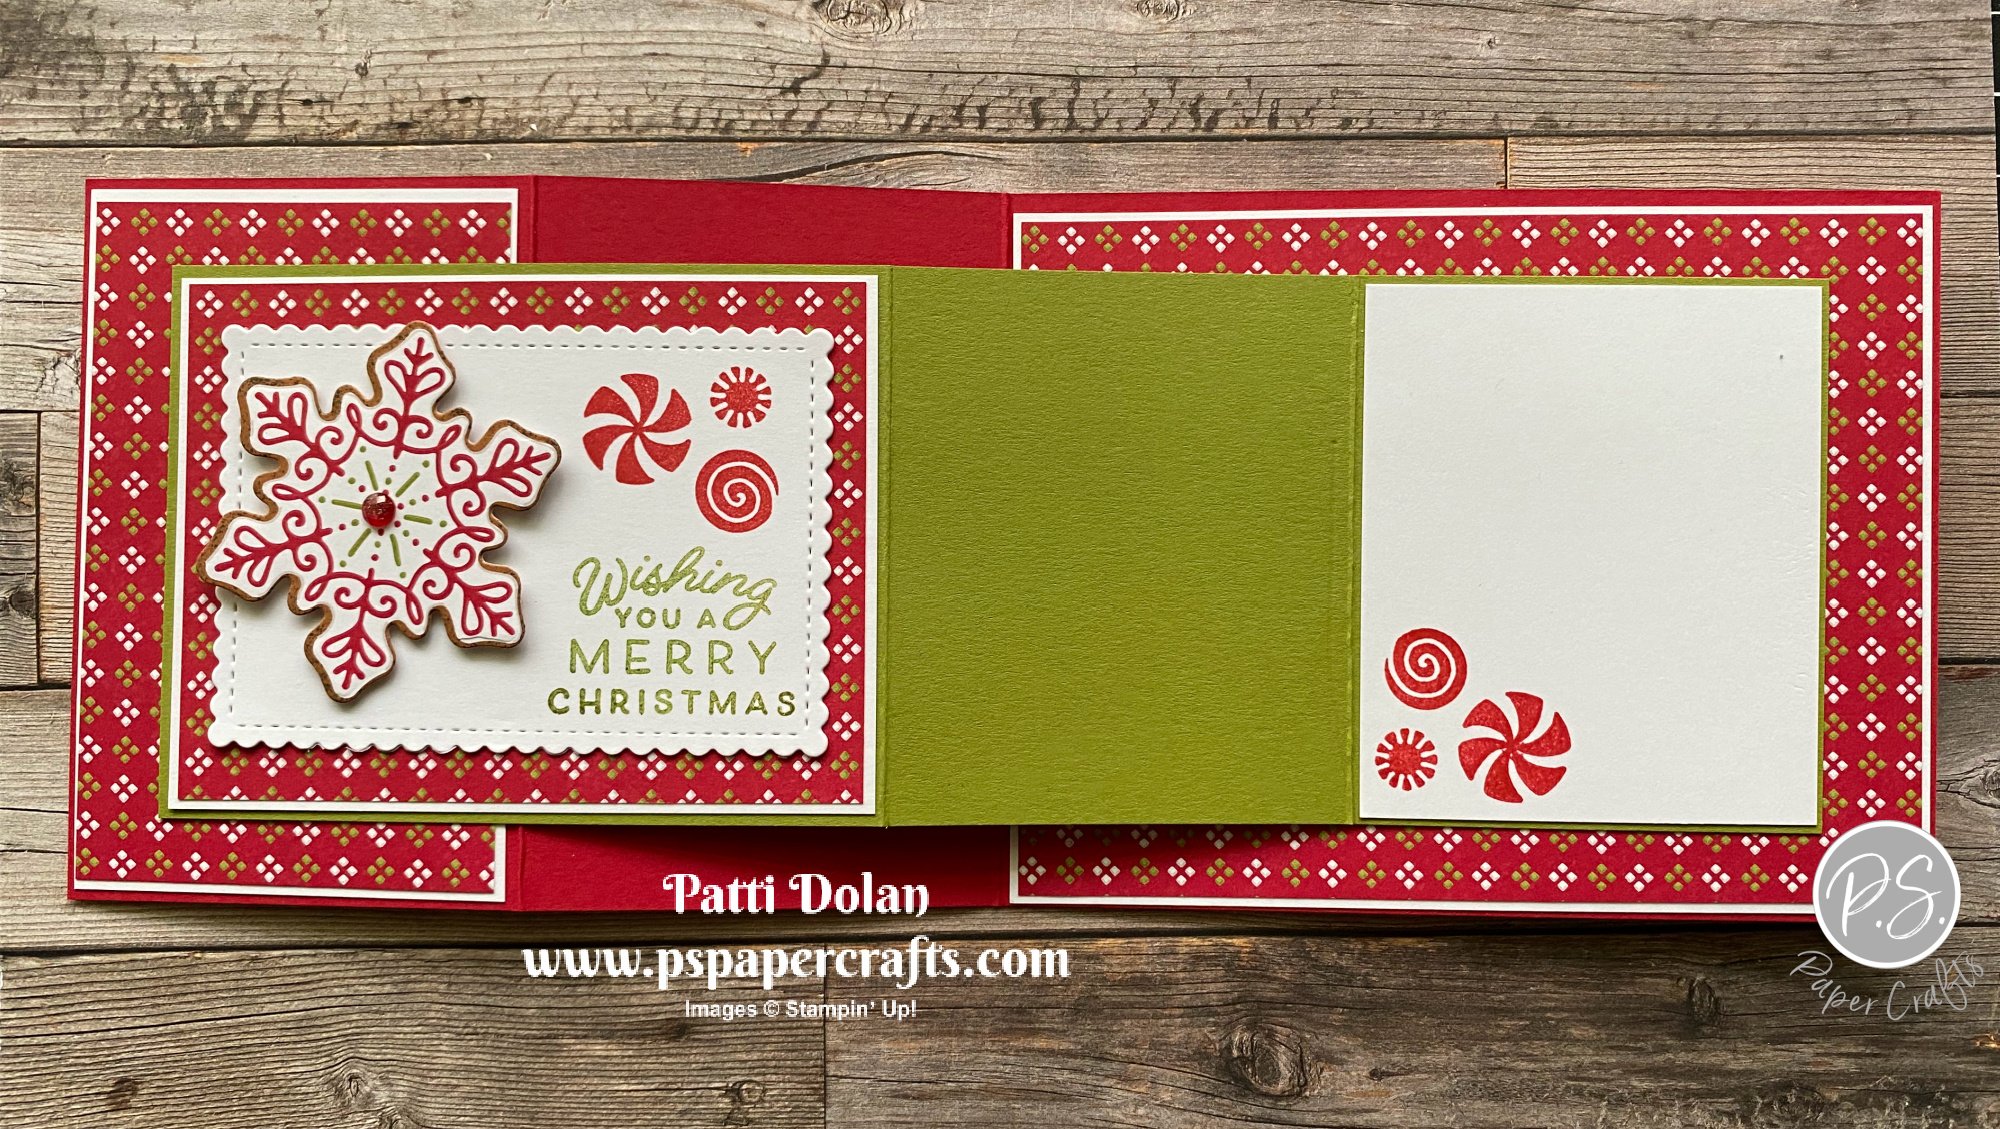
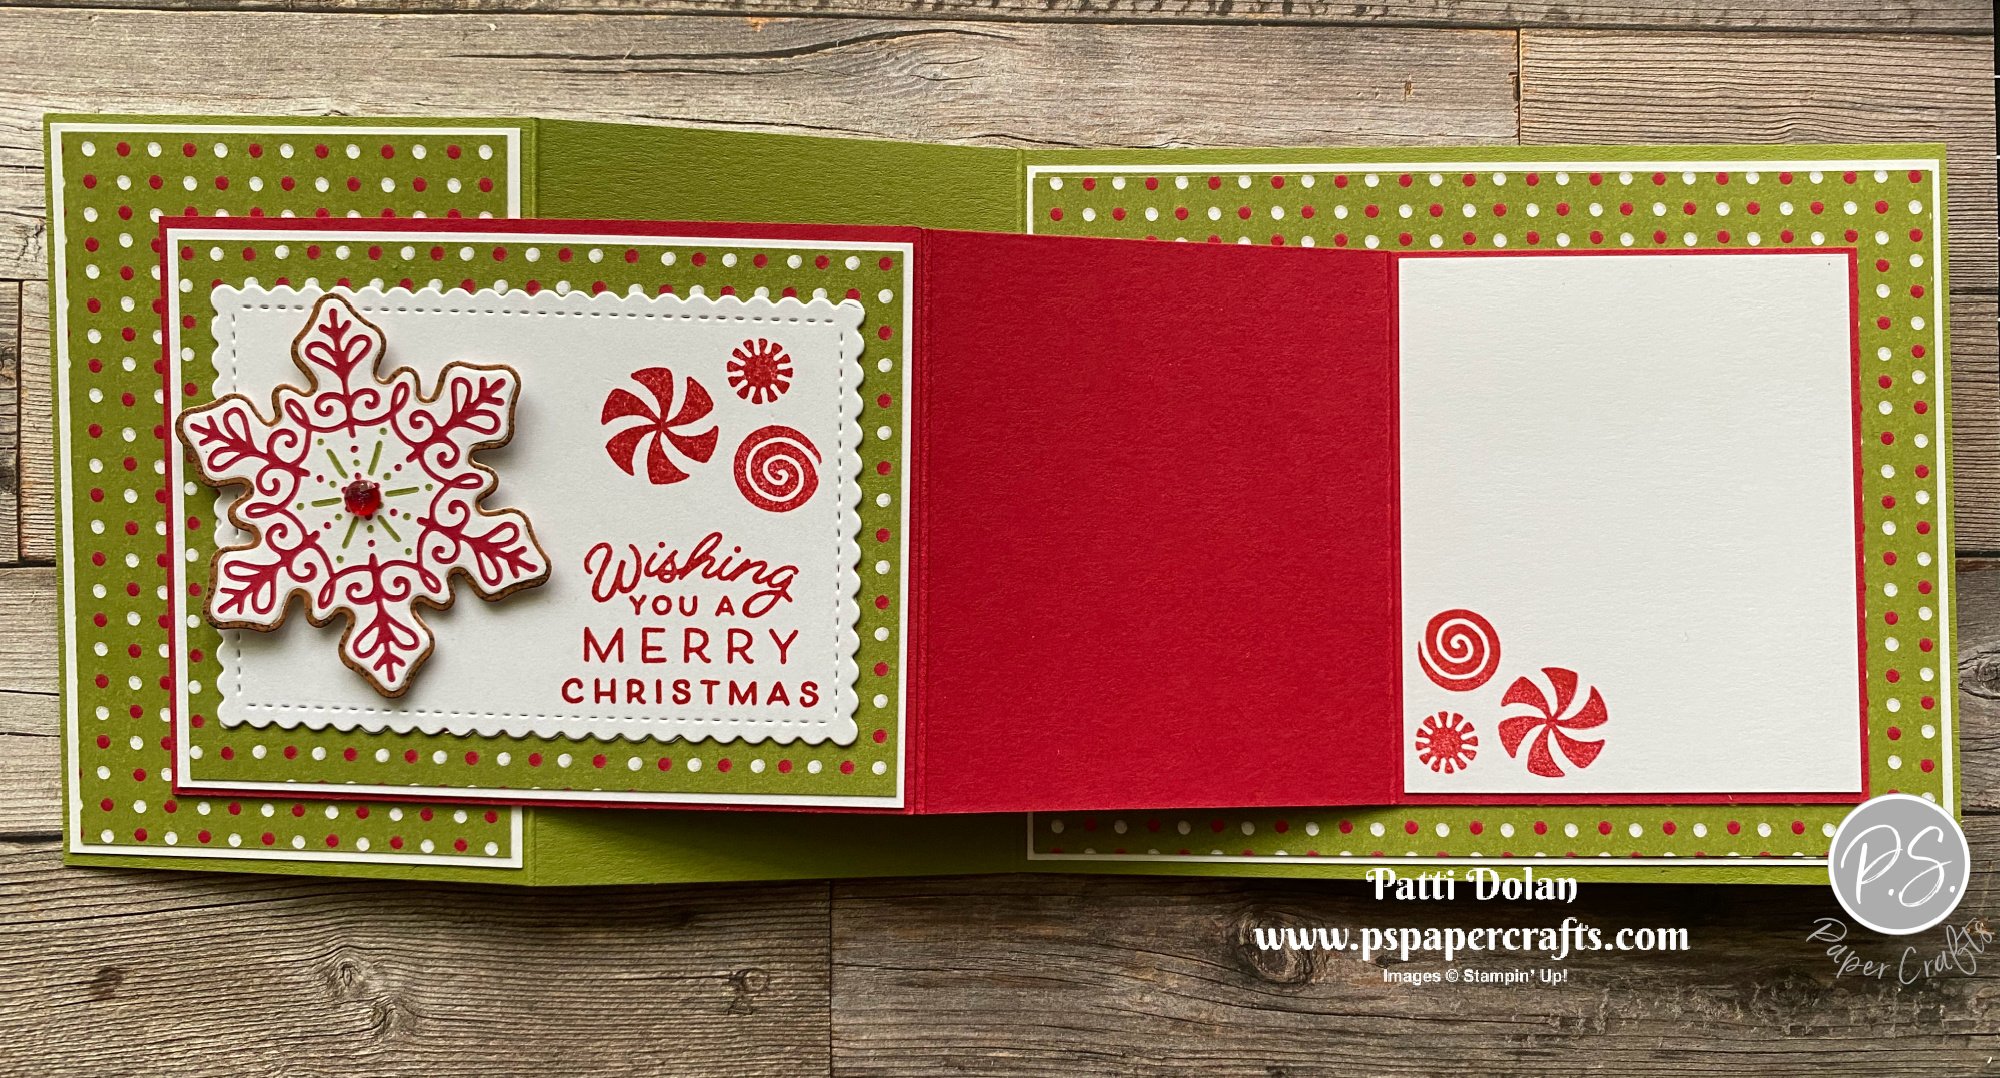
I used the Gingerbread & Peppermint Suite products to make these fun Double Z Fold Christmas Cards. There are such great patterns for this type of card in the Designer Series Paper pack.


These were very easy to make and I’ll walk you through the entire process in the video. Check below for the measurements….there’s lots of them!


Tips & Instructions

  • Real Red Card Base - 11 x 4 1/4, score at 2 3/4 and 5 1/2

  • Old Olive Insert Layer - 9 3/4 x 3 1/4, score at 2 3/4 and 5 1/2

  • Gingerbread & Peppermint Designer Series Paper pieces:

    • 5 1/4 x 4

    • 4 x 2 1/2

    • 4 x 3

  • Basic White pieces:

    • 5 3/8 x 4 1/8

    • 4 1/8 x 2 5/8

    • 4 1/8 x 3 1/8

    • 3 1/8 x 2 5/8 (for the inside layer)

  • Adhere Designer Series Paper to Basic White Layers and then to card base and insert layer.

  • Adhere insert layer to card base as shown on the video. Be sure you have the insert layer going in the right direction.

  • Stamp sentiment with Old Olive Ink and peppermint candies with Real Red Ink on Basic White Cardstock cut using the Stitched So Sweetly Dies.

  • Cut cookie from Designer Series Paper using coordinating die. (You can fussy cut this if you don’t have the dies.)

  • Adhere to stamped layer using a Dimensional and add a Wonderful Gem to the center.


Stamp the bottom corner of the white inside layer with peppermints and adhere to inside of card.


I made this one with a different patterned paper from the Designer Series Pack. The card base is Old Olive and the insert is Real Red Cardstock.


Here’s what the inside of this card looks like.


Supply List

Amazing Silhouettes - Thinking Of You Card

To make this card I used some of the products from the new Mini Catalog which launches January 4, 2022. I’m so excited about all the beautiful new products in this catalog. Wait until you see it!


The Amazing Silhouettes Stamp Set has such cool images. The ink is around the image; so pretty! I fussy cut around the stamped image.

I actually fussy cut right to the edge and decided that I wanted a white border so I adhered it to a piece of Basic White Cardstock and then fussy cut around it leaving some white. You can just leave the white border when you fussy cut it the first time.


Tips & Instructions

  • Basic Gray Card Base - 5 1/2 x 8 1/2, score at 4 1/4

  • Heart & Home Designer Series Paper - 5 1/4 x 4, adhere to card base.

  • Basic White Cardstock, stamp tree image with Misty Moonlight Ink and fussy cut leaving a white border around.

  • Stamp sentiment with Misty Moonlight Ink on 1/2” strip of Basic White Cardstock. Cut banner on one end. The sentiment is from the In The Moment Stamp Set.

  • Smoky Slate Textured Ribbon, cut about 3 1/4” and cut banner at one end.

  • Adhere sentiment to the ribbon and attach to card.

  • Adhere tree to card using Dimensionals.


Supply List

Note: the products from the new Mini Catalog will be available for purchase starting Jan. 4, 2022.
Sketch Saturday - Garden Birdhouses

For this week’s sketch challenge I stamped one of the birdhouses from the Garden Birdhouses Stamp Set and have it hanging from a pretty bow.


The sketch I used is from the Atlantic Hearts Sketch Challenge. This was a fun sketch to use.


The Garden Birdhouses Stamp Set has some great images and I love all the different fonts on the sentiments.


Tips & Instructions

  • Just Jade Card Base - 5 1/2 x 8 1/2, score at 4 1/4

  • Basic White Layer - 5 1/4 x 4

  • Bloom Where You’re Planted Designer Series Paper - 5 x 3 3/4, adhere to Basic White Layer. Wrap piece of Flowers For Every Season Ribbon around and adhere to the back. Adhere layer to card base.

  • Just Jade Cardstock - cut with Ornate Layers Dies

  • Basic White Cardstock - 2 1/2 x 1 1/8, stamp hanger and birdhouse with Black Memento Ink. Color with Cinnamon Cider, Just Jade and So Saffron Stampin’ Blends and adhere to ornate layer, then adhere to card with Dimensionals.

  • Tie bow and adhere to top of hanger using a Glue Dot.

  • Stamp sentiment with Black Memento Ink on Basic White scrap and cut down to size.


On the inside stamp branches with Just Jade Ink. Stamp bird on top branch with Black Memento Ink. Color bird with So Saffron and Cinnamon Cider Stampin’ Blends.


Supply List

Tailored Tag Punch - Snowman Cards

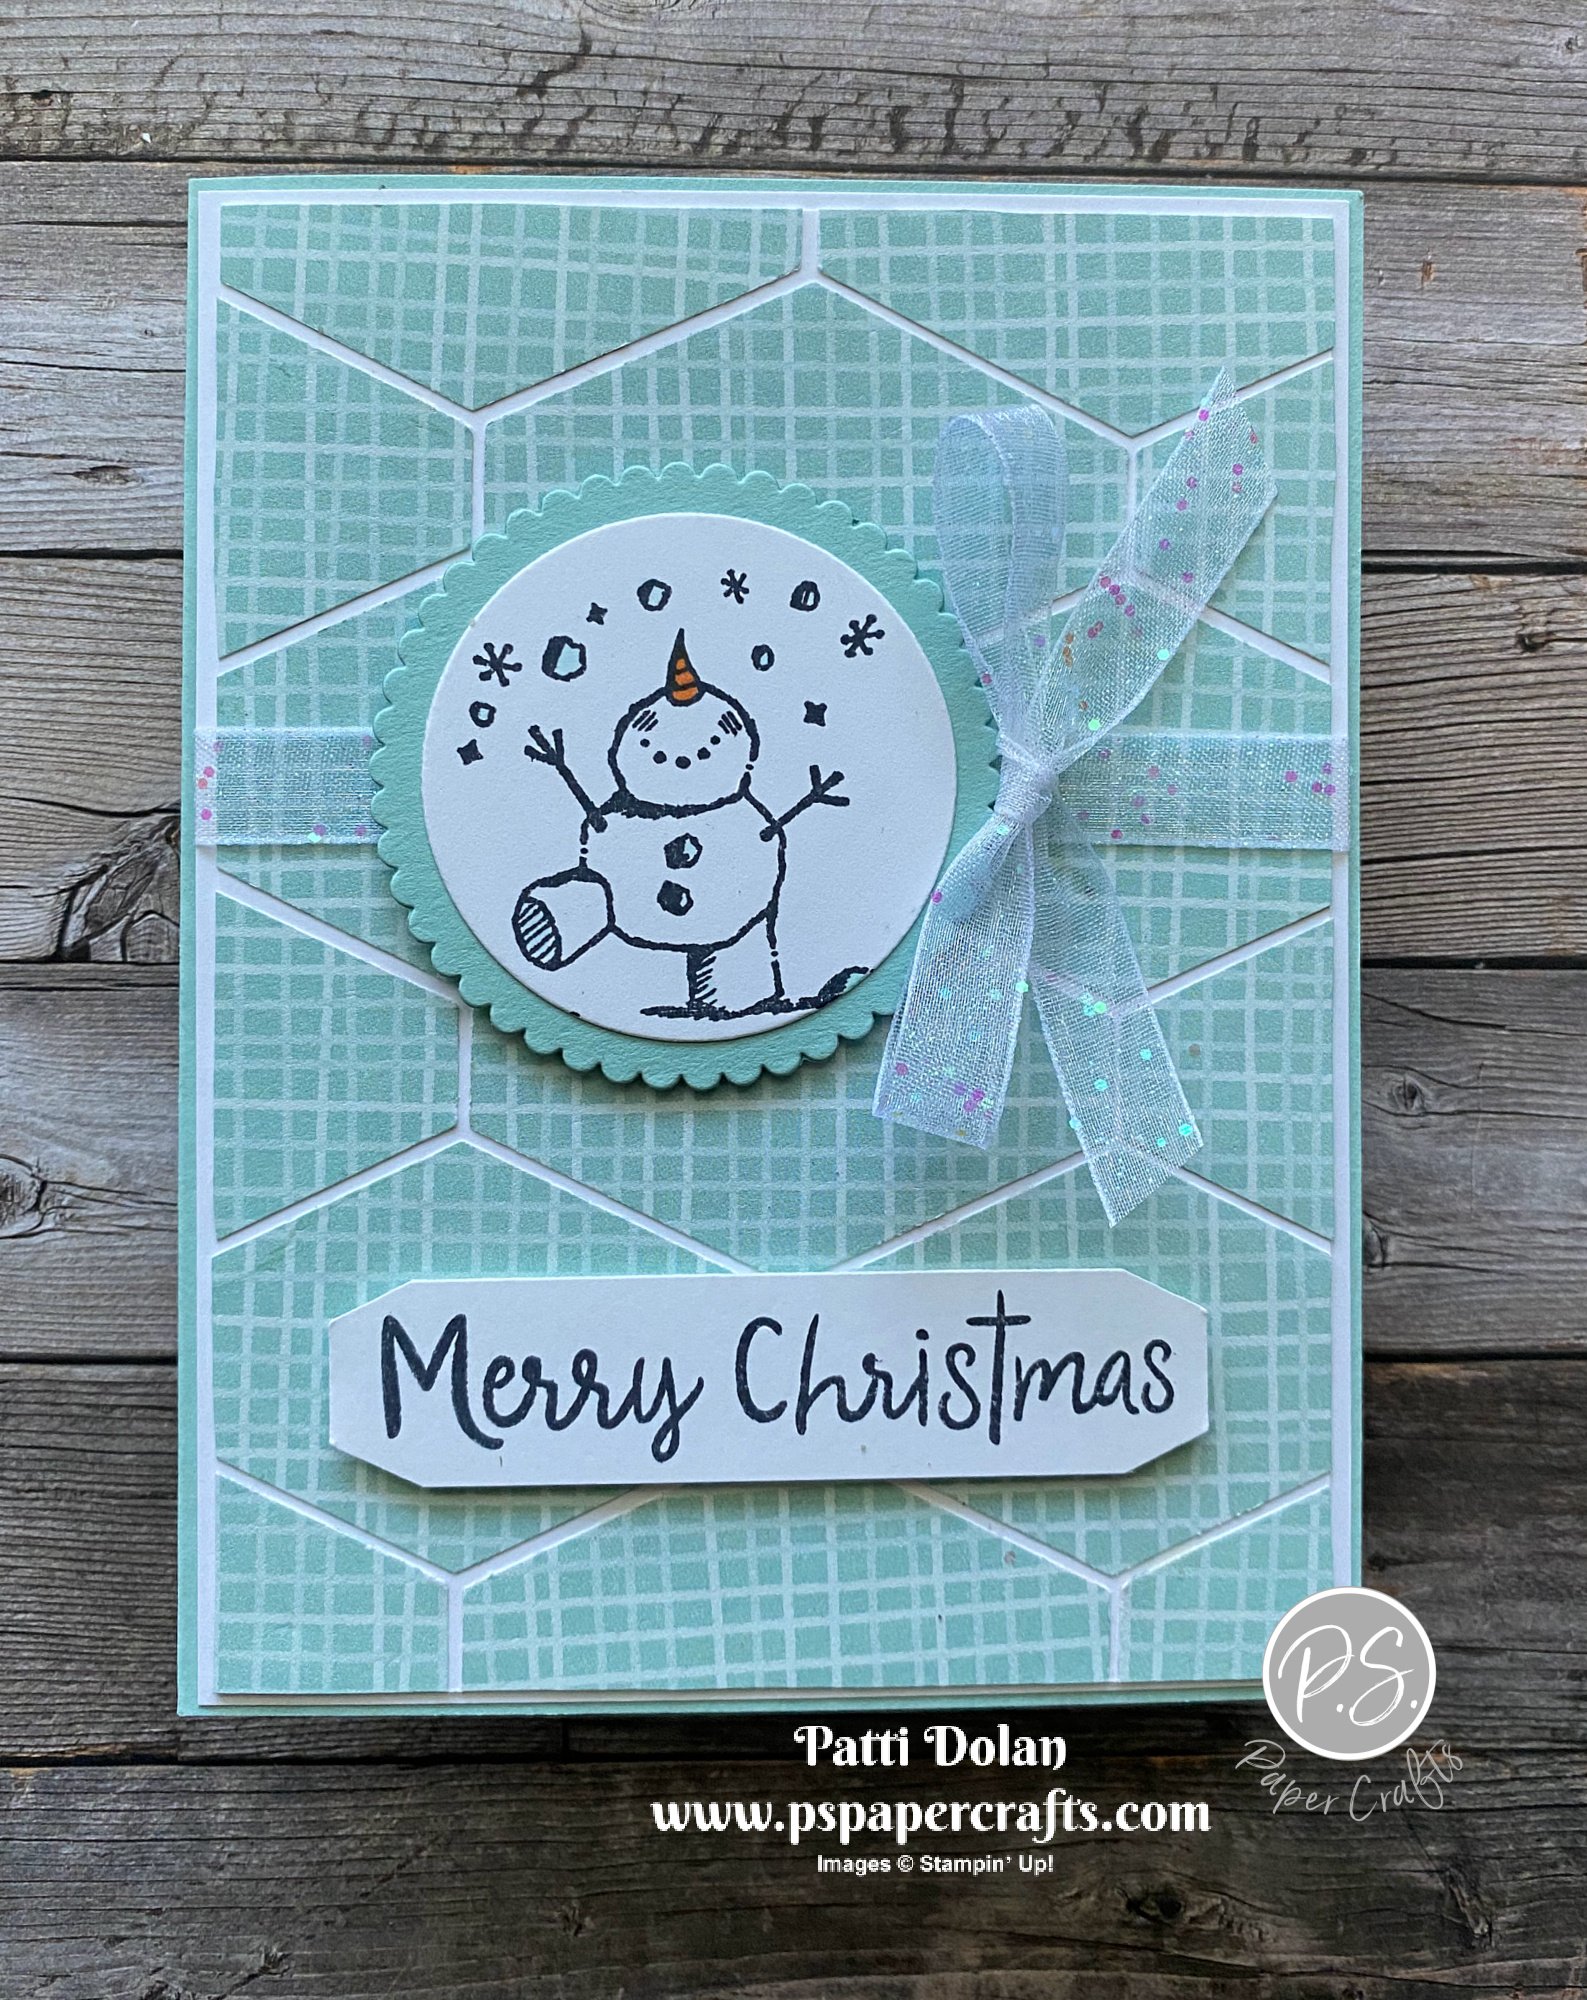
Have you used the Tailored Tag Punch to create a background layer for a card? It’s easy and the results are so cool.


In my video I’ll show you how to create these cards using the Tailored Tag Punch. I even used it to punch the sentiment label.


Tips & Instructions

  • Pool Party Card Base - 5 1/2 x 8 1/2, score at 4 1/4

  • Basic White Layer - 5 3/8 x 4 1/8

  • Basic White Layer 5 1/4 x 4, use this to adhere the pieces you punch.

  • Sweet Stockings Designer Series Paper - punch about 12 pieces using the Tailored Tag Punch and adhere them to the smaller white layer. Cut the pieces that hang over the edges, cutting from the back. Adhere layer to the larger white layer.

  • Wrap piece of White Glittered Organdy Ribbon around the layer and adhere to back. Adhere layer to card base.

  • Basic White Cardstock - cut circle using the Layering Circle Dies. Stamp snowman with Black Memento Ink and color using Pool Party and Pumpkin Pie Stampin’ Blends. Adhere to scalloped circle cut from Pool Party Cardstock. Adhere together and adhere to card using Dimensionals.

  • Tie bow and adhere using a Glue Dot.

  • Stamp sentiment on 3/4” strip of Basic White Cardstock using Black Memento Ink. Punch each side by feeding the ends into the punch from the back. Adhere using Dimensionals.


I made this card using the Peaceful Place Designer Series Paper and coloring the snow with Balmy Blue Stampin’ Blends. I used Basic Gray Cardstock for the scalloped circle. The card base I used is Basic White Thick Cardstock.


On the inside stamp the sentiment and snowman with Black Memento Ink. Color using Stampin’ Blends.


Supply List

Wise Men Still Seek Him!

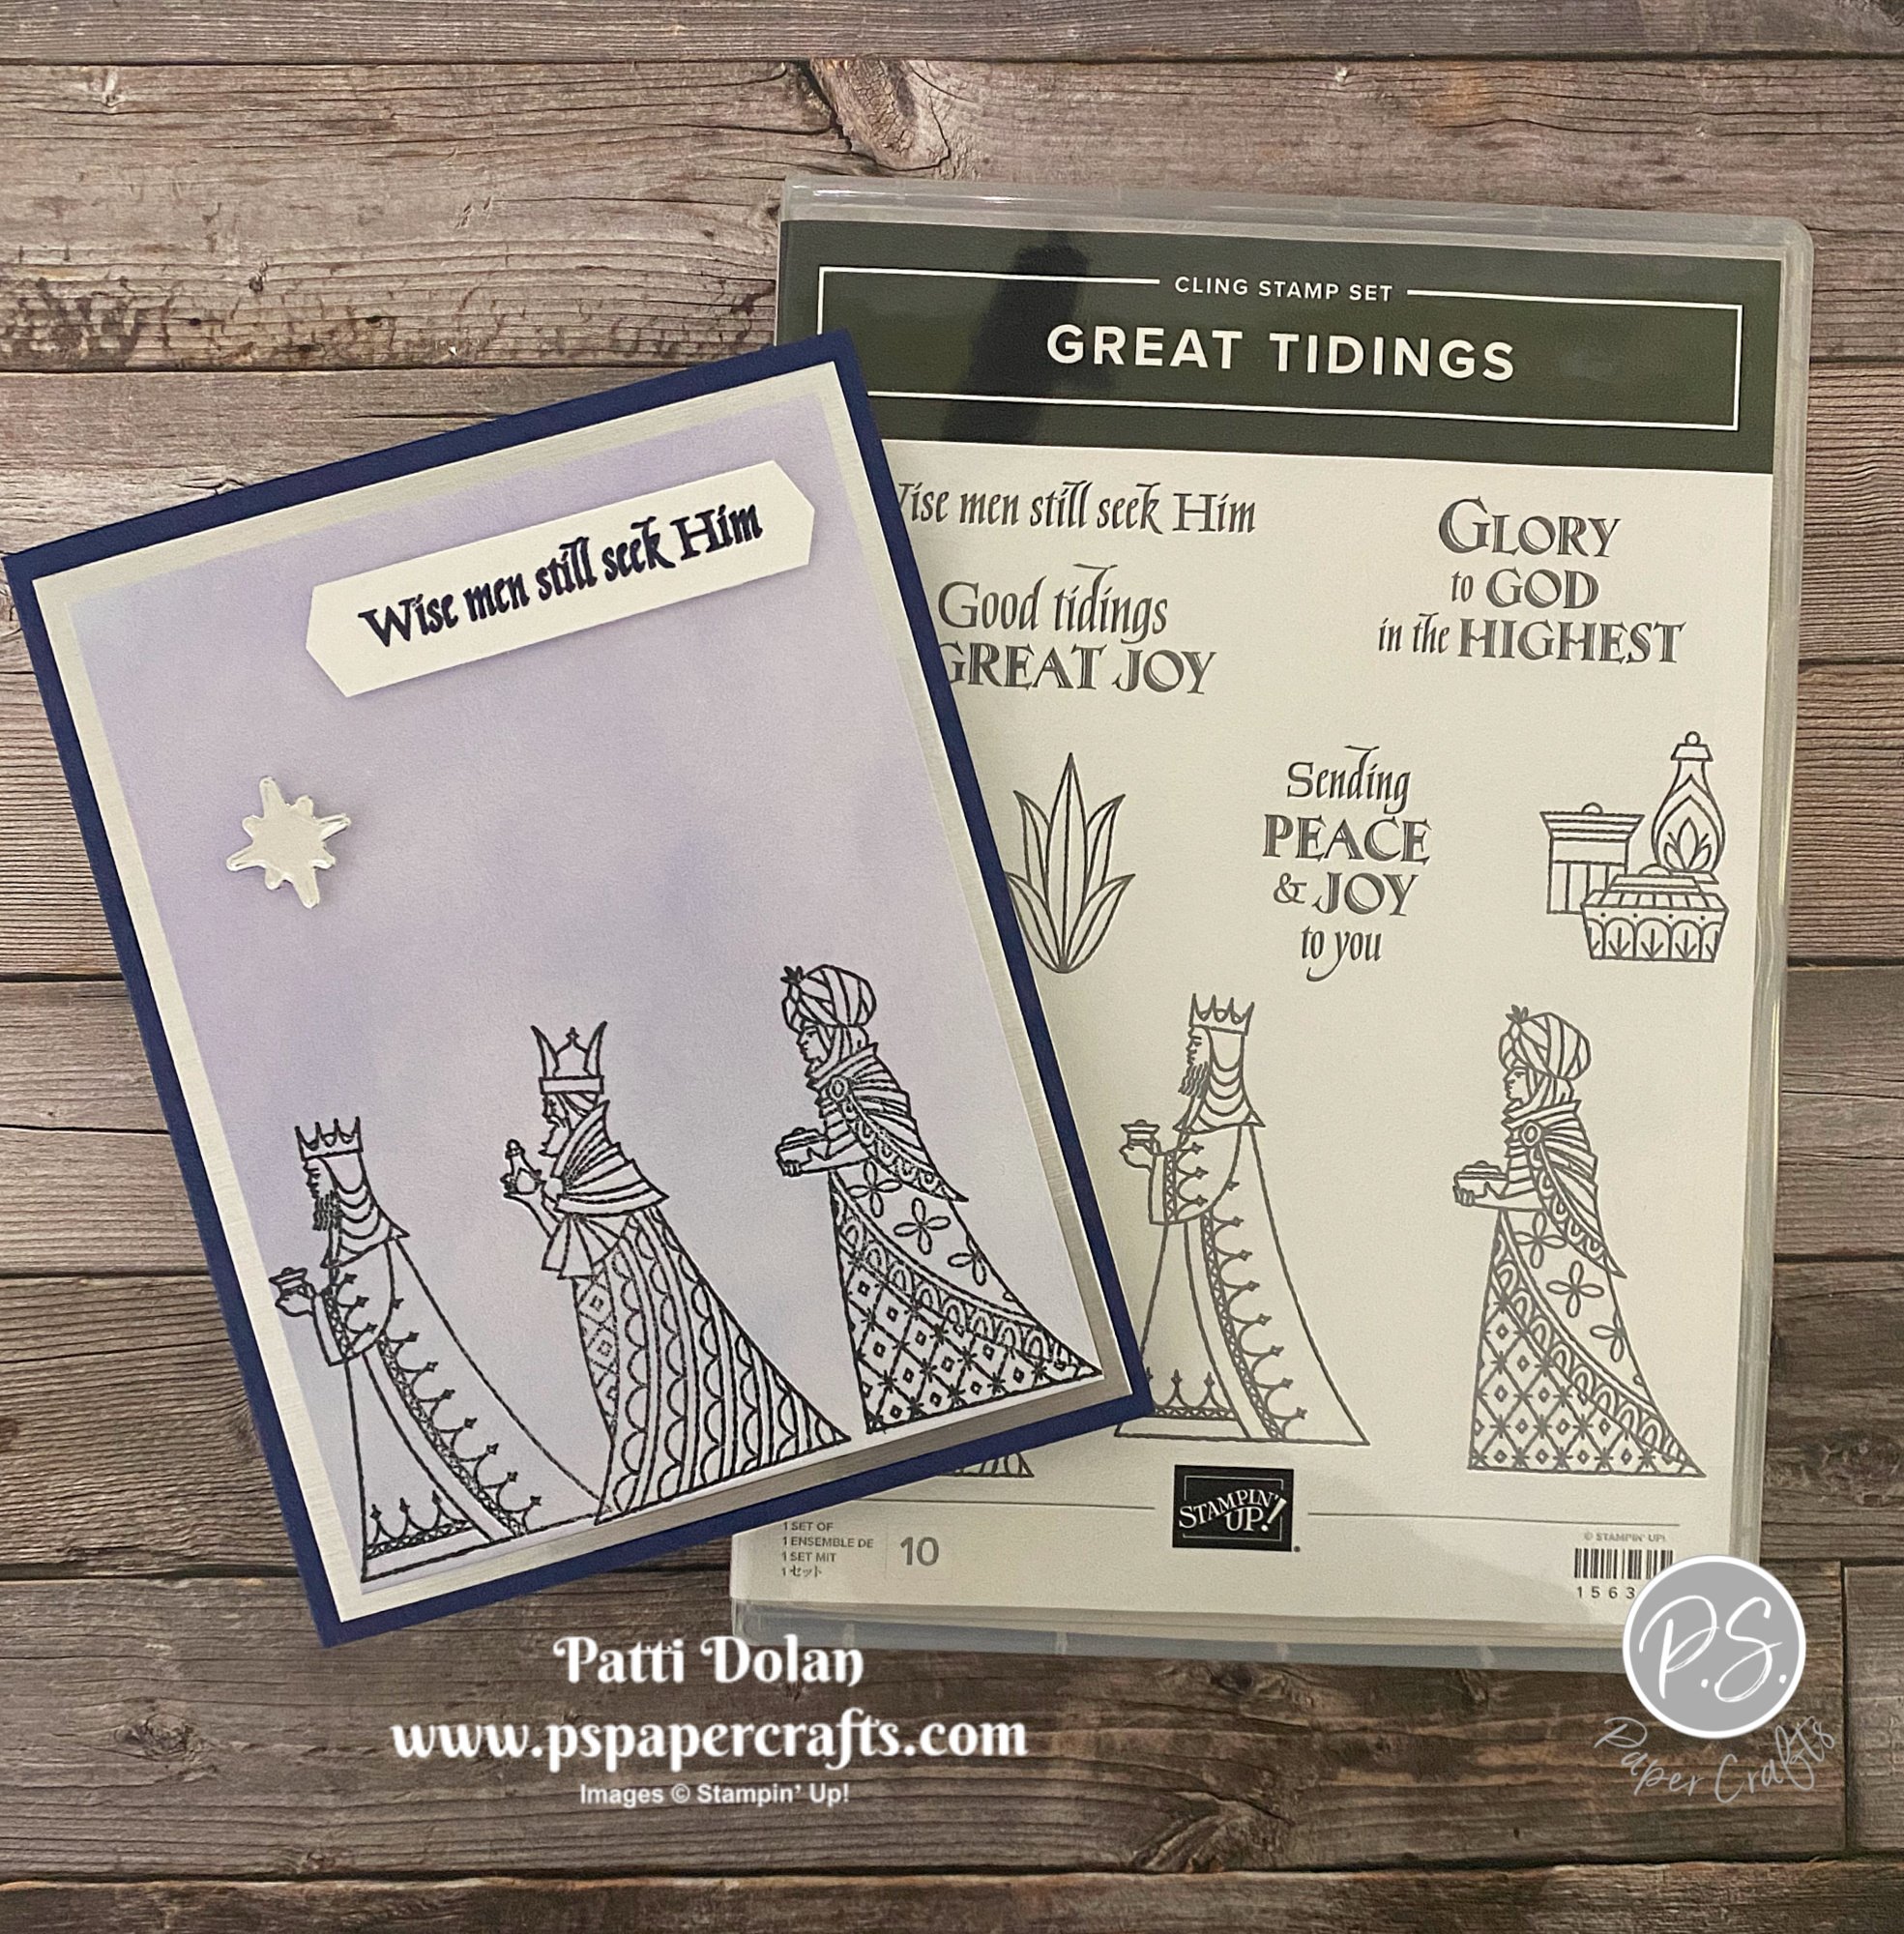
I love this sentiment; it’s so true! I made this simple Christmas card using the Great Tidings Bundle.


The Great Tidings Stamp Set has wonderful sentiments and I love the wisemen images.


I created the background by blending some inks using Blending Brushes. These brushes are amazing. They remind me of a high quality make-up brush, with very fine bristles.


Tips & Instructions

  • Night Of Navy Card Base - 5 1/2 x 8 1/2, score at 4 1/4

  • Silver Foil Sheet - 5 1/4 x 4, adhere to card base.

  • Basic White Layer - 5 x 3 3/4, using Blending Brushes lightly brush Balmy Blue Ink, then Night Of Navy Ink and then just a little Gorgeous Grape Ink. When blending go light, you can always add more and start off the layer to avoid getting a spotty look.

  • Stamp the 3 wisemen using Black Memento Ink.

  • Stamp sentiment with Night Of Navy Ink on a 1/2” strip of Basic White. Punch both ends using the Banners Pick A Punch and adhere to card with Dimensionals.

  • Cut star from Silver Foil Sheet and adhere to the card with a Dimensional.


On the inside stamp the sentiment and gifts with Night Of Navy Ink.


Supply List