Fun Pocketbook Gift Card Holders

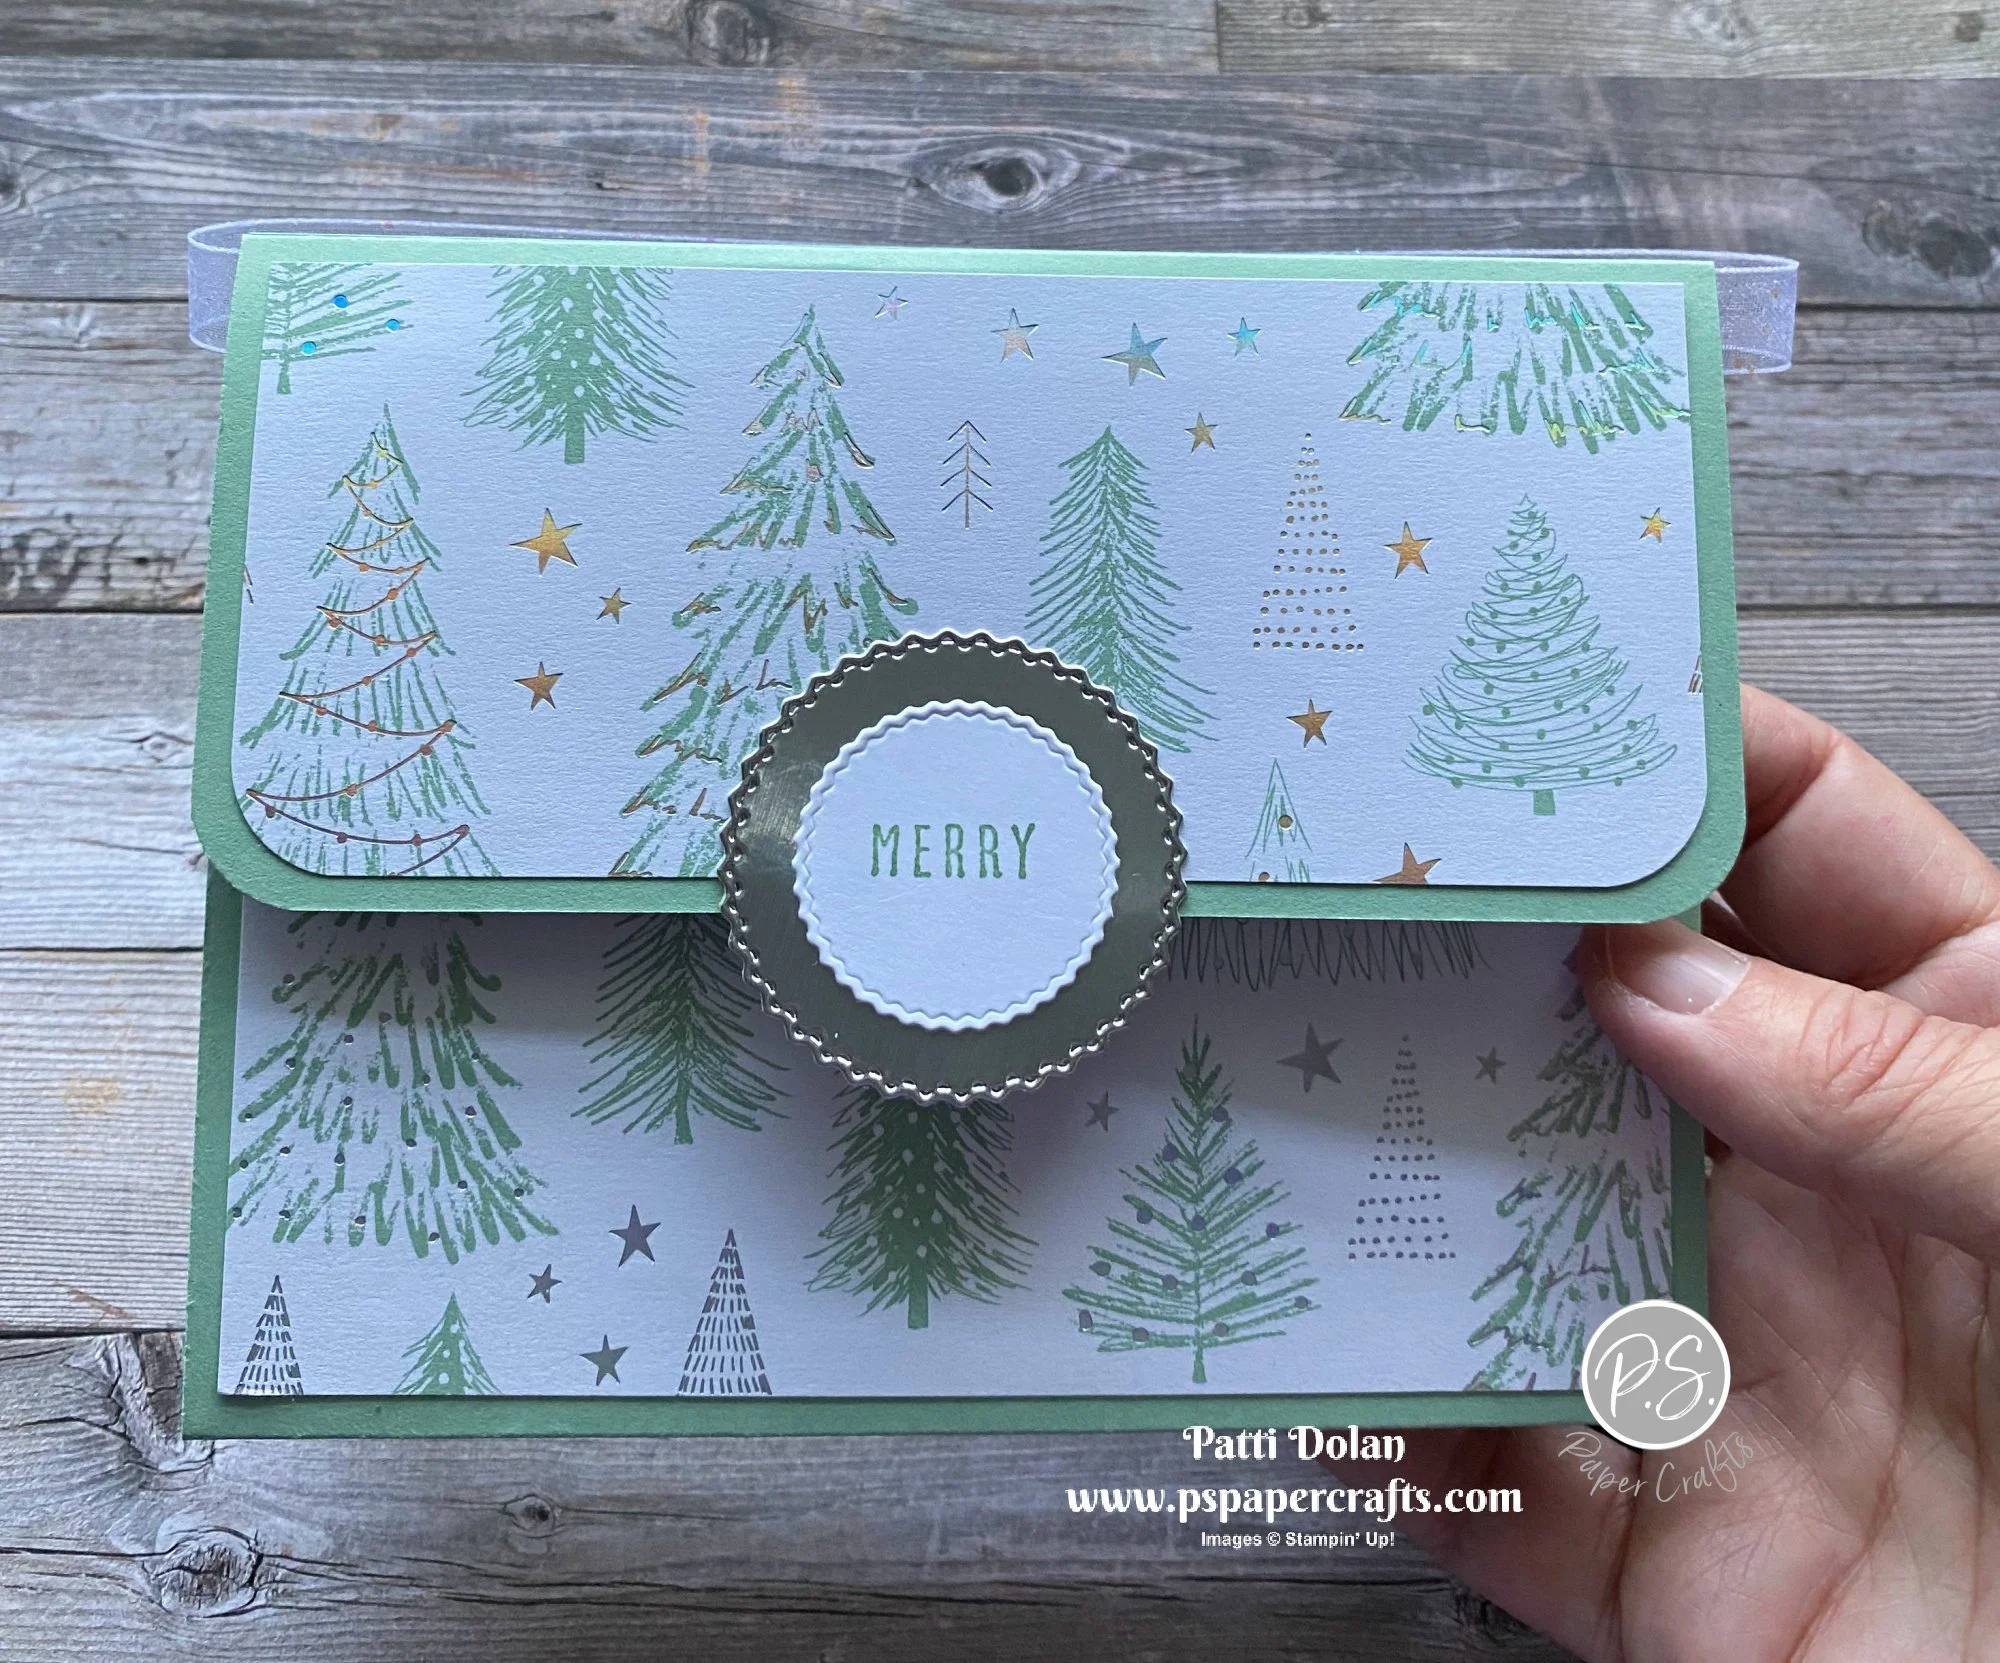
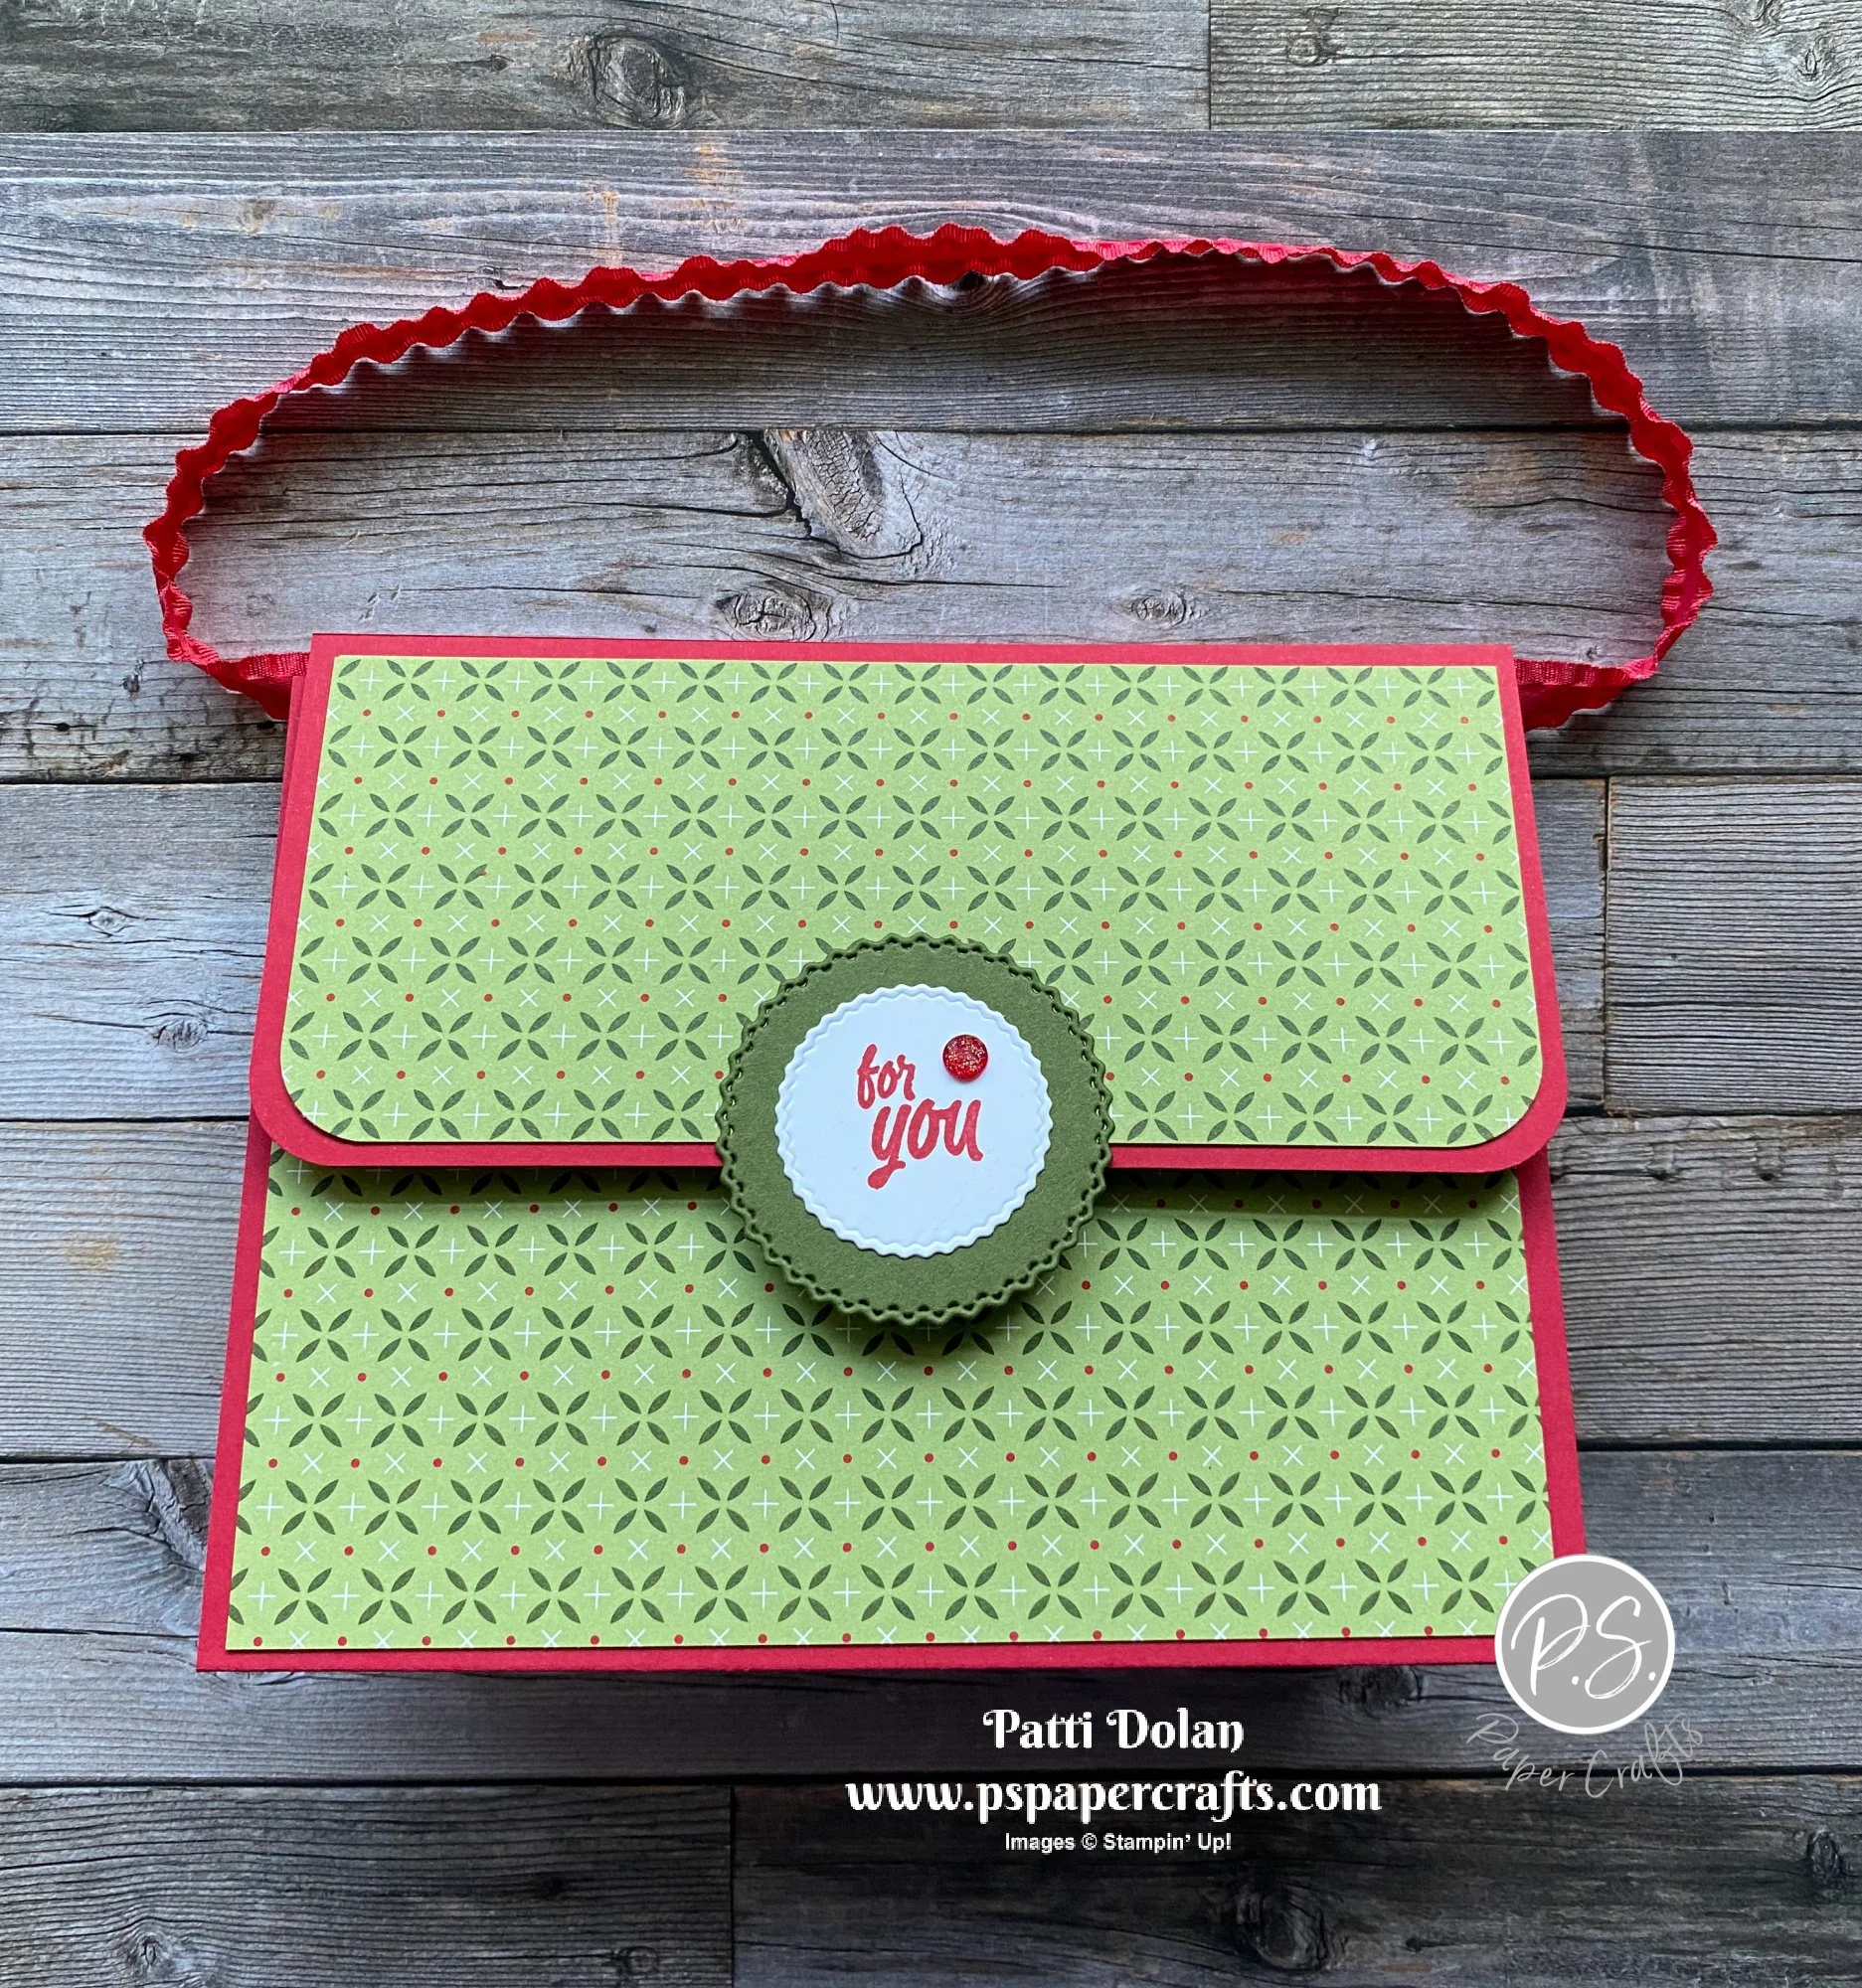
On today’s YouTube Live I made this pretty purse that holds a gift card. I love how it turned out.


Watch the video to see all the steps to make these cards. You can change up the paper and make them for any occasion. You can never have too many gift card holders, right? I got this idea from Laura's Craft Closet and tweaked it a little bit.


I used the Whimsy & Wonder Specialty Designer Series Paper with Mint Macaron for this one.


You can use some Velcro to keep it closed. Velcro, what a wonderful invention!!!


Measurements & Instructions:

  • Mint Macaron Card base - 10 1/2 x 5 1/2, score at 4 1/4, 5 1/4, 6 1/4

  • Mint Macaron Flap - 5 1/2 x 3, score at 1/2

  • Whimsy & Wonder Specialty Designer Series Paper

    • 3 pieces - 5 1/4 x 4

    • 2 pieces - 5 1/4 x 2 1/4

  • Round corners on flap and patterned pieces for the flap and adhere. Adhere flap to card.

  • Adhere patterned paper to front and inside.

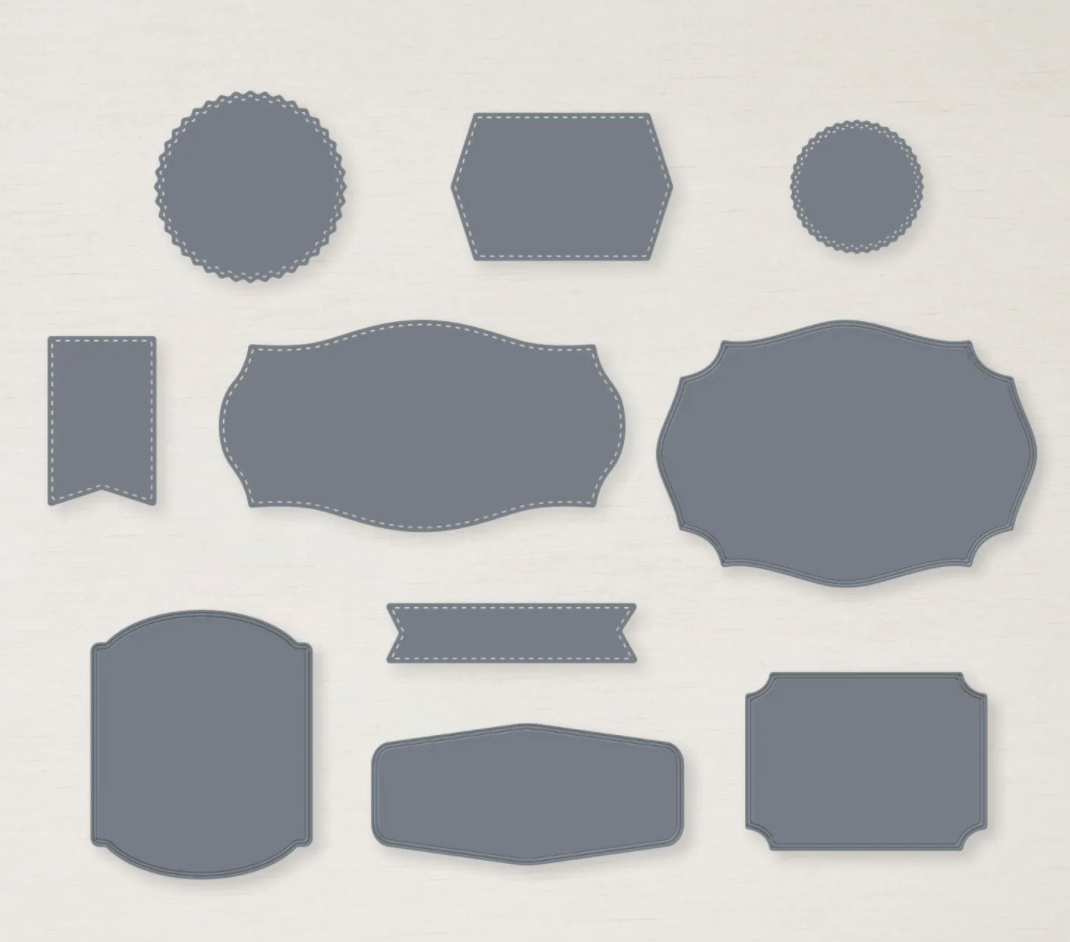
  • Mint Macaron gift card slot - 4 x 2 1/4, cut half circle using Tasteful Labels Die and adhere to card using Tear & Tape.

  • Stamp sentiment (Christmas To Remember) on 1/2” Basic White Cardstock with Mint Macaron, cut to size and adhere to gift card slot.

  • Stamp sentiment on Basic White Cardstock with Mint Macaron and cut with Tasteful Labels Dies. Adhere to inside top.

  • Adhere ribbon to inside of card to make a handle. Tie bow and adhere using a Glue Dot.

  • Stamp sentiment on Basic White scrap with Mint Macaron Ink and cut with the small circle from the Tasteful Labels Dies. Cut the larger circle from Mint Macaron Cardstock and adhere together. Adhere to front flap just putting glue on the top half.

  • Add small piece of Velcro to inside flap and front.


Here’s a side view…..this is so cute, isn’t it?


I used the Heartwarming Hugs Designer Series Paper for this one along with Real Red and Mossy Meadow Cardstock. The Ribbon is the Real Red Mini Ruffled Ribbon. I added a Wonderful Gem to the sentiment.


The sentiments on this card are from the Sweet Little Stockings Stamp Set.


Supply List

Rustic Christmas To Remember Card

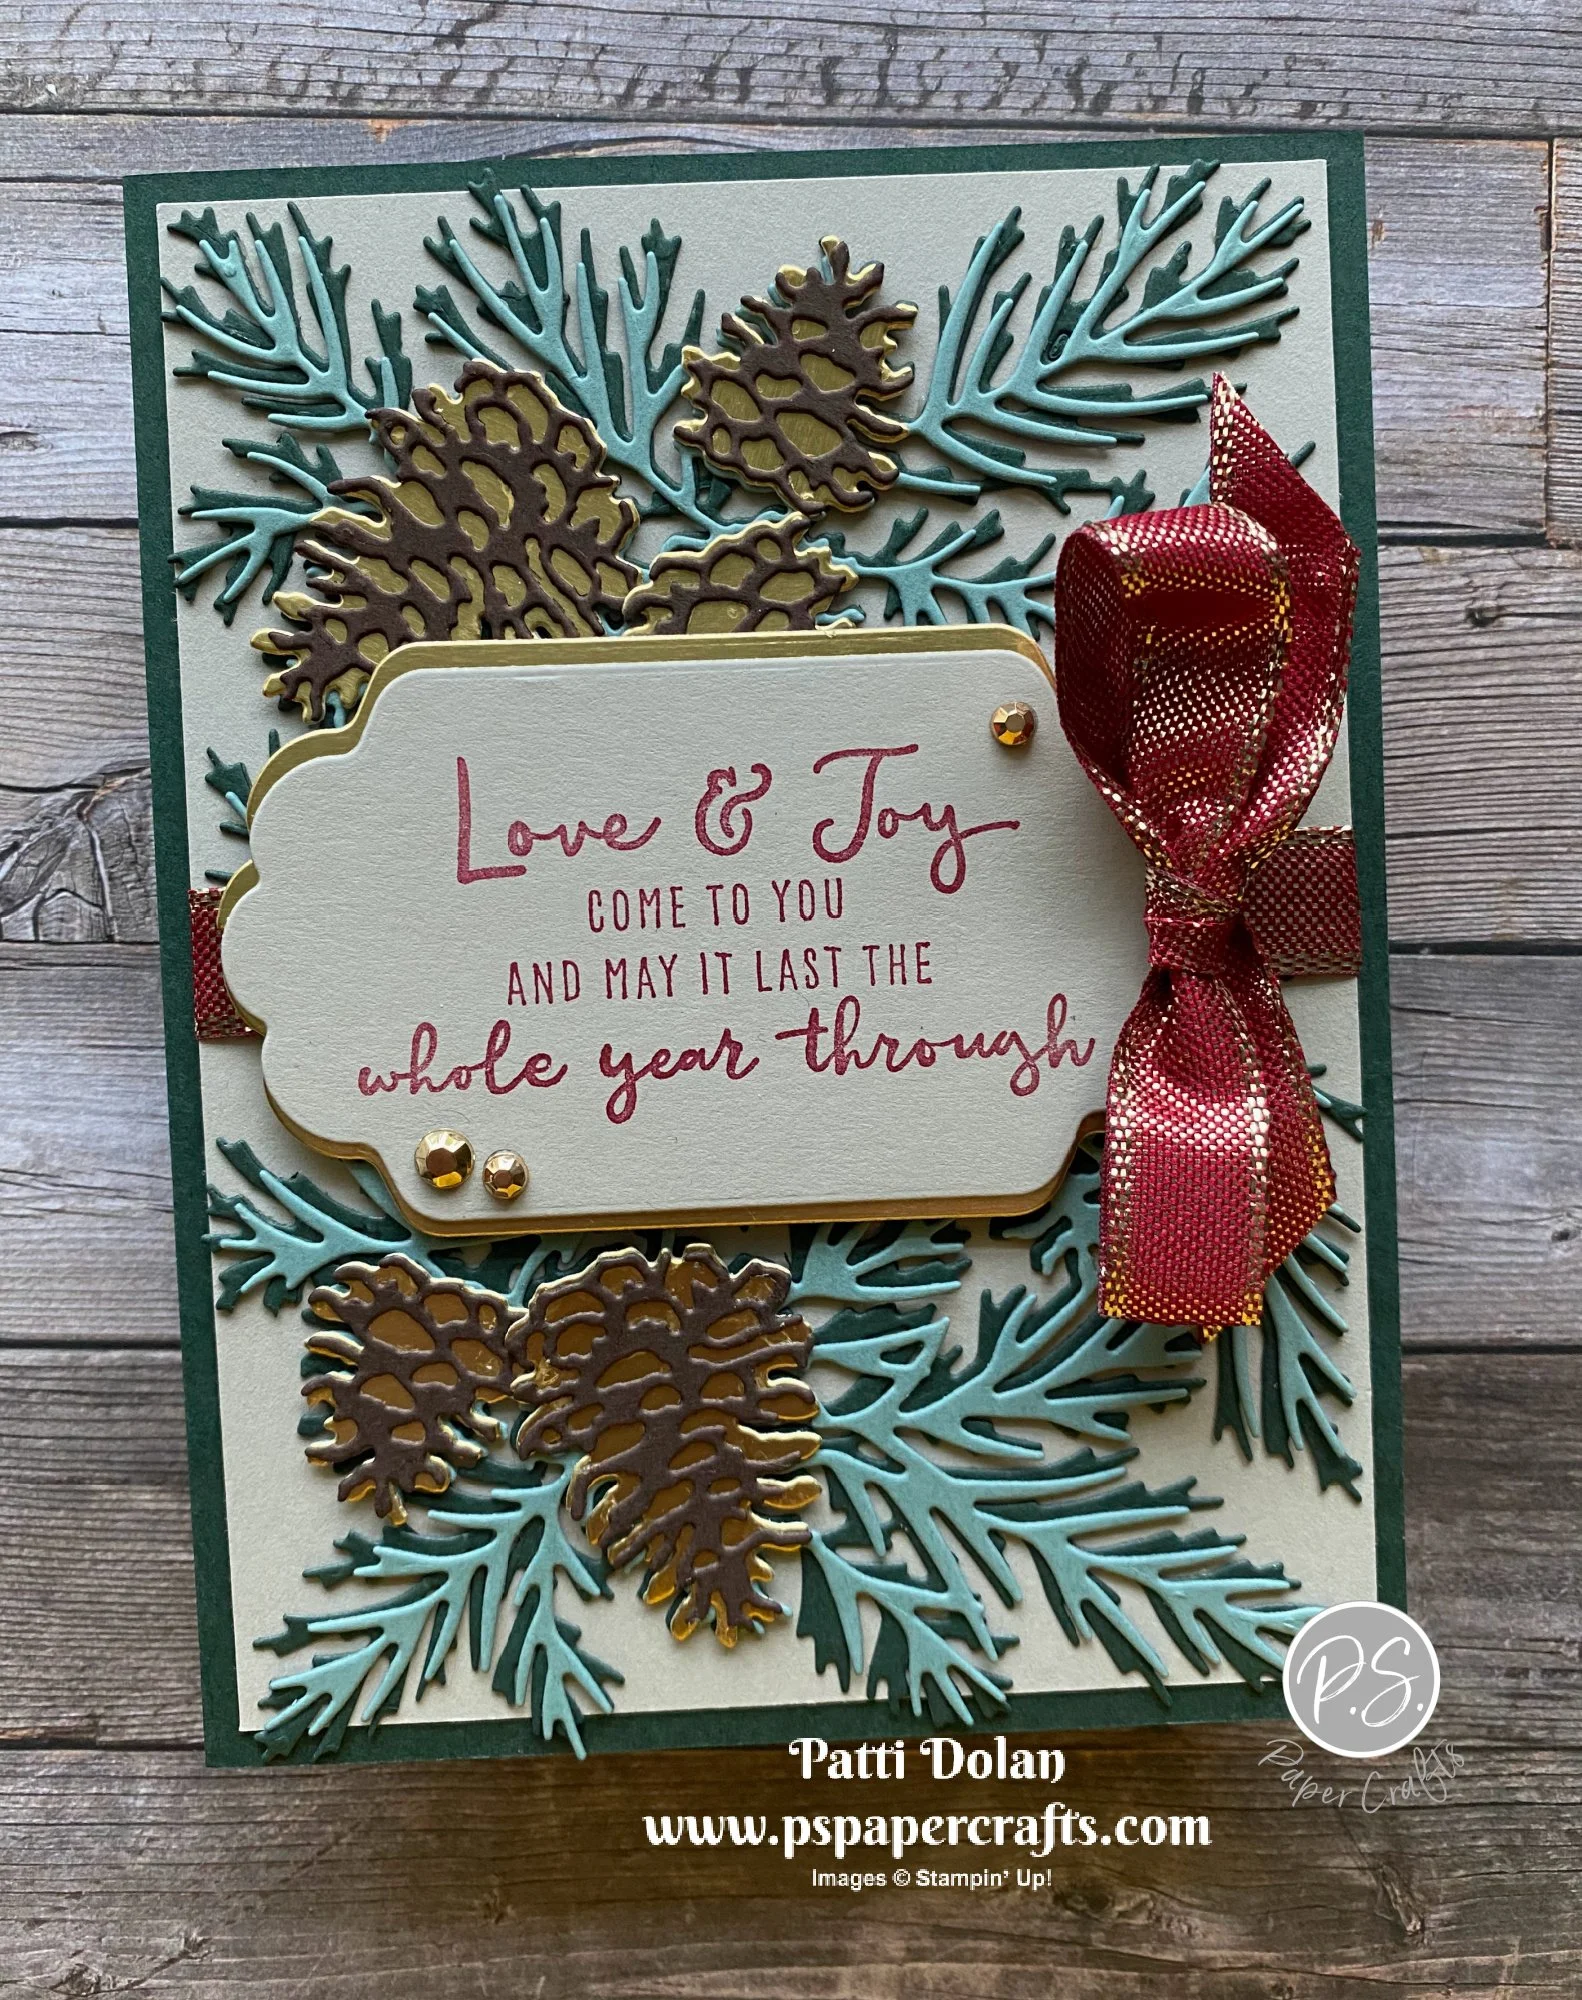
I love the rustic look of this card with the pretty branches and pinecones. There’s a little bit of gold added in a few places to brighten it up.


The Christmas to Remember Bundle has wonderful sentiments. The Christmas Pinecone Dies are big enough to cover your card front with greenery and you can add pinecones to the branches.


The Christmas Season Bundle has the labels to coordinate with the Christmas To Remember Stamp Set. I used some of the greenery images on the inside of the card. Both bundles work so great together.


Tips & Instructions

  • Evening Evergreen Card Base - 5 1/2 x 8 1/2, score at 4 1/4

  • Sahara Sand Layer - 5 1/4 x 4

  • Evening Evergreen Cardstock - 5 1/2 x 4, cut using the background greenery die from the Christmas Pinecones Dies.

  • Soft Succulent Cardstock - 5 1/2 x 4, cut using the detailed greenery die. Adhere to Evening Evergreen greenery and adhere to Sahara Sand Layer. Wrap Cherry Cobbler & Gold Shimmer RIbbon around layer, adhere to the back and adhere layer to card base.

  • Gold Foil Sheets - cut 2 large and 3 small background pinecones.

  • Early Espresso Cardstock - cut 2 large and 3 small detailed pinecones and adhere to coordinating gold background pieces. Adhere pine cones to greenery layer.

  • Stamp sentiment with Cherry Cobbler Ink on a scrap of Sahara Sand Cardstock and cut with the Seasonal Label Dies.

  • Cut second label from a scrap of Gold Foil and cut in half (horizontally). Spread the pieces and adhere to the label so there is just a small boarder around it. Adhere to card using Dimensionals.

  • Tie bow with ribbon and adhere using a Glue Dot. Add some Gilded Gems to label.


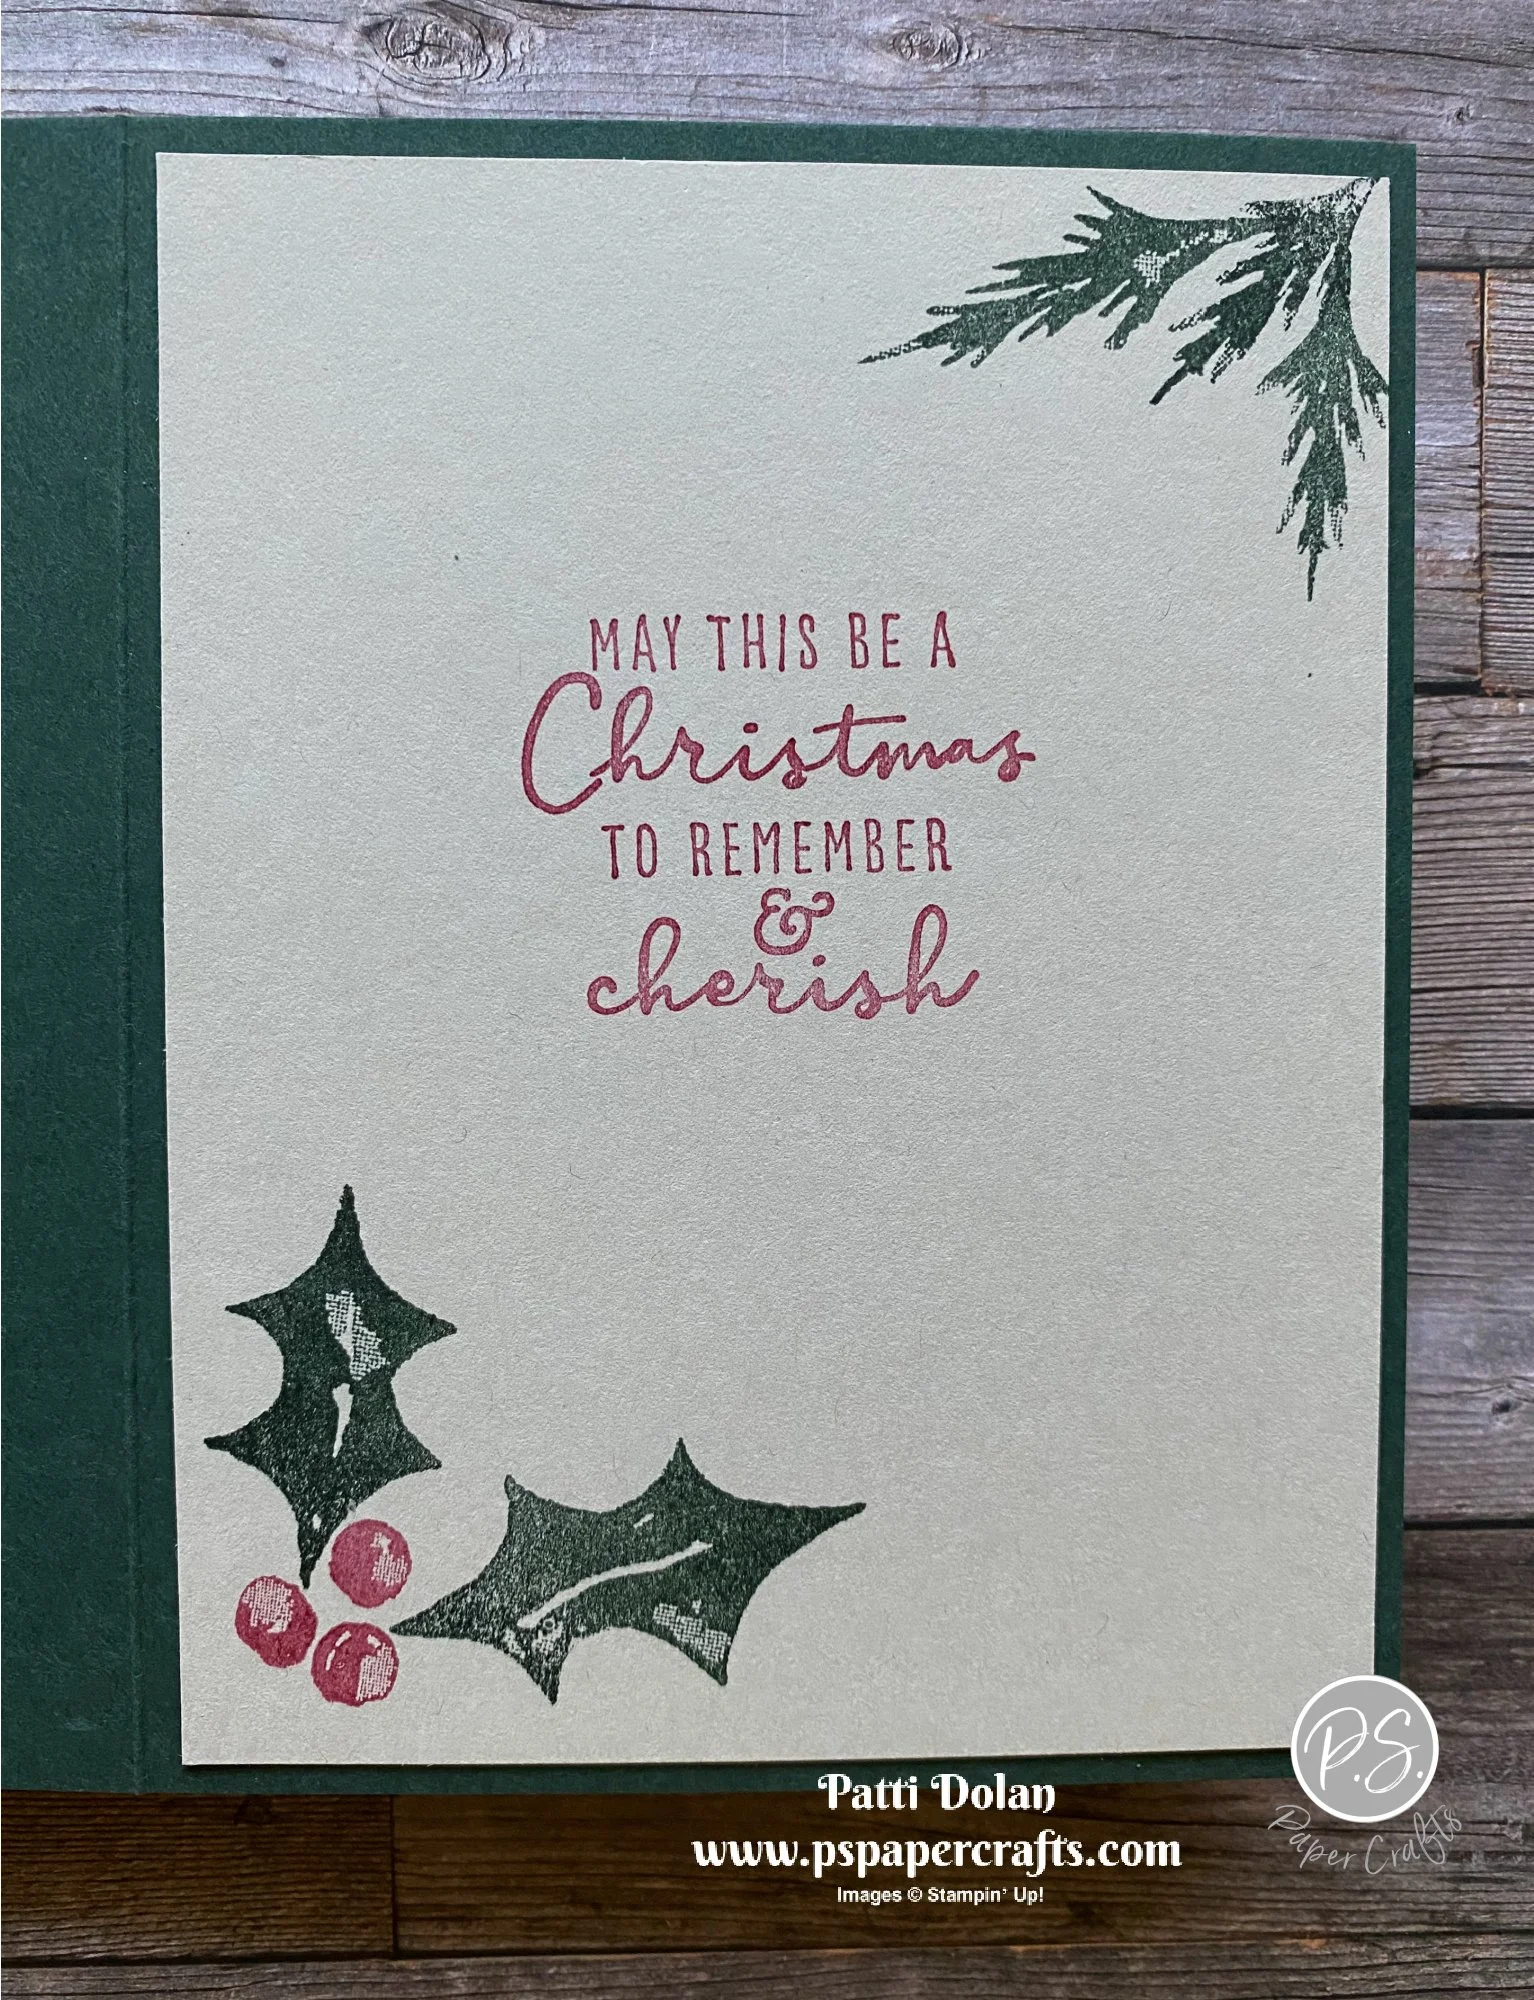
On the inside stamp sentiment with Cherry Cobbler Ink. Stamp the holly and pine branches with Evening Evergreen Ink and three of the berries with Cherry Cobbler Ink.


Supply List

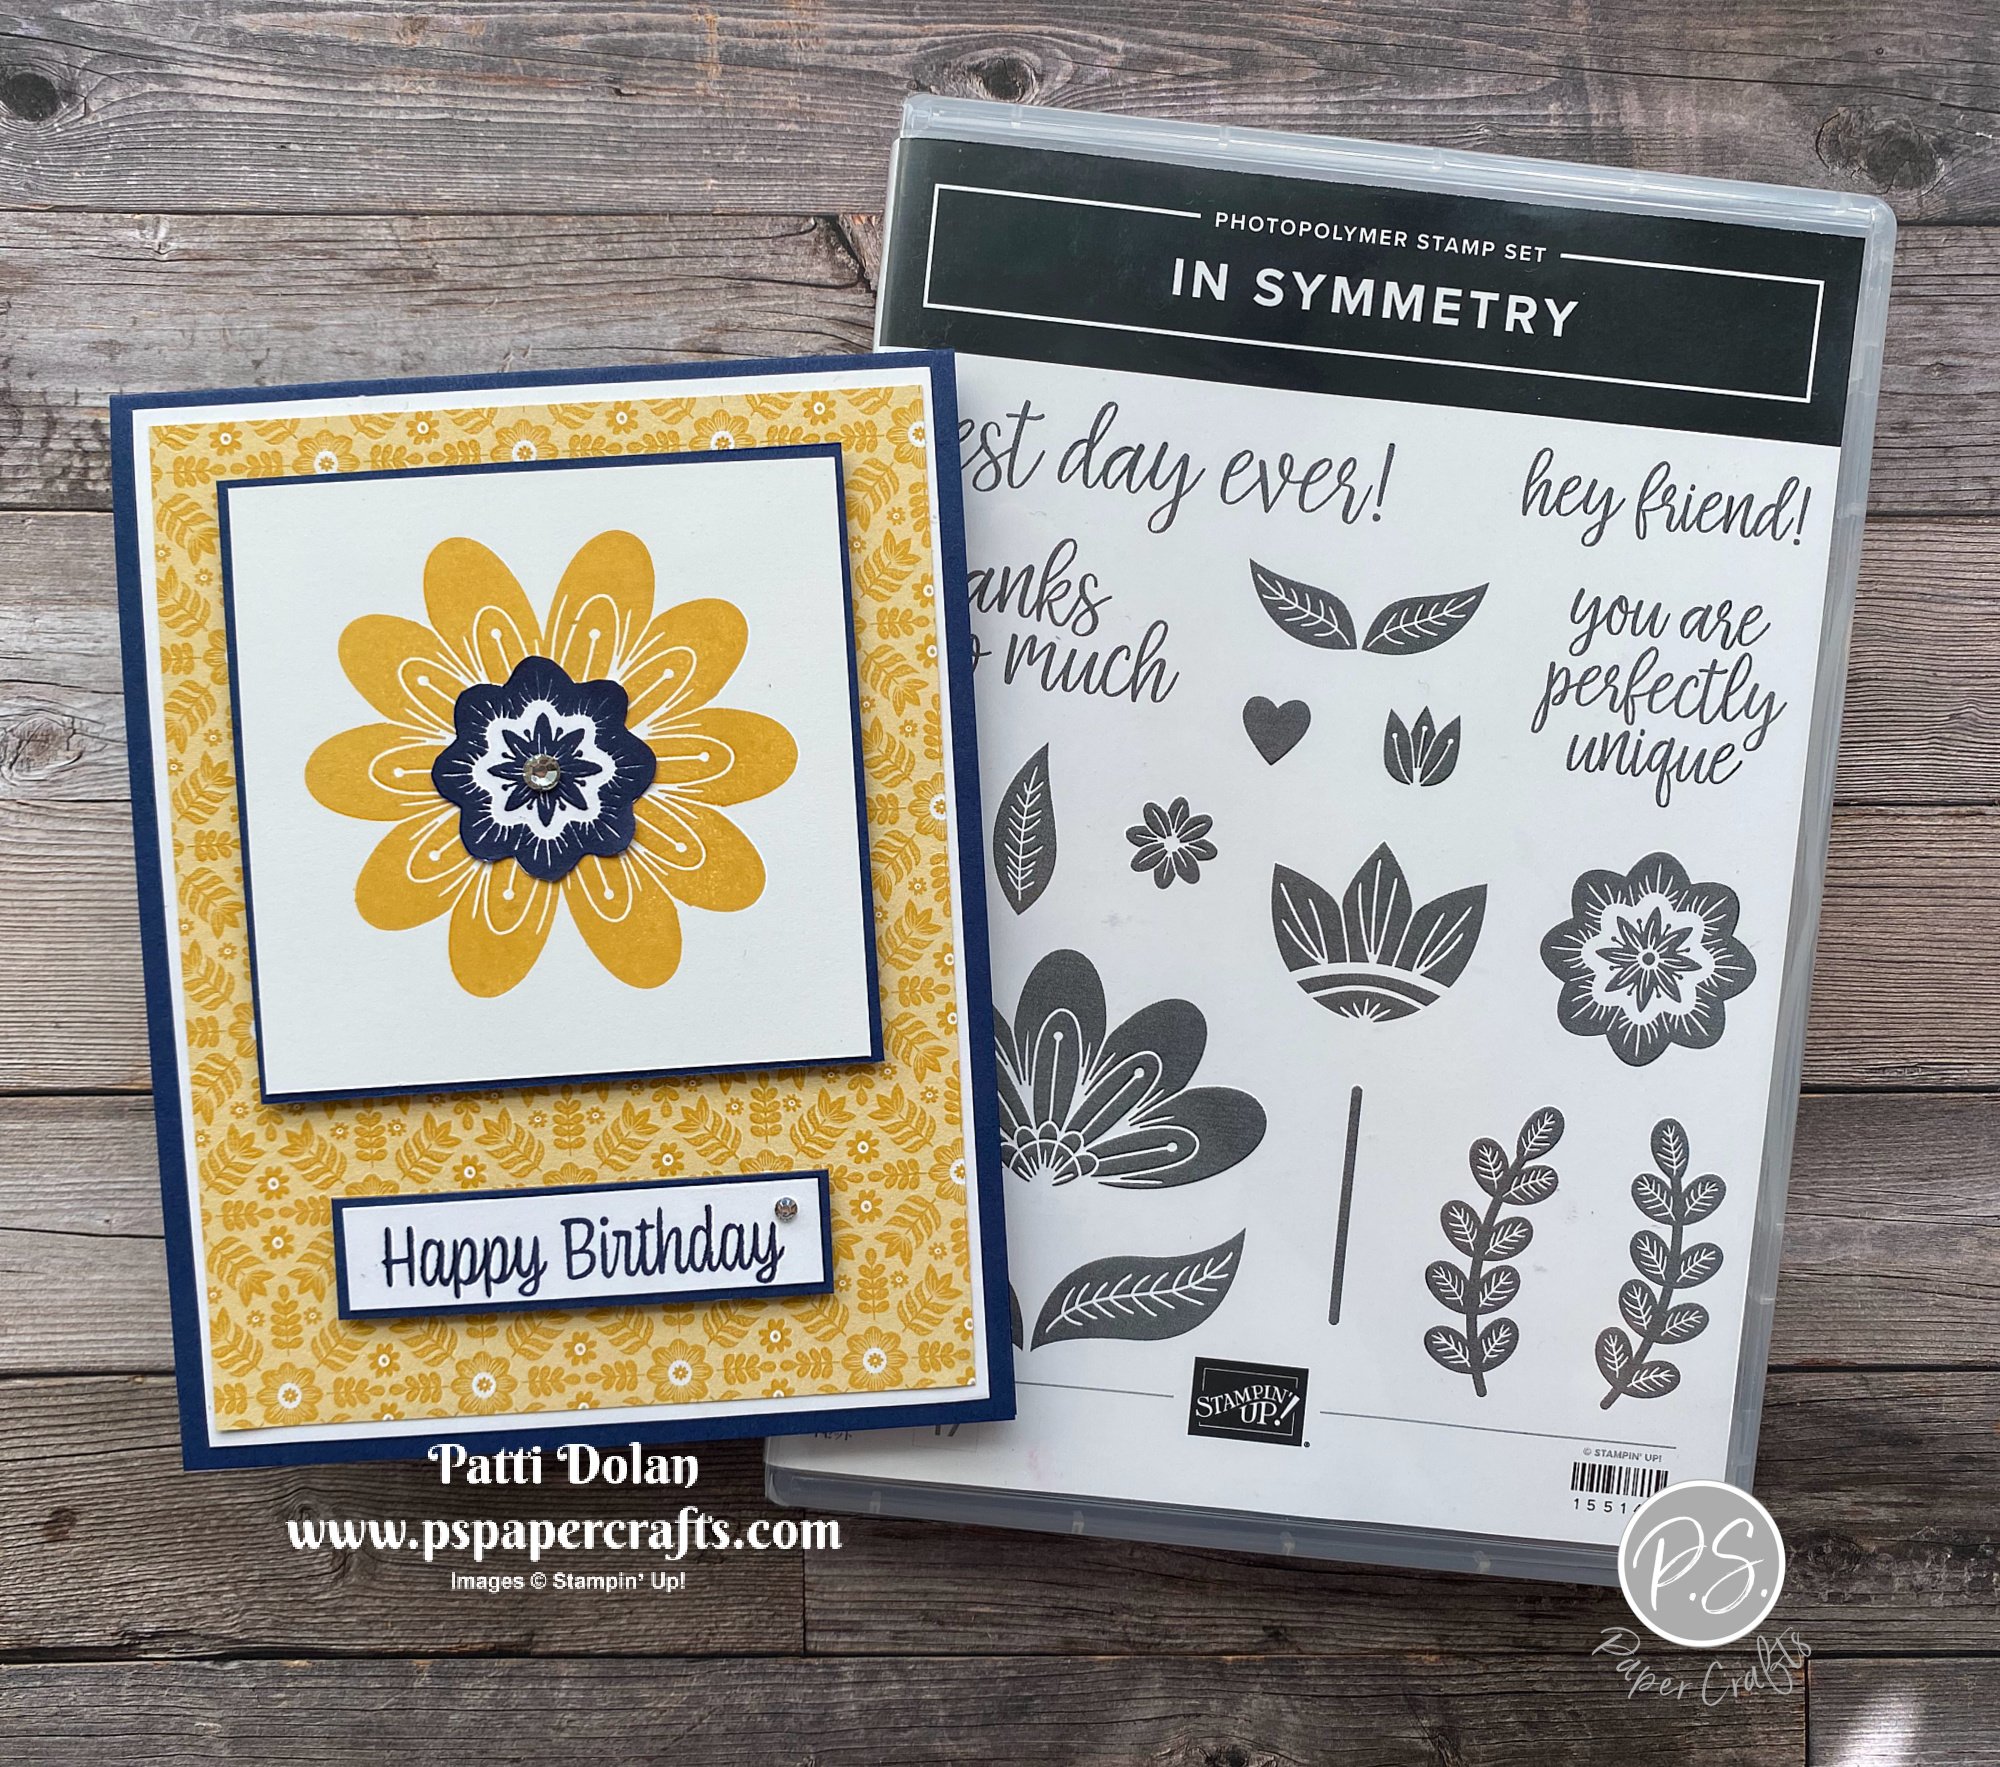
In Symmetry Birthday Card

I love the Night Of Navy and Bumblebee color combo and it works great for this card. The stamps are from In Symmetry Stamp Set and the Sweet Symmetry Designer Series Paper is so pretty.


These images in this stamp set remind me of Pennsylvania Dutch. I stamped the largest flower twice to get this full flower on the focal piece.


Tips & Instructions

  • Night Of Navy Card Base - 4 1/4 x 11, score at 5 1/2 (top folding)

  • Basic White Layer - 5 1/4 x 4, adhere to card base

  • Sweet Symmetry Designer Series Paper Layer - 5 1/8 x 3 7/8

  • Night Of Navy Square - 3 1/8 x 3 1/8

  • Basic White Square - 3 x 3, stamp the large flower twice with Bumblebee Ink to get the full flower. Adhere to Night Of Navy Square and then adhere squares to card using Dimensionals.

  • Stamp the small flower on a scrap of Basic White Cardstock with Night Of Navy Ink and fussy cut. Adhere to center of flower.

  • Basic White 1/2” strip - stamp sentiment (from Sweet As A Peach) with Night Of Navy Ink and cut to size. Adhere to a 5/8” strip of Night Of Navy Cardstock. Adhere to card using Dimensionals.

  • Add a Rhinestone to the sentiment label and the center of the flower.


On the inside stamp sentiment (from In Symmetry) with Night Of Navy Ink. Stamp flower with Bumblebee Ink and stem and leaves with Just Jade Ink.


I used these products for my December Card Class To Go. You can still purchase this class and make even more cards with the Sweet Symmetry Designer Series Paper and In Symmetry Stamp Set.


Here's what you get:

  • 8 card kits, including envelopes, layers and die cuts

  • Product goody bag (you'll use to make the cards)

  • PDF & videos with complete measurements & instructions

Class Fee Options:

  • December Card Class To Go - $38 ($32 for local pickup)

  • Add on In Symmetry Stamp Set - $55.00

  • Add on Ink Pads (I used Night Of Navy, Calypso Coral, Bumblebee and Just Jade.) You will want to use these colors. Add on a color or two or more for $7.50 each.

Other Info:

  • Email me and I will send you a PayPal Invoice.

  • Payment due by December 1, 2021.

  • I will pick up the shipping and tax for any Add-Ons.

  • You will require stamps, ink and adhesive to complete the cards.

  • If there is a backordered product, there may be a delay in shipping but I don't see a problem at this time.

  • Invite a friend and I will include a free gift with your kits.

Email patti@pspapercrafts.com to sign up!!!

Supply List for Today’s Card

Beautiful Scalloped Kraft Treat Boxes

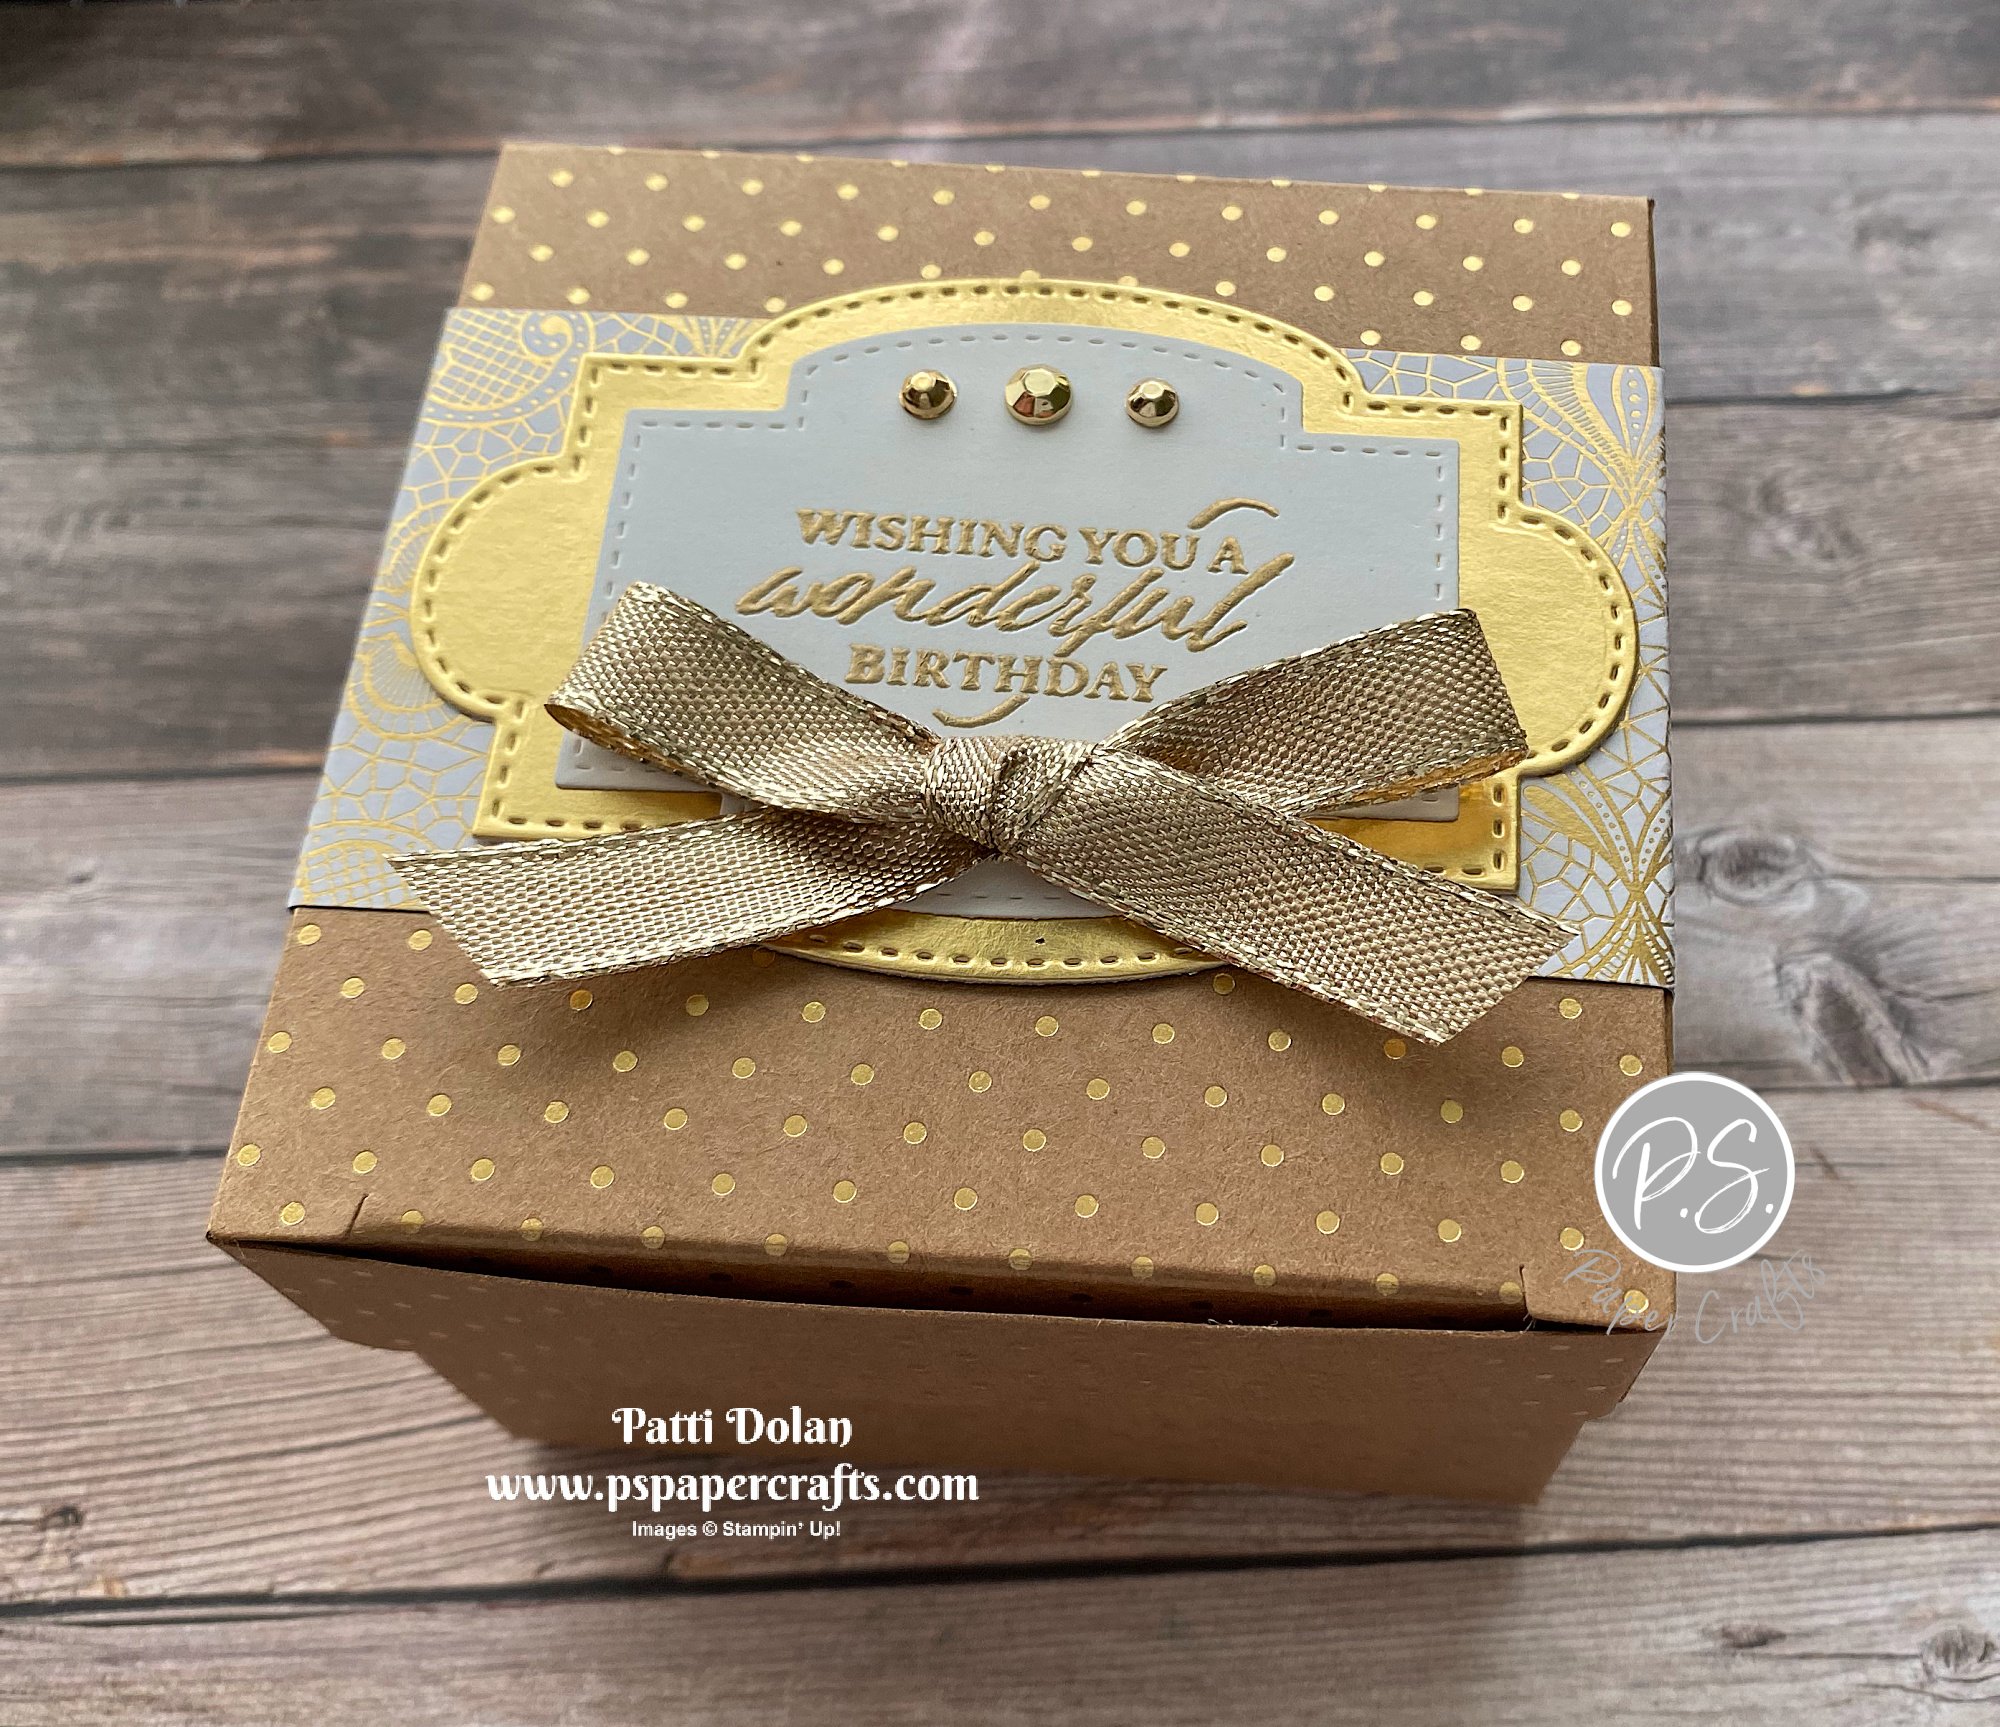
These gift boxes were simple to make using the Scalloped Kraft Treat Boxes. You can make them for any occasion.


In the video I’ll show you how to put the boxes together and a few ideas on decorating them.


This one is for a birthday and I used the Simply Elegant Specialty Designer Series Paper. The labels were cut using the Stitched So Sweetly Dies and embossed with Gold Embossing Powder. Add a bow using some Gold Shimmer Ribbon and some Gilded Gems.


The Boxes are made of heavy kraft paper with gold foil dots. You get 8 boxes in a pack.


I made this box pretty much the same as the first but used a piece of Gold Elegant Trim for the bow.


This box is a Christmas Gift Box. I used the beautiful Cherry Cobbler & Gold Ribbon. There’s no band, just the ribbon. The labels were cut from the Seasonal Labels Dies and stamped with Cherry Cobbler Ink. I added some Gold Holly Leaves and Decorative Matte Dots.


I love how these boxes turned out. They will be great for a little gift like chocolate and a gift card.


Supply List

Peaceful Cabin Peekaboo Card

I made this simple Peekaboo Card using the Peaceful Cabin Stamp Set and Beauty Of The Earth Designer Series Paper.


The Peaceful Cabin Stamp Set is one of my favorite. I just love that cabin image.


There’s a good mix of fall and winter patterns in the Beauty Of The Earth Designer Series Paper. I chose the pattern with the blue branches but I think the pattern with the green trees would work just as well.


Tips & Instructions

  • Basic White Thick Cardstock - 4 1/4 x 11, score at 5 1/2 (Top Folding)

  • Beauty Of The Earth Designer Series Paper - 5 1/4 x 4, adhere to card front.
  • Using the 2nd from largest Layering Circles Die, cut circle through the card front.

  • Lightly draw around the circle using a pencil to determine placement for stamping. Open card and stamp the cabin with Evening Evergreen Ink and then add some snowflakes using Misty Moonlight Ink, stamping off first to get a lighter shade. Erase pencil marks.

  • Cut Misty Moonlight Cardstock using the largest and 2nd from largest Layering Circles Dies to get a rim for the circle. Adhere to card using Liquid Glue.

  • Stamp sentiment from the Heartfelt Wishes Stamp Set with Misty Moonlight Ink on a 3/4 strip of Basic White Cardstock. Cut to size and adhere using Dimensionals.


This is what the inside looks like.


Supply List

Season's Blessings Poinsettia Card - Catalog Case

When I saw this card in the Annual Catalog, I knew I wanted to CASE (Copy And Share Everything) it. I love that basketweave stamp along the sides.


I’ll show you how to stamp that basketweave on the edges in the video below. I pretty much copied it exactly from the catalog picture. You can get a lot of inspiration from looking at the catalogs.


The season’s Blessings Stamp Set has such great leaf and flower images and there are coordinating dies for them. I love that larger basket die!


Tips & Instructions

  • Crumb Cake Card Base - 5 1/2 x 8 1/2, score at 4 1 4, stamp basket along both edges of the card base with Crumb Cake Ink.

  • Crumb Cake Layer - 4 1/2 x 4 1/4, adhere to card base.

  • On scraps of Basic White Cardstock:

    • Stamp basket with Crumb Cake Ink, stamping off first to get a lighter shade.

    • Stamp large and small poinsettia flowers with Real Red Ink on Basic White Cardstock direct once and then a second time without re-inking. This will give you the red and pink flowers.

    • Stamp two sets of leaves with Evening Evergreen Ink on Basic White Cardstock.

    • Cut basket, flowers and leaves with coordinating dies.

  • Arrange basket with flowers and leaves on the card and adhere using Liquid Glue and Dimensionals.

  • On 1/2” strip of Soft Succulent Cardstock stamp sentiment with Evening Evergreen Ink and cut to size. Adhere using Dimensionals.

  • Tie bow with Soft Succulent Open Weave Ribbon and adhere using a Glue Dot.

  • Add some Wonderful Gems to flower centers.


On the inside stamp sentiment with Evening Evergreen Ink and some flowers with Real Red Ink. The sentiment I used for the inside is from the Christmas To Remember Stamp Set.


Supply List

Stampin' Up! Season Sale!!!

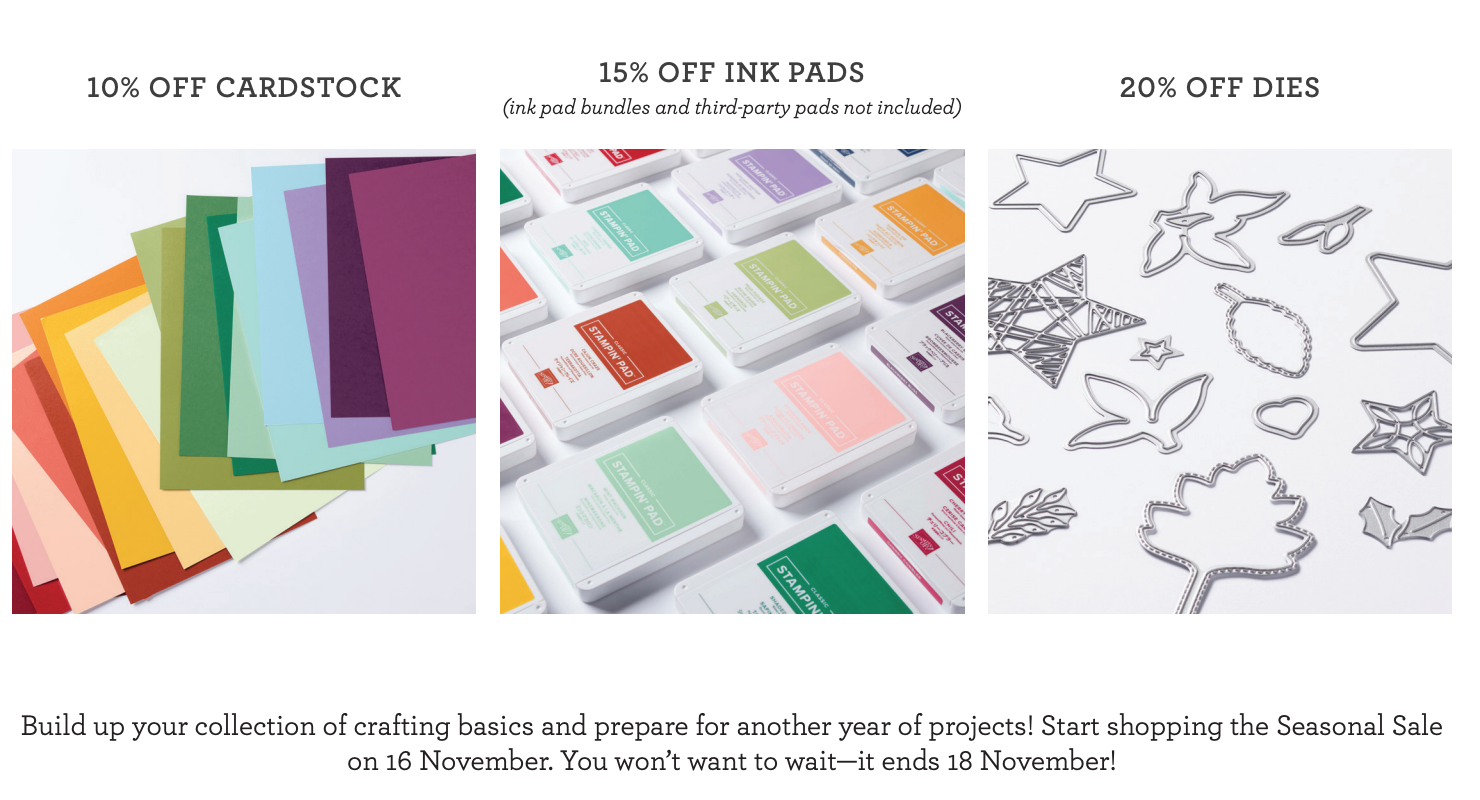
Don’t miss the Seasonal Sale from Stampin’ Up! Ink Pads, Cardstock and Dies from the Annual Catalog are on sale for 3 days only - Nov. 16-18, 2021!


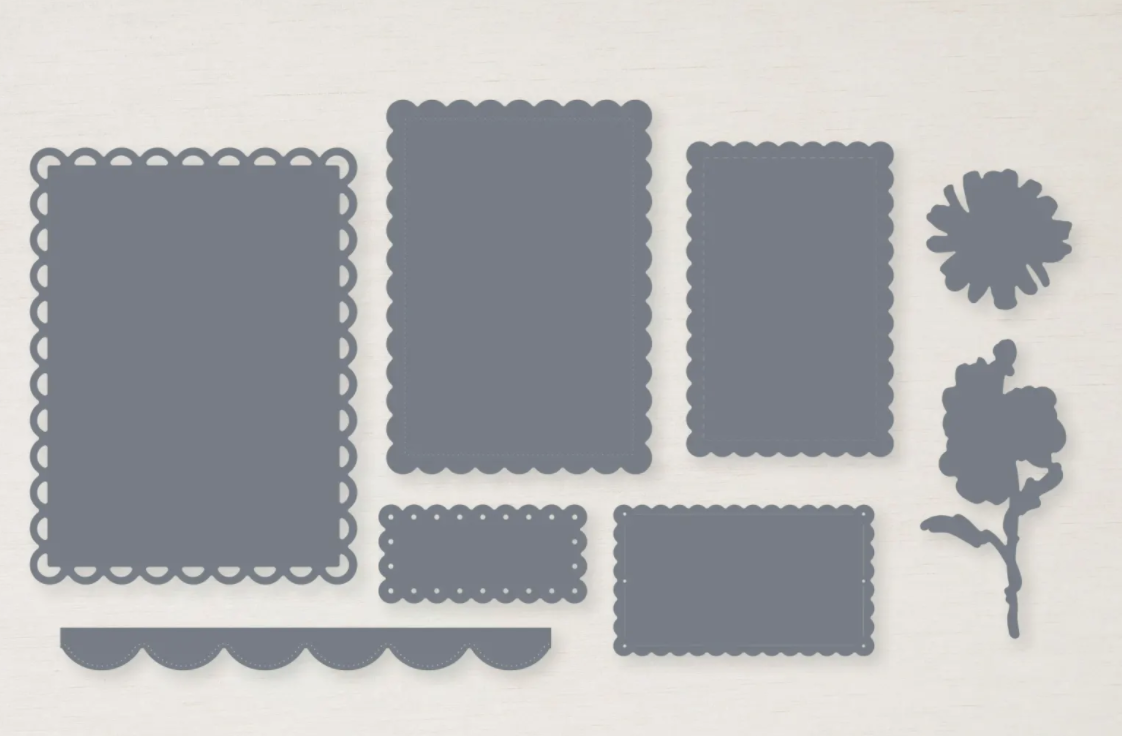
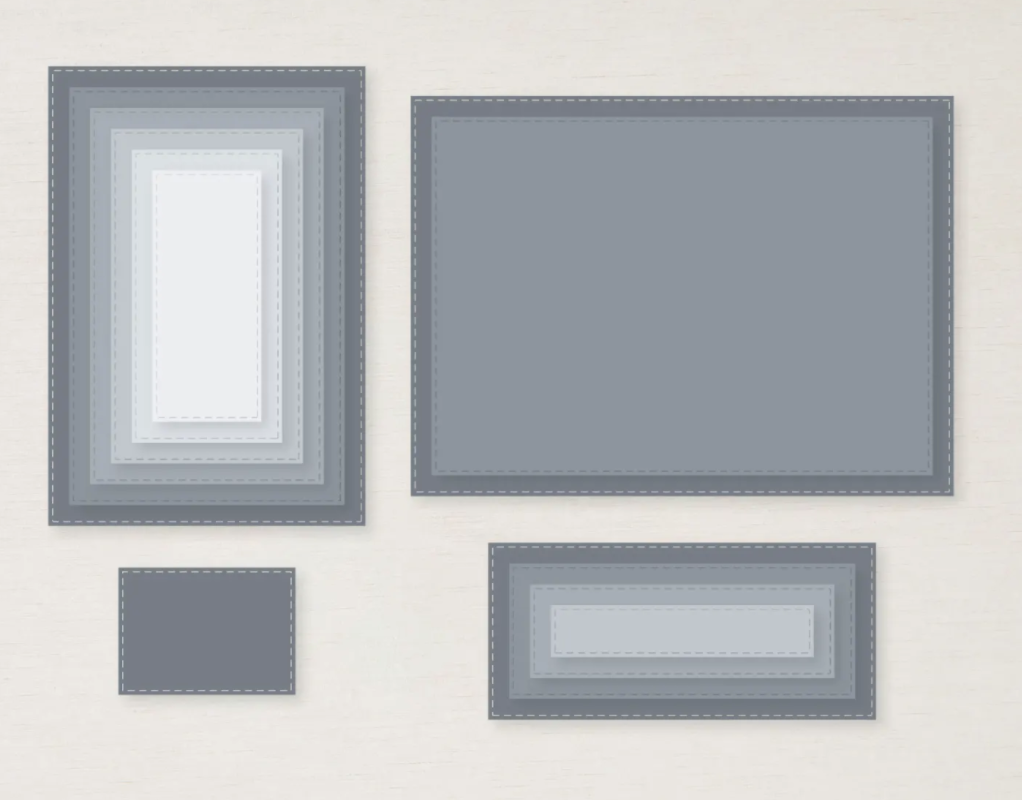
These are some of my favorite die sets. If you don’t have them, you may want to consider getting them as staples in your craft room.


Scalloped Contours Dies - 155560

Tailor Made Tags Dies - 155563

Stitched Rectangles Dies - 151820

Tasteful Labels Dies - 152886

Stitched Greenery Die - 155451


Don’t forget our Starter Kit Promotion where you can purchase the Starter Kit for only $75 and choose $125 in products - your choice, plus you get FREE shipping.


Sketch Saturday - Penguin Place

I love how this card turned out. I made it for this week’s sketch challenge using the Penguin Place Bundle and the Peaceful Place Specialty Designer Series Paper.


The sketch is from the weekly Atlantic Hearts Sketch Challenge. When I saw the circle, I thought snowflake and then decided to add that cute penguin.


The Penguin Place Bundle has these adorable penguins and sentiments. There’s a coordinating punch for the penguin.


The Peaceful Place Specialty Designer Series Paper has some of the most beautiful patterns, especially the one I used with those sparkling snowflakes.


Tips & Instructions

  • Basic Gray Card Base - 5 1/2 x 8 1/2, score at 4 1/4

  • Basic White Layer - 5 1/4 x 4

  • Peaceful Place Specialty Designer Series Paper - 5 1/8 x 3 7/8, adhere to white layer.

  • Basic Gray Strip - 5 1/4 x 1, adhere to right edge of Designer Series Paper layer.

  • Wrap piece of White Glittered Organdy Ribbon around Basic Gray Strip and adhere to back. Adhere layer to card base.

  • Adhere Wonderful Snowflake to card. I used a Glue Dot in the center of the snowflake to adhere it.

  • Stamp just the “Be Merry” on a 1/2” strip of Basic Gray using Versamark Ink. Heat emboss with White Embossing Powder using a Heat Tool. Punch on end with the Banners Pick A Punch and cut to size. Adhere to card.

  • Stamp penguin with Black Memento Ink on scrap of Basic White Cardstock. Stamp beak and feet with Calypso Coral Ink. Punch using the Penguin Punch.

  • Stamp hat and scarf with Coastal Cabana Ink on scrap of Basic White and fussy cut using Paper Snips Scissors. Adhere hat and scarf to penguin and adhere penguin to card using Dimensionals.


On the inside layer:

  • Stamp sentiment with Coastal Cabana Ink

  • Stamp some snowflakes with Coastal Cabana Ink, stamping off first to get a lighter shade.

  • Stamp penguin with Black Memento Ink, beak and feet with Calypso Coral Ink, antlers with Soft Suede Ink and tree with Shaded Spruce Ink.


Supply List

Simple Stampers Suite Tutorial - Sweet Stockings

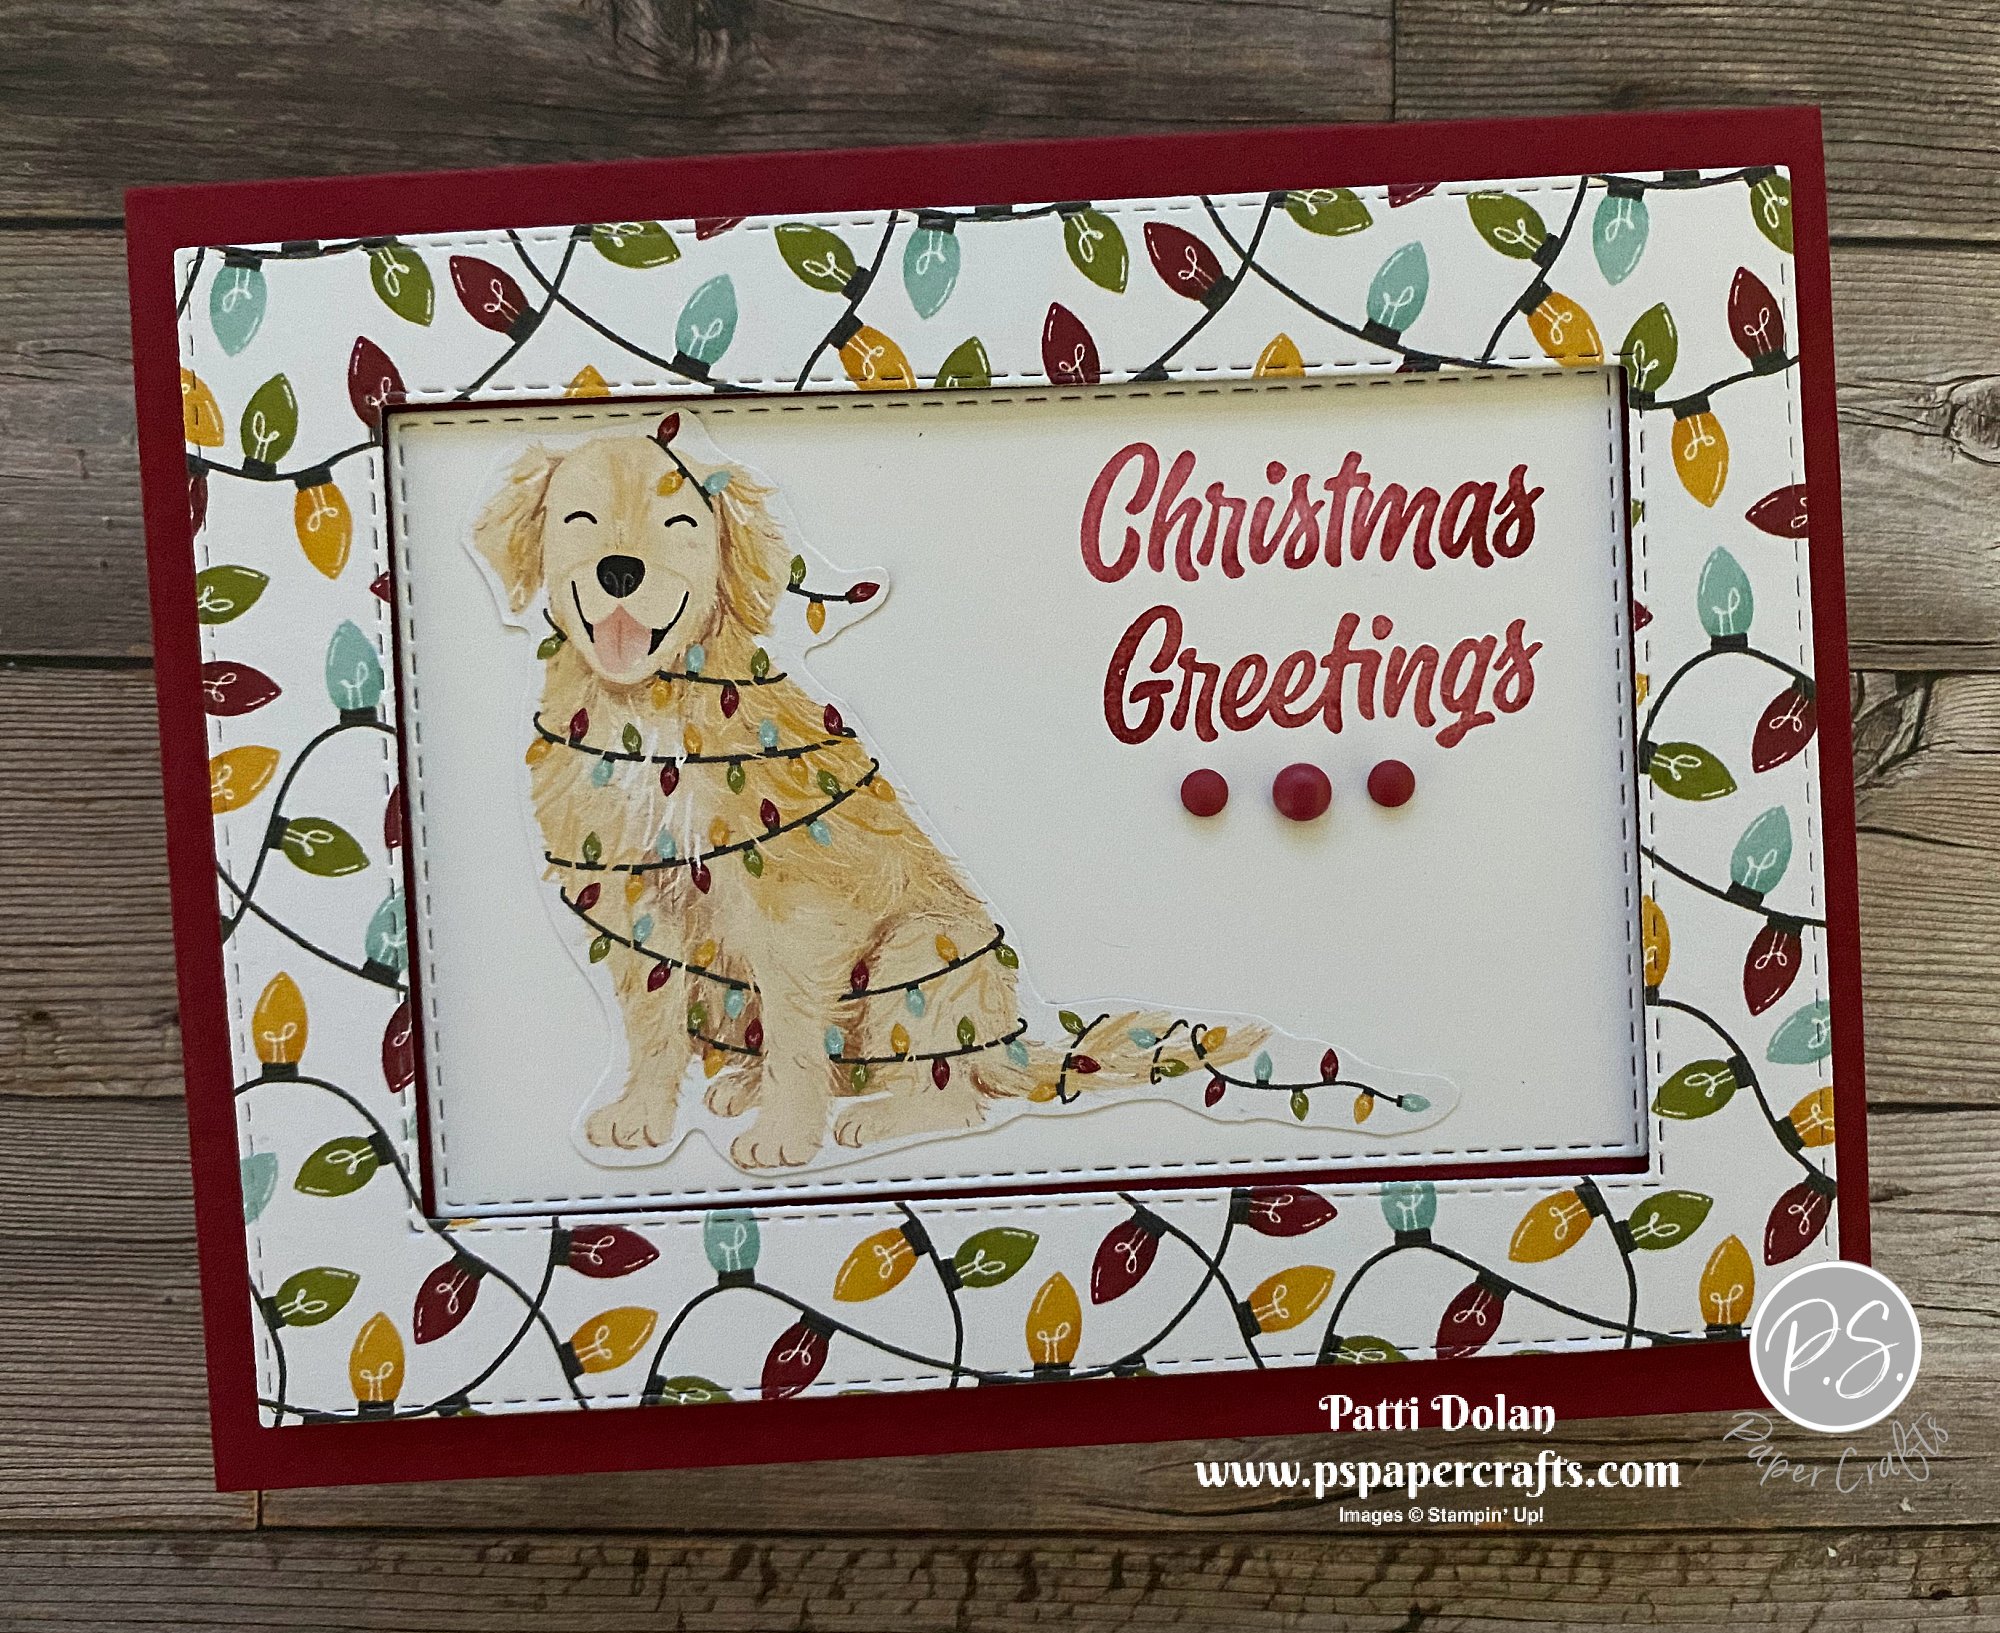
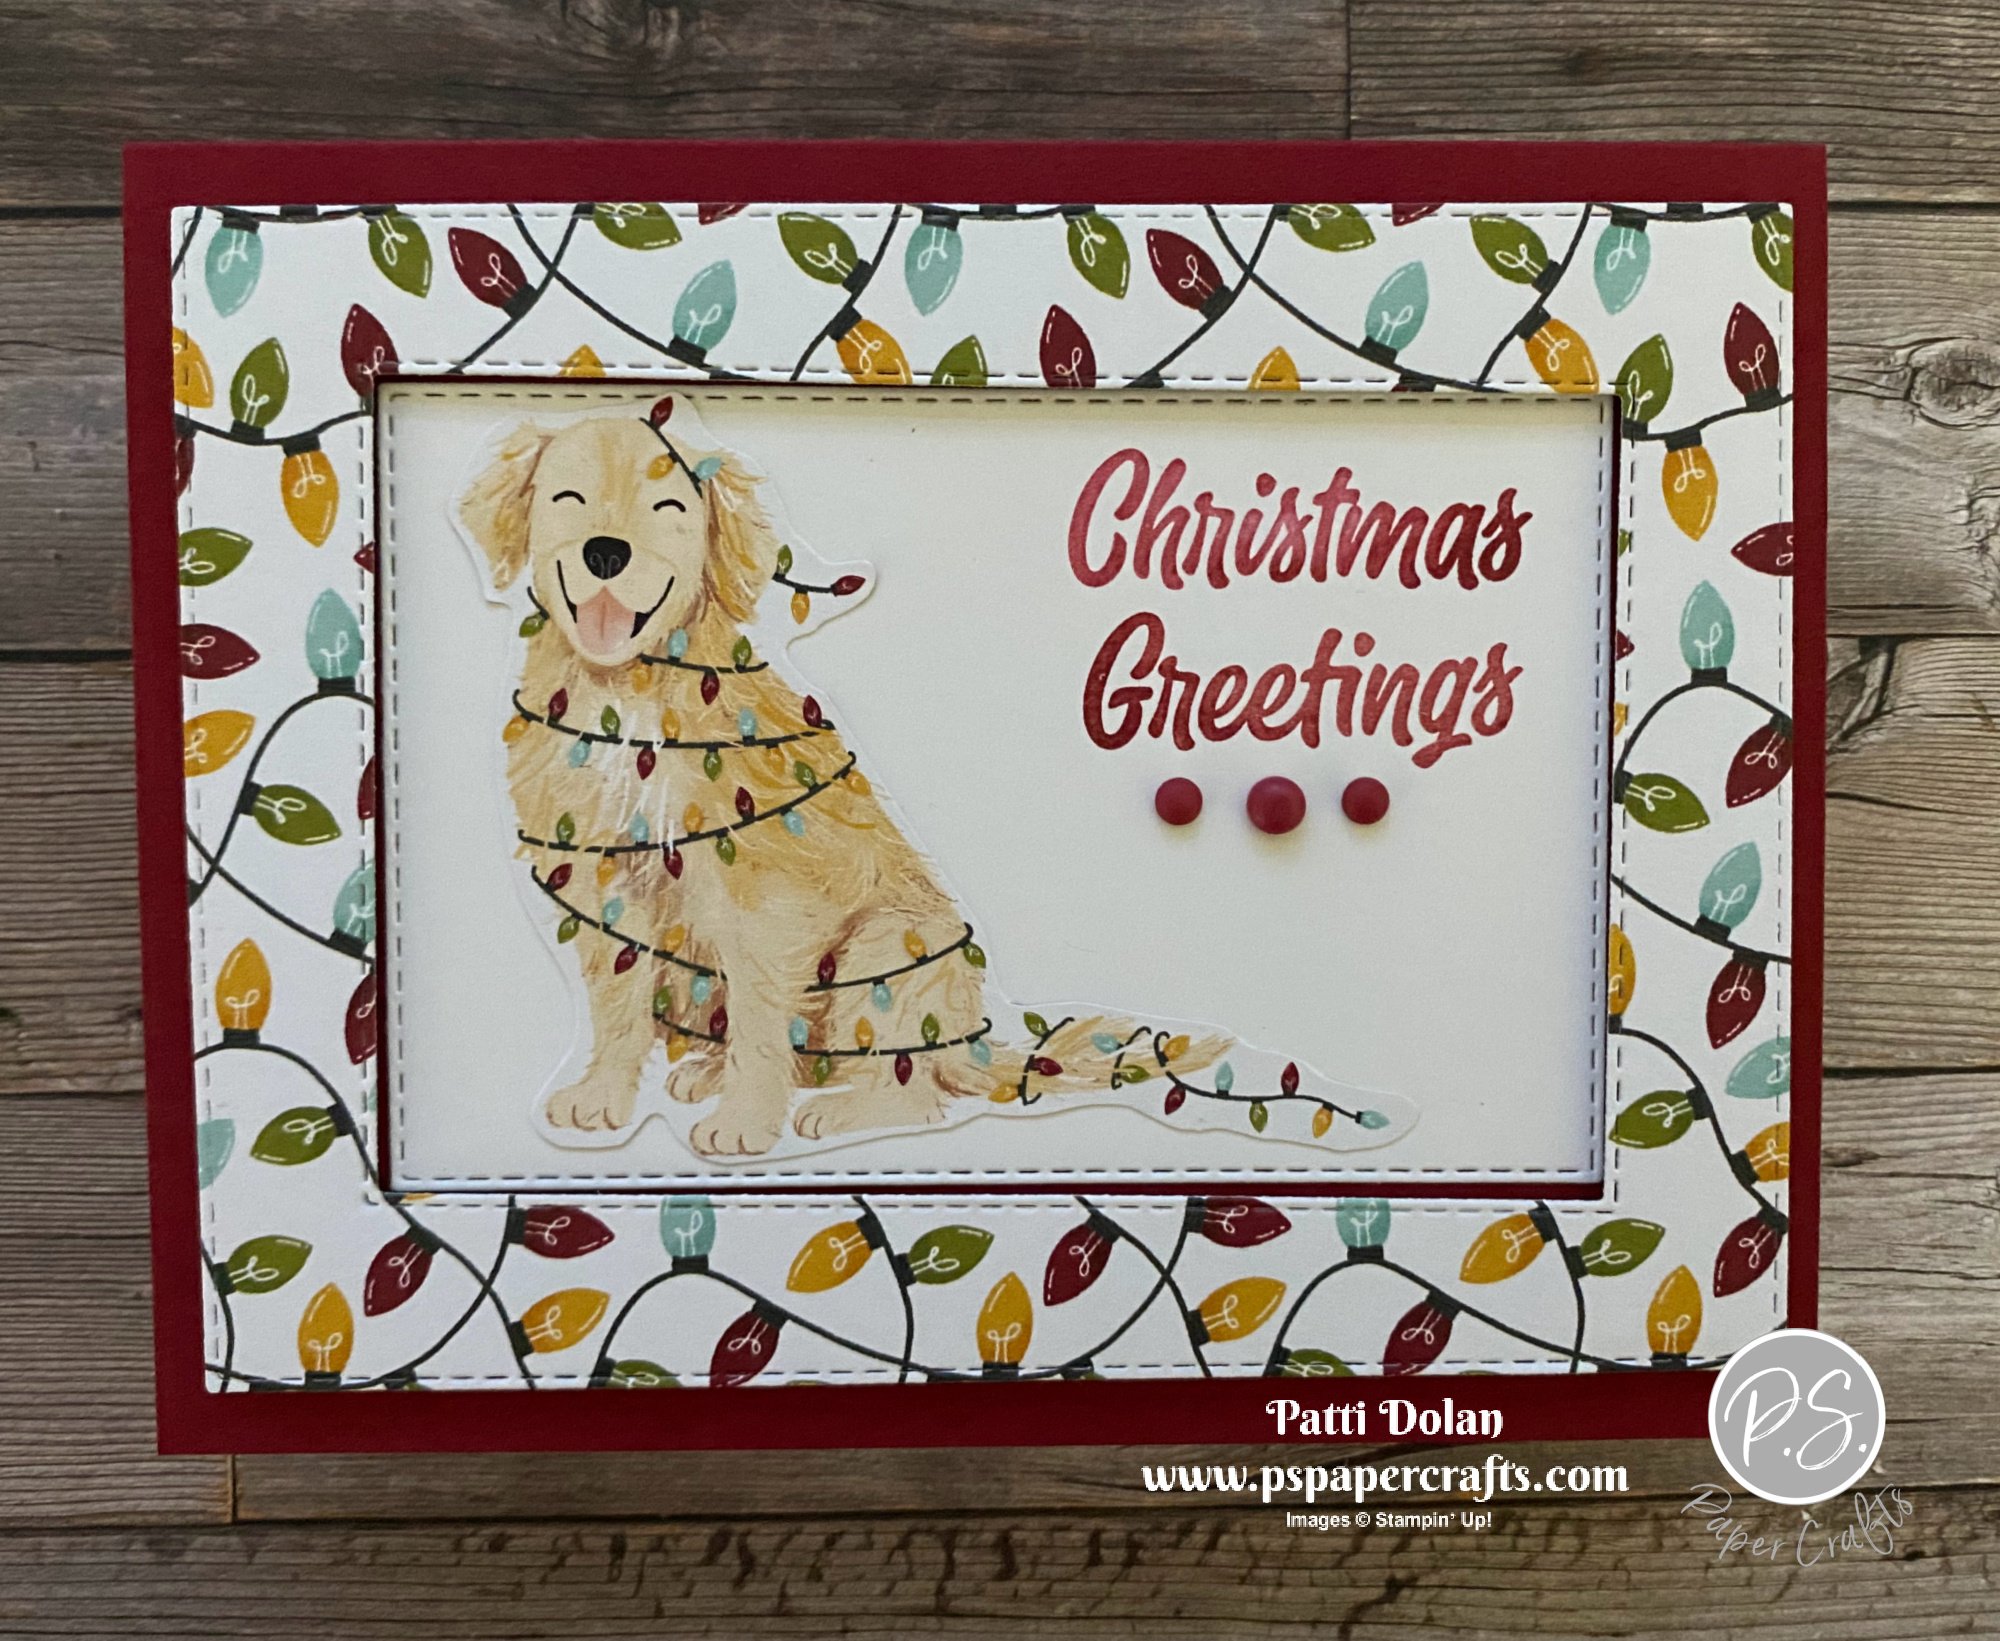
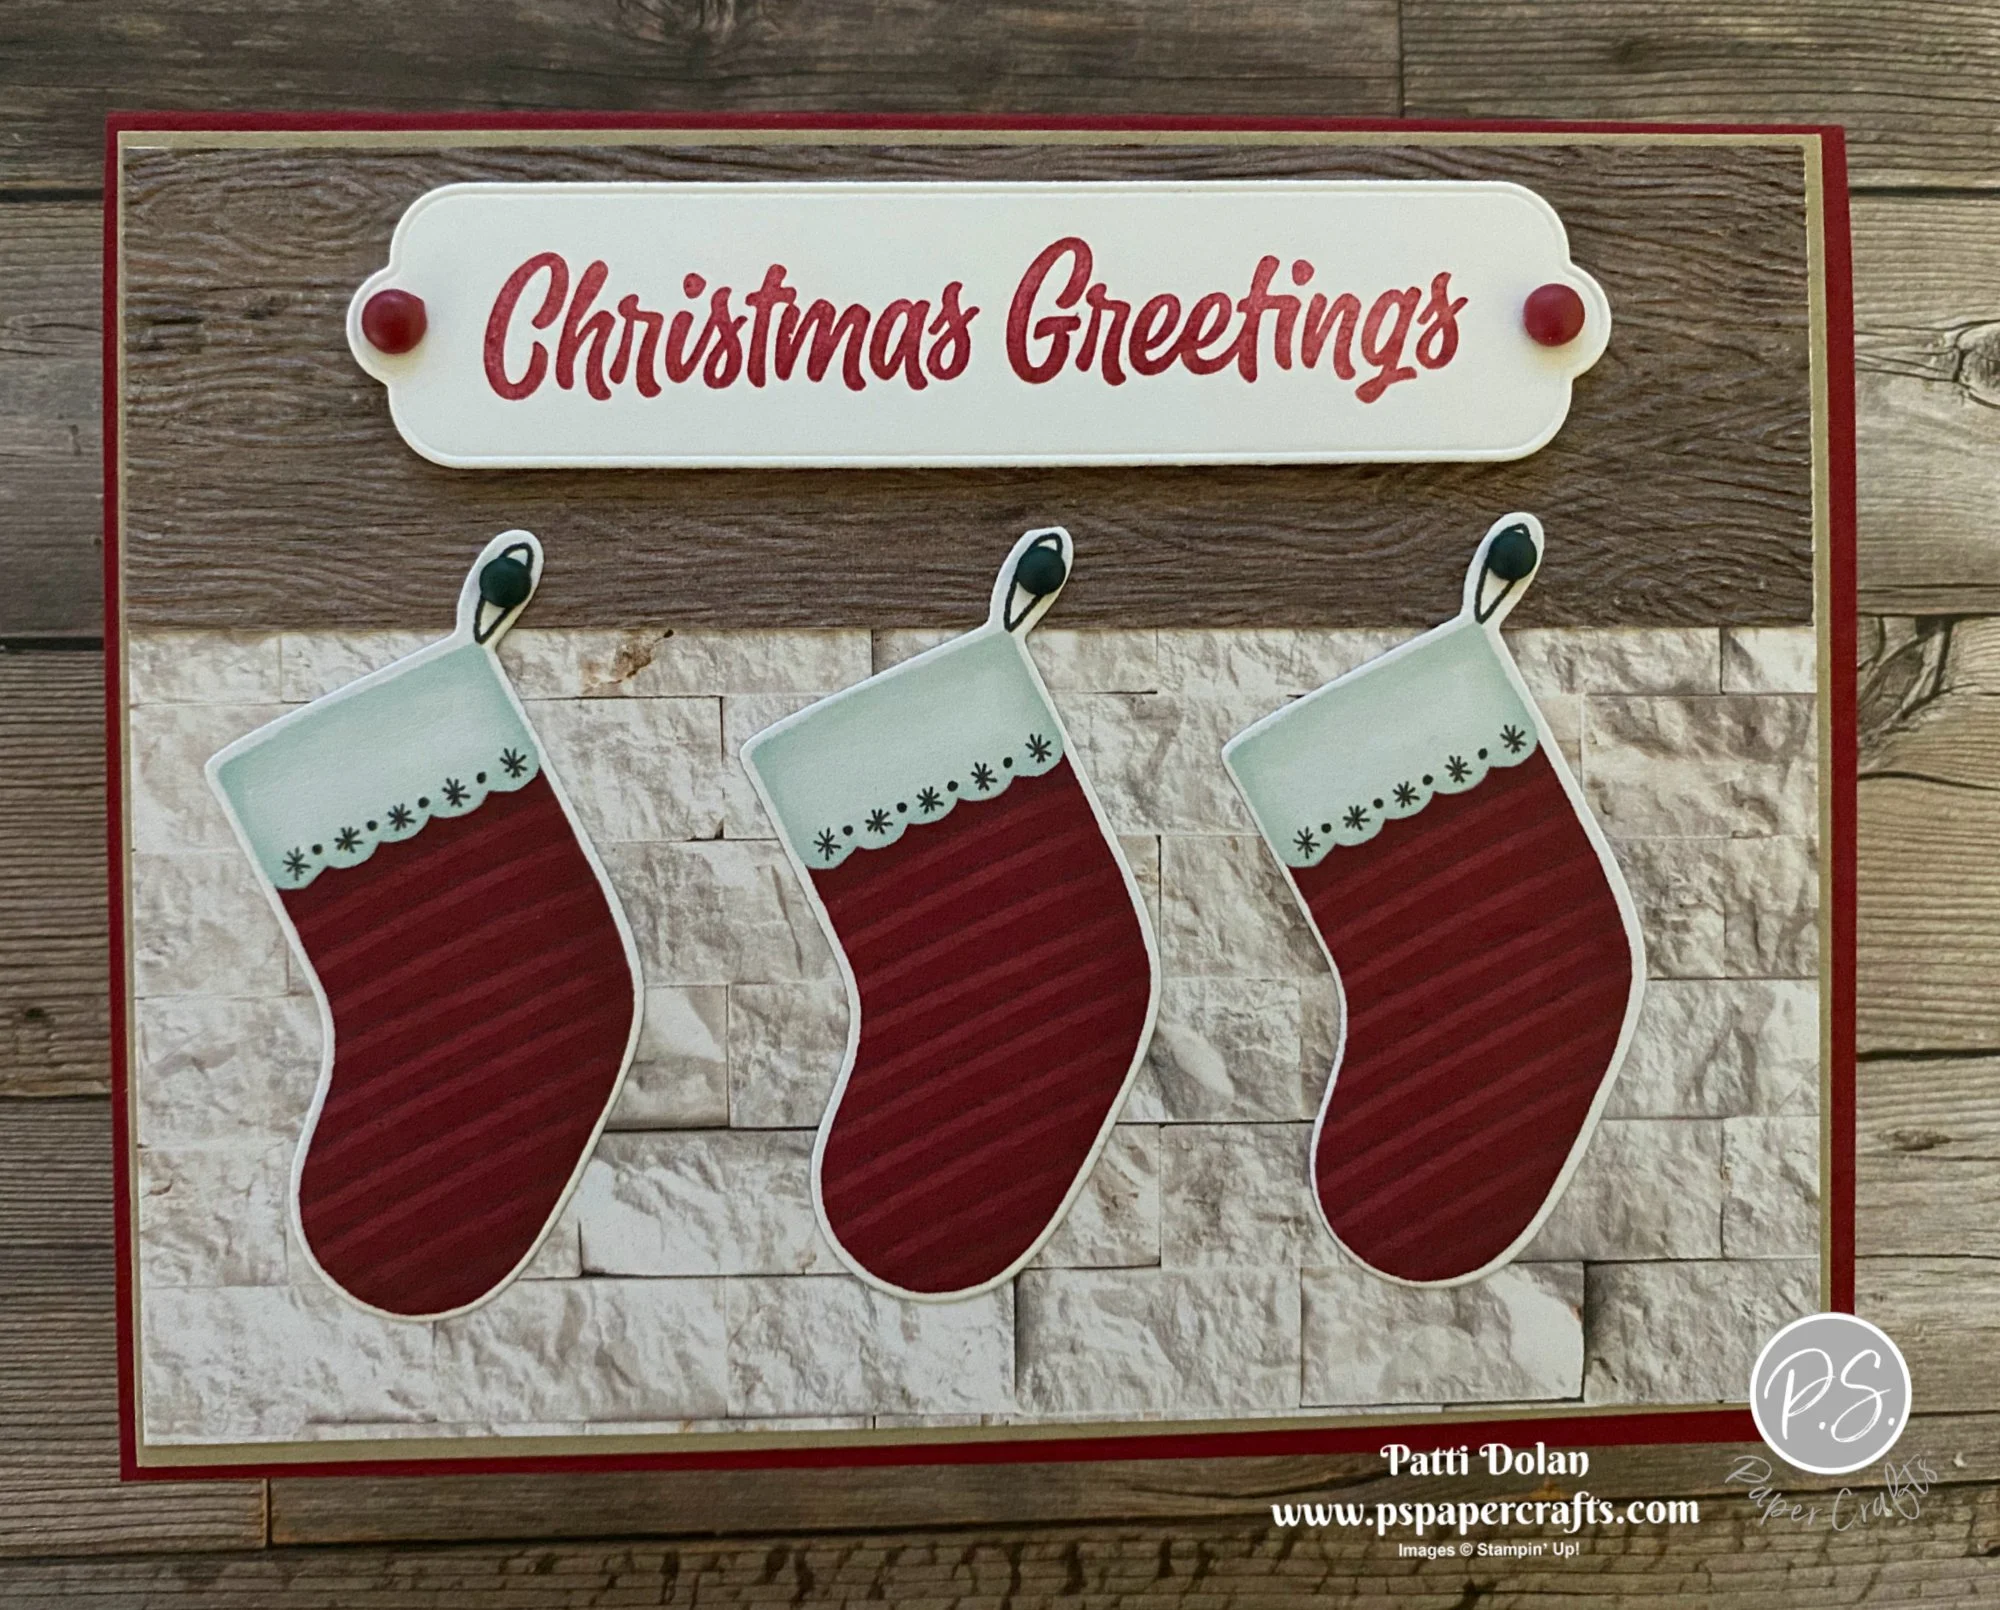
Isn’t this such a cute card? This is the one I designed for the November Simple Stampers Suite Tutorial. We are featuring the Sweet Stockings Suite this month.


Watch the replay of my YouTube Live to see how to make 2 of the cards from the Tutorial. I have to apologize to anyone who watch me live….I was upside down….how embarrassing! I fixed it so you don’t have to watch it standing on your head LOL!


Each month I collaborate with 11 Stampin’ Up! Demonstrators to create a tutorial with 12 projects including pictures, measurements and instructions. You can get this tutorial for FREE when you purchase from my Online Store or you can click on the Tutorials button at the top of my Blog to purchase the tutorial.


This dog wrapped in Christmas lights is so cute….I love the smile on it’s face. I created a frame of lights for it.


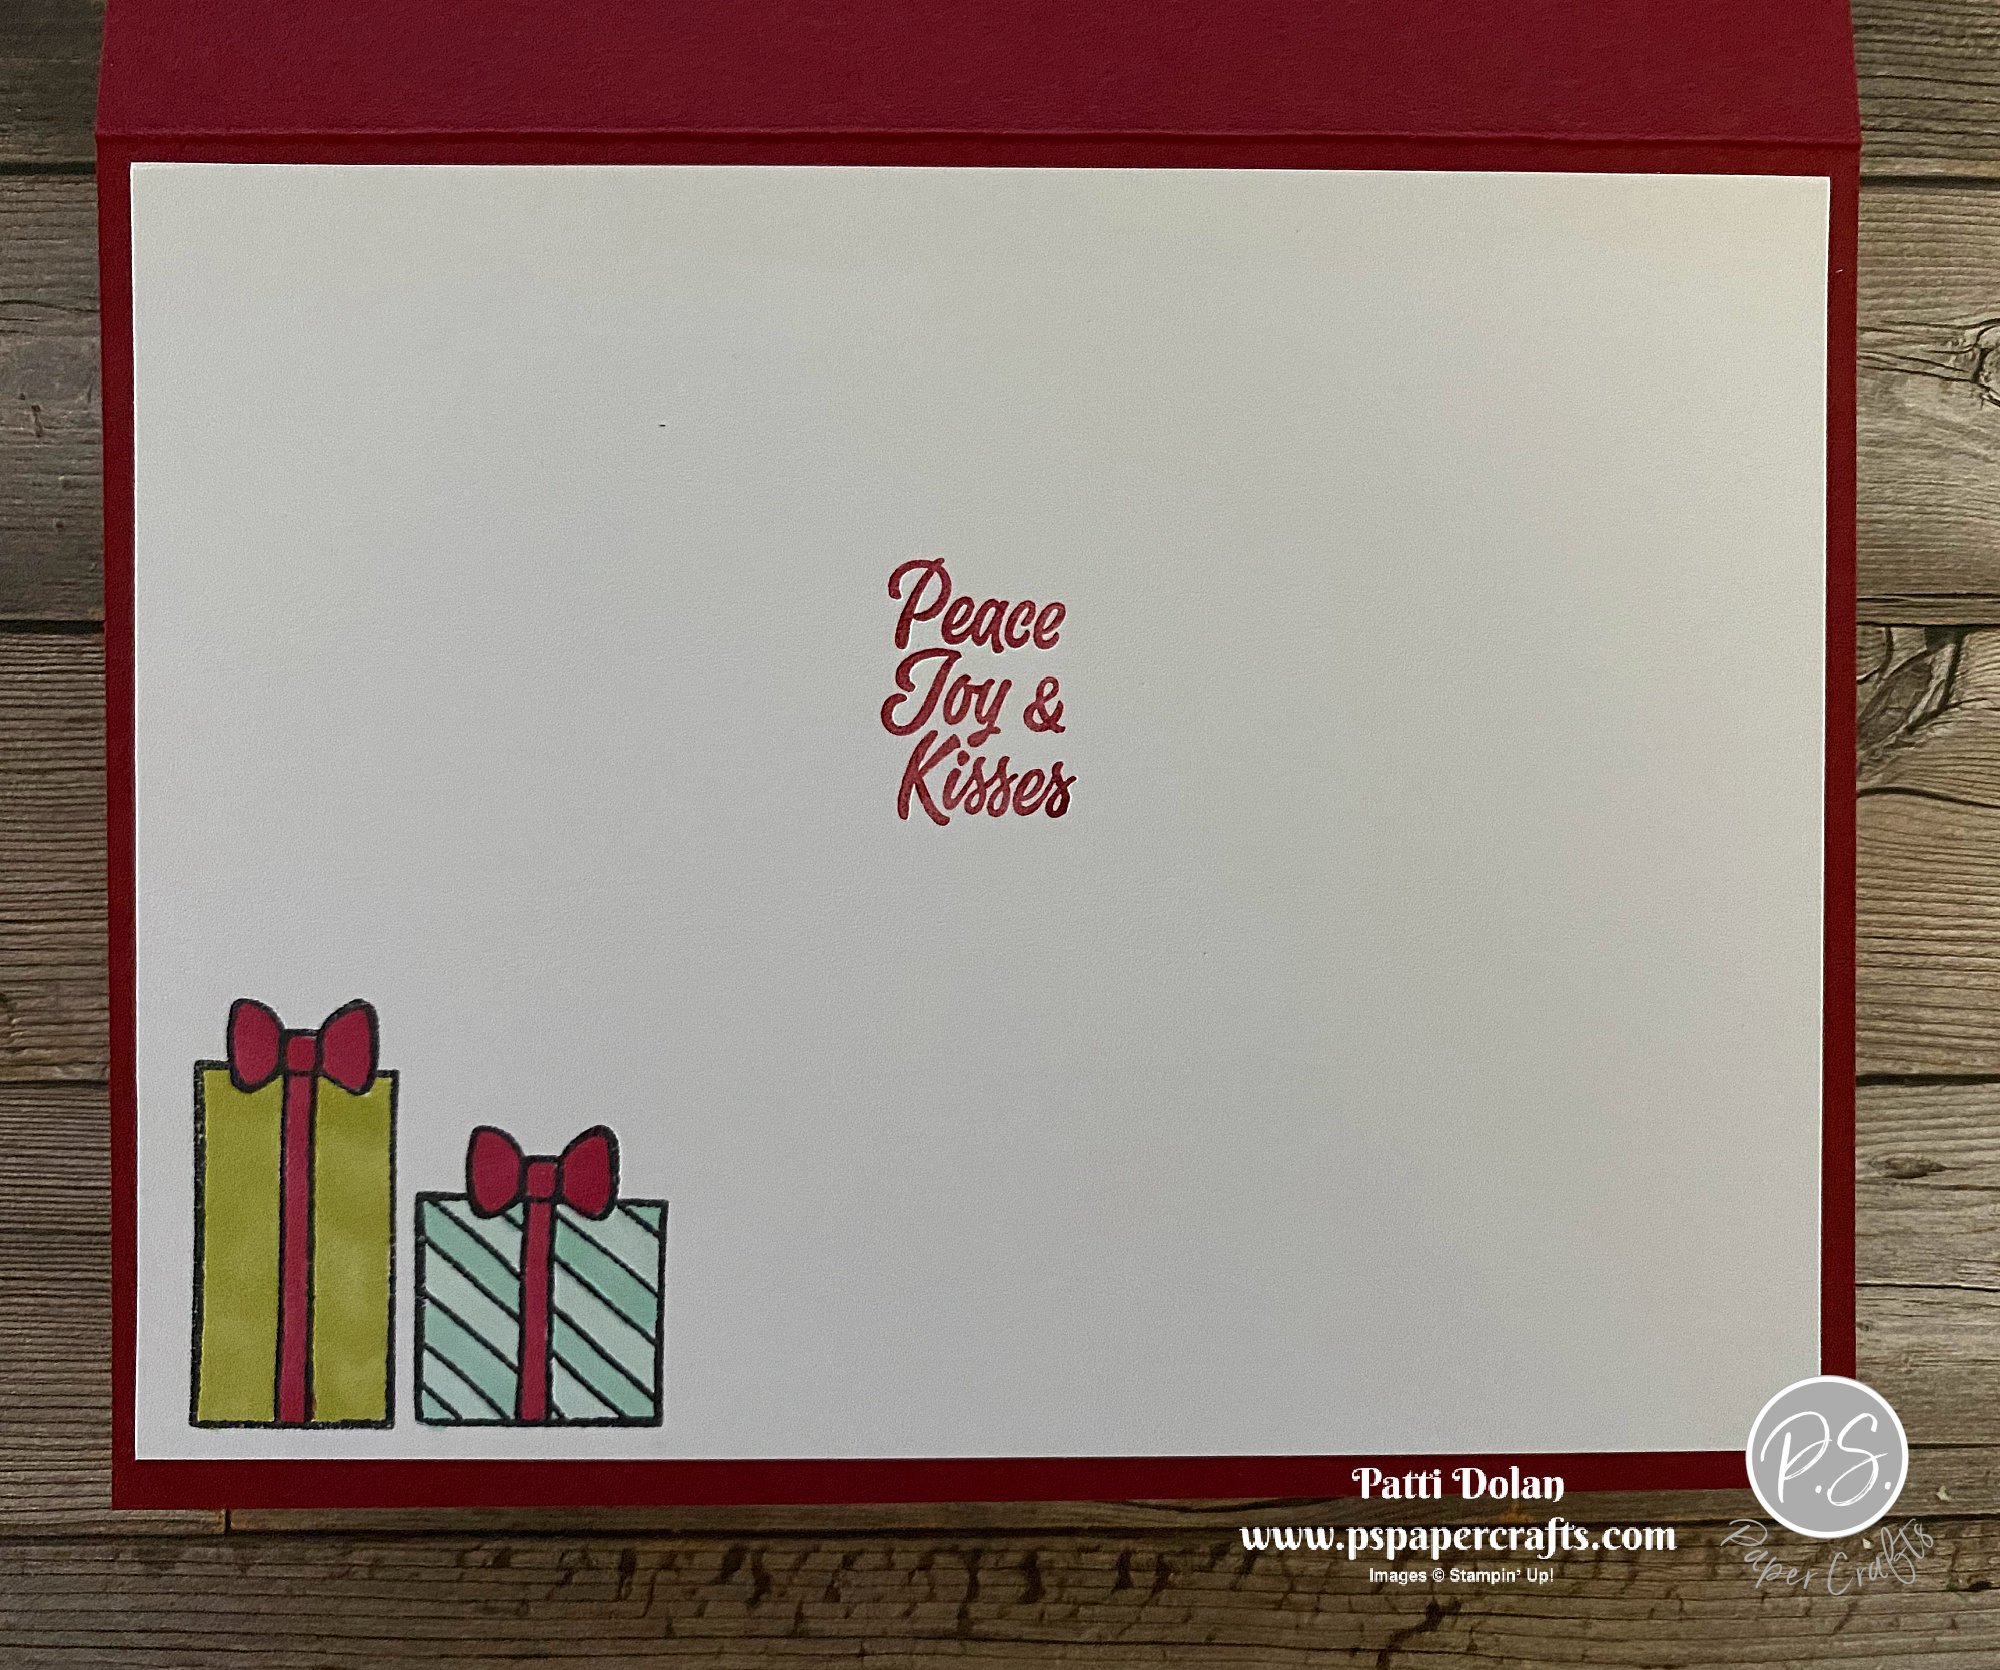
The sentiment I used on the inside is so cute. I stamped some presents and colored them with Stampin’ Blends.


This card was designed by my friend Sandra. I love the rustic look of the card; three stockings hanging on the mantle.


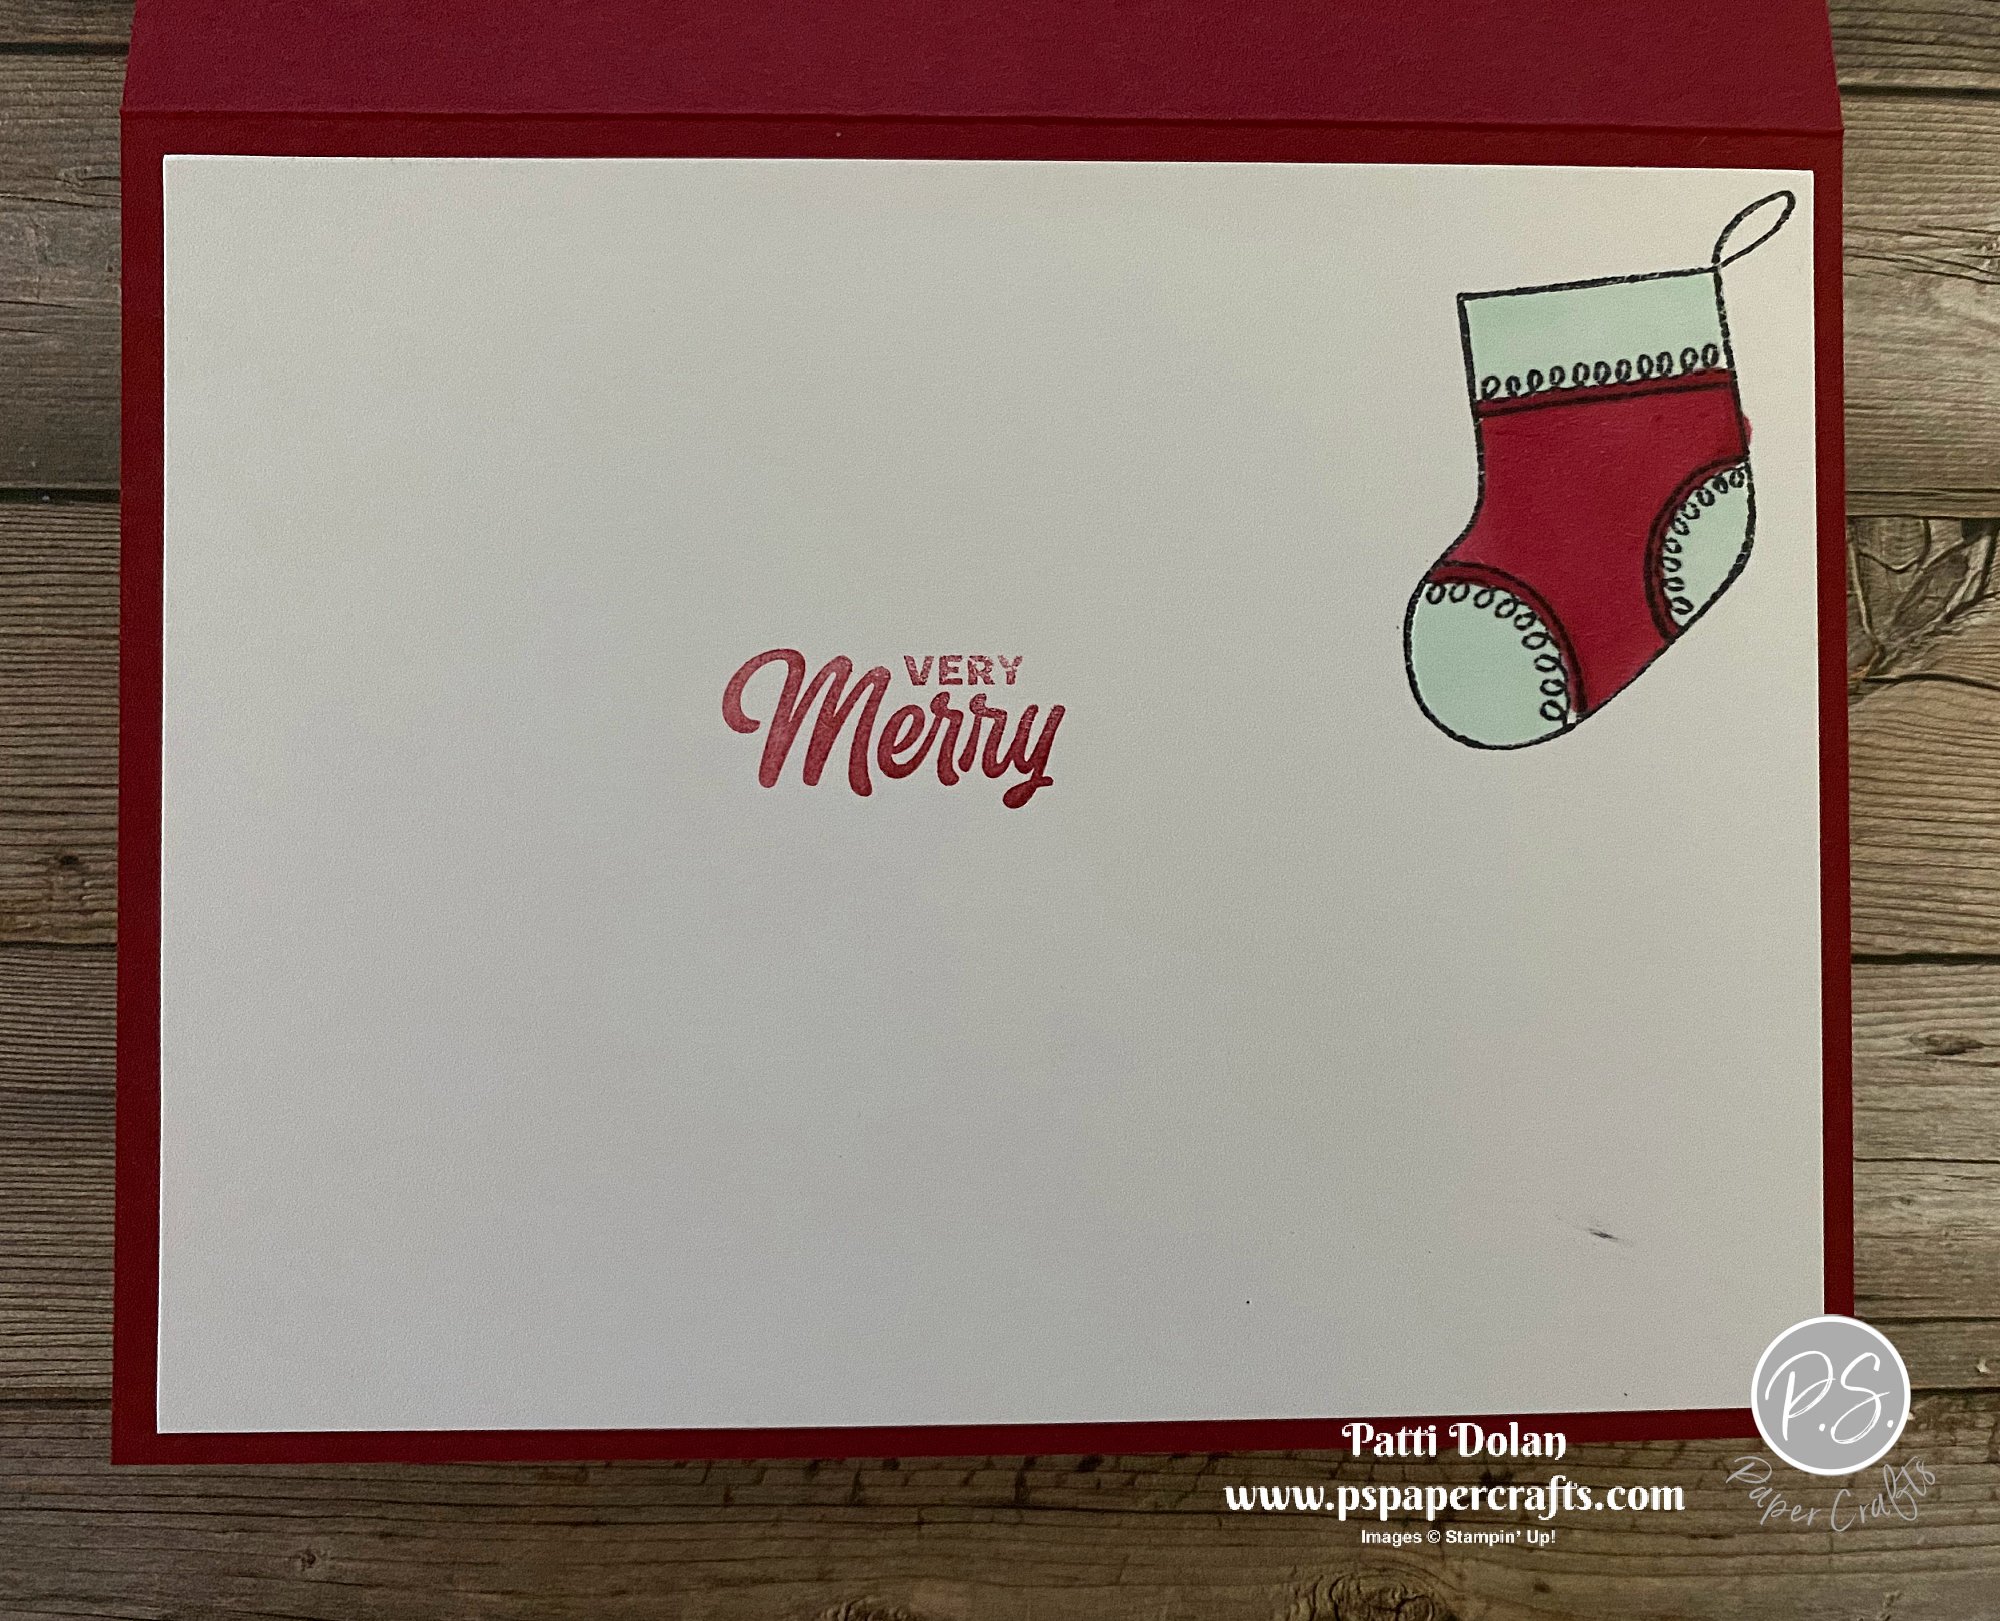
I added a small stocking to the inside by stamping it and coloring it with Stampin’ Blends.


Supply List

Sketch Saturday - Christmas To Remember

For this week’s sketch challenge I made a Christmas card using the Christmas To Remember Stamp Set. This is a great set to have for a variety of holiday sentiments.


The sketch I used is from the Atlantic Hearts Sketch Challenge. I love using their sketches and entering their challenges. You should play along!


The Heartwarming Hugs Designer Series Paper is a carryover from last year’s catalog and I almost forgot about it. It has wonderful patterns for cards and bags or boxes.


Tips & Instructions

  • Real Red Card Base - 5 1/2 x 8 1/2, score at 4 1/4

  • Basic White Layer - 5 1/4 x 4

  • Heartwarming Hugs Designer Series Paper - 4 x 1 3/4, adhere to white layer.

  • Wrap piece of Real Red Double-Stitched Satin Ribbon around at the seam and adhere to the back. Adhere layer to card base.

  • Basic White scrap, stamp sentiment with Real Red Ink and cut with Stitched So Sweetly Die.

  • Cut two thin strips of designer paper, punch one end using the Banners Pick A Punch (or hand cut). Adhere behind the sentiment label and adhere to card.

  • Punch 2 trees from the designer paper using the Tree Punch. Adhere one flat and one with Dimensionals.

  • Add some Red Rhinestone Basic Jewels.


On the inside stamp sentiment with Real Red Ink and adhere a punched tree.


Supply List

You're The Icing to my Gingerbread!

The Gingerbread & Peppermint Products are so fun. This card looks so yummy with the textured layer and the embossed sentiment, frosting all around!


I love the Gingerbread & Peppermint Designer Series Paper. I fussy cut these frosted mittens from the paper.


Aren’t these sentiments so sweet? I love the one I used; You’re the icing to my gingerbread!


Tips & Instructions

  • Real Red Card Base - 5 1/2 x 8 1/2, score at 4 1/4

  • Basic White Layer - 5 1/4 x 4, emboss using the Painted Texture 3D Embossing Folder and adhere to the card base.

  • Gingerbread & Peppermint Designer Series Paper Layer - 4 x 2 1/2, adhere to bottom of embossed layer.

  • Gingerbread & Peppermint Designer Series Paper strip - 4 x 1/2 and adhere over seam.

  • Fussy cut the two mittens from the Designer Series Paper and adhere with Dimensionals.

  • Stamp sentiment with Versamark Ink on a 1” strip of Real Red Cardstock and heat emboss with White Embossing Powder. Cut to size and adhere with Dimensionals.

  • Add some Gingerbread & Peppermint Acrylic Shapes to sentiment label and white layer. I used Liquid Glue to adhere them.


On the inside stamp the sentiment and peppermint candy images using Real Red Ink.


Supply List

Starter Kit Promotion!!!

How would you like to get $50 of FREE products? Stampin’ Up! has a new promotion where you can purchase the Starter Kit for $75. You get $125 worth of product for just $75.


This promotion is called Start With Savings and here's what you get for $75:

  • Choose $125 in product (that's $50 in FREE product)

  • Free Shipping

  • 20% discount on orders starting with your next order

  • Access to exciting and fun Facebook Groups

  • Training if you want to do this as a business, no pressure, you can just enjoy the discount for yourself

What are you waiting for? You really have nothing to lose. Contact me if you're on the fence and want to know more.

Email me: patti@pspapercrafts.com

Fun Pocket Card Gift Card Holders

I made these fun Pocket Cards with a gift card slot inside on my YouTube Live today. I used the Whimsy & Wonder Specialty Designer Series Paper. These colors are so pretty!


In the video, I’ll show you step by step how to make these cards. You can use any patterned paper you want and make one for any occasion.


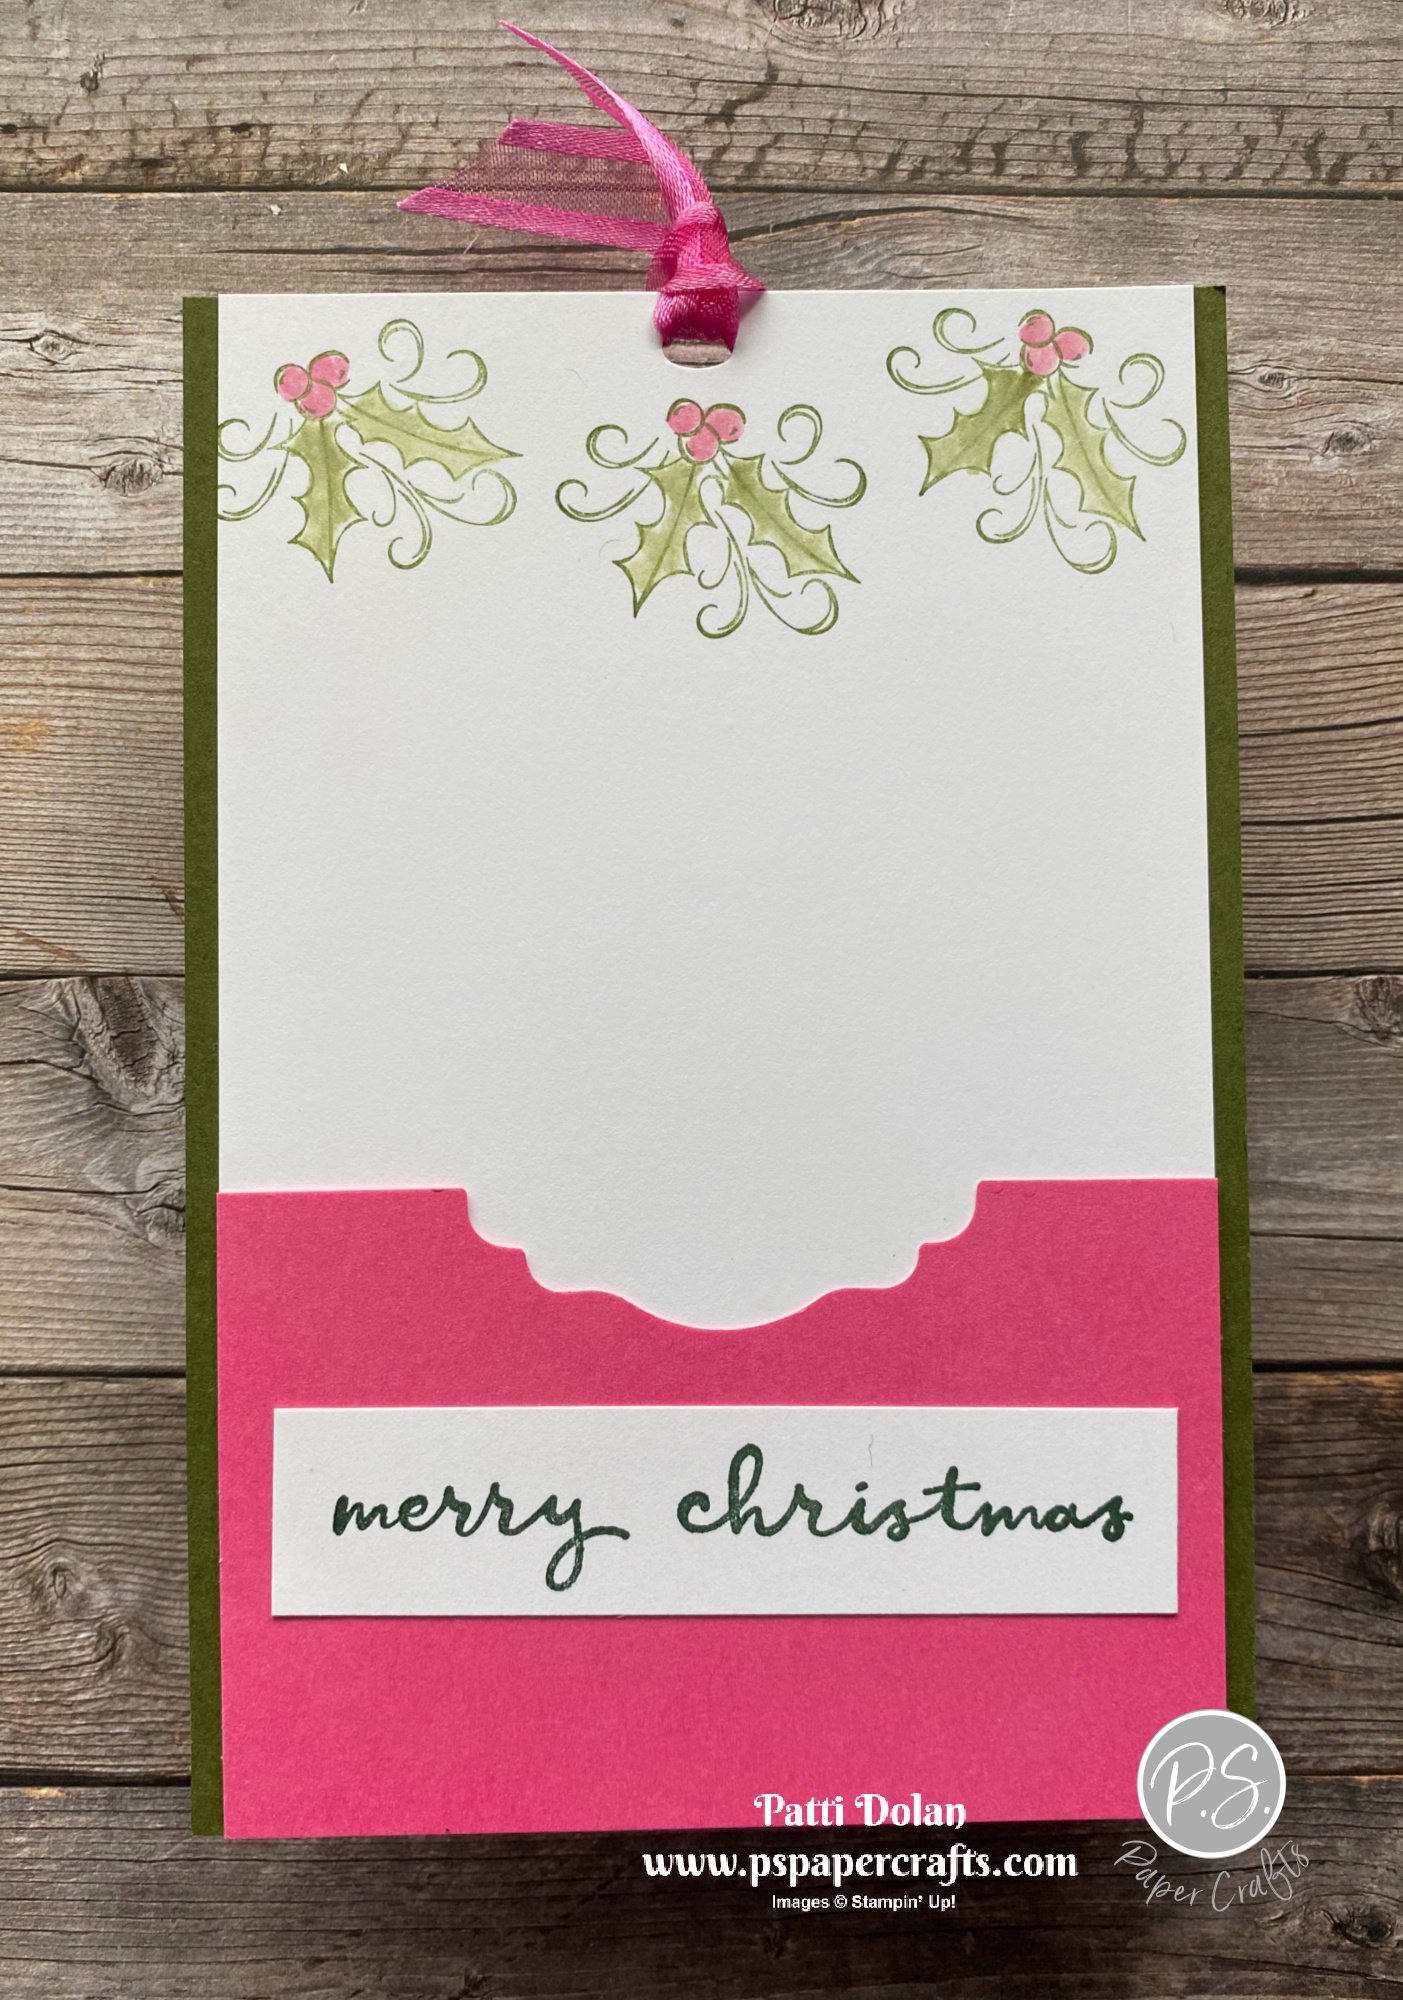
This is the one I made on the video. The main colors I used are Misty Moonlight and Polished Pink.


Tips & Instructions

  • Whimsy & Wonder Specialty Designer Series Paper - 12 x 6, score at 4” and 8”, rotate and score the bottom at 1/2”. Cut off at the 1/2” fold both end pieces, leaving the middle piece intact. Cut from 4” score line to bottom at an angle. Repeat on the 8” score line. Fold and adhere to create the pocket.

  • Cardstock - 5 3/8 x 3 3/4

  • Basic White Cardstock - 5 3/8 x 3 1/2, adhere to cardstock layer and punch hole in top using the Detailed Trio Punch.

  • Stamp 3 sets of holly leaves with Mossy Meadow Ink and color with Mossy Meadow and Polished Pink Inks using a Blender Pen.

  • To create the pocket for the gift card cut a piece of cardstock at 3 1/2 x 2 1/2 and punch to create a decorative edge. I used the Label Me Lovely Punch. Adhere to layer using a strong adhesive.

  • Feed ribbon through the hole in the top.

  • Stamp sentiment on Basic White Cardstock and cut using the Seasonal Labels Dies. Cut a larger label with colored Cardstock and adhere behind. Adhere label to card using Dimensionals.

  • Add a gem to the sentiment label.


I used the presents pattern with Mossy Meadow and Polished Pink as the colors.


This is what the inside layer looks like.


Shop Here

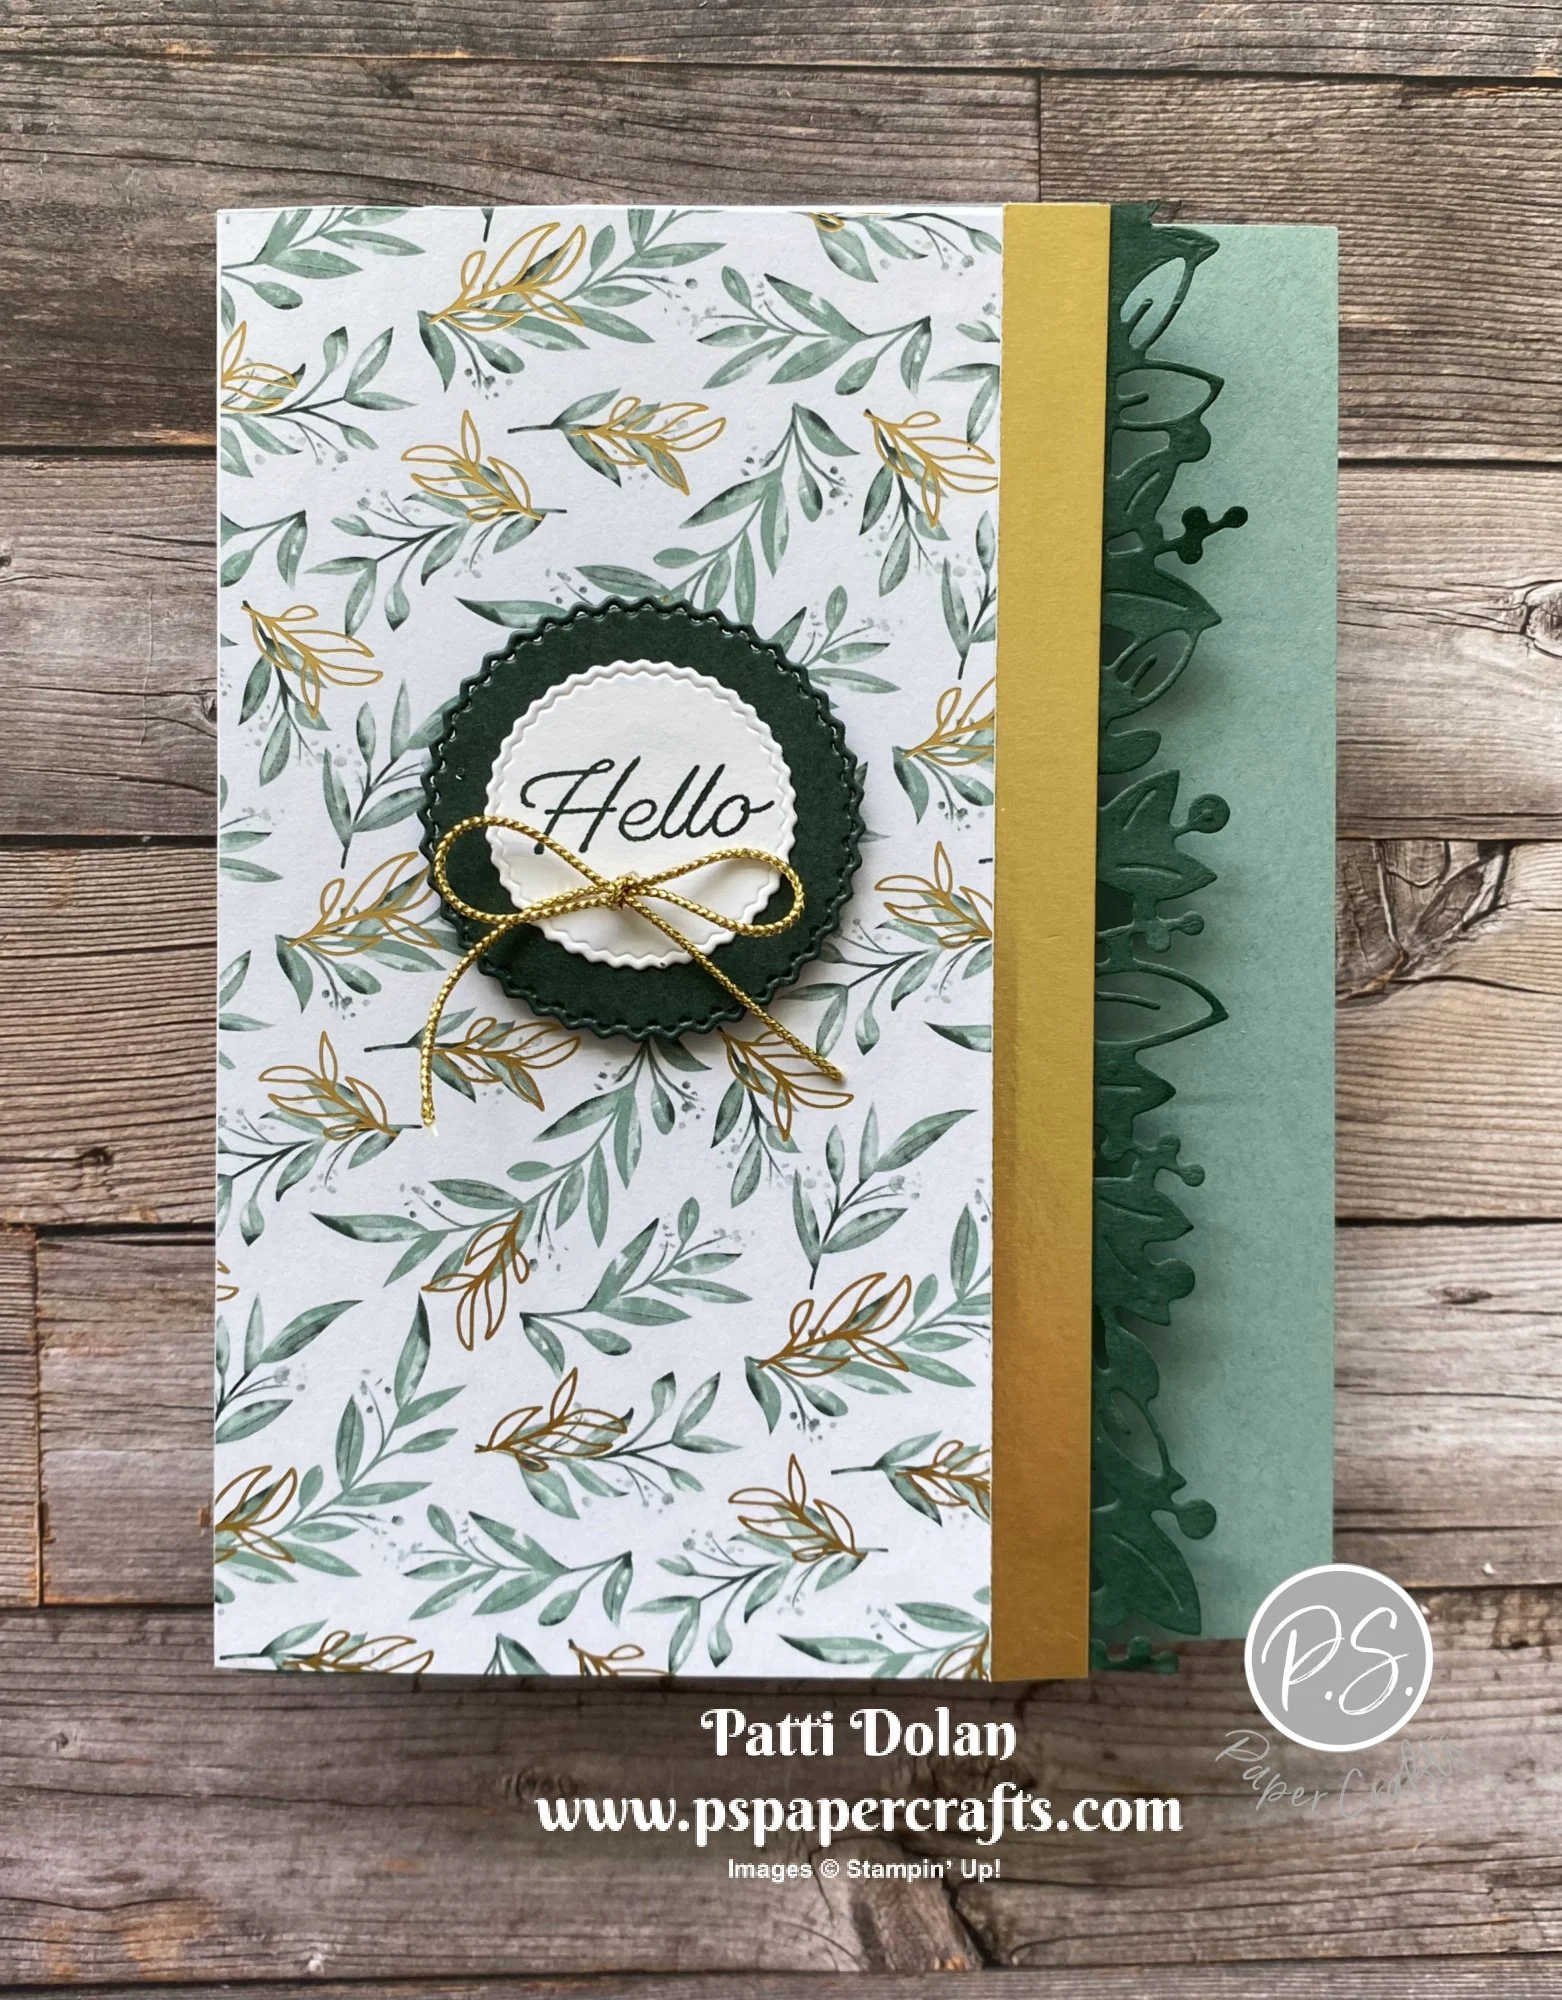
Eden's Garden Hello Card

The new Eden’s Garden Collection is now available for purchase. This collection includes early-release products from the January–June 2022 Mini Catalog.

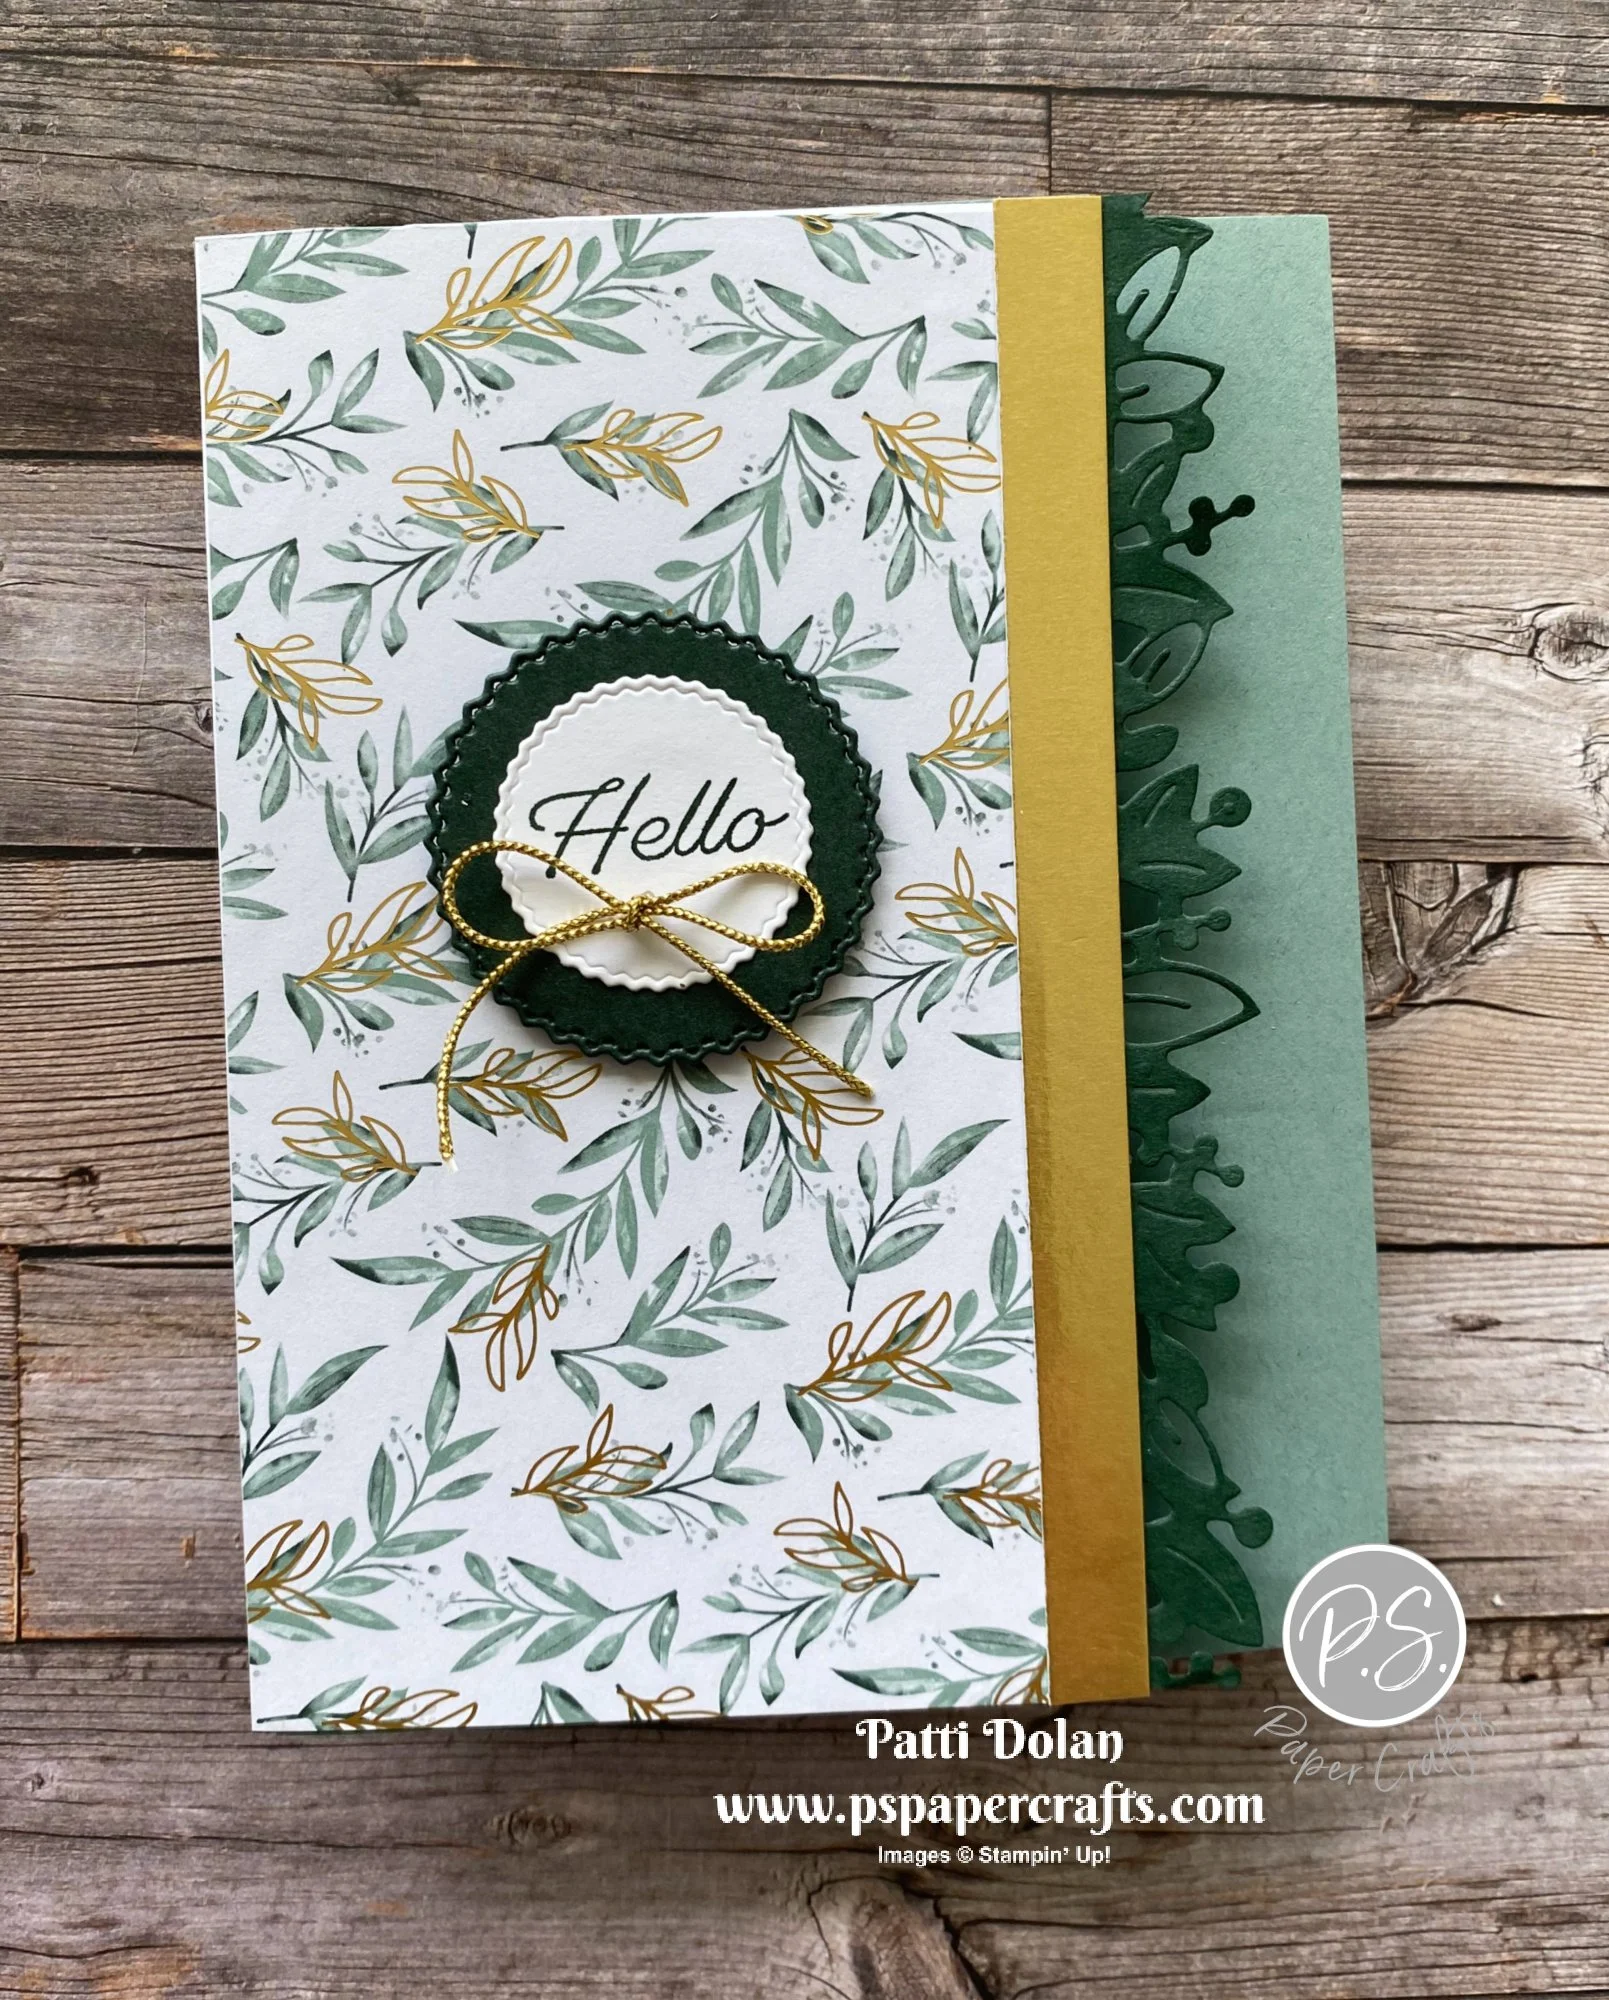
I used most of the new products to make this beautiful Hello card.


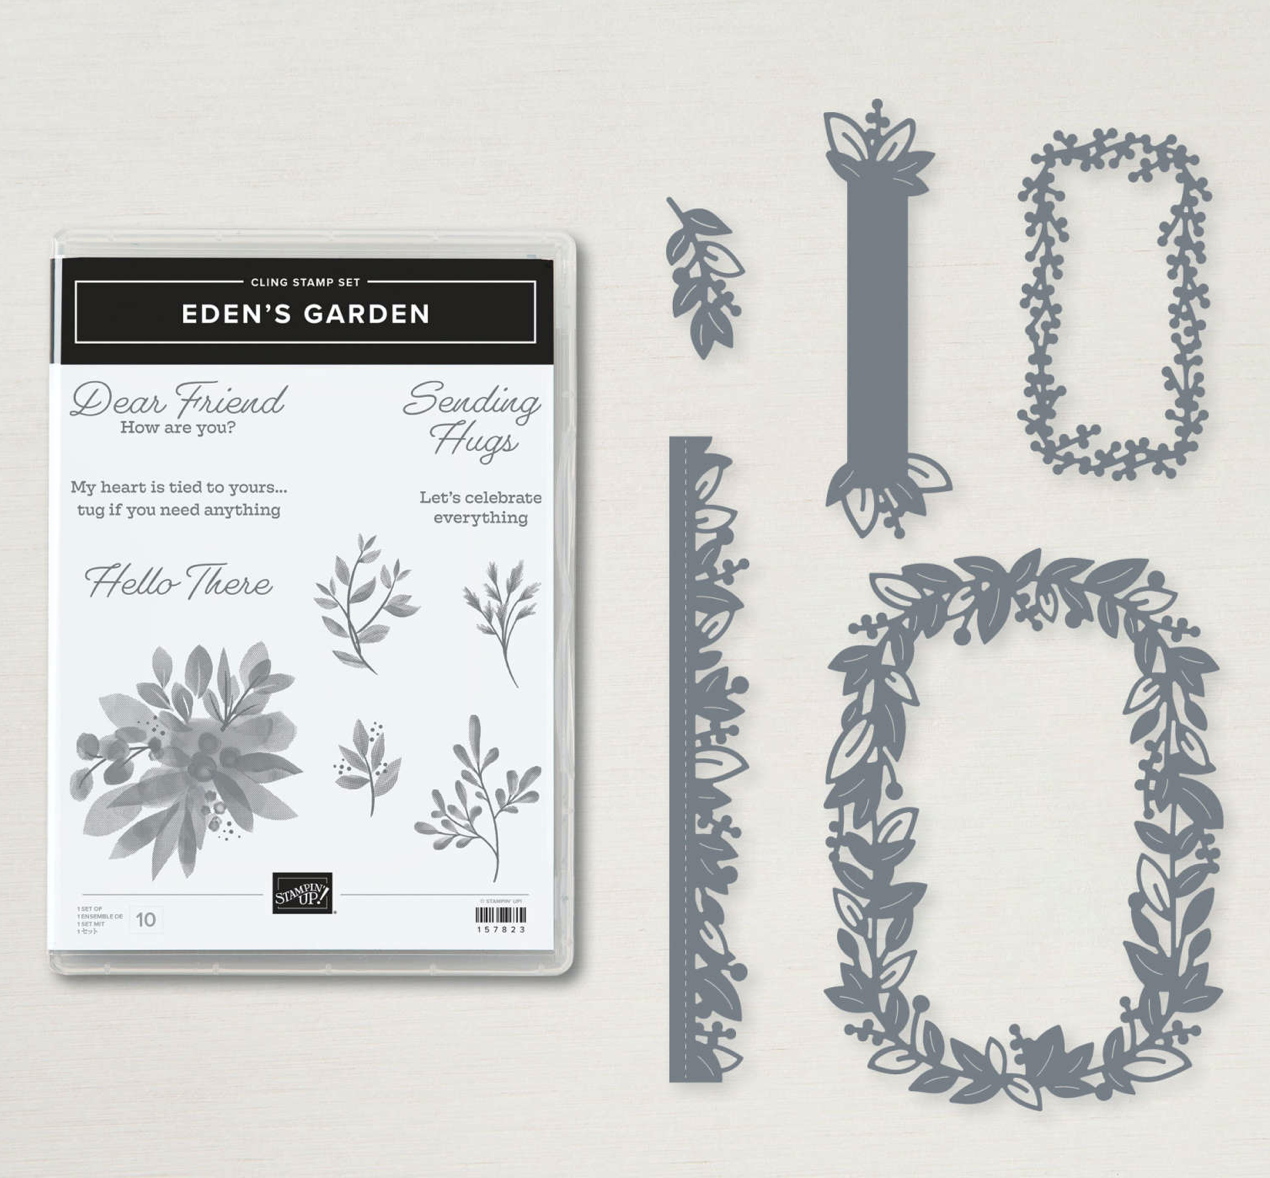
The Eden’s Garden Stamp Set and Eden’s Dies can be purchased separately or you can save 10% when you bundle them together.


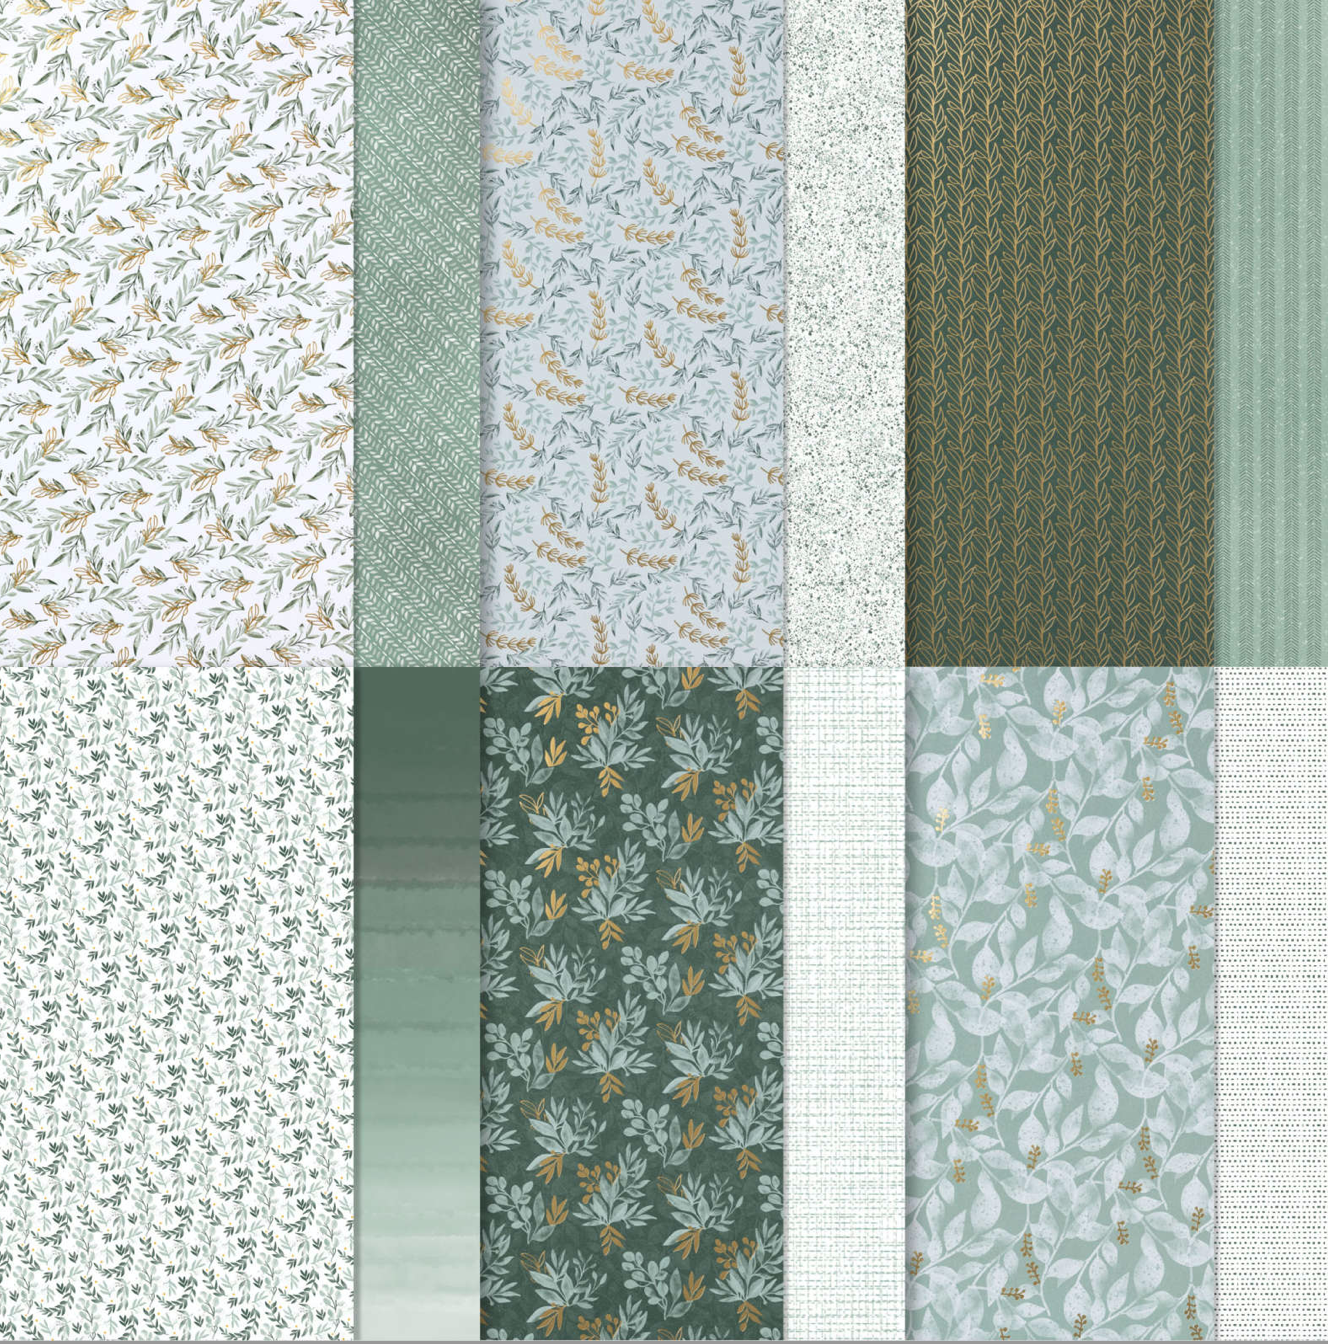
The Ever Eden Specialty Designer Series Paper is beautiful with Evening Evergreen and Soft Succulent patterns and has gold accents. It’s available only during the Eden’s Garden promotion, while supplies last.


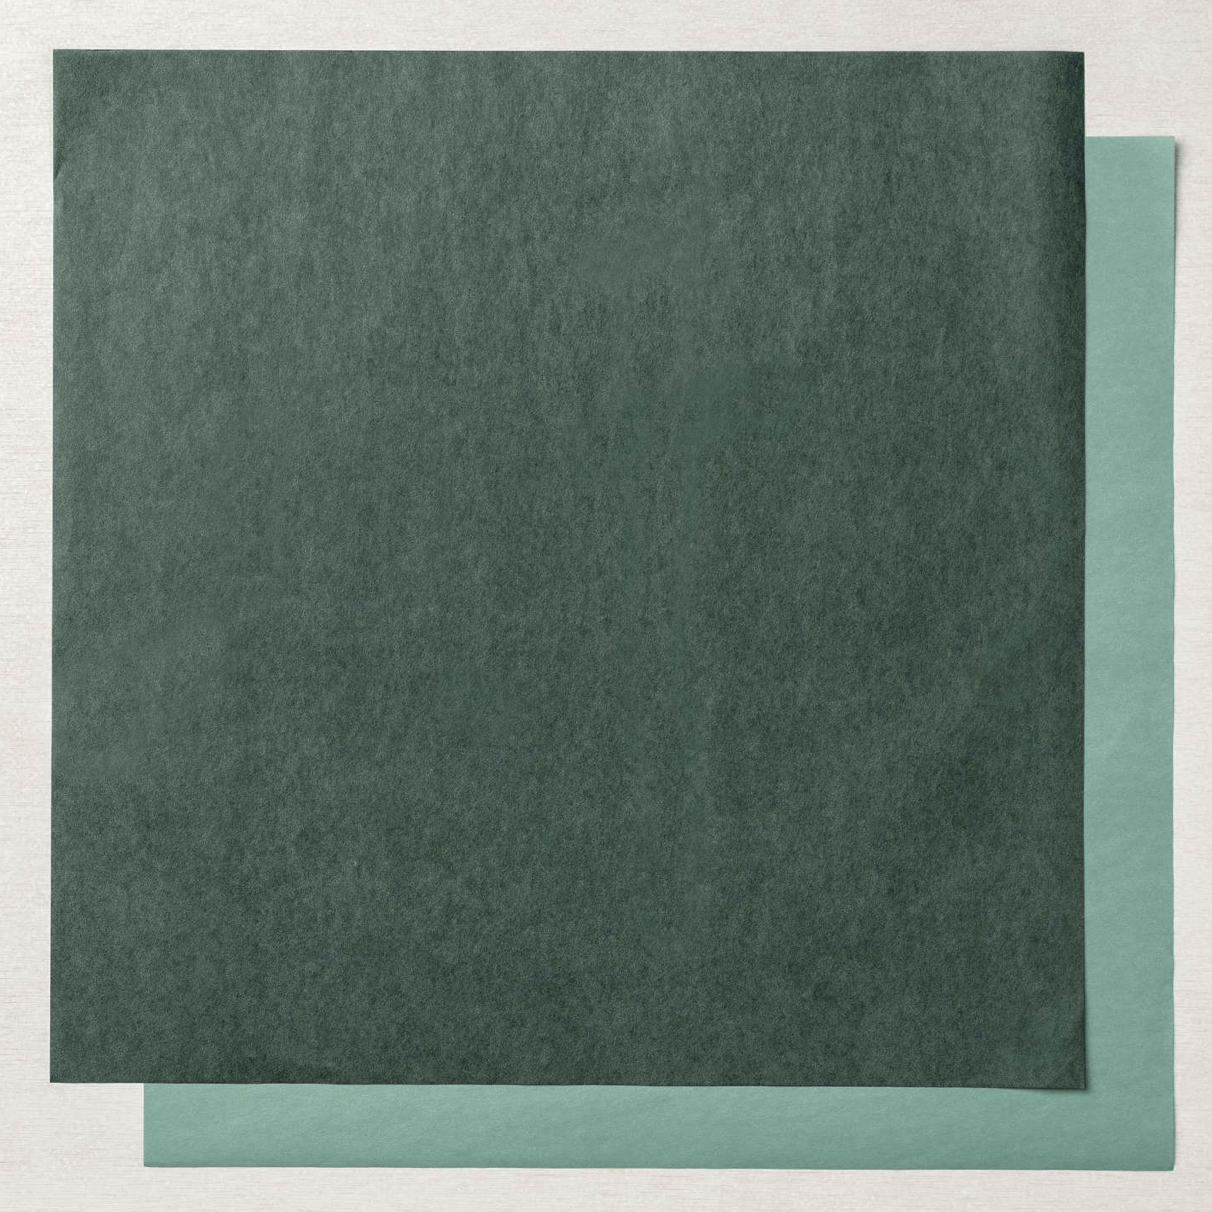
The Ever Eden Cotton Paper is very delicate and includes 10 sheets, 5 each of Evening Evergreen and Soft Succulent. It’s available only during the Eden’s Garden promotion, while supplies last.


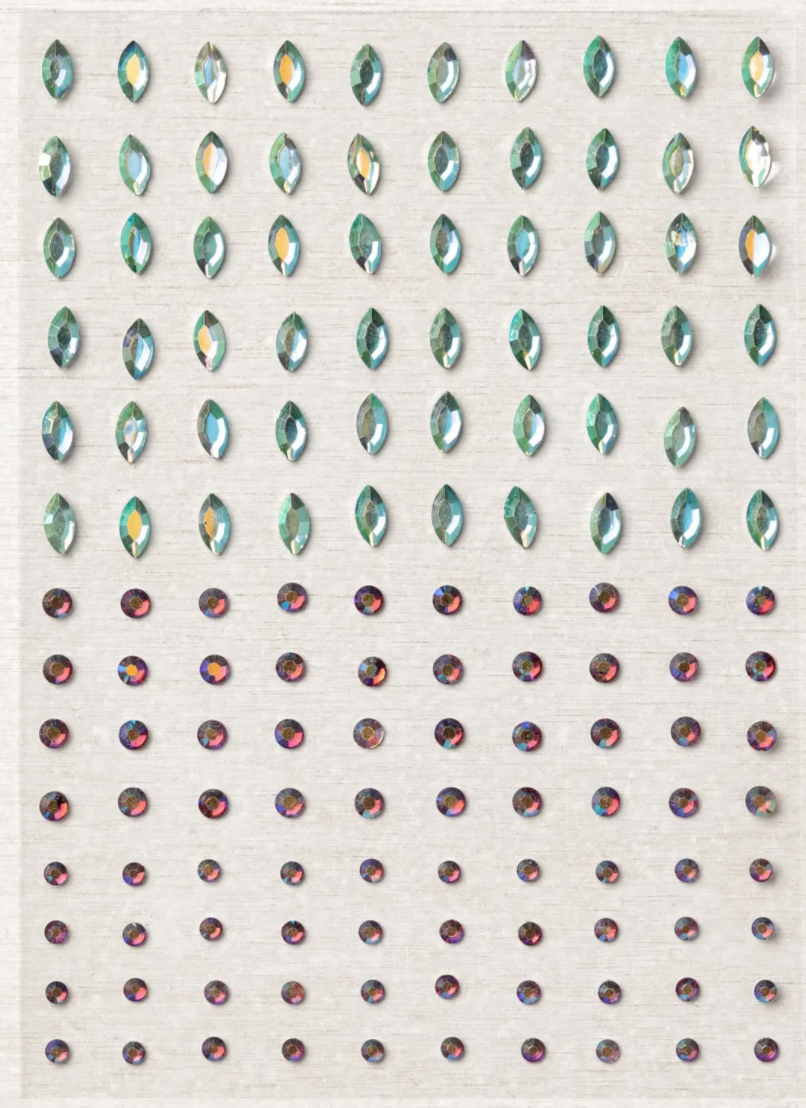
The Garden Gems are beautiful in Soft Succulent and Cherry Cobbler. Some are round and some are marquise. I didn’t use them on my card but wanted to show them to you. They’re available only during the Eden’s Garden promotion, while supplies last.


Tips & Instructions

  • Soft Succulent Card Base 5 1/2 x 7 1/2, score at 4 1/4

  • Evening Evergreen Cotton Paper - 5 1/2 x 1, cut using the Eden’s Die to get delicate border. Adhere along the edge of the card front.

  • Ever Eden’s Designer Series Paper - 5 1/2 x 3, adhere to card front

  • Gold Foil Sheet - 5 1/2 x 3/8, adhere over seam on card front.

  • Stamp “Hello” part of the sentiment on scrap of Basic White and cut with the small circle from the Tasteful Labels Dies.

  • Cut larger circle from Evening Evergreen Scrap and adhere behind sentiment. Adhere to card using Dimensionals.

  • Tie bow with a piece of gold Simply Elegant Trim and adhere with a Glue Dot.


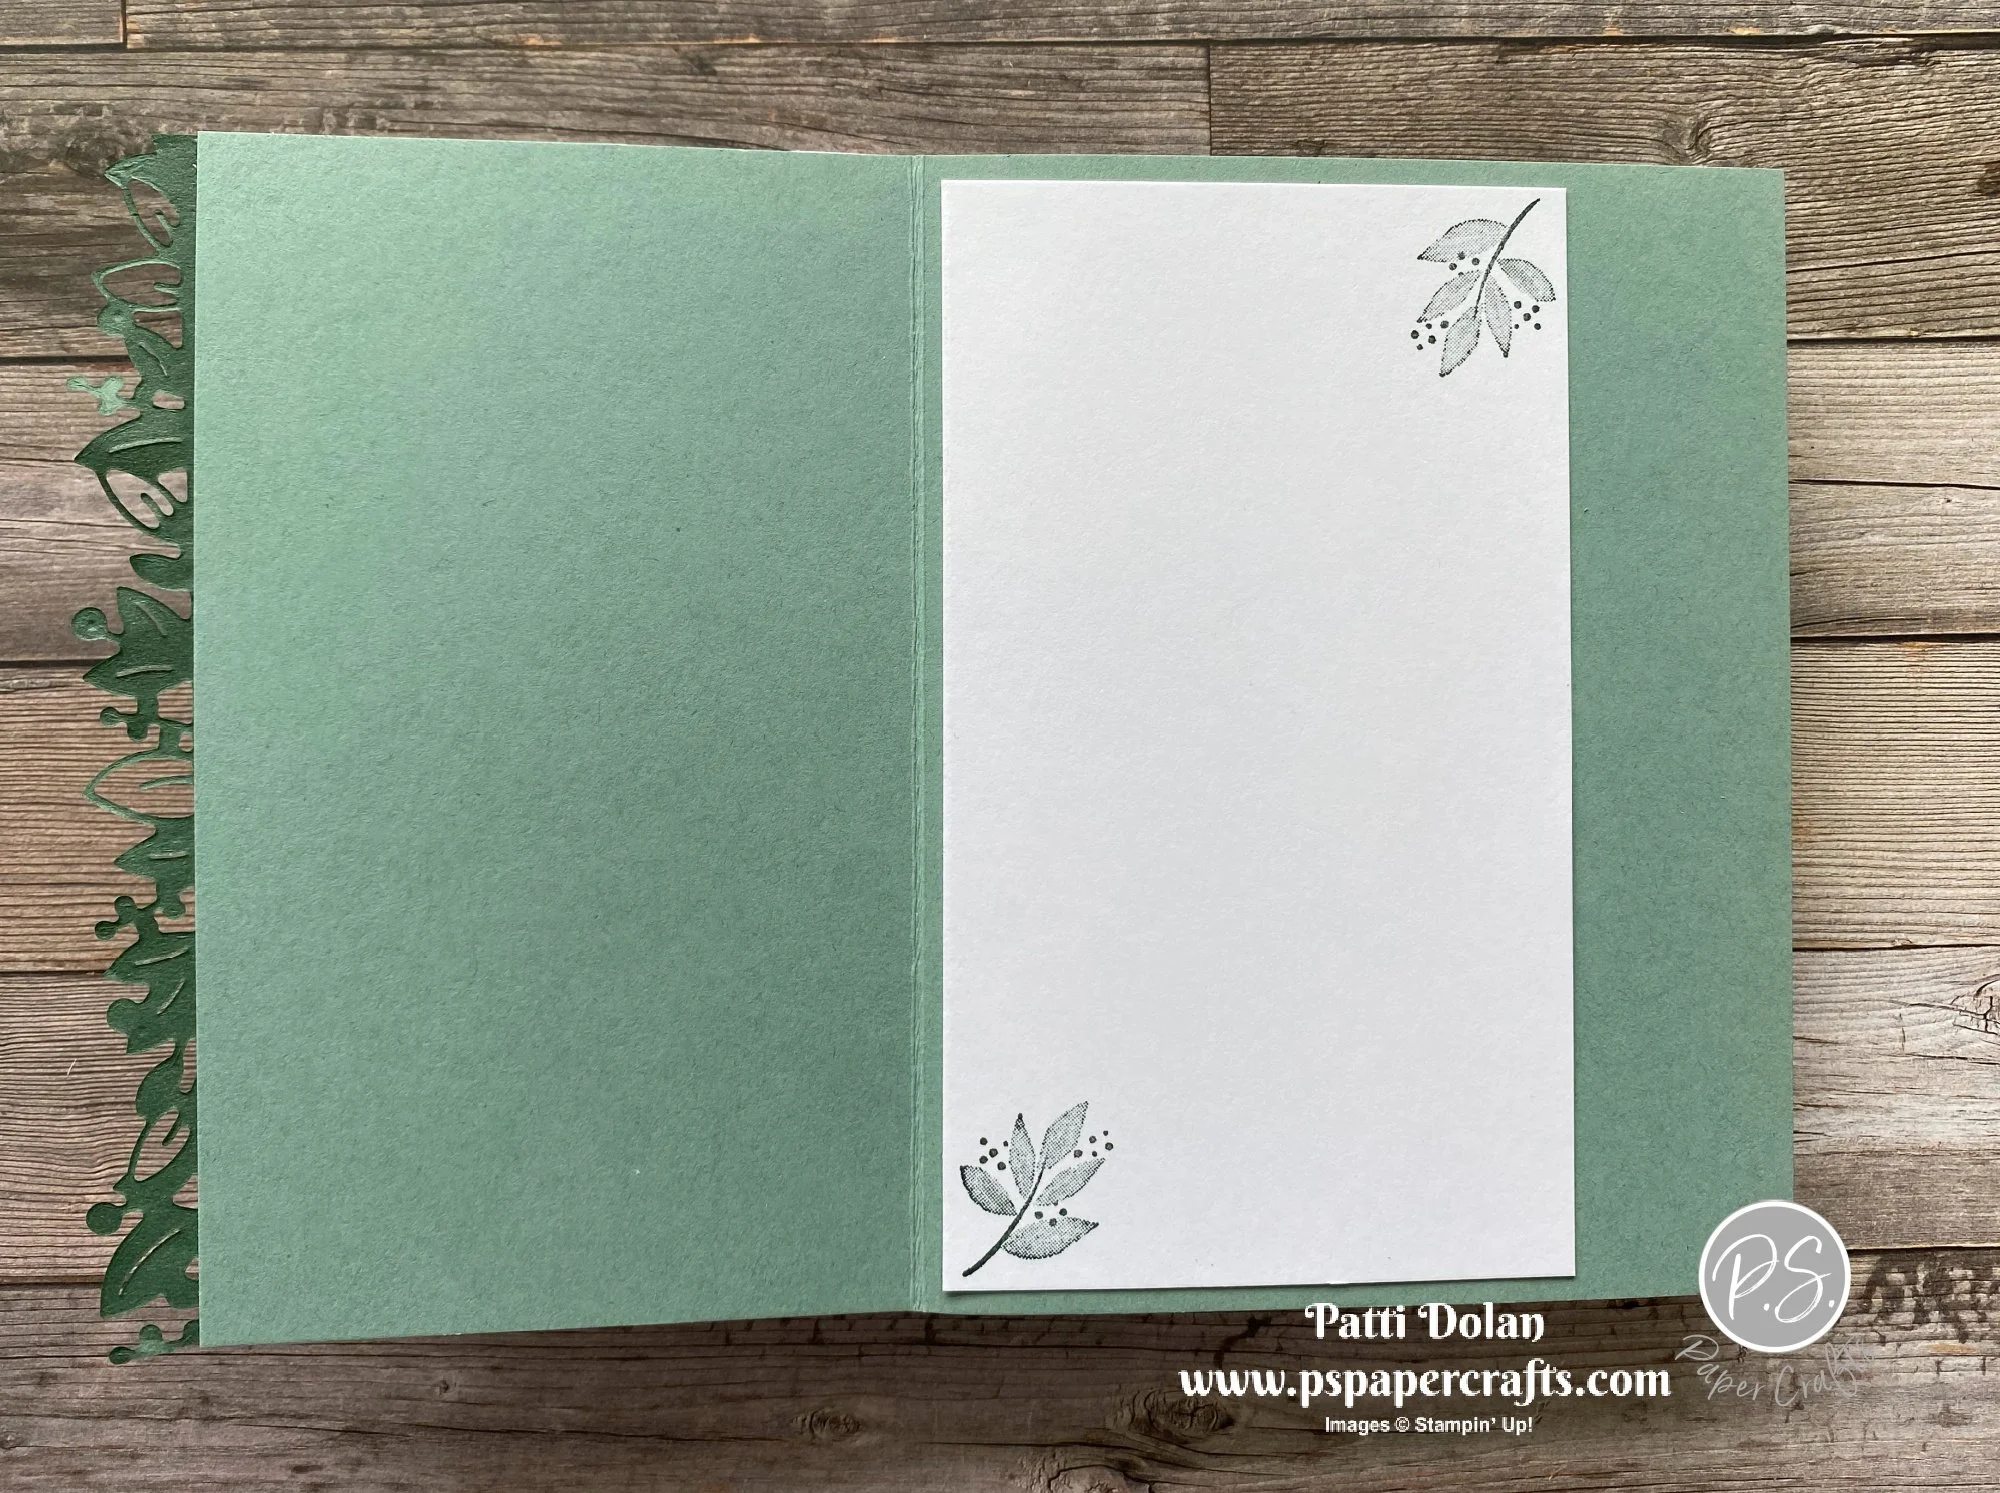
The inside layer is 5 1/4 x 3. Stamp some greenery using Evening Evergreen Ink.


Supply List

You can purchase the entire Eden’s Garden Collection using one item # - 160849

Eden's Garden Collection Now Available!

The new Eden's Garden Collection is now available for purchase! 

This delightful and desirable collection includes early-release products from the January–June 2022 Mini Catalog—a bundle of stamps and dies that’s blooming with beauty and bounty. Plus, exclusive products you can’t uncover anywhere else—a pack of paper patterned with green and gold, a set of specialty sheets for gift-giving and textured touches, and a sparkling set of gleaming gems!


As a Demonstrator, I was able to purchase these products early and created some beautiful cards using them. Below are some of the cards I made. You can find instructions and a video here on my Blog.


Click the link to view a flyer with the products and prices in the collection. You can shop my Online Store to purchase them.

Patti’s November Ordering Special!

When you purchase $50 in product from my Online Store, I'll send you a FREE package of Holiday Rhinestones. These colors are perfect for the holiday season.


Sketch Saturday - Biggest Wish

For today’s sketch I used the Biggest Wish Stamp Set along with the Patterned Party Host Designer Series Paper. It’s bright and fun and would be great for a teenage girl.


The sketch is from the weekly Atlantic Hearts Sketch Challenge. This week was a Slim Line style card.


You can get the Patterned Party Designer Series Paper with your Host Rewards. It’s a huge pack of patterned paper with black and white designs on one side and bright colors on the other side. You get 48 sheets - 12 x 12 (4 each of 12 double-sided designs).


Tips & Instructions

  • Misty Moonlight Card Base - 8 1/2 x 7 1/2, score at 3 3/4

  • Basic White layer - 8 1/4 x 3 1/2

  • Pattern Party Host Designer Series Paper layer - 8 x 3 1/4

  • Adhere layers to card base.

  • Basic White strip - 1 1/4, stamp “HAPPY BIRTHDAY” sentiment with Poppy Parade Ink and cut to size.

  • Basic White strip - 1”, stamp “friend” sentiment with Misty Moonlight Ink and cut to size.

  • Adhere sentiment strips to card using Dimensionals.

  • Add Rhinestones to flower centers. I used the Night Of Navy rhinestones from the Holiday Rhinestones Pack. I think I may have gone overboard with the rhinestones. I started with a few random rhinestones and then kept going!!!


Add a 8 1/4 x 5/8 strip of the Designer Series Paper to the bottom of the inside layer. I cut it to fit those pink flowers.

Stamp “happy” sentiment twice with Poppy Parade Ink and the “birthday” sentiment once with Misty Moonlight Ink.


Supply List

Peaceful Cabin Shadowbox Card

I had some leftover floral die cut pieces from my wreath card that I made the other day. These pieces were cut using the Ever Eden Specialty Designer Series Paper and the Eden Dies.

See my Blog Post dated Oct. 27 to see the video on how to make those cards. It includes a great tip for cutting the new Cotton Paper.


In today’s video I’ll show you how to create this peaceful Shadowbox Card.


This was a very simple card to make using the floral piece as a frame for the top layer of the card.


Tips & Instructions

  • Evening Evergreen Card Base - 5 1/2 x 8 1/2, score at 4 1/4

  • 2 Basic White Layers - 5 1/4 x 4. Cut center of one of the layers using the Rectangle Stitched Dies to create a window.

  • Stamp cabin with Soft Suede Ink and tree with Evening Evergreen Ink on solid white layer. Stamp the sentiment with Evening Evergreen Ink. I stamped just the “PEACE” word from the sentiment stamp.

  • Ever Eden Specialty Designer Series Paper - 5 1/2 x 4, cut using large Eden Die. Adhere to window layer.

  • Adhere window layer to stamped layer using Foam Adhesive Sheets or Dimensionals. Adhere layer to card base.

  • Add some Subtle Shimmer Sequins.


On the inside stamp two of the trees and the sentiment with Evening Evergreen Ink.


Supply List

Note: The Eden Garden products will be available for purchase starting Nov. 2, 2021.

Patterned Party Designer Series Paper Fall Card

I’m so happy with how this card turned out. I wasn’t sure until I started coloring whether I would like it or not. This would be a great card for a guy.


I used the Patterned Party Designer Series Paper for the background Layer. This paper is a Host product which means you can get it for free with your Host Rewards. It’s has a whopping 48 sheets of 12x12 patterned paper; 4 each of 12 double-sided designs. One side has a great black and white pattern and the other has brightly colored patterns. I love this paper.


I chose the black and white pattern and colored the leaves with fall colored Stampin’ Blends. It’s really so pretty!


Tips & Instructions

  • Basic Black Card Base - 5 1/2 x 8 1/2, score at 4 1/4

  • So Saffron Layer - 5 1/4 x 4

  • Patterned Party Designer Series Paper (leaf pattern) - 5 1/8 x 3 7/8, color with Stampin’ Blends. (I used Dark So Saffron, Dark Calypso Coral and Light Cinnamon Cider). Adhere to So Saffron Layer.

  • So Saffron Strip - 4 x 1, emboss using the Tasteful Textile 3D Embossing Folder and adhere to card.

  • Wrap 3 strands of Linen Thread around the layer and adhere to back. Adhere layer to card base.

  • Stamp sentiment on 1” strip of Basic White Cardstock using Calypso Coral Ink. I used the sentiment from the Enjoy The Moment Stamp Set. Snip both ends at and angle. Adhere using Mini Dimensionals.

  • Tie 3 strands of Linen Thread in a bow and adhere using a Glue Dot.


This is what the paper looked like before I colored it. Pretty even without color, don’t you think?


Stamp sentiment on inside layer using Calypso Coral Ink. Stamp towards the left side of the layer. I used the sentiment from the Happiest Of Birthdays Stamp Set.

Color a 5 1/4 x 3/4 strip of the patterned paper with Blends and adhere to inside layer.


Supply List

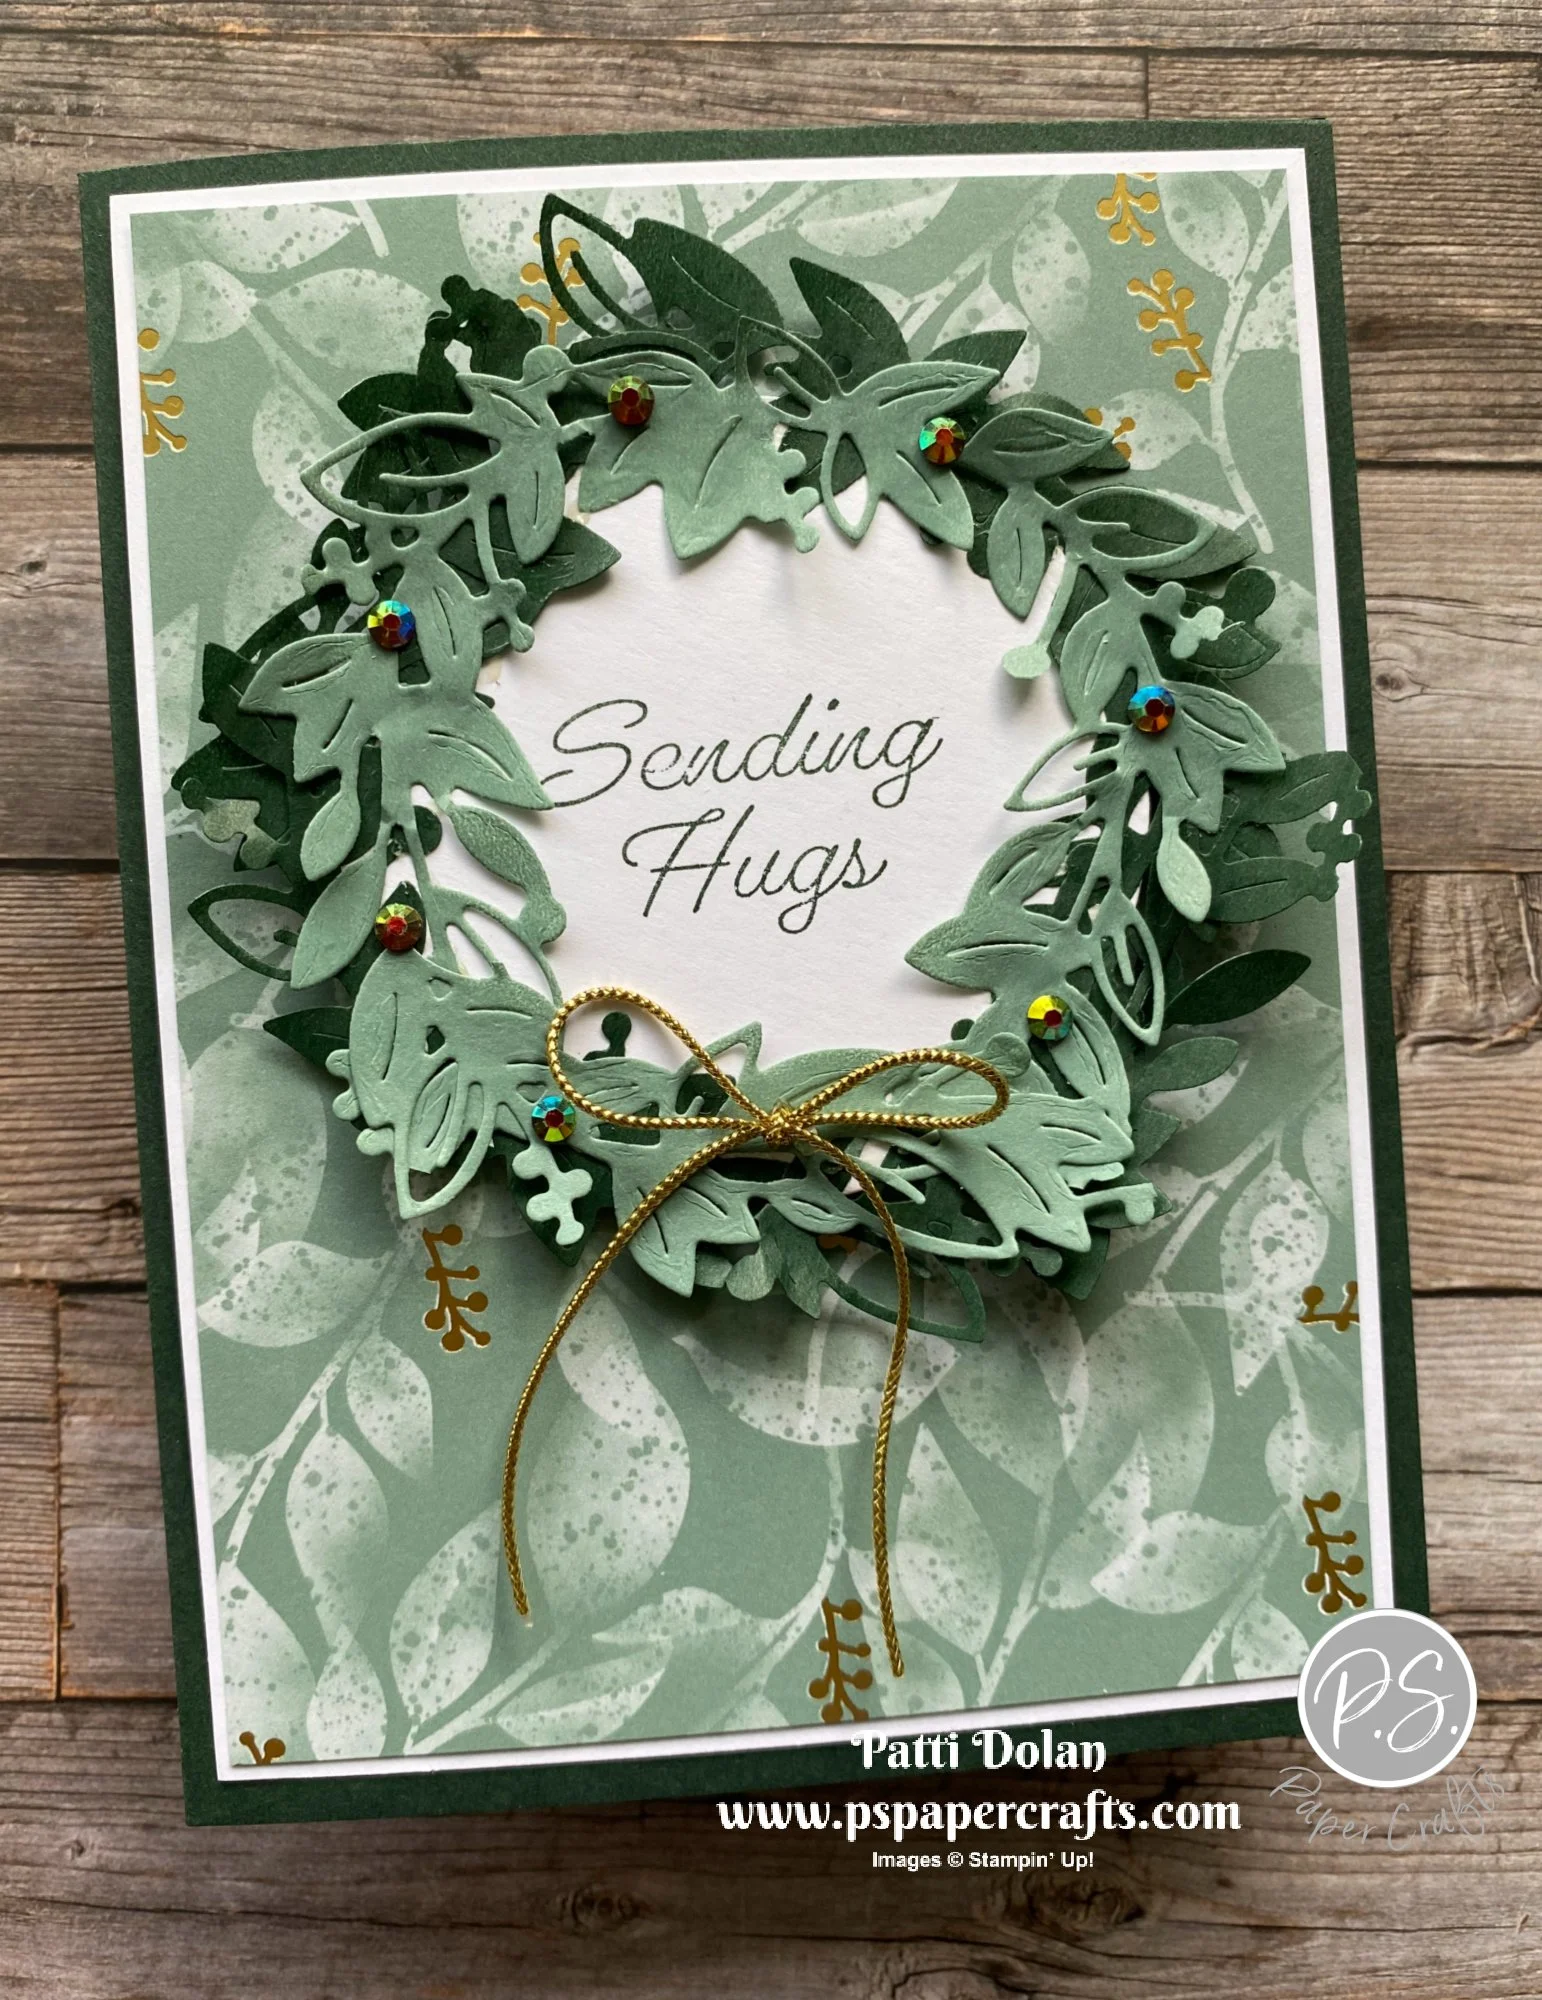
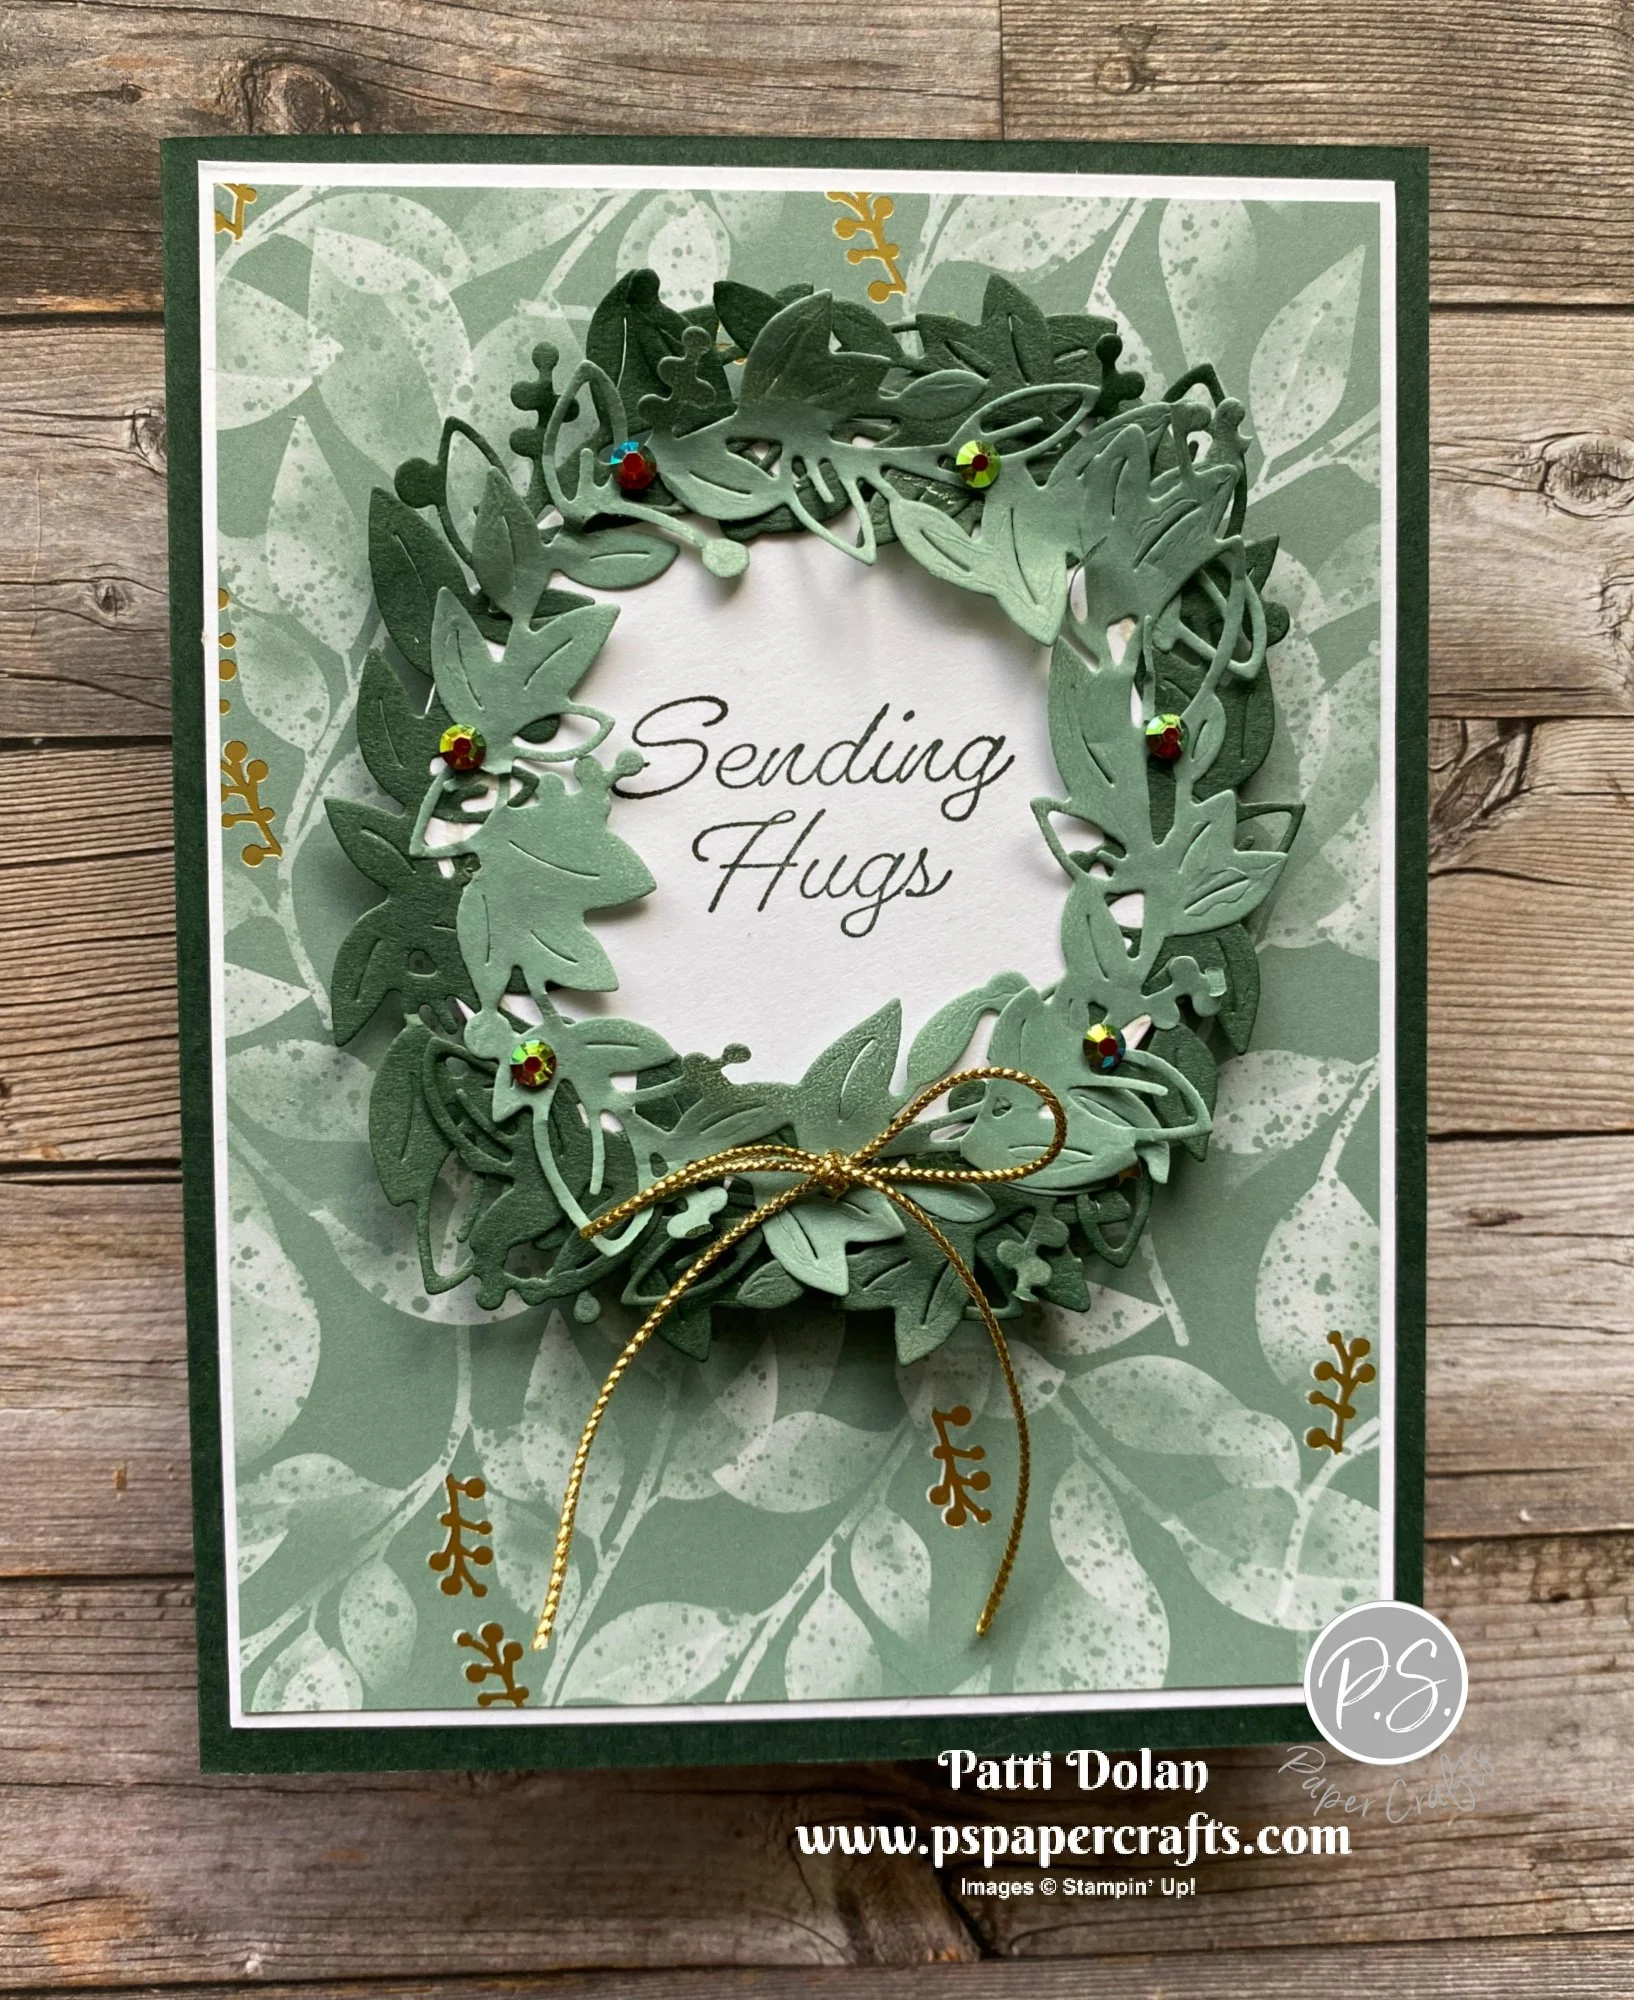
Beautiful Wreath using the New Eden's Garden Collection

If you know me, you know that I love wreaths. When I saw the new Eden’s Garden Collection, I knew I had to make a wreath.


In my YouTube Live, I showed all the products in the Collection and gave some tips on die cutting the new Cotton Paper. Watch the replay to find out more.


The Ever Eden Designer Series Paper is gorgeous. The colors are Evening Evergreen and Soft Succulent with gold accents.


Tips & Instructions

  • Evening Evergreen Card Base - 5 1/2 x 8 1/2, score at 4 1/4

  • Basic White Layer - 5 1/4 x 4

  • Ever Eden Specialty Designer Series Paper - 5 1/8 x 3 7/8

  • Ever Eden Cotton Paper - one piece Evening Evergreen and one piece Soft Succulent, both cut at 4 x 5 1/2. Cut large wreath using the Eden Dies

    TIP: Use a piece of Cardstock or Designer Series Paper cut the same size and lay the Cotton Paper on top cutting both papers together with the die.

  • Cut both wreaths in half, cutting off any excess pieces.

  • Cut 2nd from largest circle from Basic White Cardstock using the Layering Circles Dies and stamp sentiment in center with Evening Evergreen Ink.

  • Adhere the Evening Evergreen wreath pieces to edge of circle creating a wreath. Adhere the Soft Succulent pieces on top of the Evening Evergreen pieces.

    TIP: Use a Silicone Craft Sheet when gluing the wreaths.

  • Adhere wreath to card using Dimensionals.

  • Add some Garden Gems around the wreath. Tie a bow with the Gold Simply Elegant Trim and adhere to wreath with a Glue Dot.


On the inside stamp some of the floral images across the top and bottom with Soft Succulent Ink.


Supply List

Note: The Eden’s Garden products will be available for purchase starting November 2, 2021.