Sketch Saturday - Artfully Layered

Here’s the card I made for this week’s sketch challenge. I love the Artfully Composed Designer Series Paper; you don’t need to add much more to it to create a beautiful card.


This week’s sketch was an easy one. It’s from the weekly Atlantic Hearts Sketch Challenge.


Tips & Instructions

  • Thick Basic White Cardstock - 5 1/2 x 8 1/2, score at 4 1/4

  • Artfully Composed Designer Series Paper - 5 1/4 x 4, adhere to card base.

  • Basic White Square - 3 5/8 x 3 5/8

  • Artfully Composed Designer Series Paper - 3 1/2 x 3 1/2, adhere to white square and adhere to card.

  • Basic White Cardstock - cut using the Tasteful Labels Dies. Stamp leaves with Evening Evergreen Ink and sentiment with Calypso Coral Ink. Adhere to card using Dimensionals.
    The sentiment is from the Hello Ladybug Stamp Set but you can use any stamp that fits on the label.


On the inside layer stamp the greenery at the bottom with Mint Macaron and the top with Evening Evergreen Ink.


Supply List

You can click on the item to purchase it from my Online Store.

Fun Easter Treat Holders

I made these cute Easter Treat Holders using the Easter Friends Stamp Set and Hand-Penned Designer Series Paper. Which do you like better, Pale Papaya or Blushing Bride?


In the video I’ll walk you through the steps to make these cute treat holders. You can change the paper and sentiment and make them for any occasion.


Tips & Instructions

  • Blushing Bride Cardstock - 11 x 3 1/4, score at 4 3/4 & 6 1/4

  • Blushing Bride Cardstock - 5 x 3 3/8, score each side at 1”

  • Cut at each corner to create tabs as shown in the video. Fold sides and glue to create a small box.

  • Basic White Cardstock - 4 3/8 x 2 7/8

  • Hand-Penned Designer Series Paper - 4 1/4 x 2 3/4, adhere to white layer.

  • Using the small circle from the Tasteful Labels Dies, cut circle towards the top of the designer paper layer.

  • Watch the video to see how to line up the circle die at the front and back of the box and cut holes. Adhere designer series paper layer to box lining up the hole.

  • Cut the larger circle from Basic White Cardstock and stamp the chick image with Smoky Slate Ink. Color with Daffodil Delight Stampin’ Blends.

  • Stamp sentiment with Smoky Slate Ink on 5/8 strip of Basic White Cardstock.

  • Adhere chick and sentiment to front with Dimensionals.

  • Feed ribbon through the circles and tie bow.


Here’s a side view of the holder. You can put a little cello bag with some candy in it.


Once opened, you’ll have the little box filled with goodies.


This one has Pale Papaya Cardstock, ribbon and patterned paper.


Supply List

You can click on the item to purchase it from my Online Store.

Beauty Of Friendship Thinking Of You Card

I love that you can use the “back” side of our patterned paper to get a completely different look.

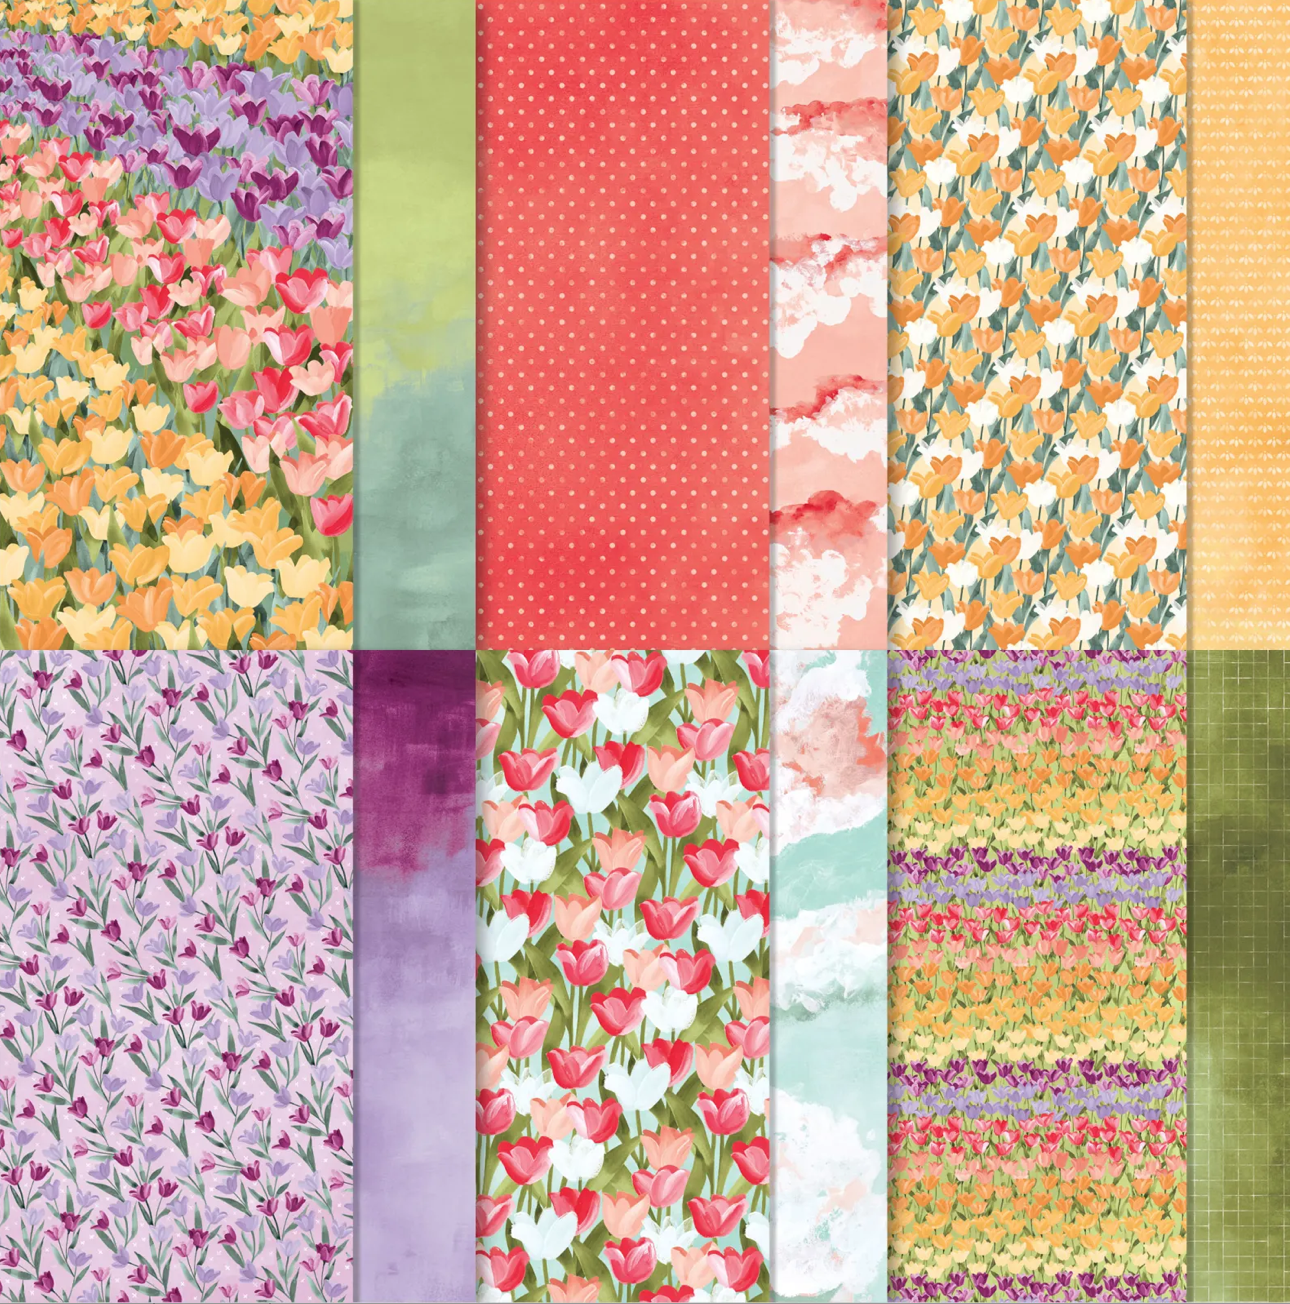
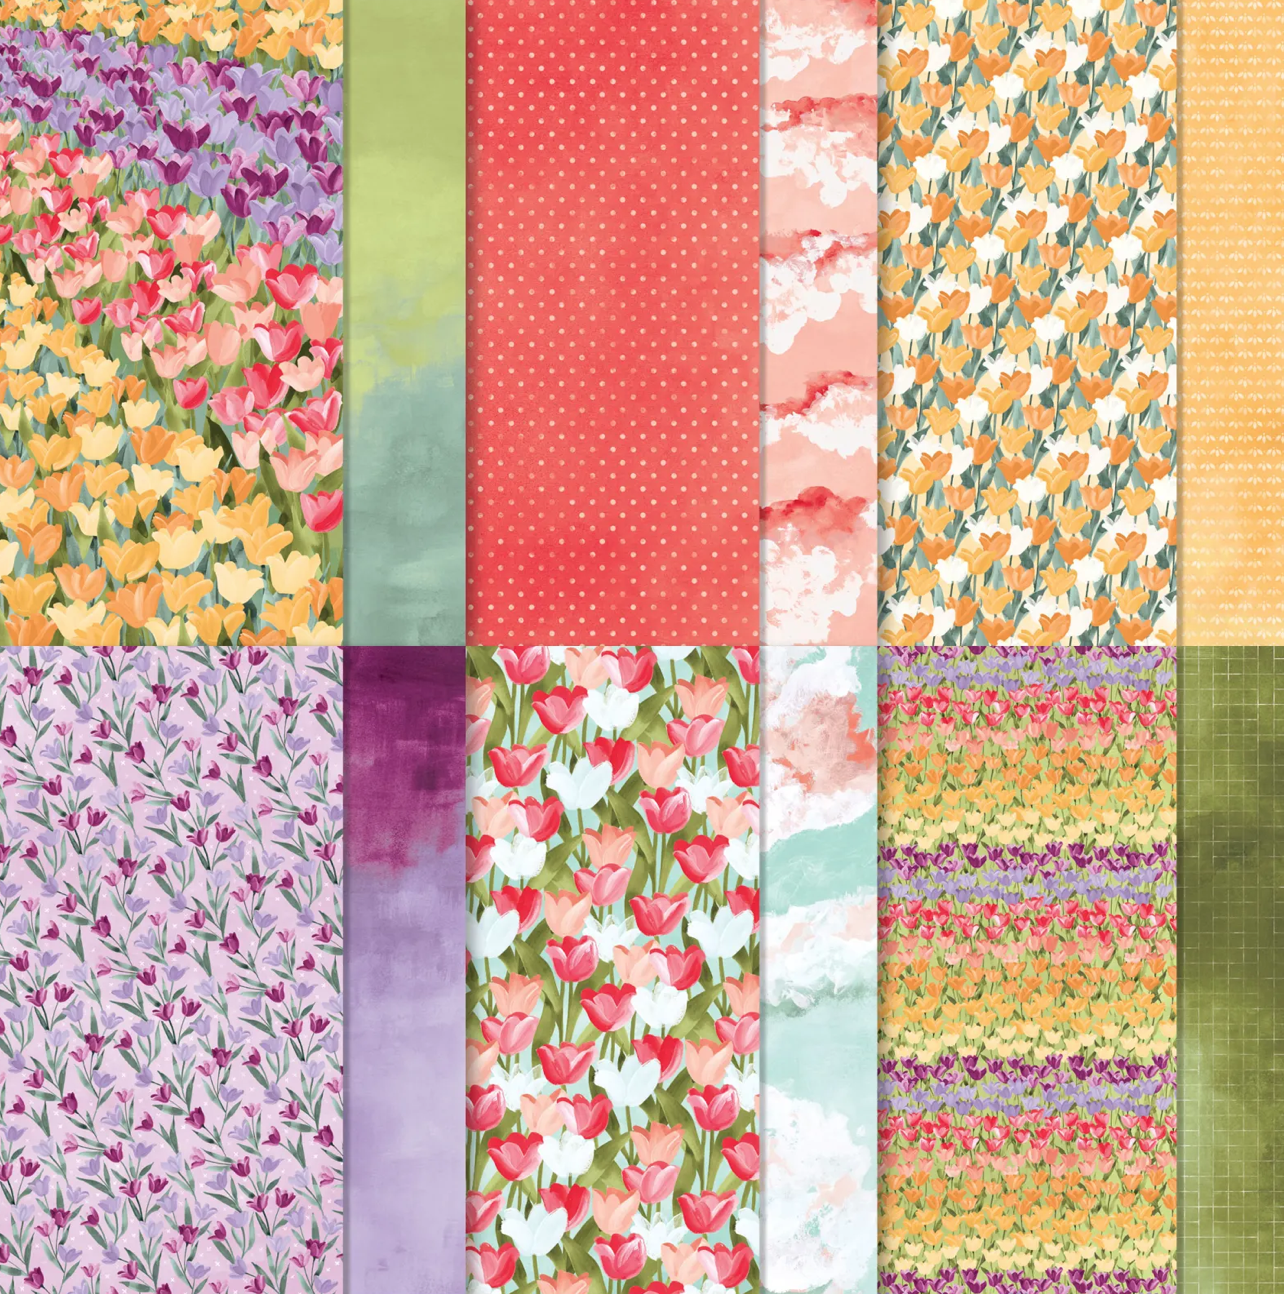
This is the other side of those vibrant tulips that I used on yesterday’s card from the Flowering Fields Designer Series Paper. When I was putting my glue on the back side of the card yesterday, I saw a soft sky pattern.


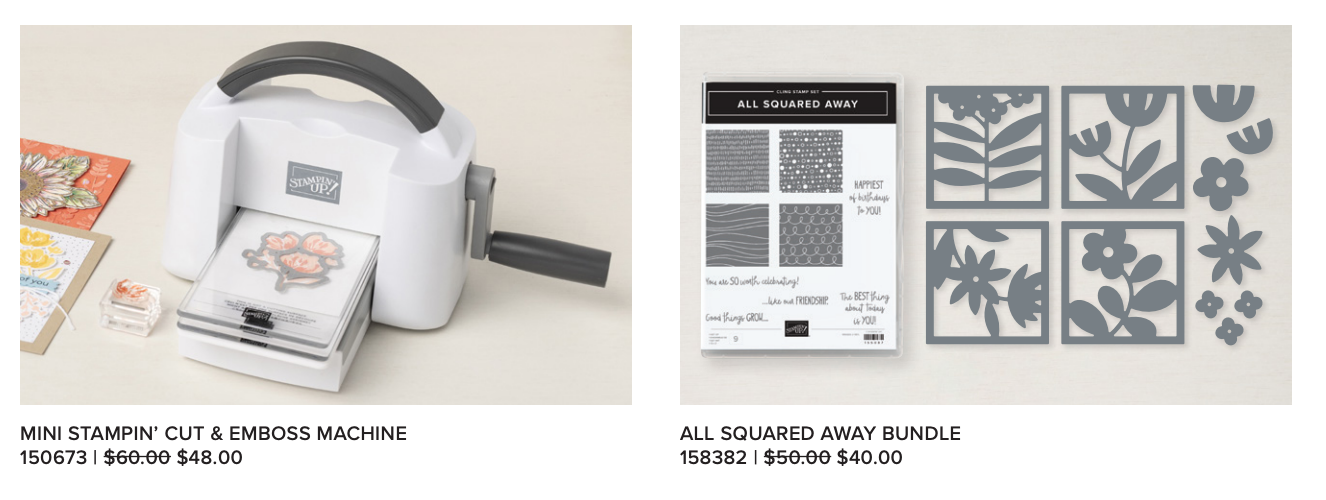
The Beauty Of Friendship Bundle that I used for this card is one of the bundles that is compatible with our Mini Stampin’ Cut & Emboss Machine. You can save 20% on the machine and this bundle during March, 2022 with our Savings Are In Bloom Promotion.

Also, the dies are not carrying over to the new catalog so get them while they are on sale if you want them.


Tips & Instructions

  • Evening Evergreen Card Base - 5 1/2 x 8 1/2, score at 4 1/4

  • Basic White Layer - 5 3/8 x 4 1/8, adhere to card base

  • Flowering Fields Designer Series Paper - 5 1/4 x 4, adhere to card.

  • Fussy cut a hill from a piece of Basic White Cardstock that is 4” wide. Stamp the ground image with Soft Suede Ink, repeating a few times without re-inking. Stamp to cover the entire hill.

  • Stamp the tree with Soft Suede Ink and cut with coordinating die.

  • Stamp treetop with Evening Evergreen Ink. There are two treetop images, a background and detailed. I stamped off the background image one time on scrap paper to take off a layer of ink and get a lighter image. Stamp the detailed image directly.

  • Adhere treetop to tree and then tree to card. Adhere the hill over the bottom of the tree.

  • Stamp sentiment with Evening Evergreen Ink on Basic White Cardstock and cut with label die from the set. Adhere to card.

  • Cut the 2 birds from Balmy Blue Cardstock and adhere to the tree and sentiment using Mini-Dimensionals.


On the inside layer stamp tree and treetop like you did on the card front.


Here’s the Mini Stampin’ Cut & Emboss Machine. It’s on sale during March, 2022 from $60(US) to $48(US). It is going up in price with the new catalog so if it’s on your wish list, you might want to purchase it now.


Supply List

You can click on the item to purchase it from my Online Store.

Stampin’ Up! - Last Chance Products - Save up to 50%


The 2021–2022 Annual Catalog will be retiring soon! It’s always bittersweet to see a classic Stampin’ Up! catalog take a trip to retirement. But, we’re looking forward to all the new products on their way—and we hope you are, too!

Stock up on your favorite products before they’re gone for good! Save up to 50% on essential craft supplies. What are you waiting for? Start shopping! After all, this selection of Last Chance Products is only available while supplies last.


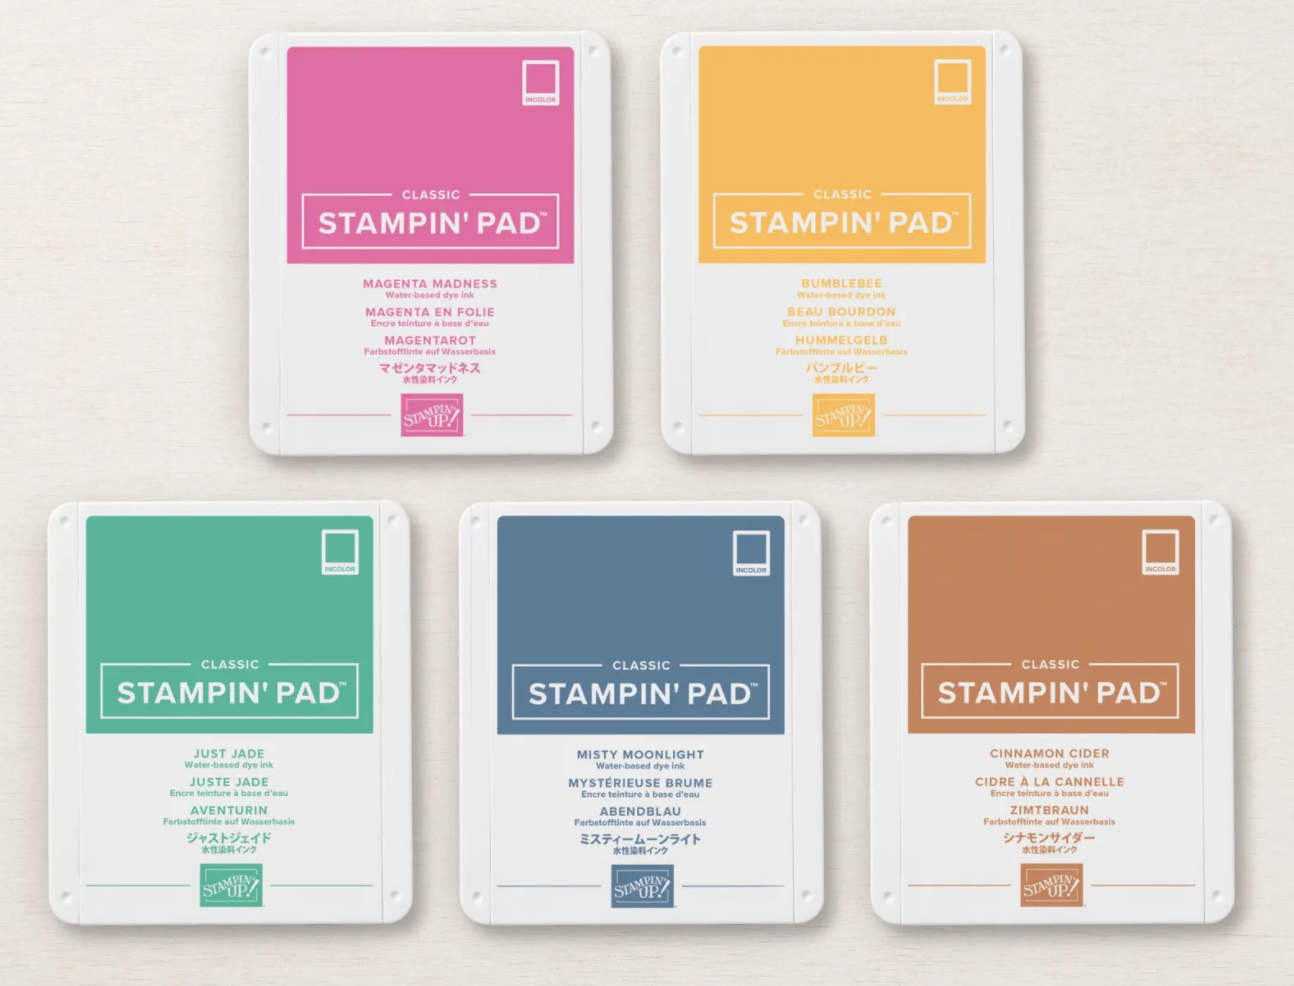
Be sure to order the 2020-2021 In Color products as they will go quickly. Stock up on cardstock and get your Ink Refills.


Would you like me to send you a new catalog?

If you ordered from me in the last year, you will automatically get a catalog from me. If not and you would like one, please email me with your address and I will send you one. Please don't request one if you get it from another Demonstrator.


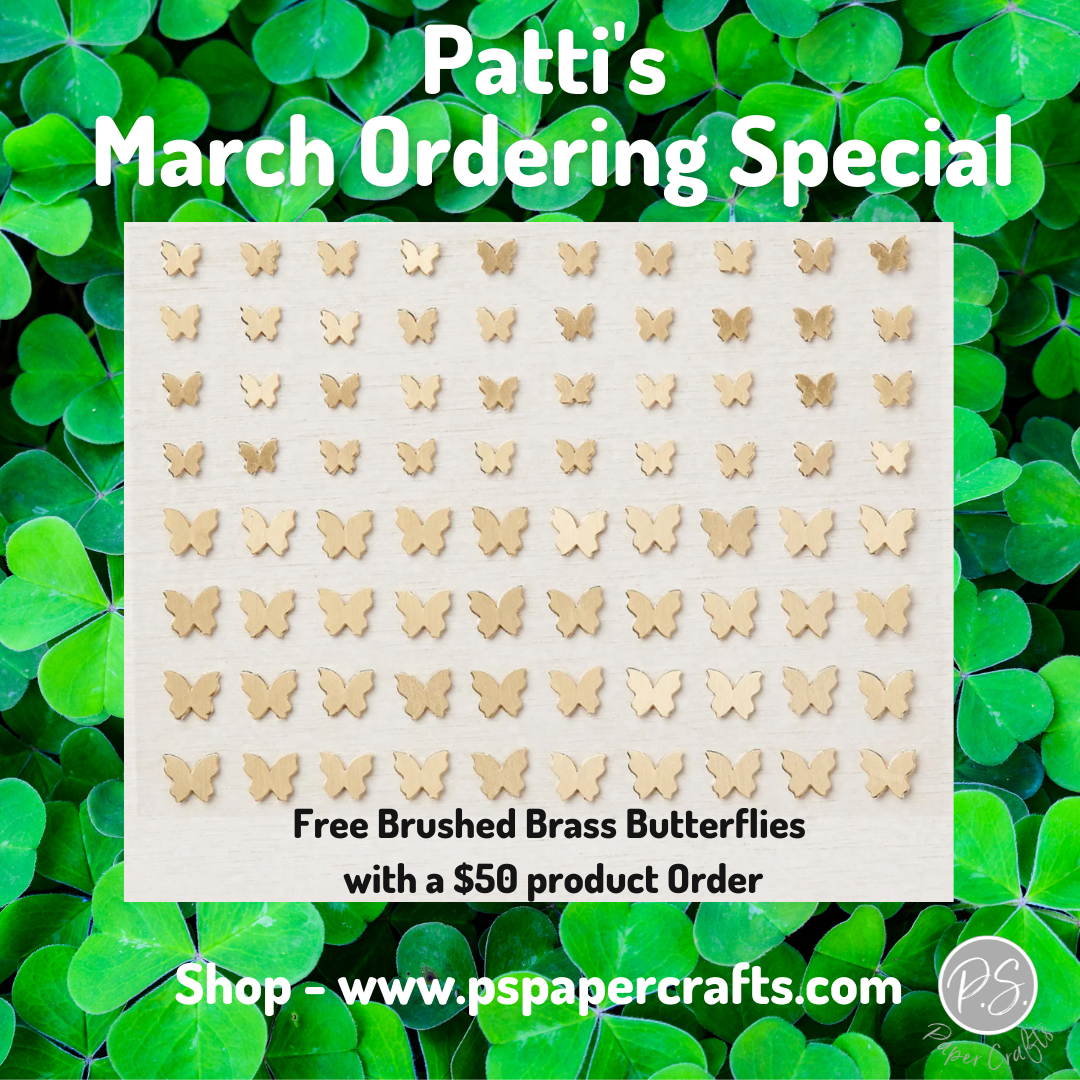
Don't forget my March Ordering Special! Spend $50 in product from my Online Store and I'll send you a package of Brushed Brass Butterflies for free.


Flowering Tulips Corner Fold Card

On my YouTube Live I made this beautiful Corner Fold Card using the Flowering Fields Designer Series Paper from Stampin’ Up! It’s the same pattern I used on yesterday’s card, I love it!


Watch the replay to see how to make this style card. It’s easy once you have the measurements down.


Tips & Instructions

  • Poppy Parade Card Base - 5 1/2 x 11, score at 4 1/4

  • Flowering Field Designer Series Paper (green pattern) - 5 1/4 x 4, adhere to card front.

  • Watch the video to see how to make the following cuts:

    • Move edge of card to the 3” mark on your trimmer and cut down from 2 1/2 to 4 7/8

    • Turn card base and move edge to 3” mark and cut from 3” to 5/8”

    • Flip bottom of square back and make the fold, using your bone folder to burnish

    • Put adhesive on just the edge to adhere to card front. You use a Glue Dot if you want.

  • Basic White Square - 2 3/4 x 2 3/4

  • Designer Series Paper (tulips) - 2 1/2 x 2 1/2, adhere to white square and then to front flap.

  • Basic White - 1”, stamp sentiment with Poppy Parade Ink, banner each end using the Banners Build A Punch and adhere using Dimensionals.


The sentiment on the inside is from the Happiest Of Birthday Stamp Set. Stamp the tulip with Poppy Parade and the stem and leaves with Granny Apple Green Ink.

After the video I decided to add a flower toe the inside square. I stamped the tulip, stem and leaves like I showed in the video and then cut using the coordinating dies.


I made this card for my Mom for Mother’s Day. The sentiment is from the Flowering Tulips Stamp Set.


Supply List

You can click on the item to purchase it from my Online Store.

Flowering Tulips Thank You Card

This card makes me happy with those beautiful tulips. I didn’t want to hide them too much so kept the sentiment and embellishments to a minimum.


The Flowering Fields Designer Series Paper has gorgeous, vibrant patterns. I think the one I used for this card is one of my favorites.


Tips & Instructions

  • Poppy Parade Card Base - 5 1/2 x 8 1/2, score at 4 1/4

  • Basic White Layer - 5 3/8 x 4 1/8

  • Flowering Fields Designer Series Paper - 5 1/4 x 4, adhere to white layer and adhere to card base.

  • Basic White Cardstock - stamp sentiment with Poppy Parade Ink and cut with Layering Circle Dies.

  • Poppy Parade Cardstock - cut with scalloped Layering Circle Dies and adhere behind the stamped circle.

  • Cut piece of White Frayed Ribbon and cut ends at an angle. Adhere to card.

  • Adhere sentiment label over ribbon with Dimensionals.

  • Add some Brushed Brass Butterflies.


On the inside stamp the flower with Poppy Parade Ink. Stamp the smaller inside image with Poppy Parade Ink stamping off first to get a lighter shade. Stamp stem and leaves with Pear Pizzazz Ink.


Supply List

You can click on the item to purchase it from my Online Store.

Sketch Saturday - Pansy Patch

For this week’s sketch I pulled out some of my older stamps and was happy to use them again. I used the Pansy Patch Bundle and Pansy Petals Designer Series Paper.

I see pansies being planted around my neighborhood, spring is here!


The sketch I used is from the weekly Atlantic Hearts Sketch Challenge.


The Pansy Patch Bundle is one that’s on sale during the month of March, 2022 during the Savings Are In Bloom Promotion. Save 20% on the Bundle.


Tips & Instructions

  • Evening Evergreen Card Base - 4 1/4 x 7 1/2, score at 2

  • Pansy Patch Designer Series Paper (gingham) - 5 1/4 x 4, adhere to inside layer

  • Pansy Patch Designer Series Paper (floral) - 4 x 1 3/4, adhere to front flat

  • Evening Evergreen Cardstock - cut the largest scalloped rectangle using the Stitched So Sweetly Dies.

  • Basic White Cardstock - cut with the second largest scalloped rectangle using the Stitched So Sweetly Dies and adhere to the green rectangle.

  • Stamp sentiment on white rectangle using Evening Evergreen Ink.

  • Cut out pansies and leaves from the designer paper using the coordinating dies. Adhere to white rectangle.

  • Adhere to front flap on the card being sure to only put adhesive on the one side.

  • Add some Evening Evergreen Jewels.


I cut another stitched rectangle for the inside layer. I used the second from largest and made sure it fit behind the front flap.


Supply List

You can click on the item to purchase it from my Online Store.

Fun Lucky Me Shamrock Card

Happy St. Patrick’s Day!!!

I made this fun card with a sparkling shamrock for St. Patrick’s Day. I cut the hearts from Rainbow Glimmer Paper to make the shamrocks. The background layer was embossed using the Checks Embossing Folder.


I used the Happy & Heartfelt Stamp Set for the sentiments. I was looking for something with a lucky stamp and found this one.


The Rainbow Glimmer Paper has some Granny Apple Green which worked perfectly for this card.


Tips & Instructions

  • Thick Basic White Card Base - 5 1/2 x 8 1/2, score at 4 1/4

  • Granny Apple Green Cardstock - 5 1/4 x 4, emboss using the Checks Embossing Folder. You have to run it through twice to cover the full layer. After you run it through once, line it up and lock in part of what’s already embossed with the folder and run it through again. Adhere to card base.

  • Cut Basic White Cardstock using largest scalloped Layering Circles Die.

  • Cut 3 large hearts and 3 small hearts using the Sweet Hearts Dies from the green part of the Rainbow Glimmer Paper. Cut 2 stems using your Paper Snips.

  • Arrange and adhere the large hearts and stem on the circle to create a shamrock and adhere the circled to the card using Dimensionals.

  • Stamp sentiment on Basic White Cardstock with Granny Apple Green Ink and cut using the label die from the Sweet Hearts Dies.

  • Arrange and adhere the small hearts and stem to label. Adhere label using Dimensionals.

  • Add some Iridescent Rhinestones to the shamrock centers and the label.


On the inside layer stamp sentiment with Granny Apple Green Ink. Emboss a strip of Granny Apple Green and adhere to the bottom of the layer.


Supply List

You can click on the item to purchase it from my Online Store.

Elegant Double Gate Fold Card

On today’s YouTube Live I created these beautiful cards using the Elegantly Said Bundle and Simply Elegant Specialty Designer Series Paper.


Watch the replay to see how to make this Double Gate Fold Card. It was easy to do once I had the measurements.


Measurements & Colors

  • Simply Elegant Specialty Designer Series Paper Card Base - 12 x 5 1/2

    • Score at 2, 4, 8 & 10

    • Turn and mark the top an bottom at 2 3/4

    • Cut from the 4 & 8 score to where marked (watch video for demonstration)

  • Basic Gray Inside Layer - 5 x 3 1/2

  • Basic White Inside Layer - 4 3/4 x 3 1/4

  • Gold Foil Sheet - 9 x 1, emboss with Tasteful Textiles 3D Embossing Folder

  • Stamping was done using Basic Gray Ink


The Simply Elegant Specialty Designer Series Paper is gorgeous. These beautiful designs are perfect for weddings, masculine projects, and more. Includes copper, gold, and silver foiling.


Pull the belly band off to open the card.


I kept the inside simple with the flower at the bottom and the lace image across the top. Add a sentiment if you want but with the small layer, I wanted to leave space to write a note.


Supply List

You can click on the item to purchase it from my Online Store.

Join me on March 20 at 2pmET for my Buy One, Get One Sale.  I have lots of Stampin' Up! retired products to clear out and will be giving them away for free when you make a purchase of equal value from my Online Store. 


Here's how it works:

  • Go to the Facebook Group at 2pmET on March 20, 2022 (link below).

  • I will show items and they will be numbered and priced.

  • You can claim the item you want by typing CLAIM and the item number into the chat. (Example: CLAIM #15)
    Note: The first person who shows up in my feed as claiming it will get it.

  • Once the event is over you can add up the items you requested. Then you’ll go to my online store at https://www.stampinup.com?hostcode=EXD7UXKK and spend the same amount in my shop before tax and shipping.

  • You’ll use this special host code: EXD7UXKK
    Orders of $150 or more still are required to use the host code for this event only.
    This order cannot be combined with my other host code gift. The gifts in this case are the free products you’ll receive.

  • Shipping of the free items will be calculated after the event is over and your items are grouped together. I will work to get the cheapest shipping possible.
    You will still pay the Stampin' Up! shipping when placing your online order like normal.

I will go over all of this at the beginning of the event.

Sketch Saturday - Celebrate Sunflowers

This week’s card for the sketch challenge is in honor of the people living in the Ukraine. I used blue and yellow and their national flower, the sunflower.


The sketch I used is from the weekly Atlantic Hearts Sketch Challenge. This was an easy one to follow.


The sunflowers and sentiments in this stamp set are so beautiful. It’s one of my favorite sets.


Tips & Instructions

  • So Saffron Card Base - 5 1/2 x 8 1/2, score at 4 1/4

  • Misty Moonlight Layer - 5 3/8 x 4 1/8

  • So Saffron Cardstock - cut 3 pieces at 5 x 1 1/4

  • Beauty Of The Earth Designer Series Paper - cut 3 pieces at 4 7/8 x 1 1/8

  • Adhere Designer Series Paper to So Saffron pieces and then adhere to Misty Moonlight Layer. Adhere layer to card base.

  • Stamp small sunflower on Basic White Cardstock with Black Memento Ink. Color with Dark Crumb Cake, Dark Old Olive and Dark So Saffron Stampin’ Blends. Add some Wink Of Stella.

  • Stamp sentiment on 4 1/4 x 1 strip of Basic White with Misty Moonlight Ink.

  • Add Gold Trim behind the sunflower. I used tape to secure it. Adhere sunflower to sentiment strip using Dimensionals and then add strip to the card.

  • Add a Gilded Gem.


On the inside layer stamp two sunflowers and color with So Saffron and Crumb Cake Stampin’ Blends.


Supply List

You can click on the item to purchase it from my Online Store.

Cute Peekaboo Fun Fold Easter Cards

These Easter Cards are adorable with the Peekaboo window, aren’t they? I used the Easter Friends Stamp Set along with the Hand-Penned Designer Series Paper to make these cards.


Watch the video to see how to cut and fold the patterned paper for the peekaboo layer.


Tips & Measurements

  • Highland Heather Card Base - 5 1/2 x 8 1/2, score at 4 1/4

  • Basic White Layer - 5 1/4 x 4

  • Hand-Penned Designer Series Paper - 5 1/4 x 4, then cut in half at 2" and then cut each half at 3” to get the 4 pieces.

  • Fold back one corner of each piece. On the video I showed you that I used a template to make them all the same. Pay attention to each piece and how it will lay on the card so you know which corner to fold back. Using a Glue Dot adhere the corner of each fold to tack it down.

  • Lay pieces on white layer and lightly draw pencil lines at the opening to help with placement for stamping.

  • Stamp the bunny with Basic Gray Ink so it’s centered within the pencil lines. Erase the pencil lines if you want.

  • Glue down the 4 pieces to the stamped layer and then adhere to card base.

  • Stamp sentiment on 3/4” strip of Basic White with Basic Gray Ink. Punch each end using the Banners Build A Punch.

  • Banner each end of a 1/2” strip of Highland Heather Cardstock making it a little longer than the sentiment banner. Adhere behind sentiment banner and then adhere to card using Dimensionals.

  • Add Pastel Pearls to each corner of the patterned paper and one to the sentiment.


On the inside stamp 3 chicks with Basic Gray Ink and color with a Light Daffodil Delight Stampin’ Blends Marker and the beaks and legs with a Dark Pumpkin Pie Stampin’ Blends Marker. Stamp sentiment with Basic Gray Ink.


Follow the same steps using a Pale Papaya Card Base and the polka dot patterned paper. I used the Classic Matte Dots.


Supply List

You can click on the item to purchase it from my Online Store.

Waves Of The Ocean meets Seascape

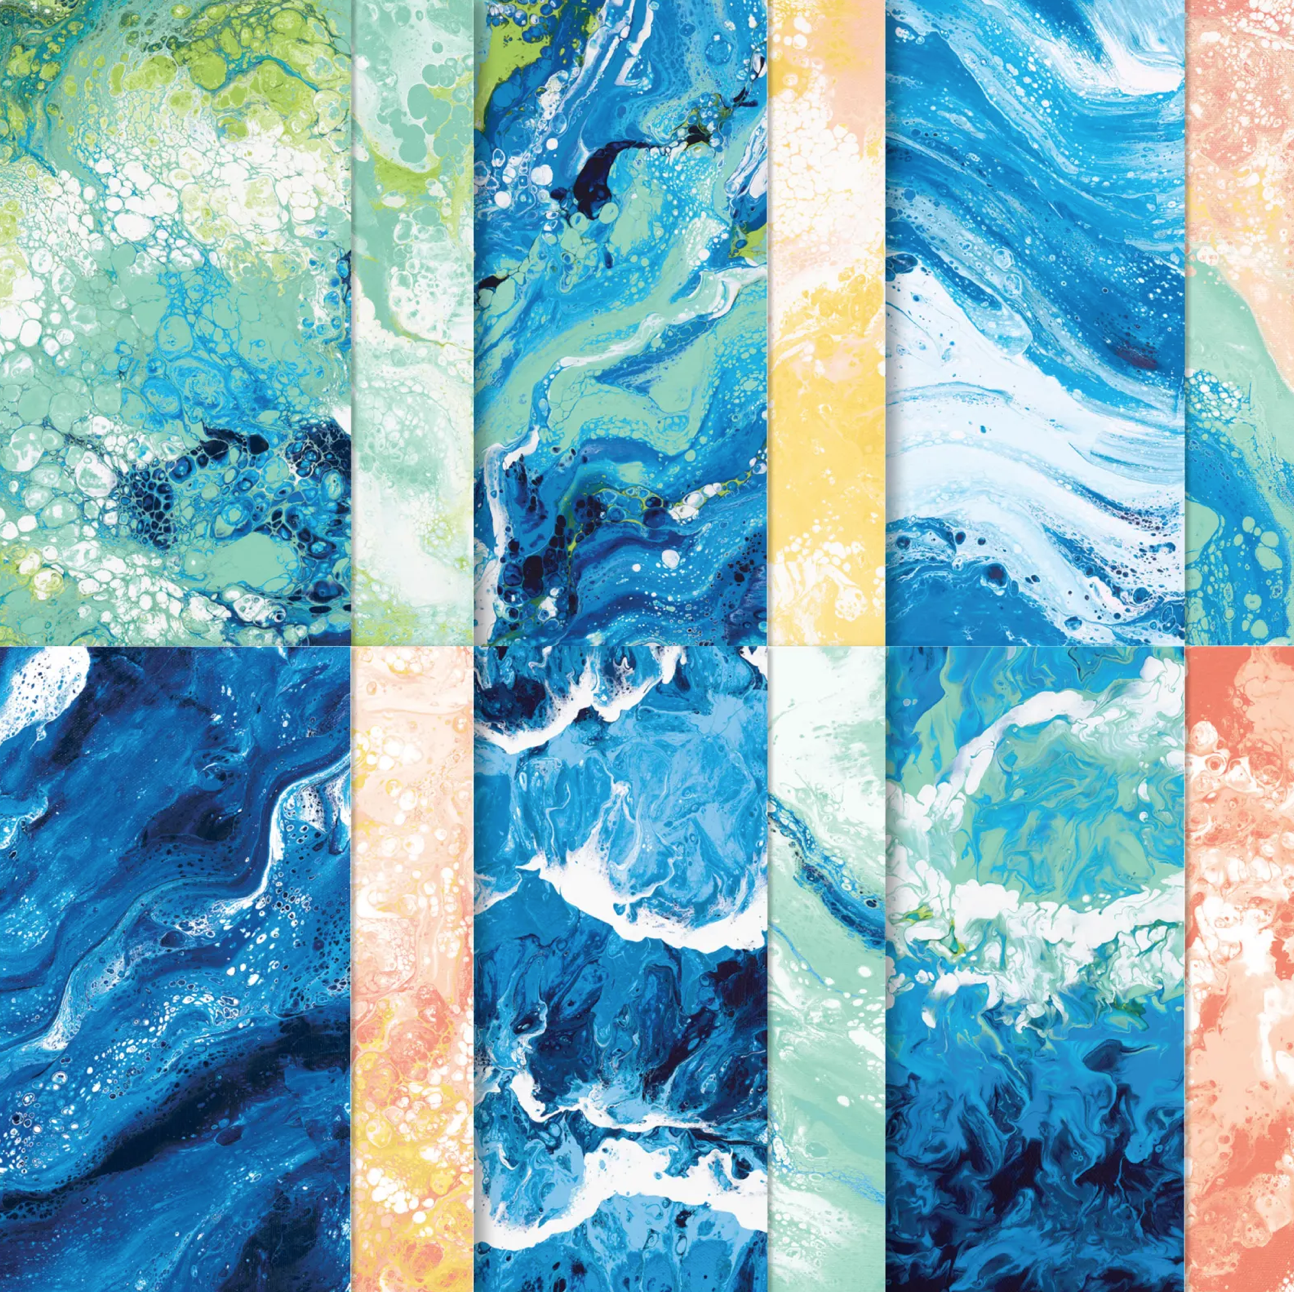
I used the Waves Of The Ocean Designer Series Paper to cut out the fish and seaweed for this card. The color variation is just perfect for them!


The Seascape Bundle is one of the bundles on sale during the month of March with the Savings Are In Bloom Promotion. You can save 20% on the Mini Stampin’ Cut & Emboss Machine and a select number of compatible bundles.


The Waves Of The Ocean Designer Series Paper is so cool. The imagery was created by hand-pouring paint to get this marble-patterned look.


Tips & Instructions

  • Thick Basic White Card Base - 5 1/2 x 8 1/2, score at 4 1/4

  • Waves Of The Ocean Designer Series Paper - 5 1/4 x 4, adhere to card base.

  • Cut large fish and small fish from the orange portions of the paper, play around with different areas to get what you want.
    Note, you’ll need to snip a few areas on the large fish after you die cut it.

  • Cut seaweed from yellow portion of the paper.

  • Adhere fish and seaweed to card. I used Multi-Purpose Liquid Glue.

  • Stamp sentiment with Night Of Navy Ink on a 1/2” strip of Basic White Cardstock. Trim each end on an angle and adhere with Dimensionals.

  • Add some Rhinestone Waves Basic Jewels to card. I put one on the eye of the large fish.


On the inside layer stamp the small fish with Calypso Coral Ink. Cut the seaweed from the blue and green area on the Designer Series Paper.


Supply List

You can click on the item to purchase it from my Online Store.

Card Making Ideas - Simple Suite Stampers March Tutorial

Each month I collaborate with 11 Stampin’ Up! Demonstrators to create a tutorial with 12 beautiful projects. This month we featured the Heart & Home Suite of products.


On today’s live I made 2 of the cards from the Tutorial. Watch the replay to see how to make them.


You can get this tutorial for FREE when you purchase from my Online Store. It includes 12 beautiful projects including pictures, measurements and instructions. You can also purchase the tutorial by clicking the Tutorials Button at the top of my website.


This is the card that I designed for the tutorial. I love any woodgrain patterned paper and there are lots of choices in the Heart & Home Designer Series Paper.


That bumblebee is so fun. I added some Wink Of Stella to give a bit of shine to the bee and the flowers.


My friend Vicki Parsons designed this card. The scalloped edge is so pretty with the Misty Moonlight patterned paper.


I didn’t show the inside on the video. I just cut the floral design and glued it onto the inside layer. It fits nicely in that corner.


Supply List

You can click on the item to purchase it from my Online Store.

Dress Up A Simple Birthday Card

This is a card that would be pretty with just the flower and sentiment layered on the patterned paper or you can flick some ink, add some jewels and ribbon to dress it up! Either way, it’s beautiful!


I used the Art Gallery Bundle for the stamp and dies. This is one of the bundles that’s on sale as part of the Savings Are In Bloom Promotion. During the month of March, 2022 the Mini Stampin’ Cut & Emboss Machine along with select bundles that are compatible with the machine are 20% off. It’s a great savings.


Tips & Instructions

  • Thick Basic White Card Base - 5 1/2 x 8 1/2, score at 4 1/4

  • Flowering Fields Designer Series Paper - cut using the largest Rectangle Stitched Die.

  • Adhere to card base OR dress it up by wrapping a piece of Polished Pink Open Weave Ribbon around it first.

  • Basic White Cardstock - cut using 4th from largest Rectangle Stitched Die and stamp sentiment on bottom corner with Polished Pink Ink. I stamped the word “Birthday” first by covering “Happy” with a Post-It Note, inking it, removing the Post-It Note and then stamping. Clean the stamp and repeat for “Happy”

  • Dress it up by flicking some ink with a Polished Pink Stampin’ Write Marker. Using the cap, flick the brush end of the marker to splatter ink on the white layer.

  • Stamp flower with Polished Pink Ink. Stamp the large background stamping off first, then stamp the detailed image direct. Stamp the leaves with Pear Pizzazz Ink. Cut both pieces using the coordinating dies and adhere to white layer.

  • Add layer to card using a piece of Foam Adhesive Sheets or Dimensionals.

  • To dress it up, tie a bow with the ribbon and add 3 Polished Pink Jewels.


The ink splattering is very light but adds some extra texture to the card.


On the inside layer stamp the sentiment with Polished Pink Ink. I used the sentiment from the Inspired Thoughts Stamp Set. Stamp the leaves with Pear Pizzazz Ink and the smaller flower with Polished Pink Ink.


Supply List

You can click on the item to purchase it from my Online Store.

Sketch Saturday - A Wish For Everything

I struggled a bit with this week’s sketch challenge. I knew I wanted to do something with shamrocks but I wasn’t sure what!


This is the sketch from the Atlantic Hearts Sketch Challenge. It is a slim line card this week which is always fun to do.


I used the small hearts from the Sweet Hearts Dies to create the shamrocks and then punched a stem using the Bough Punch. You can use any punch or die or even just fussy cut the stems.


The A Wish For Everything Stamp Set has sentiments for just about any holiday. I love the sentiment for St. Patrick’s Day.


Tips & Instructions

  • Just Jade Card Base - 8 1/2 x 7, score at 3 1/2

  • Evening Evergreen Cardstock - 8 1/4 x 3 1/4

  • Basic White Cardstock - 8 x 3

  • Cut 21 small hearts from Just Jade Cardstock using the Sweet Hearts Dies and punch 7 stems using the Bough Punch to create the shamrocks. Adhere them in the pattern as shown using small amounts of glue. I used the putty end of the Take Your Pick Tool to help get them in place.

  • Add a small Rhinestone in the center of each shamrock.

  • Stamp sentiment with Evening Evergreen Ink.

  • Emboss a 8 x 1/4 strip of Evening Evergreen Cardstock with the Tasteful Textiles 3D Embossing Folder. You have to run it through twice to get the full strip embossed. Adhere across the white layer.

  • Adhere layers to card base.


On the inside stamp sentiment with Evening Evergreen Ink. Create a large shamrock using one of the larger hearts.


Supply List

You can click on the item to purchase it from my Online Store.

Blending & Die Cutting Tips with the Celebrate Sunflowers Bundle

I was so happy to use the Celebrate Sunflowers products again. This is one of the bundles that’s on sale this month during the Savings Are In Bloom Promotion.


Watch the video for some tips with using the Blending Brushes to color to the flowers and the leaves. I used the Mini Stampin’ Cut & Emboss Machine for all my die-cutting to make this card.


Save 20% the month of March, 2022 when you purchase this bundle. It has beautiful images and coordinating dies.


The Mini Stampin’ Cut & Emboss Machine is also on sale this month. Save 20% when you purchase it - regular price is $60(US) but you can get it for $48(US) during March 2022.


Measurements & Colors

  • Early Espresso Card Base - 5 1/2 x 8 1/2, score at 4 1/4

  • Basic White Layer - 5 1/4 x 4

  • Artfully Composed Designer Series Paper Layer - 5 x 3 3/4

  • Basic White scraps for sunflower, leaves and sentiment

  • Sunflower stamped with Early Espresso Ink and blended with Bumblebee and Calypso Coral Inks

  • Leaves stamped with Garden Green Ink and blended with Granny Apple Green Ink

  • Sentiment stamped with Early Espresso Ink


On the inside layer stamp small sunflower with Early Espresso Ink and blend with Bumblebee and Calypso Coral Inks.


Supply List

You can click on the item to purchase it from my Online Store.

Simple Sympathy Card

I made this quick and easy Sympathy Card using the Flowering Fields Designer Series Paper and the Basic Borders Dies.

When I saw this pattern, I knew I had to use it with a Blackberry Bliss card base. It’s one of my favorite colors. The card is simple but the paper makes it gorgeous!


This paper is so pretty. I love all the tulips and the vibrant colors.


The sentiments are from the Inspired Thoughts Stamp Set. It has lots of good sentiments for different occasions.


Tips & Instructions

  • Blackberry Bliss Card Base - 5 1/2 x 8 1/2, score at 4 1/4

  • Basic White Layer - 5 1/4 x 4, stamp sentiment with Blackberry Bliss Ink and adhere to card base.

  • Flowering Fields Designer Series Paper - 5 1/4 x 4 (make sure you cut it in the right direction), cut edge using Basic Border Dies. Pick whichever border you like.


  • Adhere layer to card.

  • Add some Fresh Freesia Jewels.


Use the piece of Designer Series Paper that was leftover when you cut using the Basic Border Dies to adhere to the inside layer. If you need to, trim it down cutting off the straight edge. Stamp sentiment with Blackberry Bliss Ink.


Supply List

You can click on the item to purchase it from my Online Store.

Bay Window Fun Fold Birthday Cards

I used the Sweet As A Peach Bundle and You’re A Peach Designer Series Paper to make these fun Bay Window Cards.


Watch the replay of my YouTube Live to see how easy it is to make this card. I’ll break down the measurements below with the pictures so you can give it a try.


Measurements and Colors

  • Thick Basic White Card Base - 4 1/4 x 11, score at 3/8, 1 7/8, 3 5/8, 5 1/8, 5 1/2

  • You’re A Peach Designer Series Paper

    • Cut 2 pieces of striped pattern at 4 1/8 x 1/4

    • Cut flower or peach pattern at 4 1/8 x 6 then cut across at 1 3/8, 1 5/8, 1 3/8 and the last piece will be 1 5/8 Keep these laid out in order so when you adhere them to the card, they will be in order.

  • Basic White inside layer - 4 1/8 x 3 1/8

  • Basic White scraps for sentiment, peach and leaves.

  • Calypso Coral Ink for sentiment and peach, Pear Pizzazz Ink for leaves.


Here’s a view of the card when it’s not popped up.


On the inside stamp part of the branch with Pear Pizzazz Ink, the peach and the sentiment with Calypso Coral Ink.


I used one of the Brushed Brass Butterflies on this card. They’re so pretty and you can get a pack for free this month when you spend $50 in product from my Online Store.


I followed the same steps for this card but used Balmy Blue for the card base and changed the paper to the floral pattern.


This is what it looks like when it’s closed.


Here’s a view of the inside for this one.


I mentioned in the video that we have a new promotion called Savings are in Bloom where you can save 20% on the Mini Stampin’ Cut & Emboss Machine. It’s a great deal. There are also a number of bundles that are compatible with the Mini that are on sale.


Supply List

You can click on the item to purchase it from my Online Store.

March Specials!!!!

Welcome March!!!  Bring on the Green, Daylight Savings and Spring!  

I want to tell you about some specials going on this month from me and from Stampin' Up! 

First up is my ordering special.  Place an order of $50 or more (before shipping & tax) from my Online Store and I'll send you free pack of Brushed Brass Butterflies.  These adhesive-backed embellishments are the perfect accent to your card making projects.  You get 80 pieces, 40 each of 2 sizes.  


Stampin' Up! has an amazing promotion for the month of March. You can save 20% on the Mini Stampin' Cut & Emboss Machine. This machine is compatible with a large selection of Stampin’ Up! embossing folders and dies.


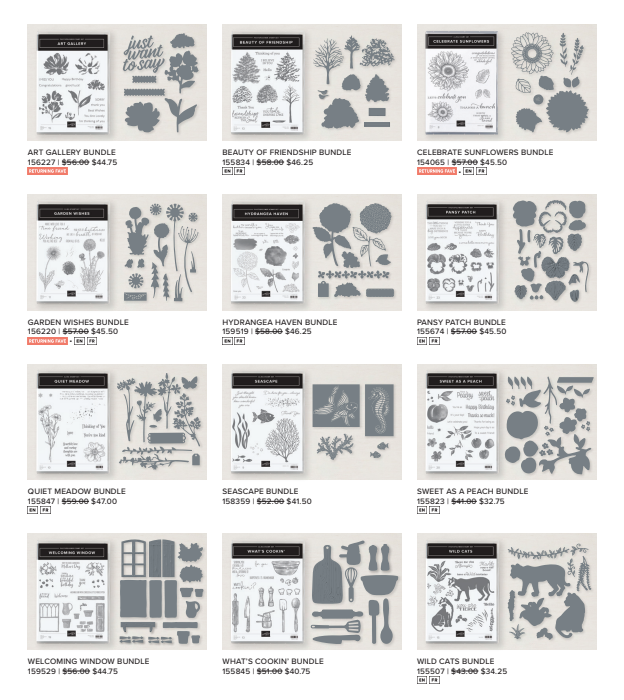
Kickstart your collection and combine your Mini Stampin’ Cut & Emboss Machine with any (or all!) of the following stamp and-die bundles—they’re also 20% off during the month of March!


The new Waves Of The Ocean Collection is now available. These products are just beautiful. I love the gorgeous Designer Series Paper, the Blue Foils Specialty Paper and the Rhinestone Waves Basic Jewels. These are available while supplies last.


The Waves Of Inspiration Bundle is an early release of the upcoming Annual Catalog. You can purchase them separately or save 10% when you bundle it.


Click on the products below to start shopping the Waves Of The Ocean Suite Collection! You can purchase the entire collection with one item number or shop for individual products.