Sketch Saturday - Awesome Otters

For this week’s sketch challenge I paired the cute Awesome Otters Stamp Set with the new Waves Of The Ocean Designer Series Paper. This paper will be available starting March 1, 2022.


The Sketch is from the weekly Atlantic Hearts Sketch Challenge.


This cute Awesome Otters Stamp Set is during Sale-a-bration with at $50(US) purchase. This promotion ends February 28, 2022.


Tips & Instructions

  • Night Of Navy Card Base - 5 1/2 x 8 1/2, score at 4 1/4

  • Waves Of The Ocean Designer Series Paper - 5 1/4 x 4, adhere to card base.

  • Basic White Strip - 5 1/4 x 1, emboss using the Splatters 3D Embossing Folder, adhere to card.

  • Blue Foils Specialty Paper - 5 1/4 x 1/2, adhere to card covering the white embossed strip a little bit. (Blue Foils Specialty Paper is available for purchase starting March 1, 2022)

  • Basic White Cardstock - cut with Layering Circles Die. Stamp otter using Black Memento Ink. Color with Light Night Of Navy and Light & Dark Crumb Cake Stampin’ Blends. Add Wink Of Stella to the water.

  • Night Of Navy Cardstock - cut with Layering Circles Die. Adhere behind the stamped circle and adhere to card using Dimensionals.

  • Stamp sentiment with Night Of Navy Ink on 1/2 strip of Basic White Cardstock. Punch one end using the Banners Pick A Punch and adhere to card using Dimensionals.

  • Adhere some Rhinestone Waves Basic Jewels (Available for purchase starting March 1, 2022)


On the inside stamp the sentiment with Night Of Navy Ink. Stamp otter and hat with Black Memento Ink. Color with Stampin’ Blends. I used Night Of Navy, Crumb Cake and Dark Daffodil Delight.


Supply List

You can click on the item to purchase it from my Online Store.

How to Make these Cute Fun Fold Cards

These fun fold cards are so sweet. I love this little girl! I used the Catching Butterflies Stamp Set and Sunshine & Rainbows Designer Series Paper to create these cards. Which do you like better?


Watch the video to see how easy it is to make a card like this. I’ll give you tips along the way on how to get the embossed layer and using the Cloud Punch to punch those fun clouds. I’ll also show you how to remove the butterfly net from the image.


Measurements and Colors

  • Thick Basic White Card Base - 4 1/4 x 11, score at 5 1/2

  • Bermuda Bay Cardstock - 10 1/4 x 4, score at 2 1/2 and 5

  • Basic White Layer - 5 x 3 3/4, emboss using the Dots Embossing Folder. Watch the video to see how to emboss the full layer.

  • Sunshine & Rainbows Designer Series Paper - 3 3/4 x 2 1/4

  • Bermuda Bay and Basic White Cardstock - cut using the Stitched So Sweetly Dies.

  • Punch Cloud from the Sunshine & Rainbows Designer Series Paper

  • Stamp girl with Black Memento Ink. Watch the video to see how to mask off the net.

  • Color her dress with Highland Heather Ink, her hair with Dark So Saffron and her skin with Stampin’ Blends Light Combo Pack (#SU900).

  • Stamp hearts with Highland Heather and Sentiment with Black Memento Inks.


This little girl is so adorable. She looks like she’s dancing around!


I followed the same measurements for this card but used Flirty Flamingo for her dress and the hearts. I colored her hair using the Stampin’ Blends Deep Combo Pack (#SU200) and her skin with Stampin’ Blends Light Combo Pack (#SU900).


Here’s another view of the card.


On the inside add a 4 x 3/4 strip of the heart patterned paper. Stamp sentiment with Black Memento Ink and stamp some hearts with either the Flirty Flamingo or Highland Heather Ink.


Supply List

You can click on the item to purchase it from my Online Store.

Beautiful Calming Camellia Birthday Card

This was such a simple card to make but by using the Calming Camellia Stamp Set it looks so elegant. I added a light background by lightly blending some Balmy Blue Ink to it.


The Calming Camellia Stamp Set is a Host Set that can be earned for free during Sale-a-bration with a qualifying order. This is a Distinktive stamp set; it has a special texture that gives added depth and dimension in a single step, creating photo-realistic images.


The color I chose for this card is Calypso Coral. Play around with different colors to see how beautiful they look.


Tips & Instructions

  • Thick Basic White Card Base - 5 1/2 x 8 1/2, score at 4 1/4

  • Calypso Coral Cardstock - cut with largest Stitched Rectangle Die

  • Basic White Cardstock - cut with second from largest Stitched Rectangle Die

  • Lightly blend Balmy Blue Ink on the white layer using a Blending Brush. I tried to stay out of the center area when blending.

  • Stamp the flower image on blended layer with Calypso Coral Ink.

  • Stamp sentiment with Calypso Coral Ink.

  • Adhere layers to card base.

  • Add some Iridescent Rhinestone Basic Jewels.


On the inside layer stamp the sentiment with Calypso Coral Ink and the leaf images with Pear Pizzazz Ink.


Supply List

You can click on the item to purchase it from my Online Store.

Card Making Tips using the new Waves Of The Ocean Products

Ok, so I think I have some new favorite products!!! The Waves Of The Ocean Collection is just gorgeous. I was able to order it early as a Demonstrator and it will be available to customers starting March 1, 2022.


Watch the replay of my YouTube Live to get an overview of these products and to see how to make this beautiful birthday card. While I was live I learned something new about the clouds. I love that we share ideas!


Colors & Measurements

  • Pacific Point Card Base - 4 1/4 x 11, score at 5 1/2

  • Basic White Cardstock - 5 1/4 x 4

  • Use Stamparatus to stamp the wave with Pacific Point Ink.

  • Cut the Blue Foils Specialty Paper 5 1/2 x 2 1/2 and back with Adhesive Sheet before die cutting.

  • Color pelican stamp with Stampin’ Write Markers. I used Soft Suede for the post, Crushed Curry for beak and pelican with Smoky Slate markers.

  • Stamp sentiment with Pacific Point Ink.


On the inside stamp the pelican like you did on the front and then stamp sentiment and birds with Pacific Point Ink.


Supply List

The Waves Of The Ocean Products will be available for purchase from my Online Store starting March 1, 2022.

Sketch Saturday - Sweet Ice Cream

This week’s sketch was an easy one and I decided to jazz it up with and embossed layer using this fun Star-Crossed Embossing Folder.


The sketch is from the weekly Atlantic Hearts Sketch Challenge.


Tips & Instructions

  • Magenta Madness Card Base - 5 1/2 x 8 1/2, score at 4 1/4

  • Basic White Cardstock - 5 1/4 x 4, emboss using the Star-Crossed Embossing Folder (Sorry but this folder is no longer available. I didn’t realize that when I made the card. You can use another embossing folder for the background layer.)

  • Basic White Cardstock - cut label using the Painted Labels Dies. Stamp sentiment on label. I stamped “Birthday” first to get the placement and then the “Happy”. To do this cover one word with a Post-It Note, ink it, remove the Post-It Note and stamp. Make sure you clean the stamp well before repeating with the second word. Stamp some sprinkles on the label.

  • Punch ice creams scoops and cone from Abstract Beauty Specialty Designer Series Paper. Stamp sprinkles on the top scoop. Assemble ice cream cone and then adhere to the label.

  • Adhere label to card using a piece of Foam Adhesive Strip or Dimensionals.


On the inside layer punch and adhere ice cream cone. Stamp sentiment and some sprinkles with Magenta Madness Ink.


Supply List

You can click on the item to purchase it from my Online Store.

Fun Island Vibes Hello Cards

I made these fun Hello Cards using the Island Vibes Stamp Set and Artfully Composed Designer Series Paper. This paper is so beautiful, one of my favorites.


Watch my video to see how to make these cards. They have the same basic design but I changed a few things as I went.


The Island Vibes Stamp Set is FREE with a $50(US) product purchase during Sale-a-bration.


Measurements & Colors

  • Just Jade Card Base - 5 1/2 x 8 1/2, score at 4 1/4

  • Basic White Layer 5 1/4 x 4

  • Artfully Composed Designer Series Paper - 5 1/8 x 3 7/8

  • Just Jade Cardstock - cut with 4th from smallest Stitched Rectangle Die

  • Basic White Cardstock - cut with 3rd from smallest Stitched Rectangle Die

  • Just Jade, Cinnamon Cider, Magenta Madness to color Stamp and Magenta Madness for Sentiment.


Here’s the inside. I like to use the same patterned paper on the inside to coordinate with the card front.


Measurements & Colors

  • Old Olive Card Base - 5 1/2 x 8 1/2, score at 4 1/4

  • Artfully Composed Designer Series Paper - 5 1/4 x 4

  • Old Olive Cardstock - cut with 4th from smallest Stitched Rectangle Die

  • Basic White Cardstock - cut with 3rd from smallest Stitched Rectangle Die

  • Old Olive and Crushed Curry to color stamp and Evening Evergreen for the sentiment.


I thought the Designer Series Paper was too busy for the inside strip so I just stamped the pineapple.


Supply List

You can click on the item to purchase it from my Online Store.

Quick Daffodil Afternoon Thank You Card

I made this pretty Thank You Card using the Daffodil Afternoon Designer Series Paper. I love that you can make a simple card with our patterned paper without adding too much more to it.


The Daffodil Afternoon Designer Series Paper is FREE during Sale-A-Bration when you spend $50(US) but this ends February 28th so you better hurry if you want it.


Tips & Instructions

  • Crushed Curry Card Base - 5 1/2 x 8 1/2, score at 4 1/4

  • Daffodil Afternoon Designer Series Paper - 5 1/4 x 4, adhere to card base.

  • Stamp sentiment (from Dahlia Days Stamp Set) on Basic White Cardstock with Black Memento Ink. Punch using the Rectangle Postage Stamp Punch.

  • Cut a piece of White Frayed Ribbon a little shorter than the layer.

  • Cut scrap of the patterned paper to about 3 1/2 x 1/2 and punch each side using the Banners Pick A Punch.

  • Adhere ribbon to card, then adhere the bannered strip, then the sentiment using Liquid Glue.

  • Add an Iridescent Rhinestone Basic Jewel.


The layers behind the sentiment create a beautiful textured look.


On the inside stamp sentiment and add a 4 x 3/4 strip of the patterned paper.


Supply List

You can click on the item to purchase it from my Online Store.

Tips & Techniques using the Butterflies & Flowers Layering Decorative Masks

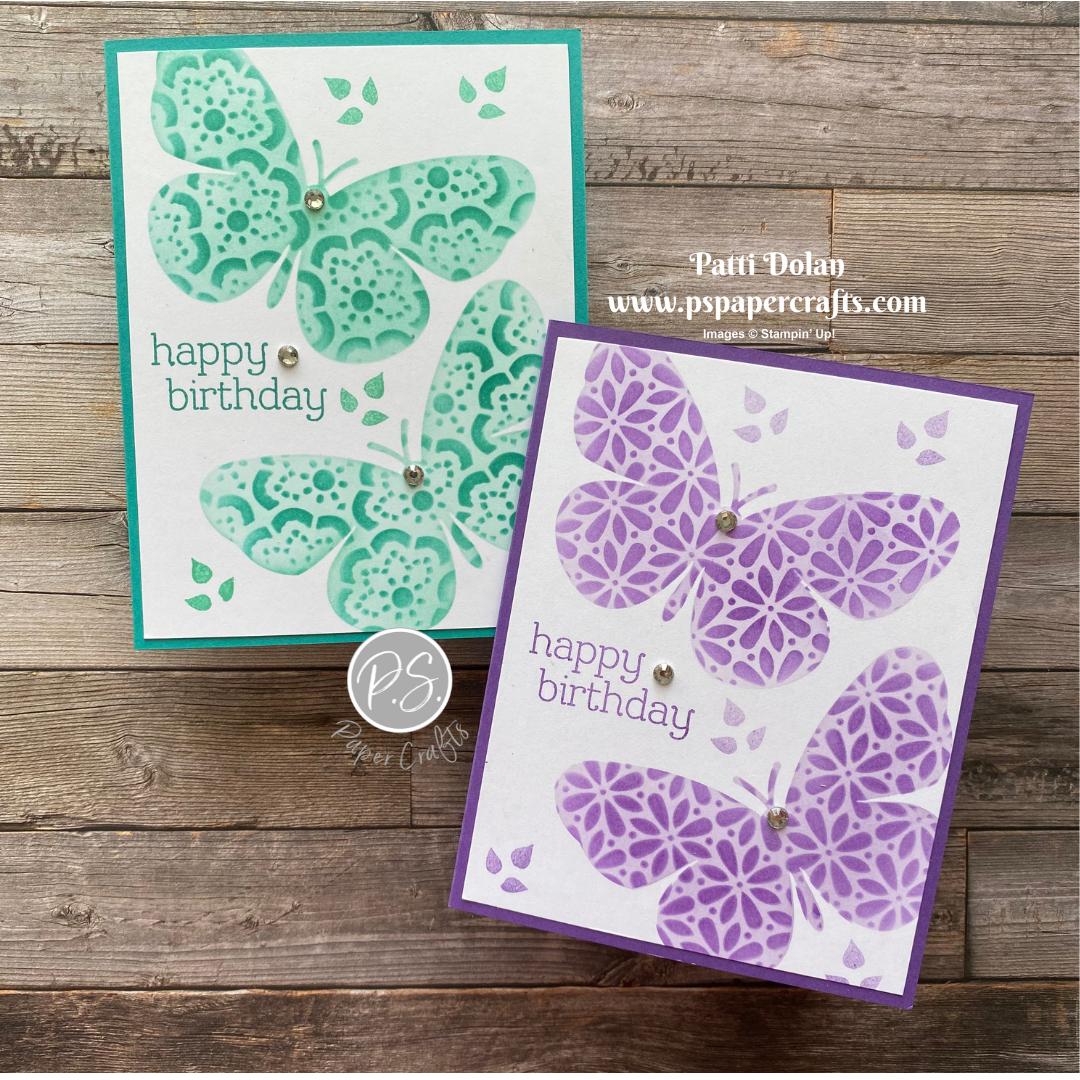
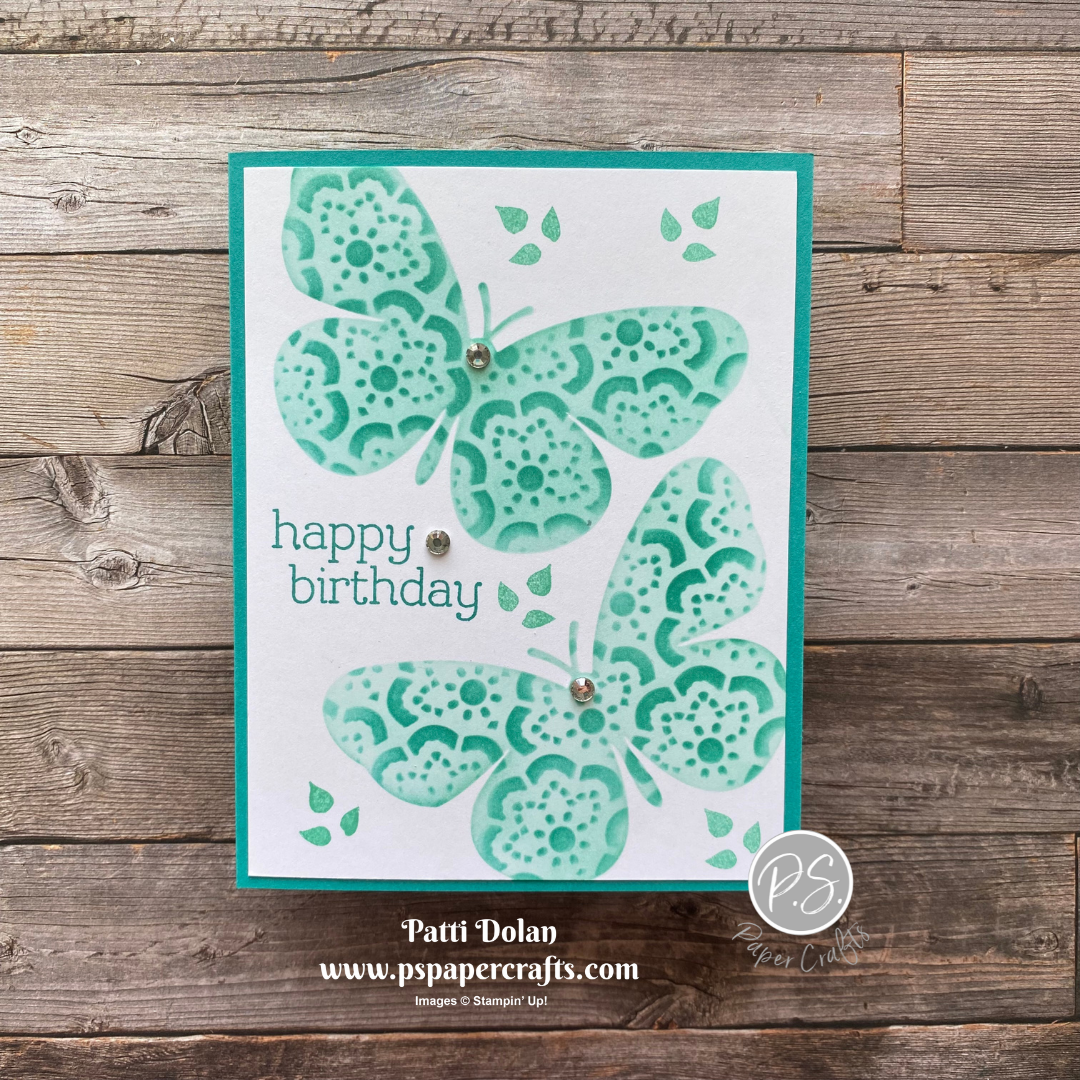
I made more cards using the Butterflies & Flowers Layering Decorative Masks. This time I used the butterfly masks and added some fun patterns from some of the other masks.


I used both of the butterflies on the mask to create a soft background and then added details on the wings. You can add some outlining with a marker to give them more definition. I’ll show you that in the video.


Watch the replay to see how to make these cards and learn some tips and techniques when using them.


This one features Gorgeous Grape and Highland Heather. I used the Sentimental Swirls Stamp Set for the sentiment and small leaves.


This is the same idea but I used a different mask for the pattern and the colors are Bermuda Bay and Coastal Cabana.


I stuck with the butterfly mask for the next two cards. This is Night Of Navy and Daffodil Delight. I used a Night Of Navy Stampin’ Write Marker to highlight some of the areas on the butterfly. The sentiment is from the Biggest Wish Stamp Set.


For this card I used Pumpkin Pie and Daffodil Delight with some highlights I added with a Basic Black Stampin’ Write Marker.


Supply List

You can click on the item to purchase it from my Online Store.

Birthday Card with Loose Flower Flourishes

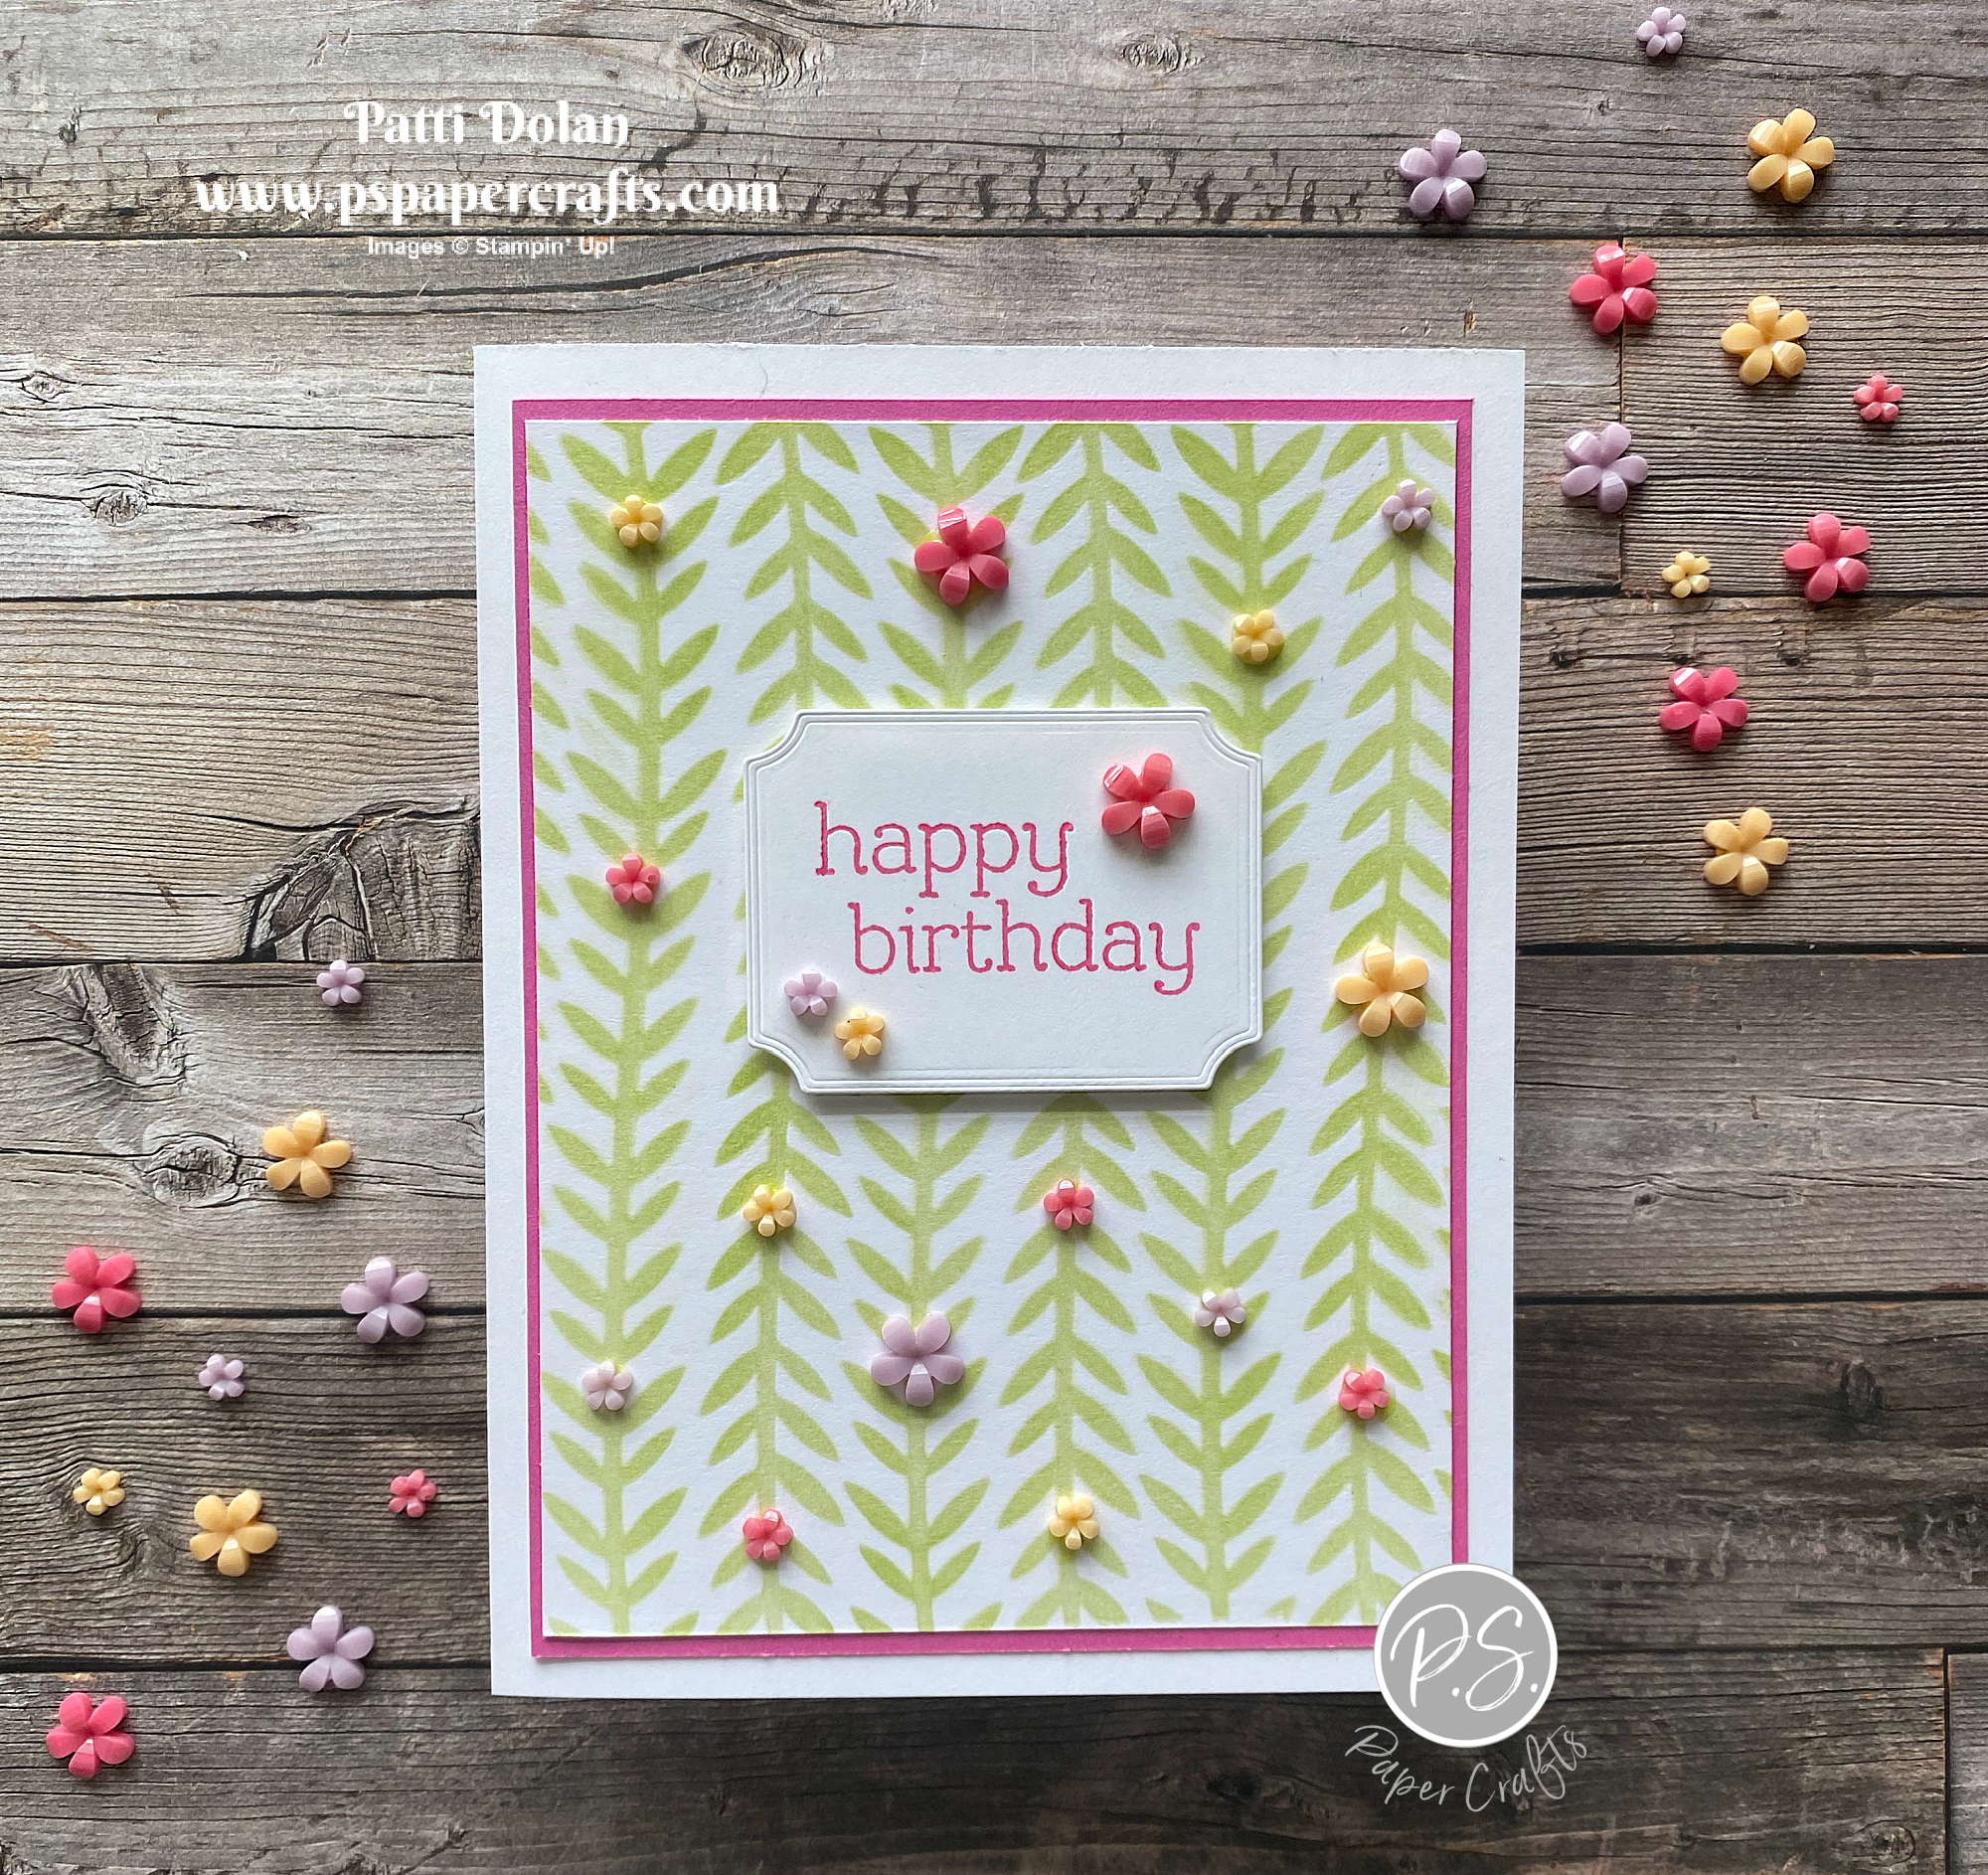
I used a bunch of different products to create this bright and cheerful Birthday Card. I created the background layer with the Decorative Masks, the sentiment with the Sentimental Swirls Stamp Set and then added a bunch of Loose Flower Flourishes


This is the mask I used from the Butterflies & Flowers Layering Decorative Masks.


These are the Loose Flower Flourishes are so pretty. You get 60 pieces 10 each of Pale Papaya, Polished Pink and Fresh Freesia. I added them with Liquid Glue, putting a dot on the card and then using my Take Your Pick Tool to pick up the flower.


Tips & Instructions

  • Thick Basic White Card Base - 5 1/2 x 8 1/2, score at 4 1/4

  • Polished Pink Layer - 5 1/8 x 3 7/8

  • Basic White Layer - 5 1/2 x 4 1/4 (cut down to 5 x 3 3/4 after blending the background layer.

  • Using the vine Decorative Mask and a Blending Brush blend Granny Apple Green Ink onto the white layer. I taped the mask and cardstock to a piece of scrap paper but I also used my fingers to hold down as I went along so the mask wouldn’t move around. After blending cut layer to 5 x 3 3/4.

  • Adhere layers to card base.

  • Stamp sentiment on scrap of Basic White Cardstock using Polished Pink Ink and cut using the Tasteful Labels Dies. Adhere to card using Dimensionals.

  • Add Loose Flower Flourishes to the card using Liquid Glue.


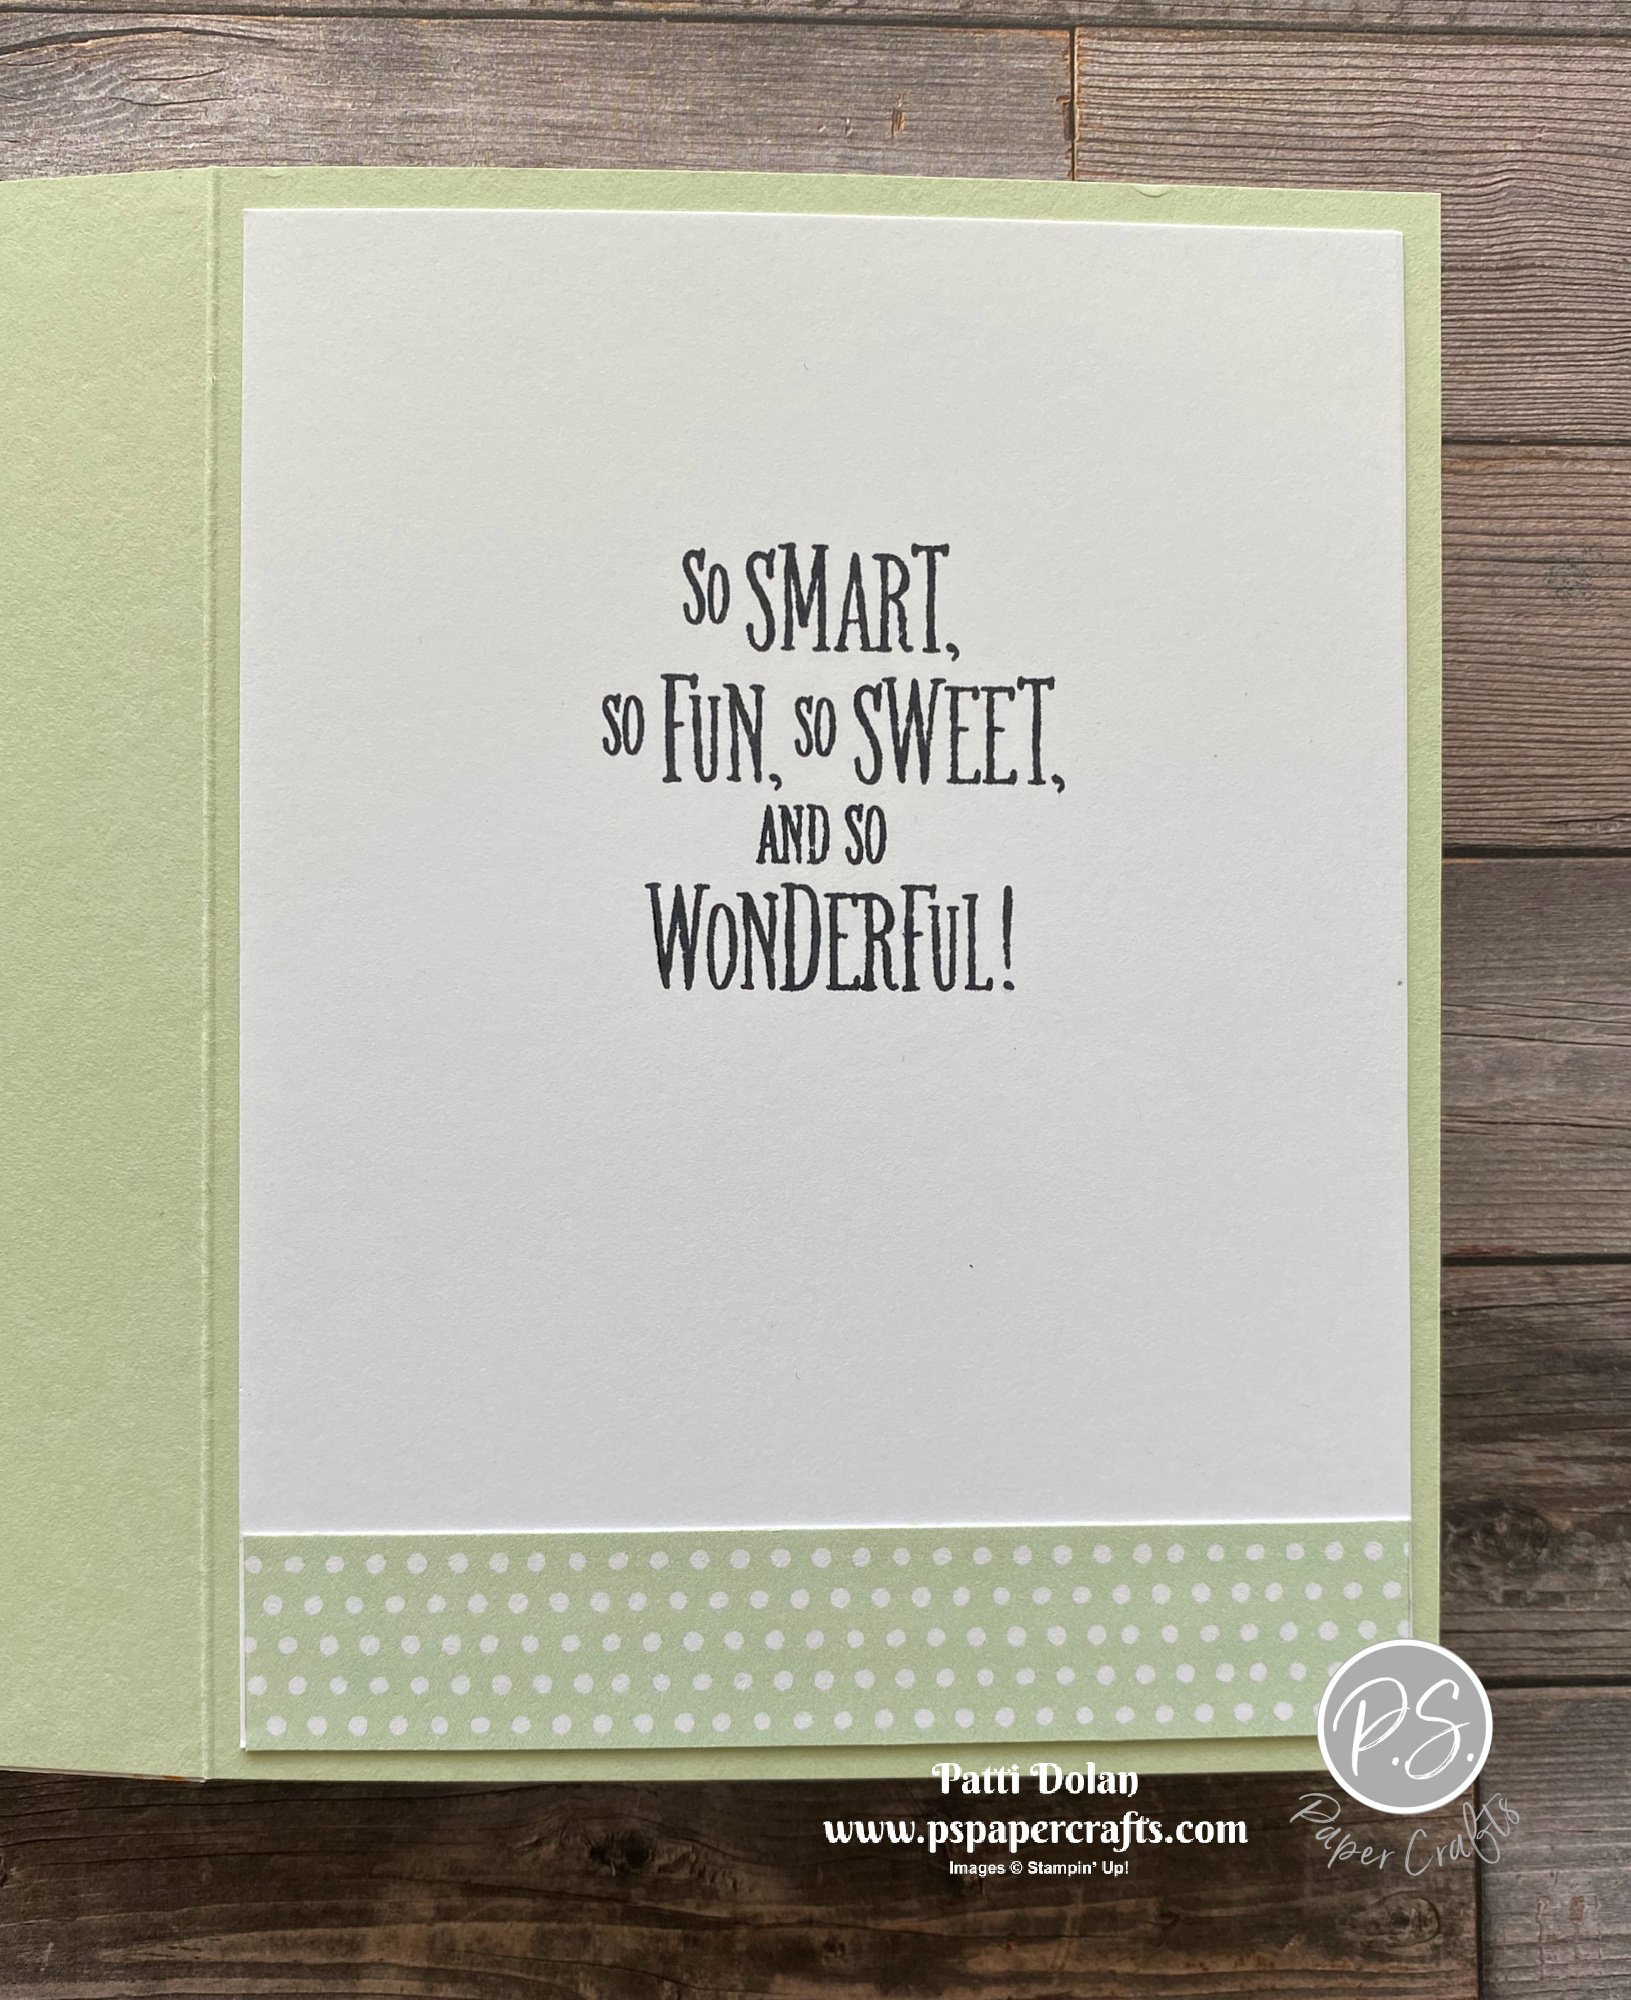
On the inside stamp sentiment with Polished Pink Ink. The sentiment for the inside is from the Special Moments Stamp Set. Stamp flowers and leaves with Granny Apple Green, Polished Pink and Fresh Freesia Ink. The flower and leaf images are from the Sentimental Swirls Stamp Set. They look like the flowers on the front so I thought they were a good choice.


Supply List

You can click on the item to purchase it from my Online Store.

Sketch Saturday - Seas The Day

I had fun with this week’s sketch challenge. I broke out the new Waves Of The Ocean Designer Series Paper that I was able to pre-order as a Demonstrator. It’s just beautiful and thought it would be perfect for this card with the sea creatures from the Seas The Day Stamp Set.


Here’s the sketch from the Atlantic Hearts Weekly Sketch Challenge. I love doing a Slim Line Card and now we have envelopes for this size card.


Isn’t this stamp set so cute. The sentiments are wonderful!


Tips & Instructions

  • Night Of Navy Card Base - 8 1/2 x 7, score at 3 1/2 (on the 7” side)

  • Waves Of The Ocean Designer Series Paper (Available March 1) - 8 1/4 x 3 1/4, adhere to card base.

  • Basic White Cardstock - cut 3 squares at 2 x 2

  • Night Of Navy Cardstock - cut 3 squares a 2 1/8 x 2 1/8

  • Stamp the octopus with Calypso Coral Ink on one square, the jellyfish with Melon Mambo Ink on another square and on the last square stamp the sentiment with Night Of Navy Ink and the fish with Granny Apple Green Ink.

  • Adhere stamped squares to Night Of Navy Squares and then adhere to card with Dimensionals or pieces of Foam Adhesive Sheets.

  • Add some new Rhinestone Waves Basic Jewels (Available March 1).


On the inside stamp the sentiment with Night Of Navy Ink. Add some Granny Apple Green fish, a Melon Mambo jellyfish and Calypso Coral octopus.


Supply List

Note: Waves Of The Ocean Designer Series Paper & Rhinestone Waves Basic Jewels will be available for purchase March 1 through May 2, 2022.

Catalog Case using Butterflies & Flowers Layering Decorative Masks

I am loving these Decorative Masks! I can’t believe how easy it is to get this gorgeous look. This is a card that I CASEd (Copy And Share Everything) from the Mini Catalog. I changed it up a little bit; when I saw it I loved the look.


In my video I’ll demonstrate how to use our Blending Brushes and these Decorative Masks to create the delicate background layer and the pretty flowers.


The Butterflies & Flowers Layering Decorative Masks come in a pack of 6 masks and some layer so you can create beautiful images with different colors. You can use them with Embossing Paste to add some texture.


Measurements & Colors

  • Misty Moonlight Card Base - 5 1/2 x 8 1/2, score at 4 1/4

  • Basic White Layer - 5 1/2 x 4 1/4, cut down to 5 1/4 x 4 after blending the background.

  • Basic White - cut with largest scalloped rectangle from the Stitched So Sweetly Dies.

  • Basic White Sentiment Strip - 1/2” then cut to size.

  • The background layer was blended using Misty Moonlight Ink. The sentiment is also Misty Moonlight Ink. The sentiment is from the Wildflower Path Stamp Set.

  • The flowers were blended using Flirty Flamingo and Polished Pink Inks.

  • The leaves were blended using Pear Pizzazz and Garden Green Inks.


On the inside layer I stamped the sentiment from the Special Moments Stamp Set with Misty Moonlight Ink. Blend the flower with Flirty Flamingo and Polished Pink Inks. Add some Garden Green leaves.


Supply List

You can click on the item to purchase it from my Online Store.

Cute Mischievous Mice Birthday Card

I made this cute birthday card using the Mischievous Mice Host Stamp Set. This little mouse is just so adorable!


This is a host stamp set that is only available with Stampin' Rewards. Earning rewards is easy and fun! Just place an order that meets the Stampin’ Rewards qualifications: You can shop for yourself and others (fun!) or host a party (so much fun!).


Tips & Instructions

  • Soft Sea Foam Card Base - 5 1/2 x 8 1/2, score at 4 1/4

  • Basic White Layer - 5 1/2 x 4 1/4

  • Sunshine & Rainbows Designer Series Paper - 2 pieces cut to 4 1/4 x 3/4

  • Stamp mouse with balloon image on white layer with Black Memento Ink.

  • Color image with Stampin’ Blends. I used Light Soft Sea Foam for the balloon and Light Smokey Gray and Light Pink Petal for the mouse.

  • Stamp sentiment on balloon with Black Memento Ink.

  • I added some Wink Of Stella to the balloon and the mouse ears and belly.

  • Adhere layers to card base as shown.

  • Add some Elegant Faceted Gems.


On the inside layer stamp sentiment with Black Memento Ink. This sentiment is from the A Grand Kid Stamp Set. Add a 4 x 3/4 strip of the designer series paper to bottom of the layer.


Supply List

You can click on the item to purchase it from my Online Store.

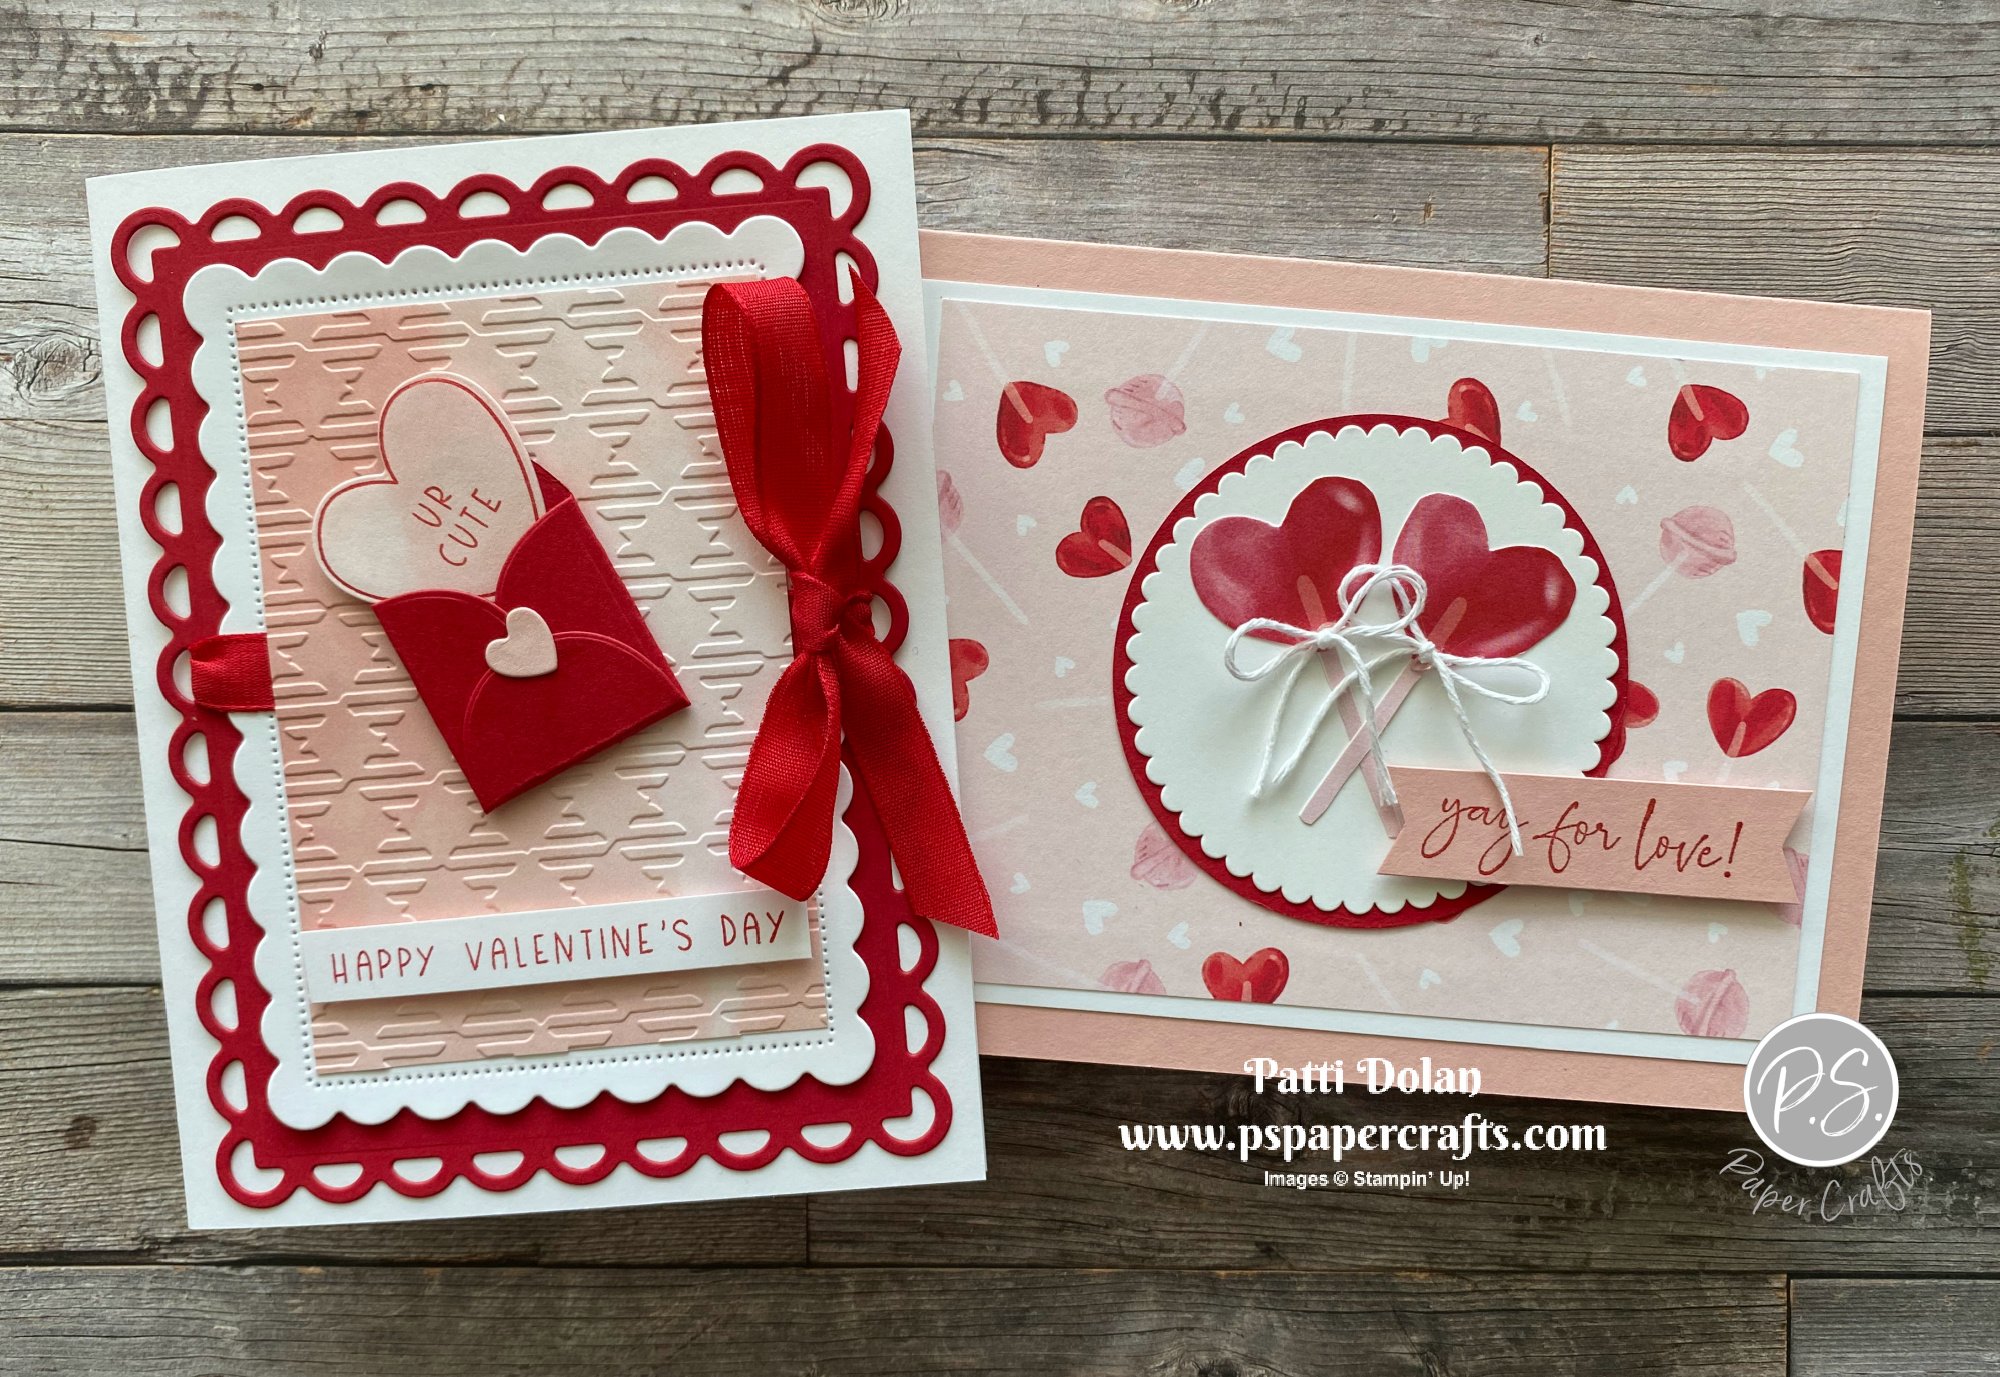
Simple Stampers Suite Tutorial Bundle - Sweet Talk

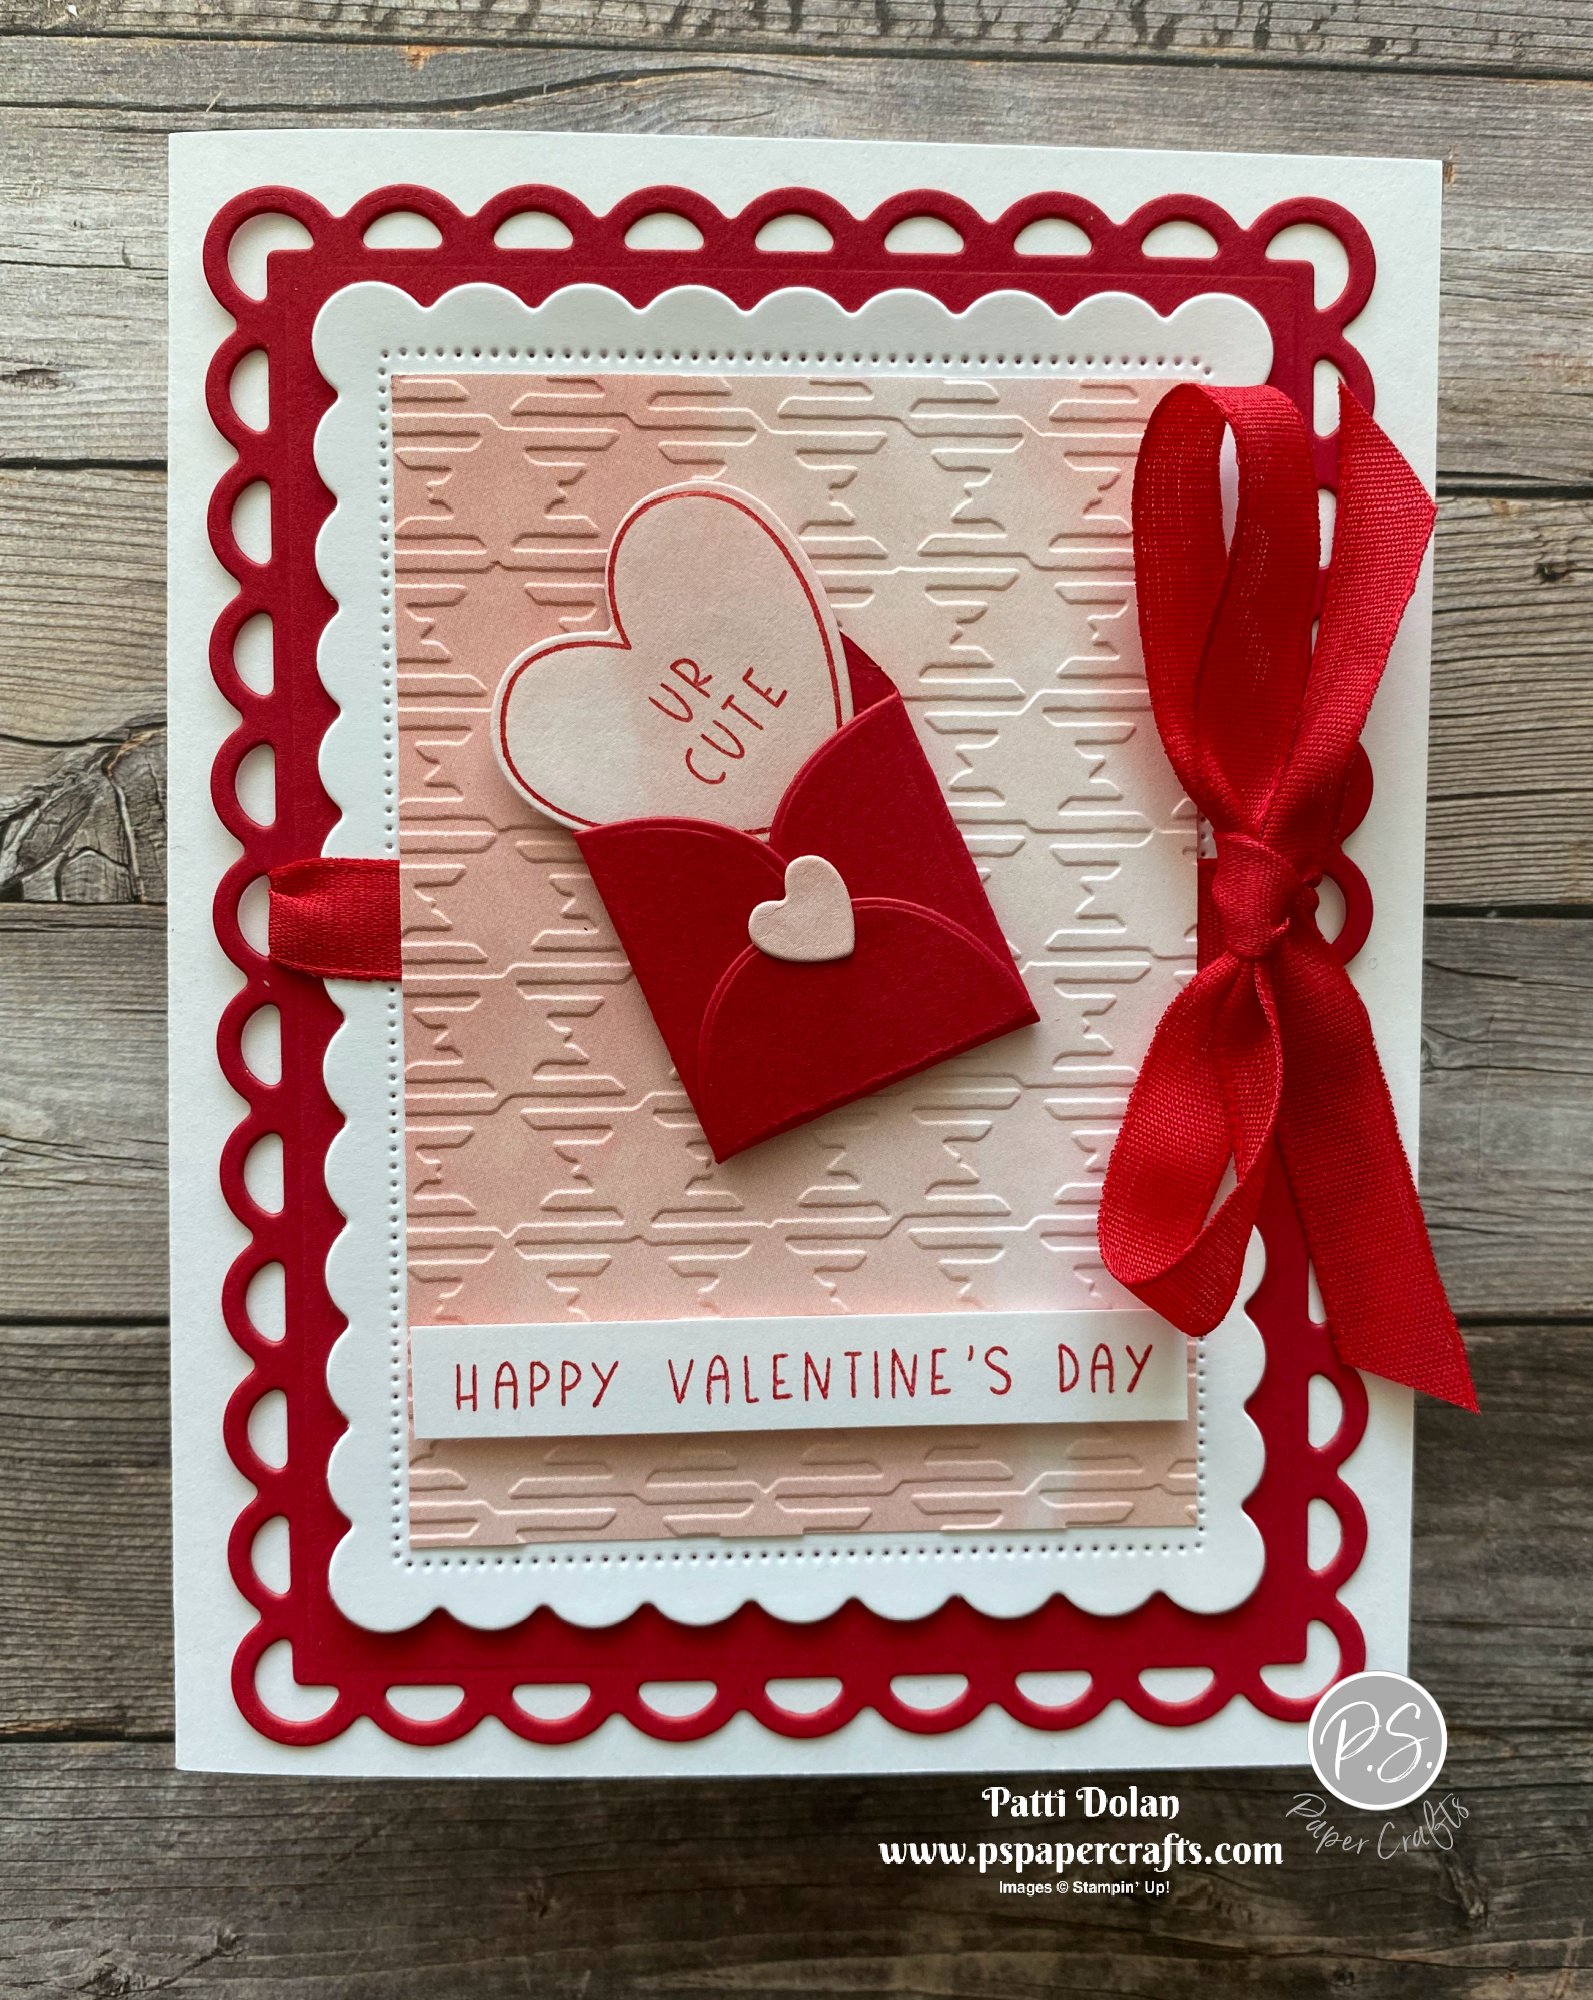
On today’s YouTube Live I demonstrated two of the cards from the Simple Stampers Suite Tutorial Bundle. We featured the Sweet Talk Suite this month.

Each month I collaborate with other Demonstrators to create this tutorial bundle with 12 projects including pictures, measurements and instructions. You can get this for free with an order from my online store in February or you can purchase it here, just click the Tutorials Button at the top of this site.


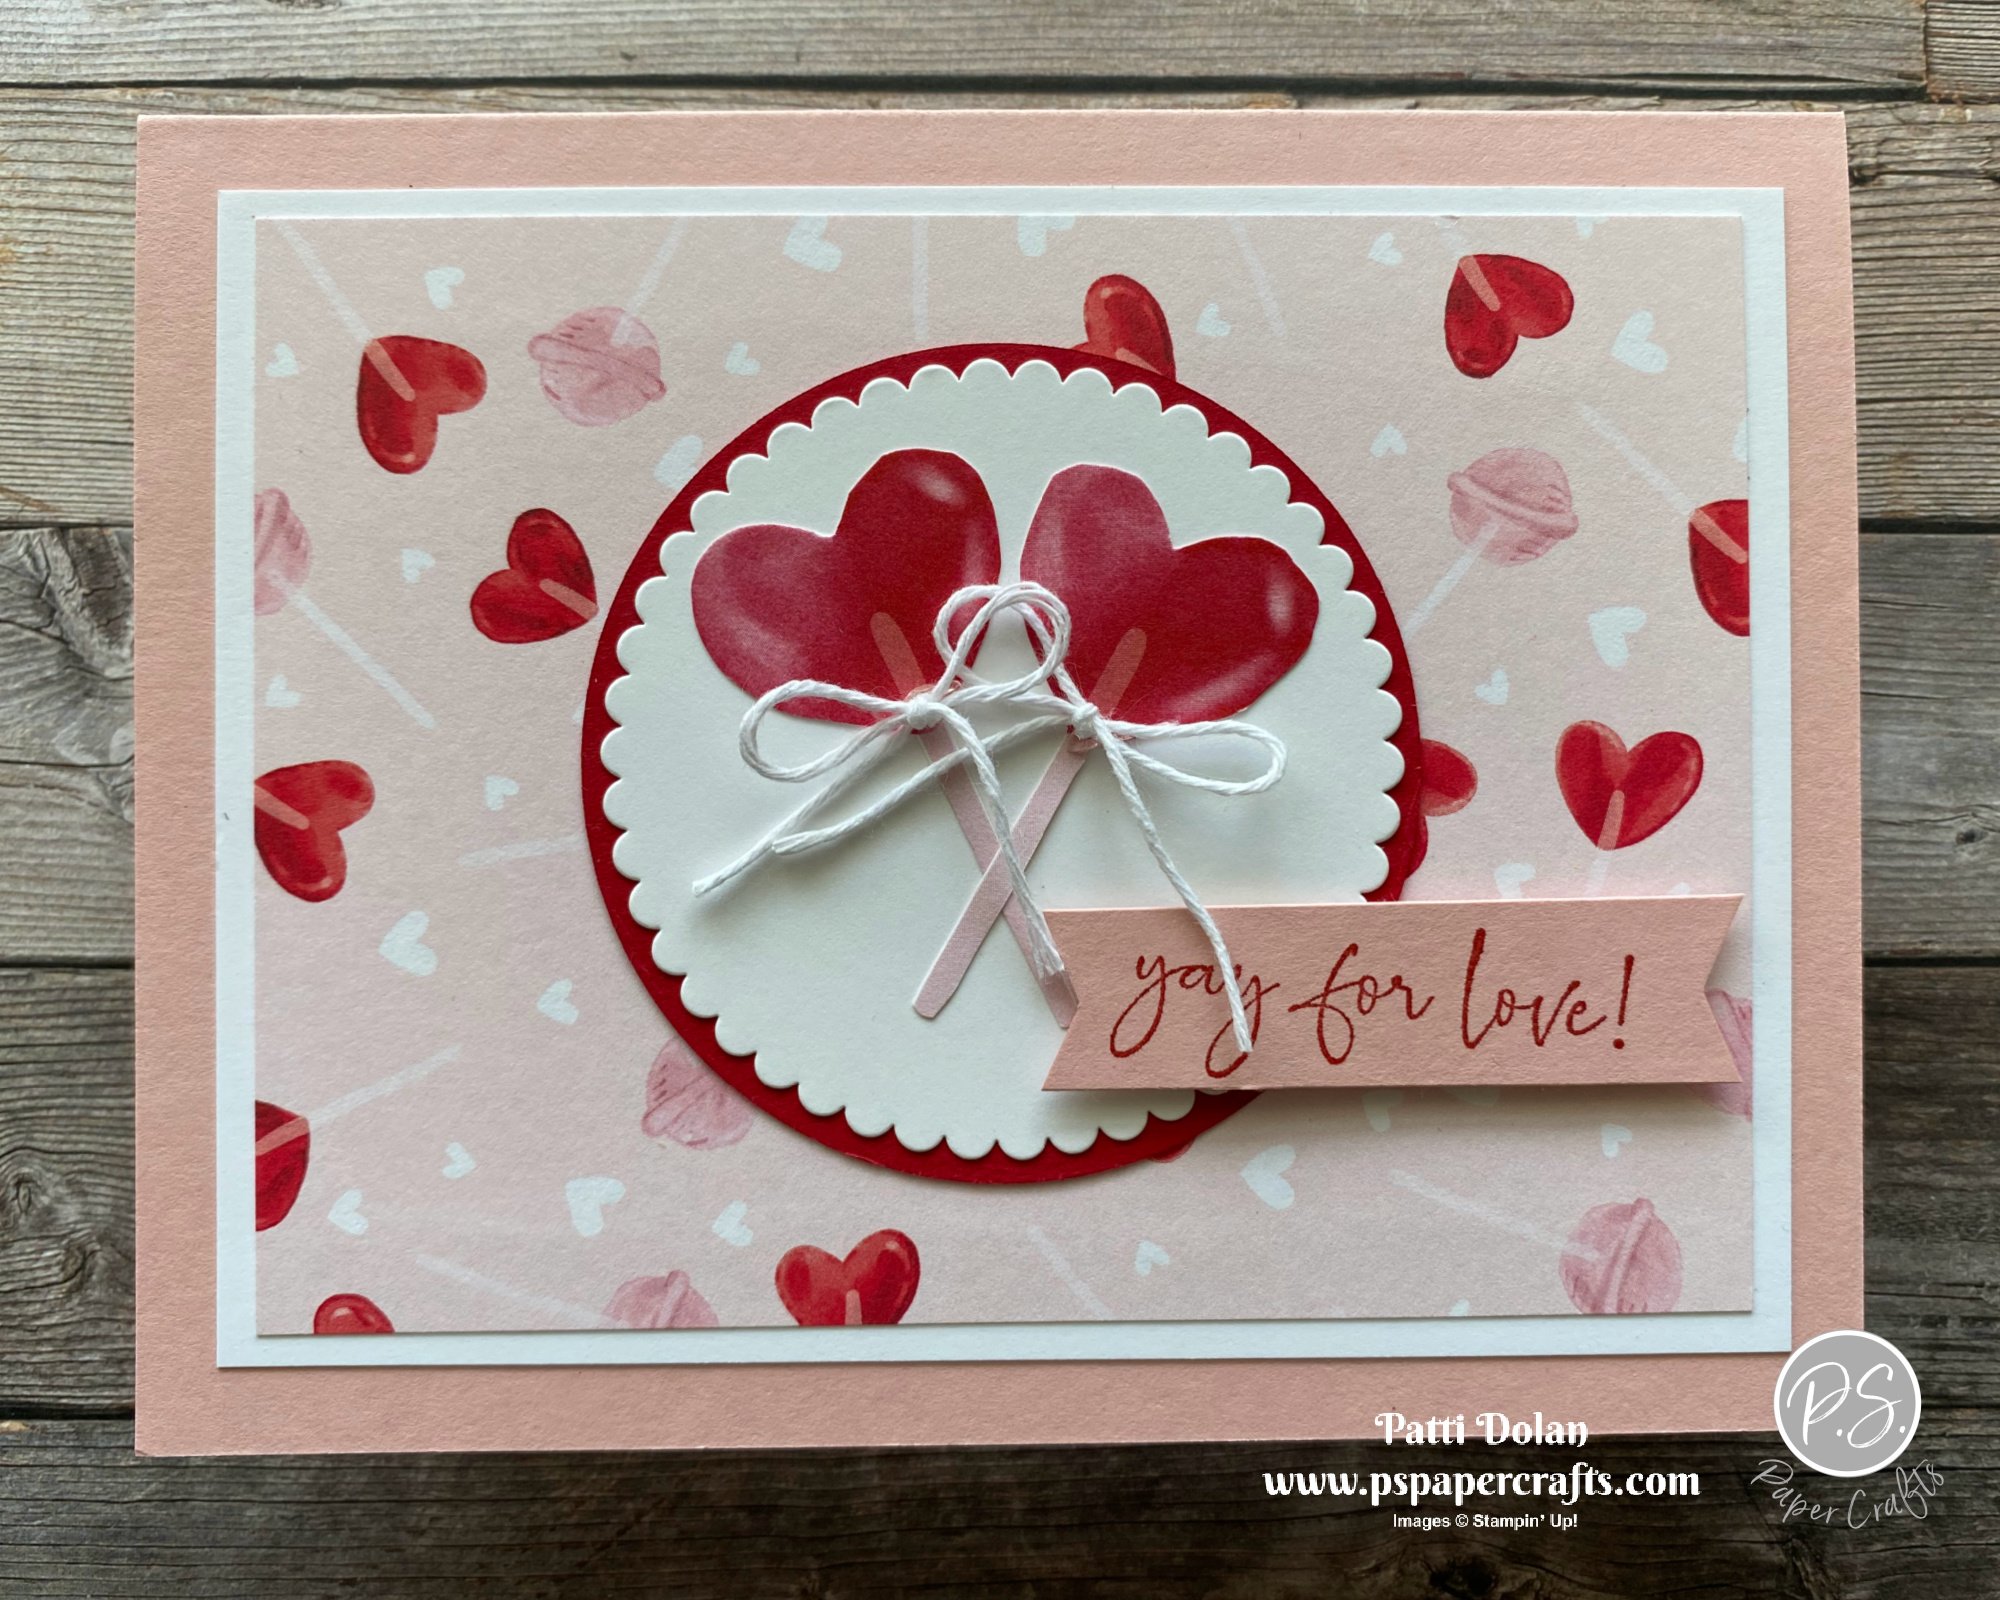
Watch the replay to see how to make these two cards. I designed the first one and Jo Blackman designed the second one.


I used the Scalloped Contours Dies to create the two scalloped background layers. The pink layer is a piece of the Sweet Talk Designer Series Paper that I embossed with the Gingham Embossing Folder.


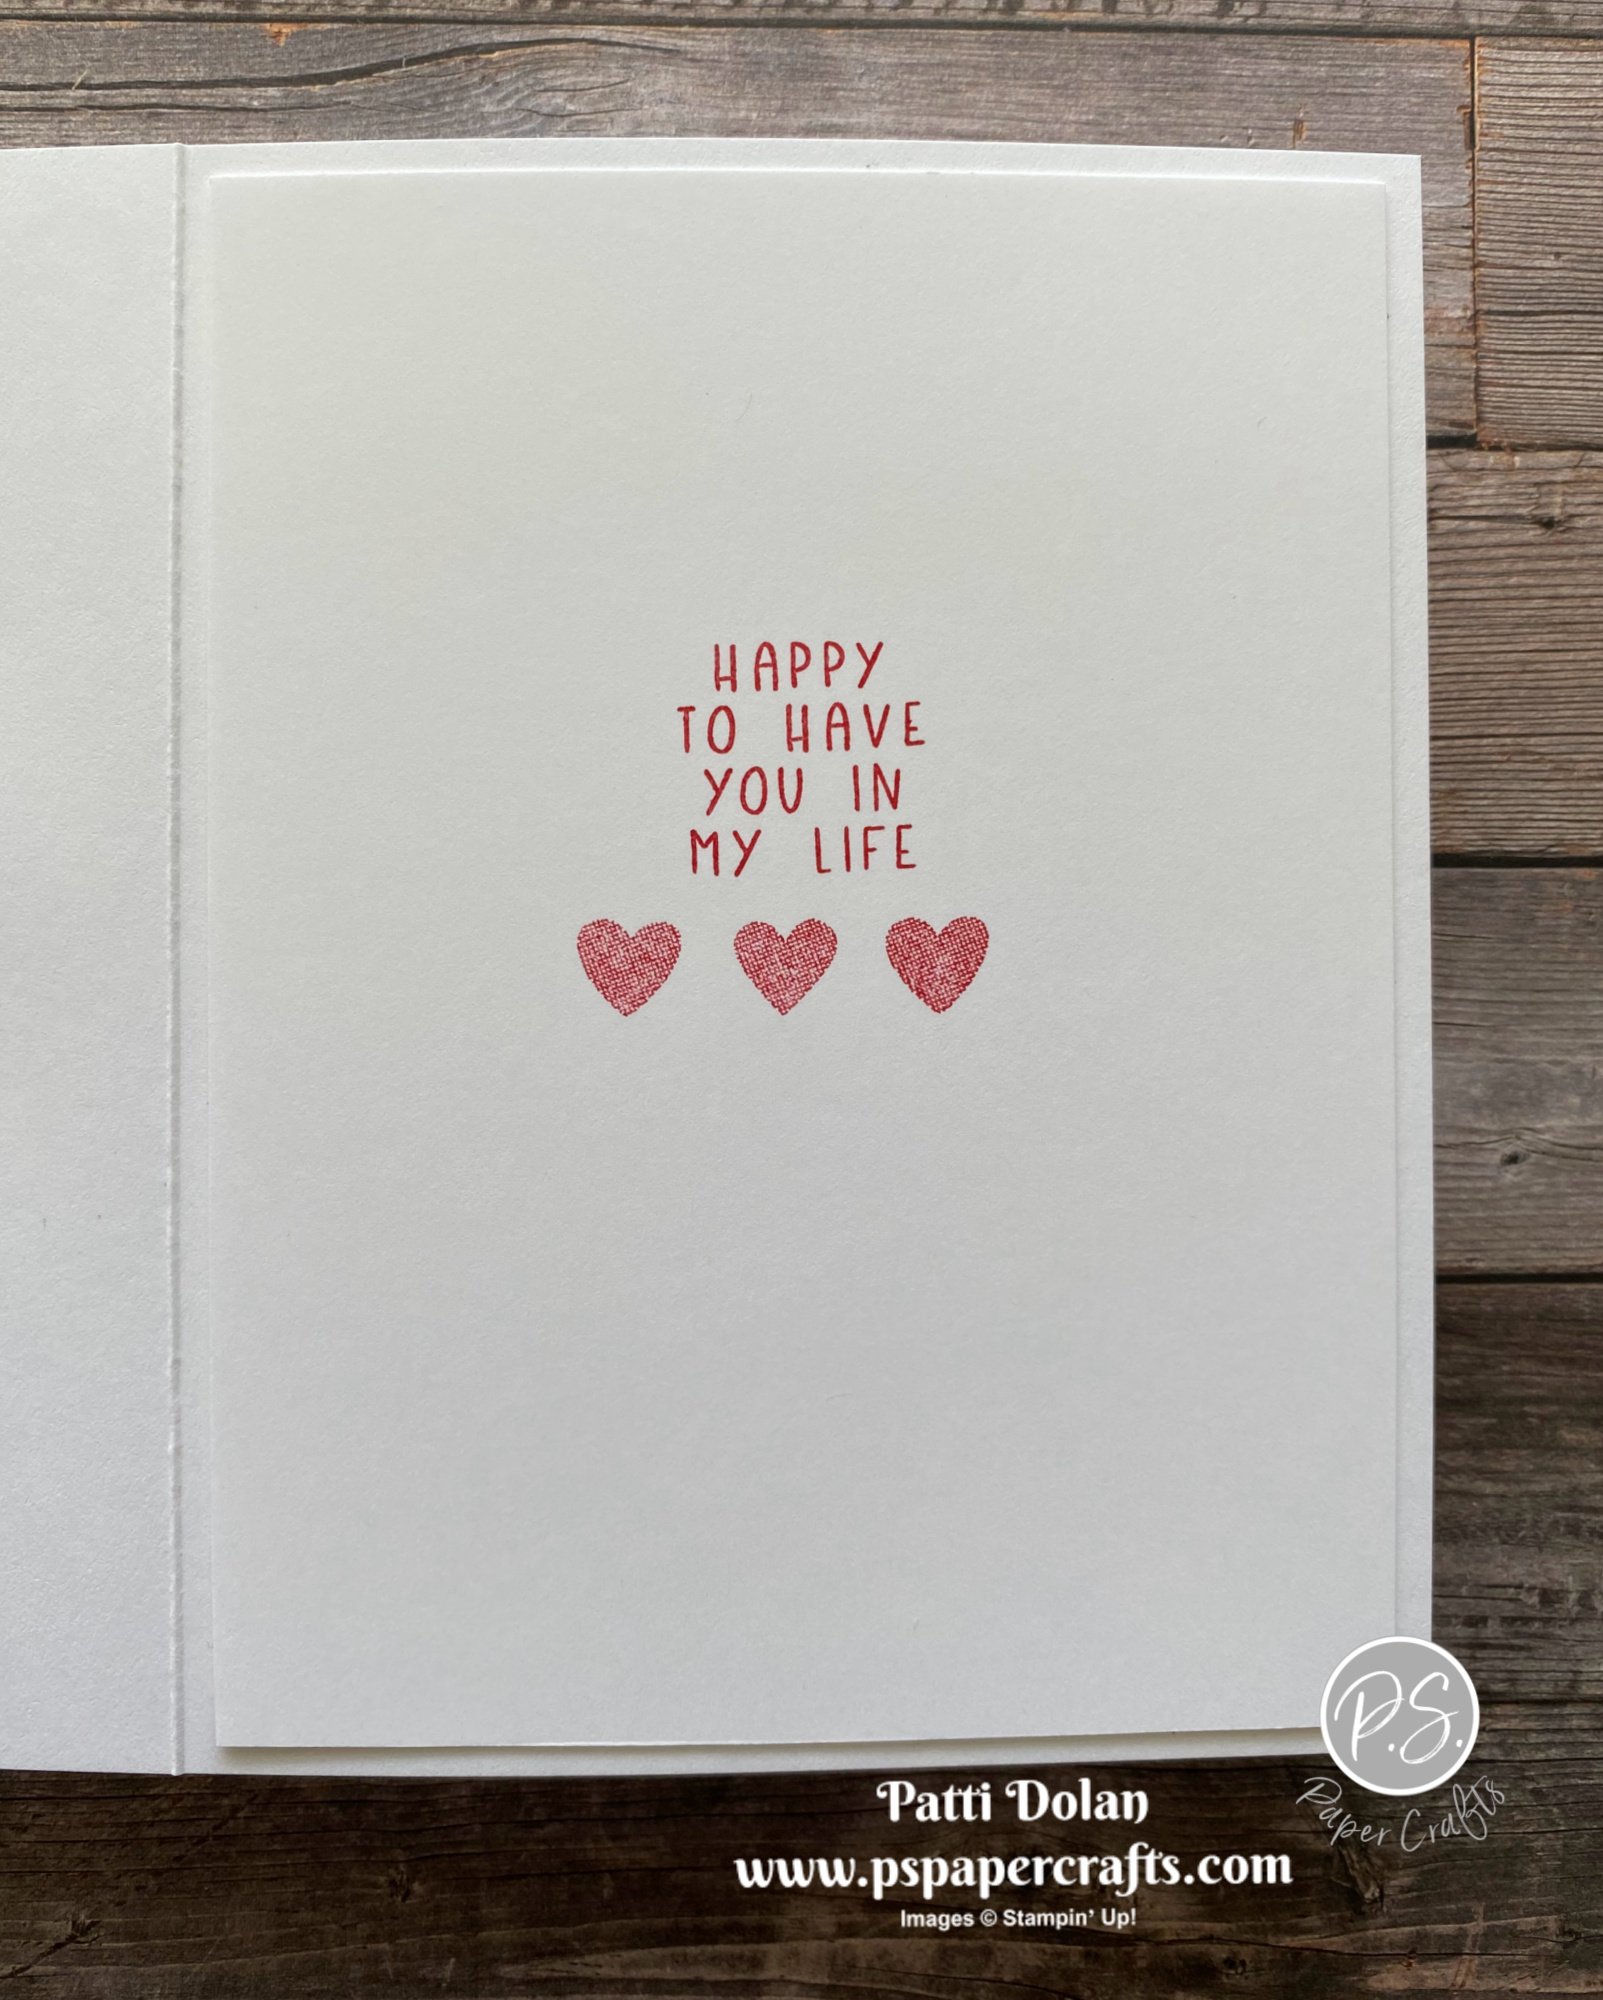
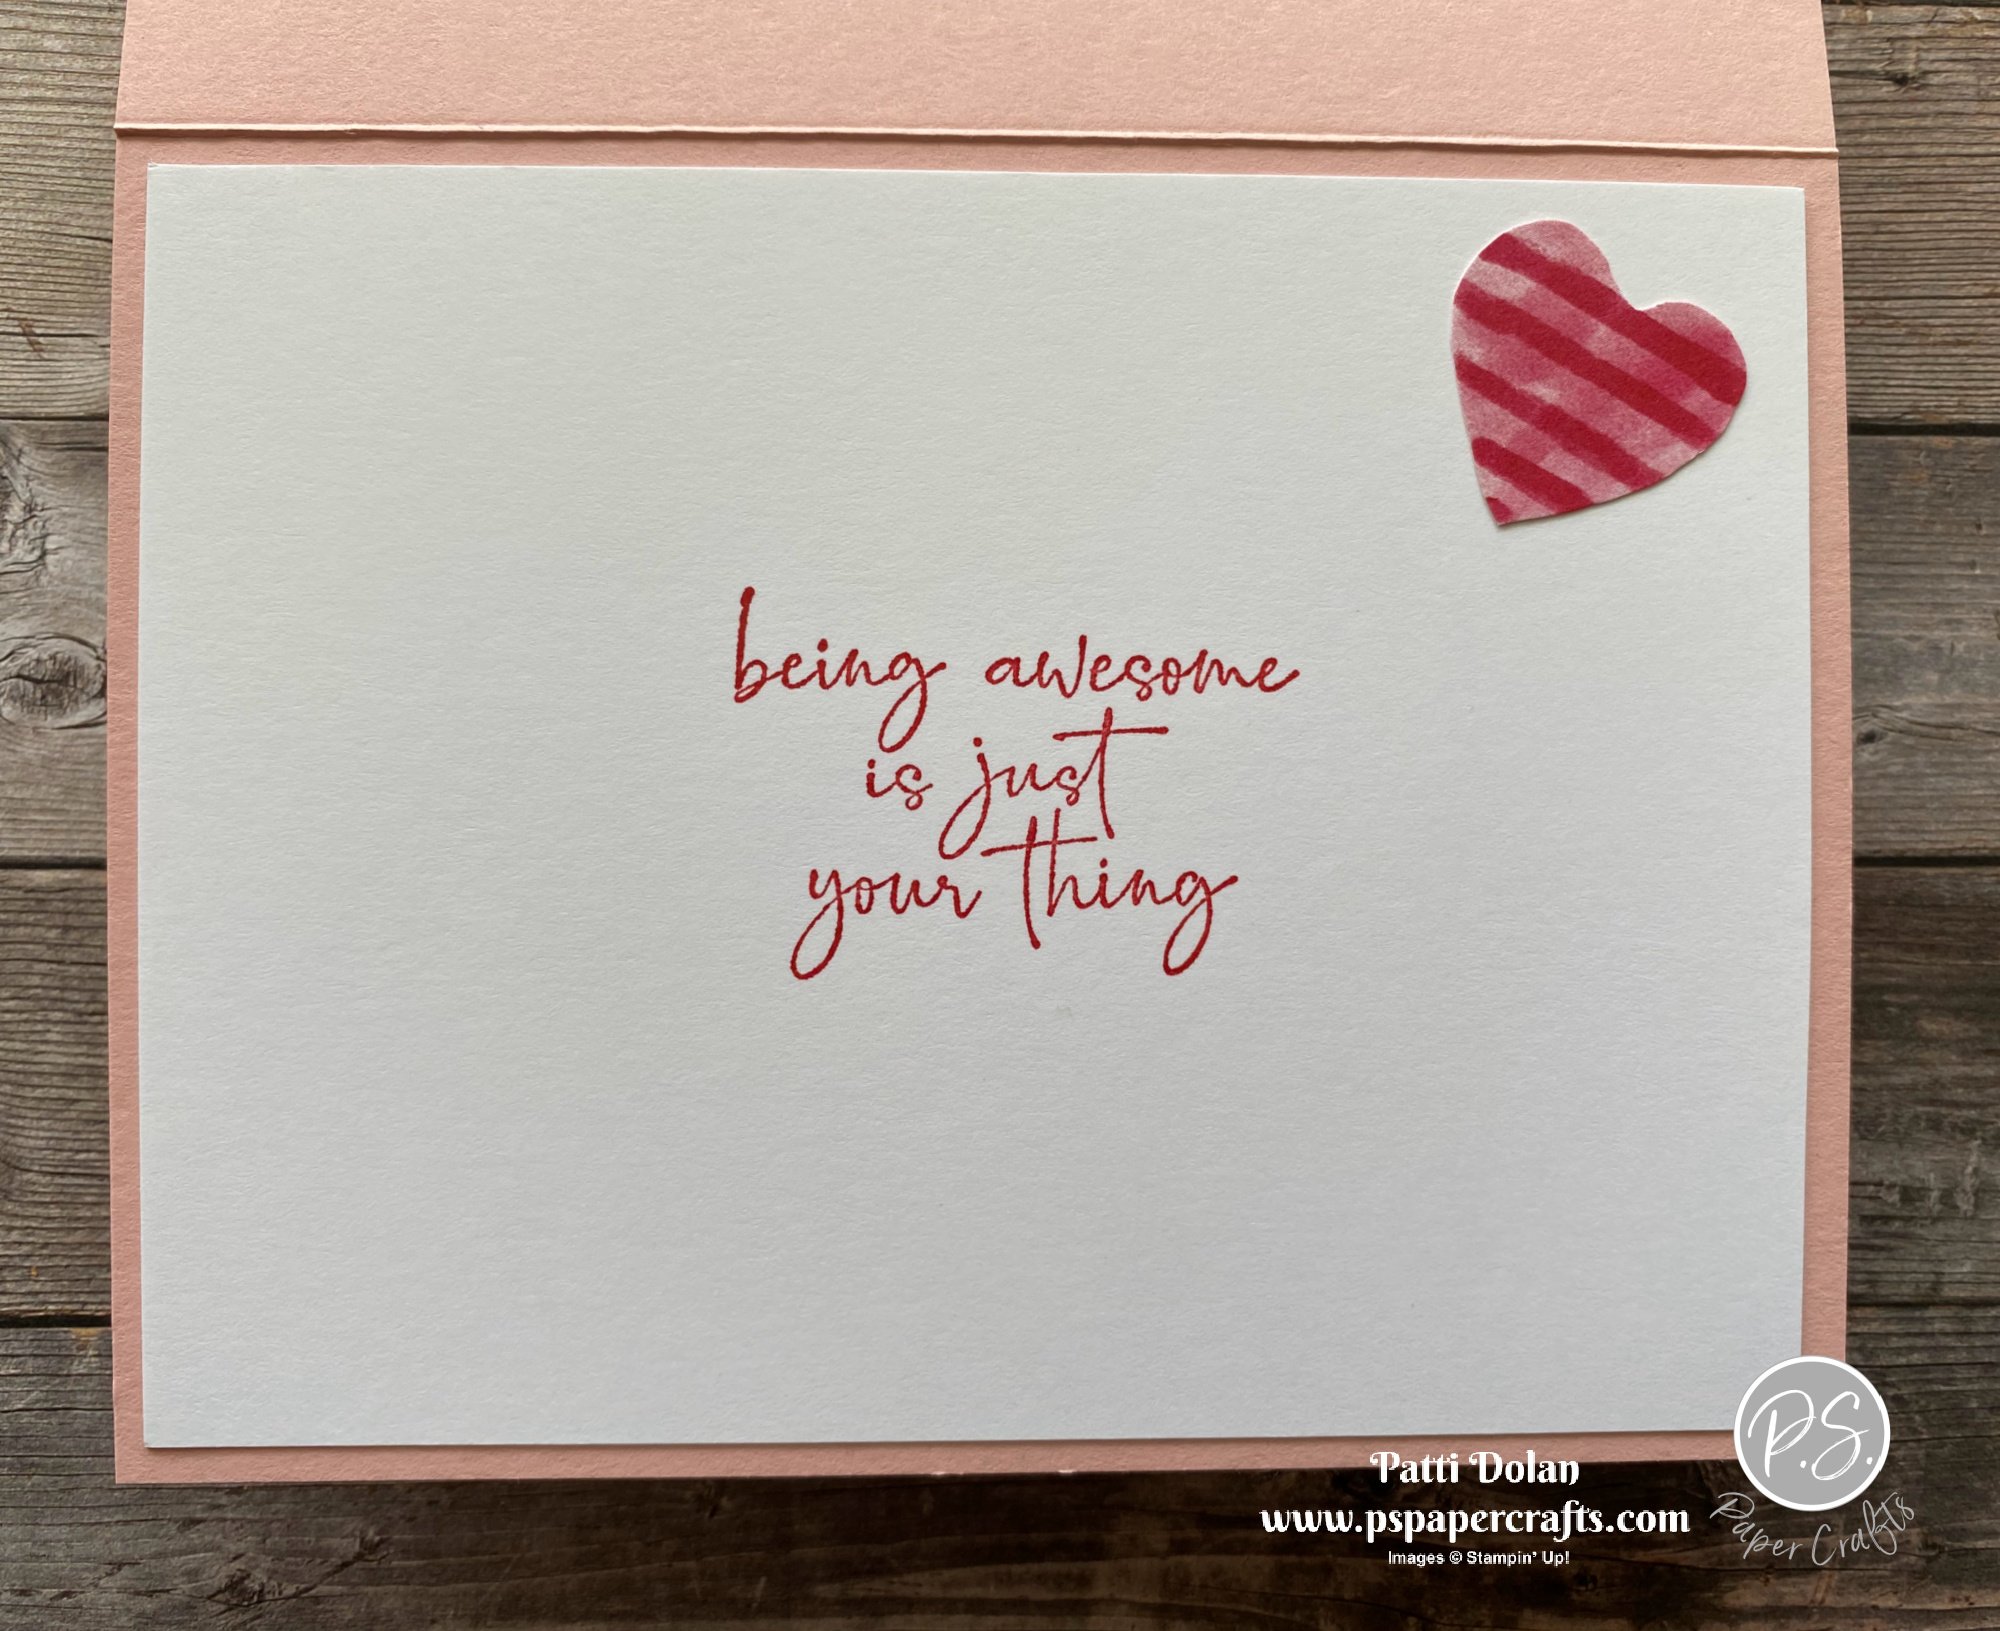
On the inside I stamped the sentiment with Real Red Ink and some hearts below it.


This is Jo Blackman’s design. I changed up the sentiment. It’s from the Happy & Heartfelt Stamp Set. Those cute lollipops were fussy cut.


The inside sentiment is from the Happy & Heartfelt Stamp Set as well. I fussy cut another heart to add to the inside layer.


You will receive this tutorial bundle for free when you make a purchase from my Online store. You can click the Tutorials Button at the top of this site to purchase my Tutorials.


Supply List

You can click on the item to purchase it from my Online Store.

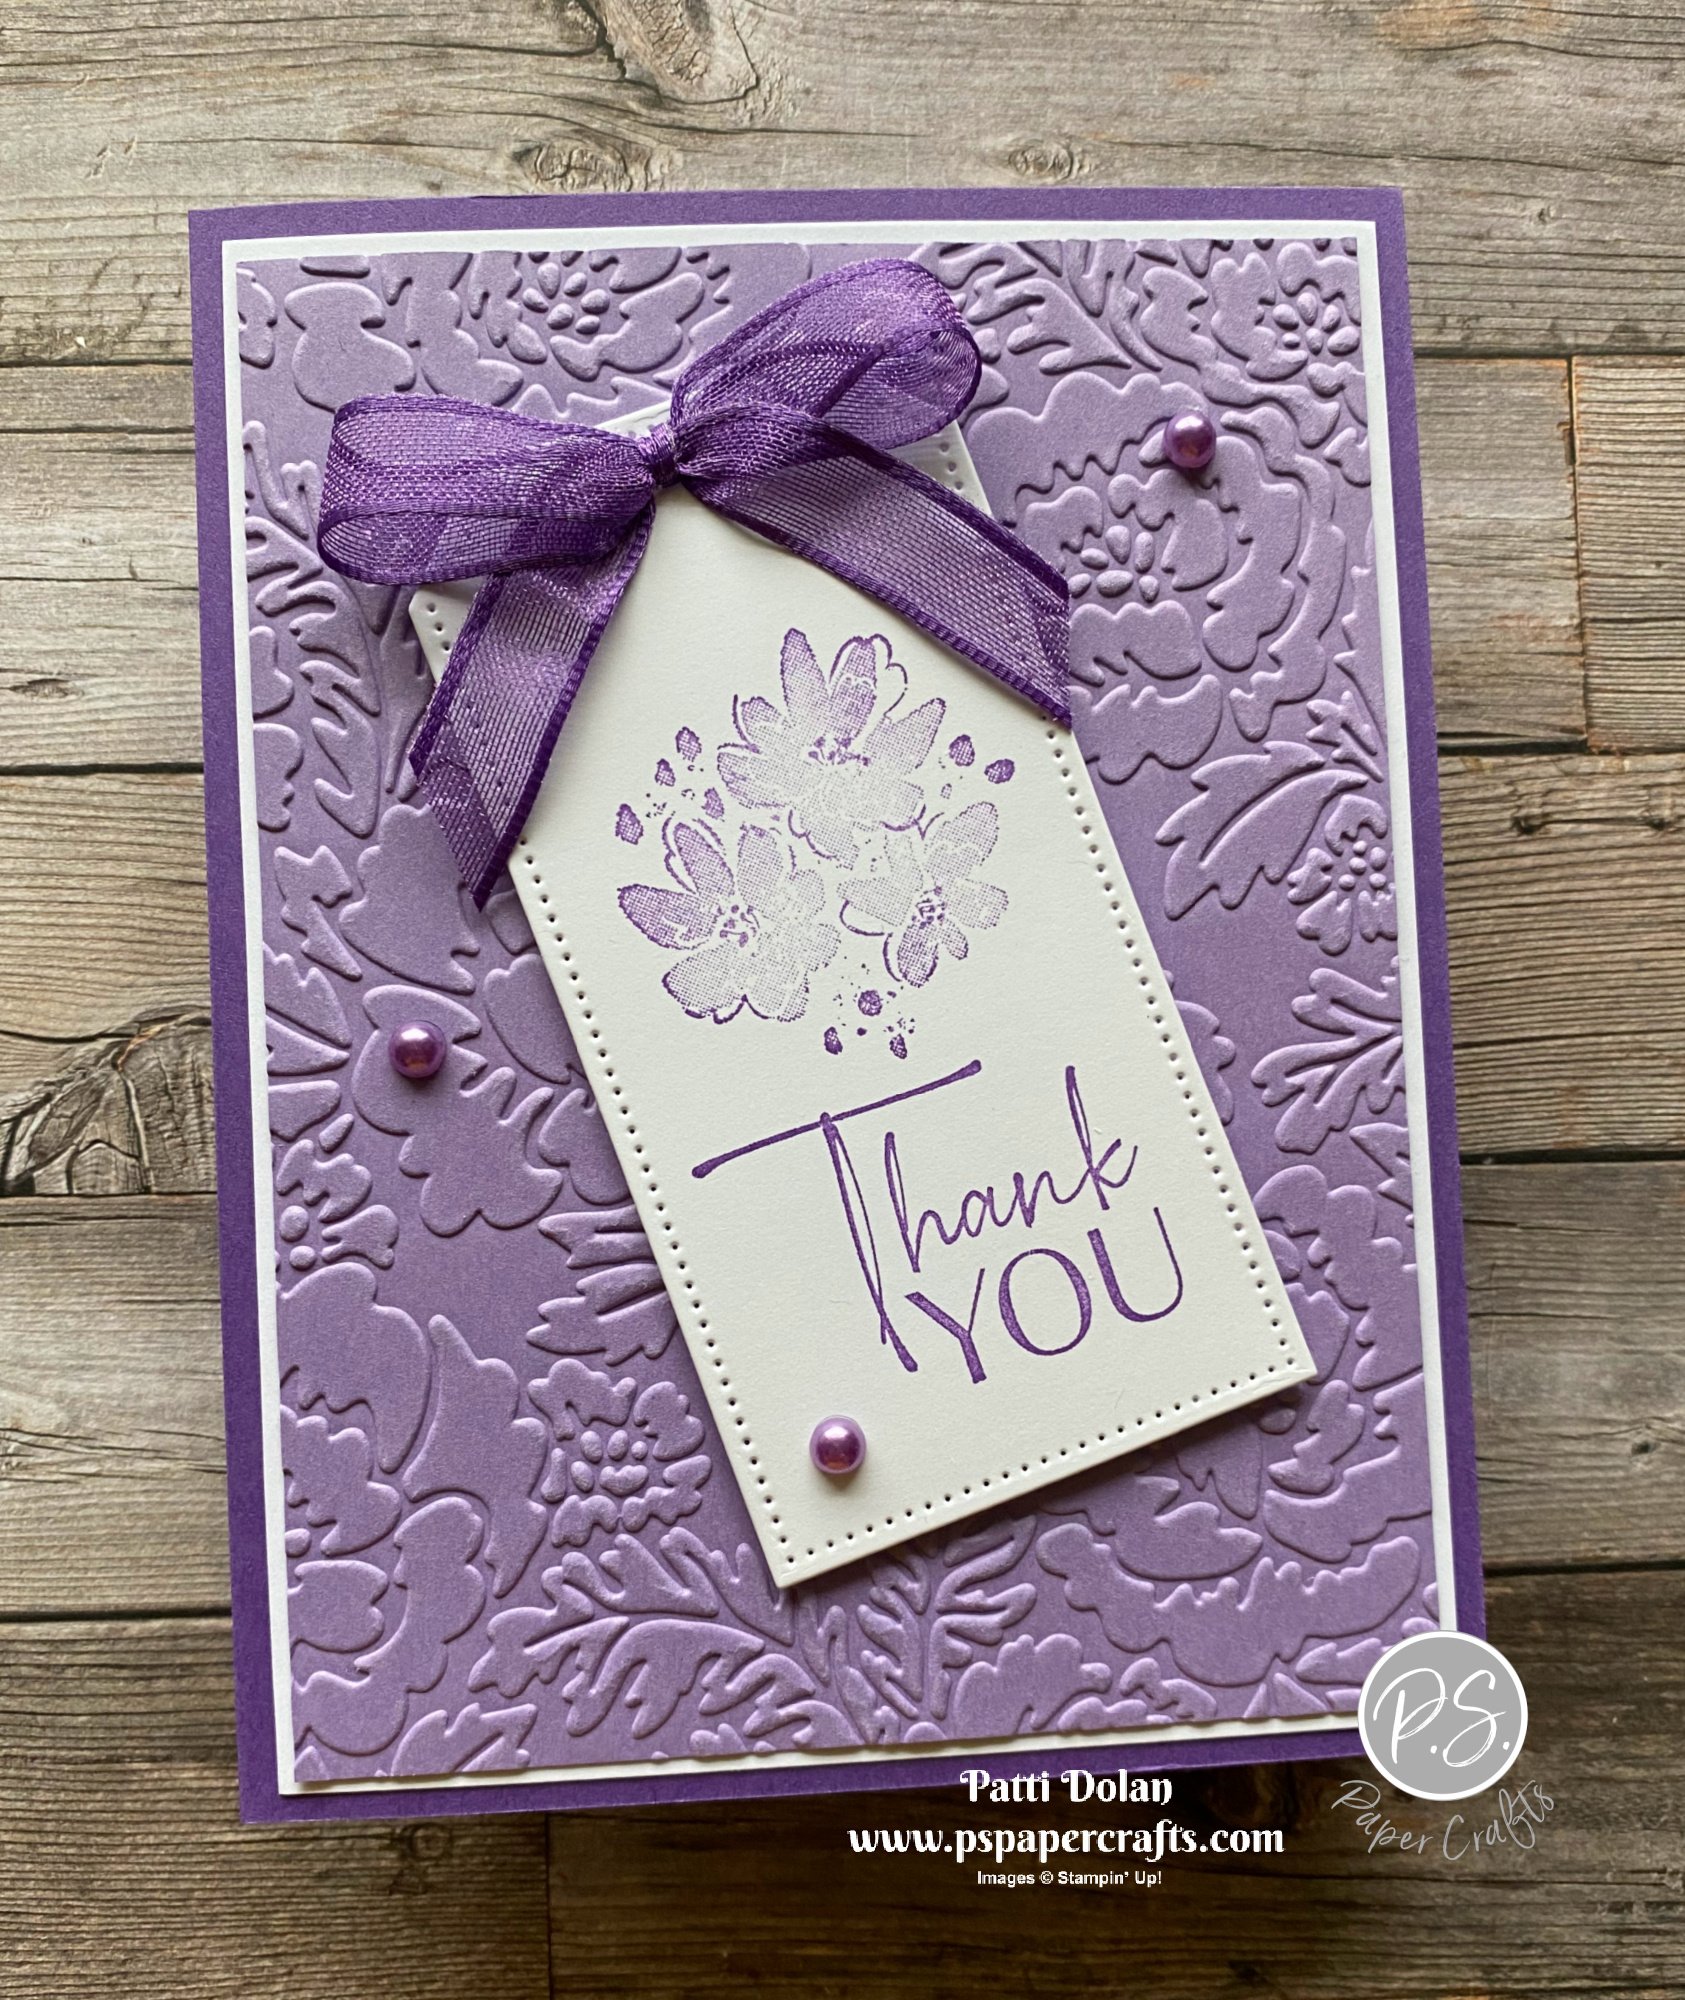
Purple Flowing Flowers Card - ENDALZ

This month my upline, Wendy is doing a walk to raise money for the Alzheimer’s Association. She also has a challenge to create a card with all purple this month. Here’s the card I made.

My dad passed in 2018 just days before his 96th birthday. He was healthy as a horse but suffered from Dementia. It was hard seeing him decline. I live right next door to my Mom and helped her care for him. He was a man full of life that slowly gave in to the disease. I think everyone has a person who suffers from this illness and we need to find a cure.


I used the beautiful Flowing Flowers Stamp Set for this card. The background was embossed with the Pretty Flowers Embossing Folder.


Tips & Instructions

  • Gorgeous Grape Card Base - 5 1/2 x 8 1/2, score at 4 1/4

  • Basic White Cardstock - 5 1/4 x 4

  • Highland Heather Cardstock - 5 1/8 x 3 7/8, emboss using the Pretty Flowers Embossing Folder.

  • Adhere layers to card base.

  • Cut Basic White Cardstock using the largest Tailored Made Tags Die.

  • Stamp sentiment and flowers with Gorgeous Grape Ink and adhere tag using Dimensionals.

  • Tie bow with piece of Gorgeous Grape Sheer Ribbon and adhere to tag top with a Glue Dot.

  • Add some Pastel Pearls.


On the inside layer stamp flowers at top and bottom corners with Gorgeous Grape Ink.


Supply List

You can click on the item to purchase it from my Online Store.

Sketch Saturday - Sweet Conversations

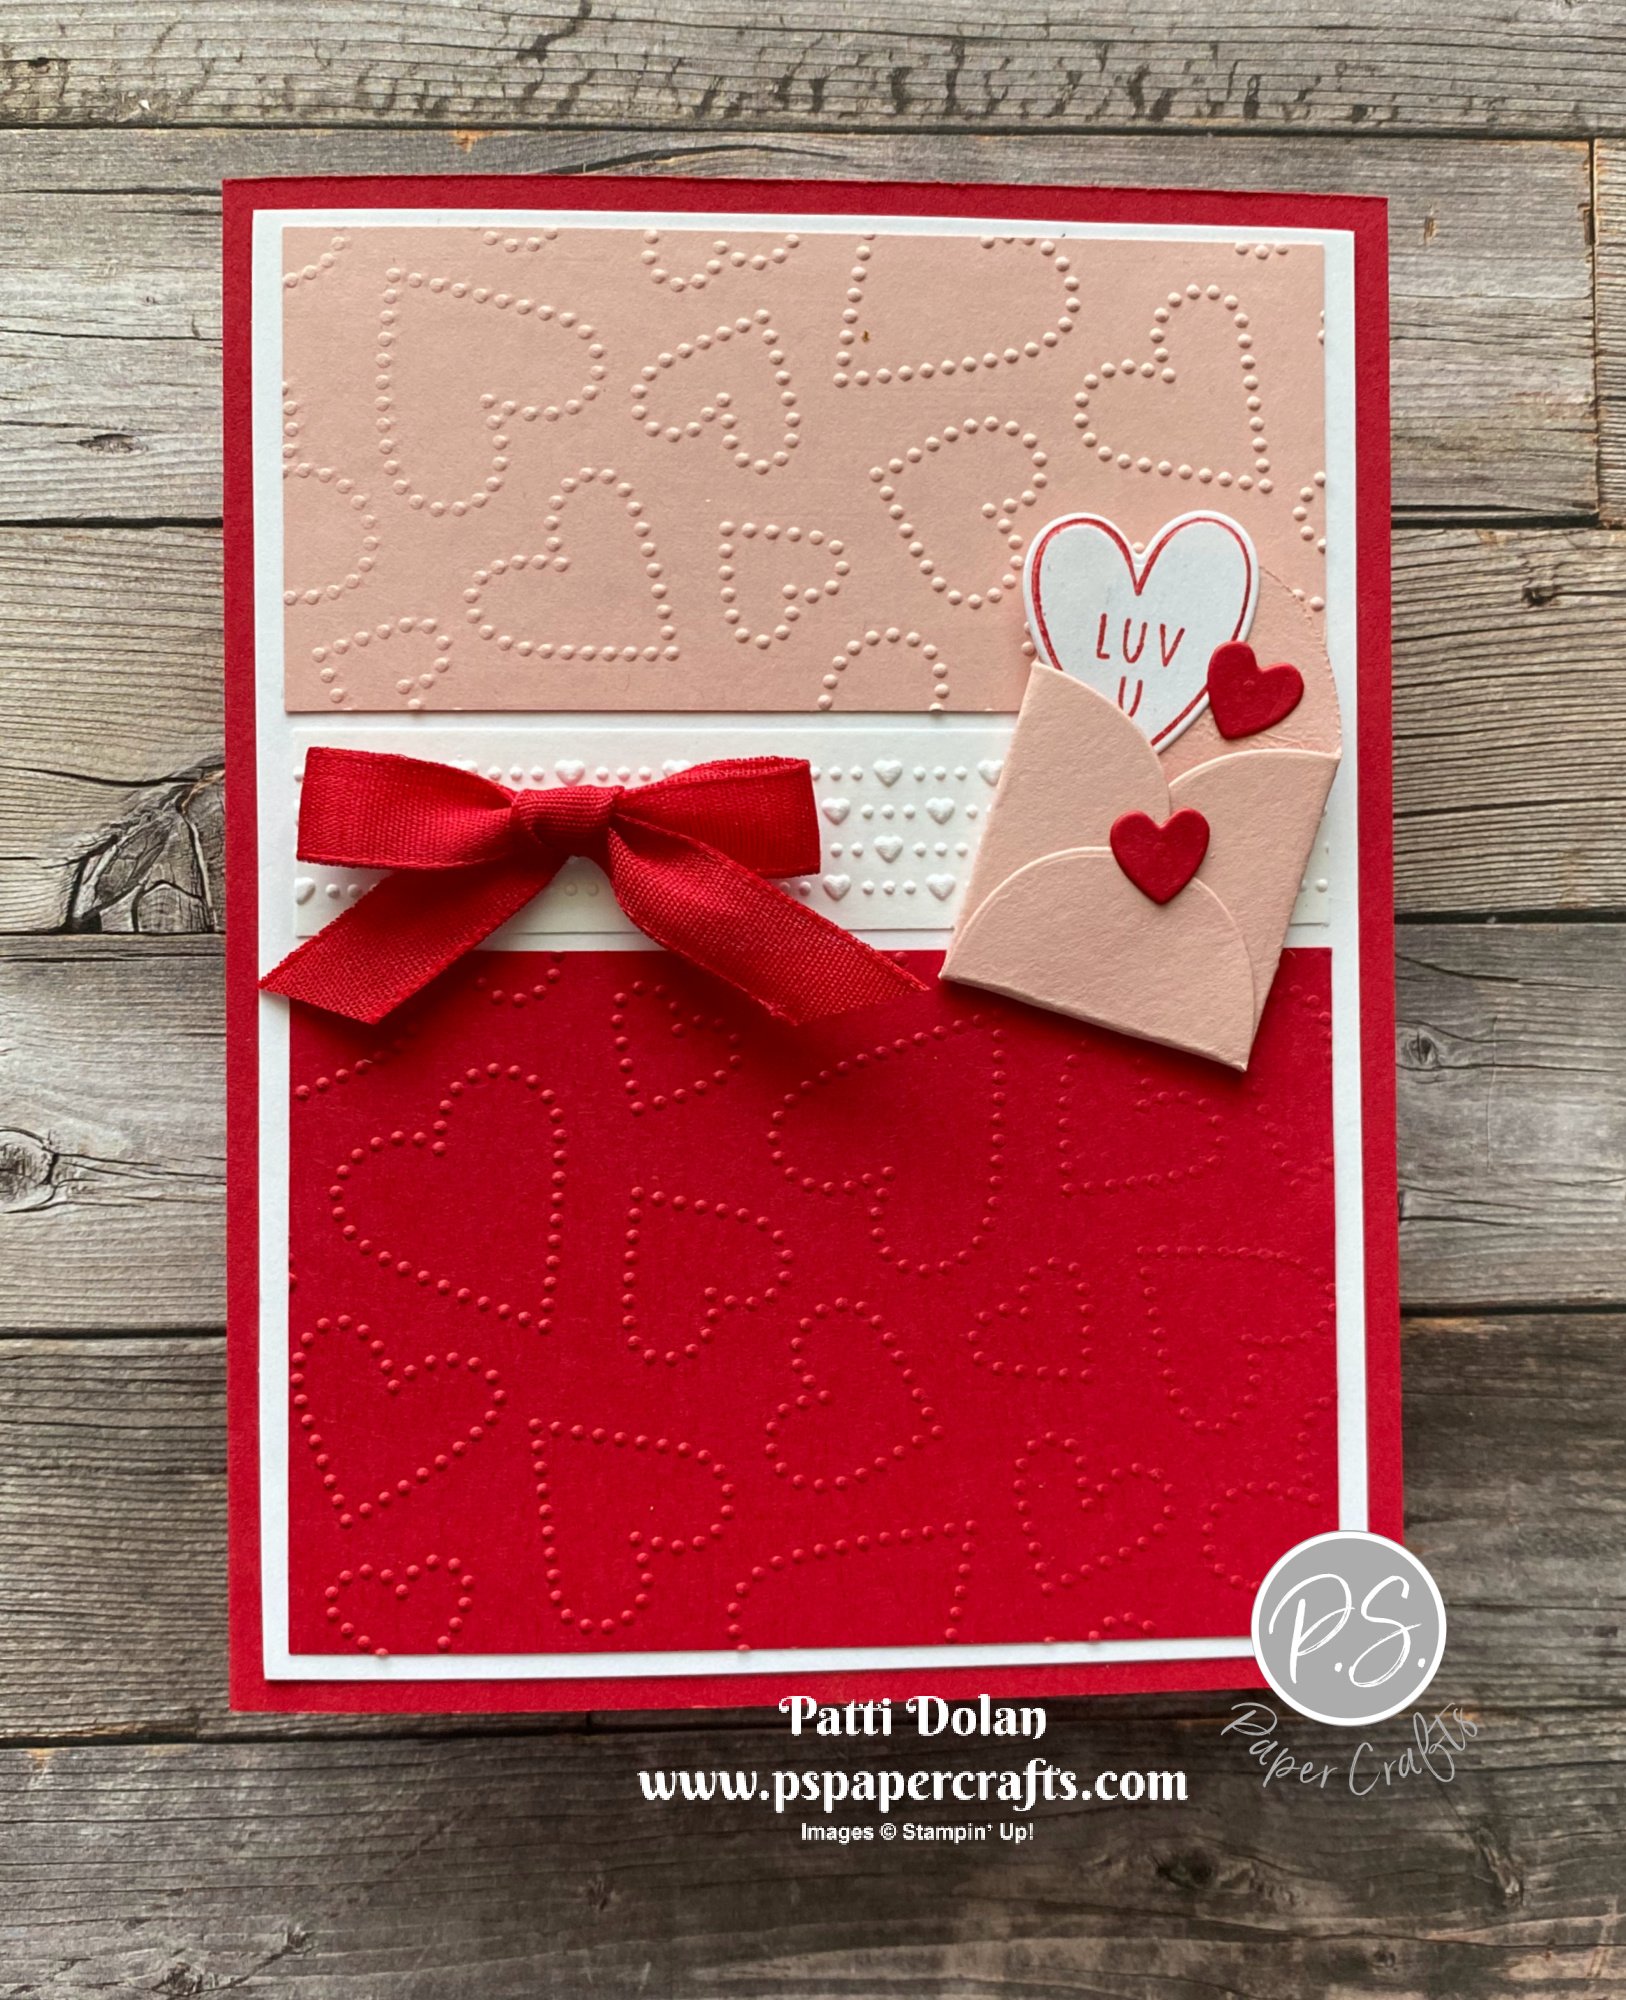
For this week’s sketch challenge I used the Sweet Conversations Bundle along with the Dotty Hearts Embossing Folders.


The sketch I used is from the Atlantic Hearts Weekly Sketch Challenge. It’s so fun to do these challenges!


The Dotty Hearts Embossing Folders create such a pretty design on your project. There are 2 folders in the set and they work in the Mini Stampin’ Cut & Emboss Machine!


Tips & Instructions

  • Real Red Card Base - 5 1/2 x 8 1/2, score at 4 1/4

  • Basic White Cardstock - 5 1/4 x 4

  • Real Red Cardstock - 3 3/4 x 2 1/2, emboss using the Dotty Hearts Embossing Folder.

  • Blushing Bride Cardstock - 3 3/4 x 1 3/4, emboss using the Dotty Hearts Embossing Folder.

  • Basic White Strip - 3 3/4 x 3/4, emboss emboss using the Dotty Hearts Embossing Folder.

  • Adhere embossed pieces to the white layer and then to the card base.

  • Blushing Bride Cardstock - cut envelope with Sweet Hearts Dies. Fold and adhere bottom flap. (Note: look at all sides because there is a definite top to the envelope.)

  • Stamp heart with sentiment on scrap of Basic White Cardstock using Real Red Ink.

  • Cut 2 small hearts from Real Red Cardstock.

  • Adhere envelope and hearts to card.

  • Tie bow with Real Red Faux Linen Ribbon and adhere using a Glue Dot.


Those embossed hearts add so much to the layer; so dainty and pretty!


On the inside stamp the sentiment and some hearts with Real Red Ink. Add a 3/4 embossed strip of Real Red Cardstock.


Supply List

You can click on the item to purchase it from my Online Store.

Fun Seas The Day Card

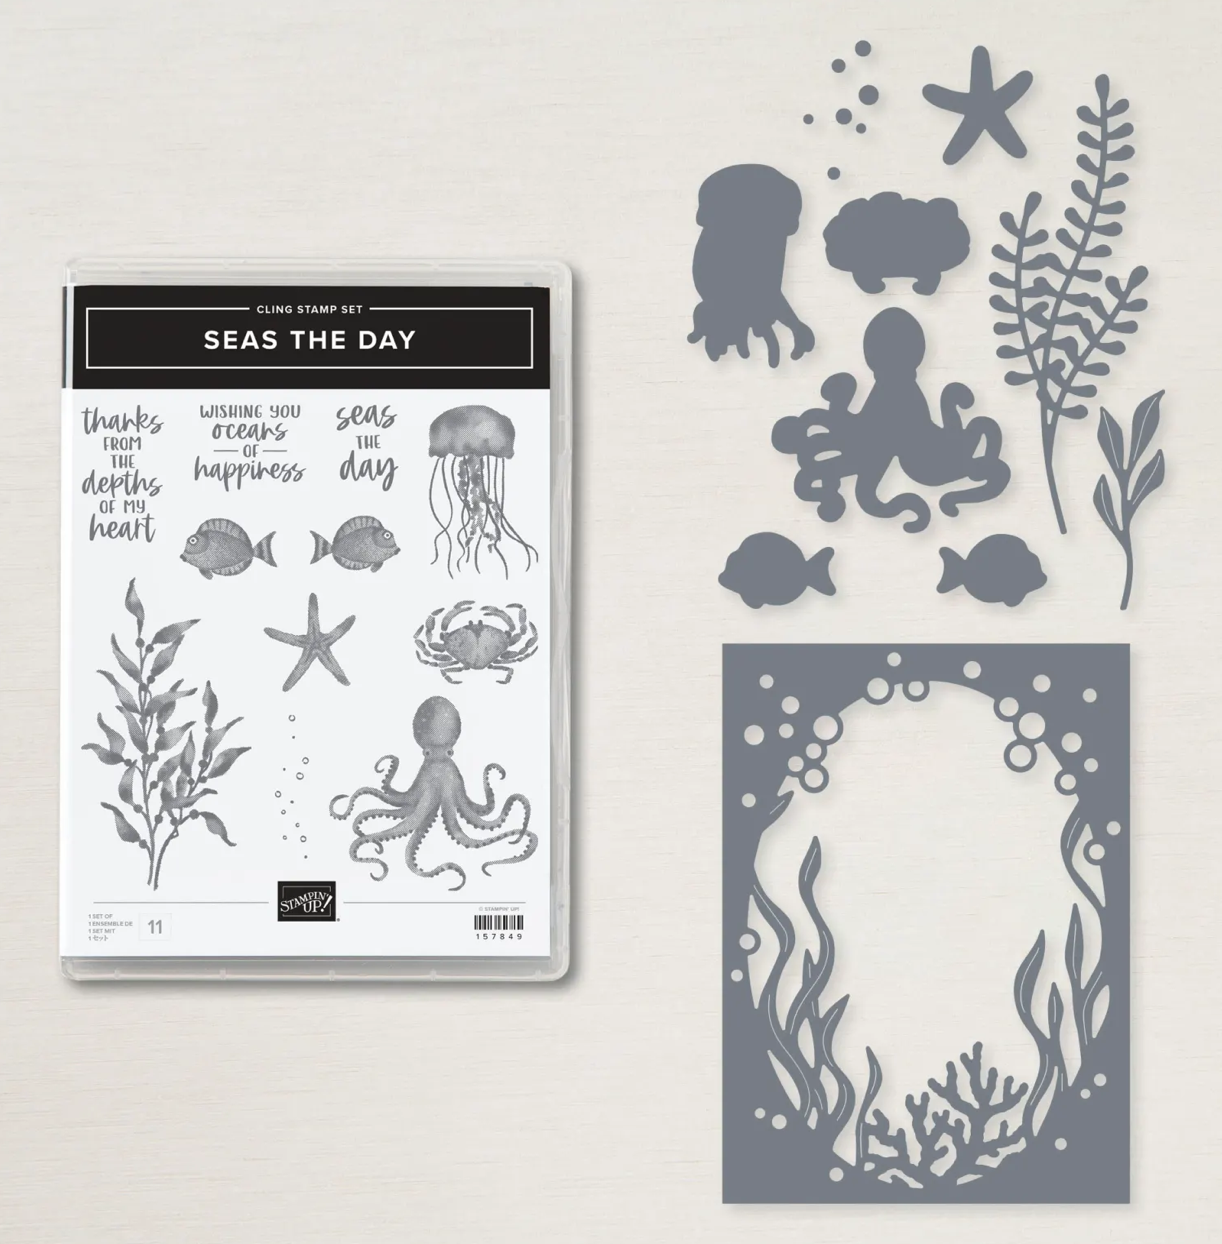
Isn’t this card so fun? I made it using the Seas The Day Bundle along with some of the Abstract Beauty Designer Series Paper.


In the video I’ll show you these products and walk you through the steps to create this card.


I just received this bundle from my Upline as a thank you for something I did for her. I love this bundle. That large die to create the underwater scene is fantastic. You can purchase these products separately or bundle them together to save 10%.


I wasn’t really sure about the Abstract Beauty Specialty Designer Series Paper but there are so many fun designs. It comes in 4 x 6 sheets.


Measurements and Colors

  • Thick Basic White Card Base - 5 1/2 x 8 1/2, score at 4 1/4

  • Abstract Beauty Specialty Designer Series Paper - 2 patterns cut to 5 1/4 x 4

  • Gold Embossing Powder

  • Just Jade Ink for the fish

  • So Saffron Ink for the starfish

  • Calypso Coral Ink for the jellyfish


I didn’t use a sentiment on the inside. You can add one if you want. I stamped the sea plant with Just Jade Ink and the fish with Calypso Coral Ink.


Supply List

You can click on the item to purchase it from my Online Store.

Happy & Heartfelt Celebrate Card

This is not my typical style for a card but I’m so happy with how it turned out. You can use this for a graduation, engagement, promotion or even a birthday card.


The Happy & Heartfelt Stamp Set is a great one to have in your stash with all these fun sentiments. I just love the font!


I was surprised when I received the Abstract Beauty Specialty Designer Series Paper. It comes in a 4 x 6 size. I thought I received the wrong product at first LOL. This is a perfect size for card fronts. I cut it to 4 x 5 1/4 and then used the piece I cut off for the inside.


Tips & Instructions

  • Magenta Madness Card Base - 5 1/2 x 8 1/2, score at 4 1/4

  • Abstract Beauty Specialty Designer Series Paper - 5 1/4 x 4

  • Basic White scrap - stamp sentiment with Versamark Ink and heat emboss with Gold Embossing Powder. Cut using the Tasteful Labels Dies.

  • Cut a second label from a Gold Foil Sheet. Cut label in half horizontally. Spread pieces apart and glue behind the embossed label.

  • Wrap 3 strands of gold Simply Elegant Trim around the designer series paper layer and adhere to the back. Adhere layer to card base.

  • Adhere label using Dimensionals.

  • Tie bow and adhere with a Glue Dot.

  • Add a Gilded Gem to the label.


Here’s a closeup. I love all the gold on this card.


On the inside stamp sentiment with Versamark Ink and heat emboss with Gold Embossing Powder. Add the strip of designer series paper to the bottom of the layer.


Supply List

You can click on the item to purchase it from my Online Store.

Pretty Garden Greenhouse Card

On my YouTube Live today I demonstrated how to use the Garden Greenhouse Bundle to create this pretty card. I am loving these products.


Watch the replay to see how easy it was to make this card. I got the idea from the Stampin’ Up! Website and changed it up a little bit.


These are the products in the bundle. You can purchase them separately or save 10% when you bundle them together.


Measurements & Colors

  • Evening Evergreen Card Base

  • Basic White Layer - 5 1/4 x 4

  • Soft Succulent Layer - 5 x 3 3/4

  • Stamp greenery with Soft Succulent Ink and the flowers with Polished Pink and Fresh Freesia Inks.

  • Sentiment was stamped with Evening Evergreen Ink.


On the inside layer stamp the greenery and flowers just like you did for the card front. Add a sentiment if you want.


Supply List

You can click on the item to purchase it from my Online Store.

Garden Greenhouse Birthday Card

I used the Garden Greenhouse Bundle to create this pretty Birthday Card. I used the Blending Brushes to create a soft background for the card.


The Garden Greenhouse Stamp Set has pretty floral images and a greenhouse that you can stamp. There are coordinating Greenhouse Dies to cut out the floral images and includes 2 large greenhouses.


Tips & Instructions

  • Flirty Flamingo Card Base - 5 1/2 x 8 1/2, score at 4 1/4

  • Basic White Cardstock - 5 1/4 x 4, lightly add ink using Blending Brushes. I used Pear Pizzazz Ink for the bottom area and Balmy Blue Ink for the top part.

  • Stamp two sets of greenery with Granny Apple Green Ink and cut using coordinating die.

  • Cut flowers with Flirty Flamingo and Daffodil Delight Cardstock scraps.

  • Adhere the greenery and the flowers to the blended layer.

  • Stamp sentiment using Flirty Flamingo Ink on a 1/2” strip of Basic White Cardstock. Add to card using Dimensionals.

  • Add some Elegant Faceted Gems to flower centers.


I love the softness of the blended background lower to let the flowers pop!


On the inside stamp the floral image with Granny Apple Green Ink and the flowers with Flirty Flamingo Ink. Stamp sentiment with Flirty Flamingo Ink. The sentiment on the inside is from the Special Moments Stamp Set.


Supply List

You can click on the item to purchase it from my Online Store.

Sketch Saturday - Honeybee Home

I made this card for the weekly Atlantic Hearts Sketch Challenge using the Honeybee Home Bundle.


This is the sketch I used. I love doing these sketch challenges. They really stretch my creativity.


Tips & Instructions

  • Basic Black Card Base - 4 1/4 x 11, score at 5 1/2 (top folding)

  • Heart & Home Designer Series Paper - 5 1/4 x 4

  • Basic White Cardstock - cut with largest Tailored Tag Dies, stamp floral image with Black Memento Ink and color with Stampin’ Blends (I used Light Just Jade and Light & Dark Fresh Freesia).

  • Stamp bee images on scrap of Basic White Cardstock with Black Memento Ink. Color with Dark So Saffron and Light Balmy Blue Stampin’ Blends. Add some Wink Of Stella. Cut with coordinating dies.

  • Basic White Cardstock - cut with smallest Tailored Tag Dies, stamp sentiment on end of the tag with Black Memento Ink. (The sentiment is from the Hello Ladybug Stamp Set.) Cut off end leaving room for the bee.

  • Adhere tags to card. Adhere bees using Dimensionals.

  • Add black Classic Matte Dot.


Here’s a closeup look at the card. It’s hard to see the Wink Of Stella in the picture but it really adds a nice touch to the bees.


On the inside stamp floral image and bee and color with Stampin’ Blends.


Supply List

You can click on the item to purchase it from my Online Store.