Quiet Meadow Birthday Card

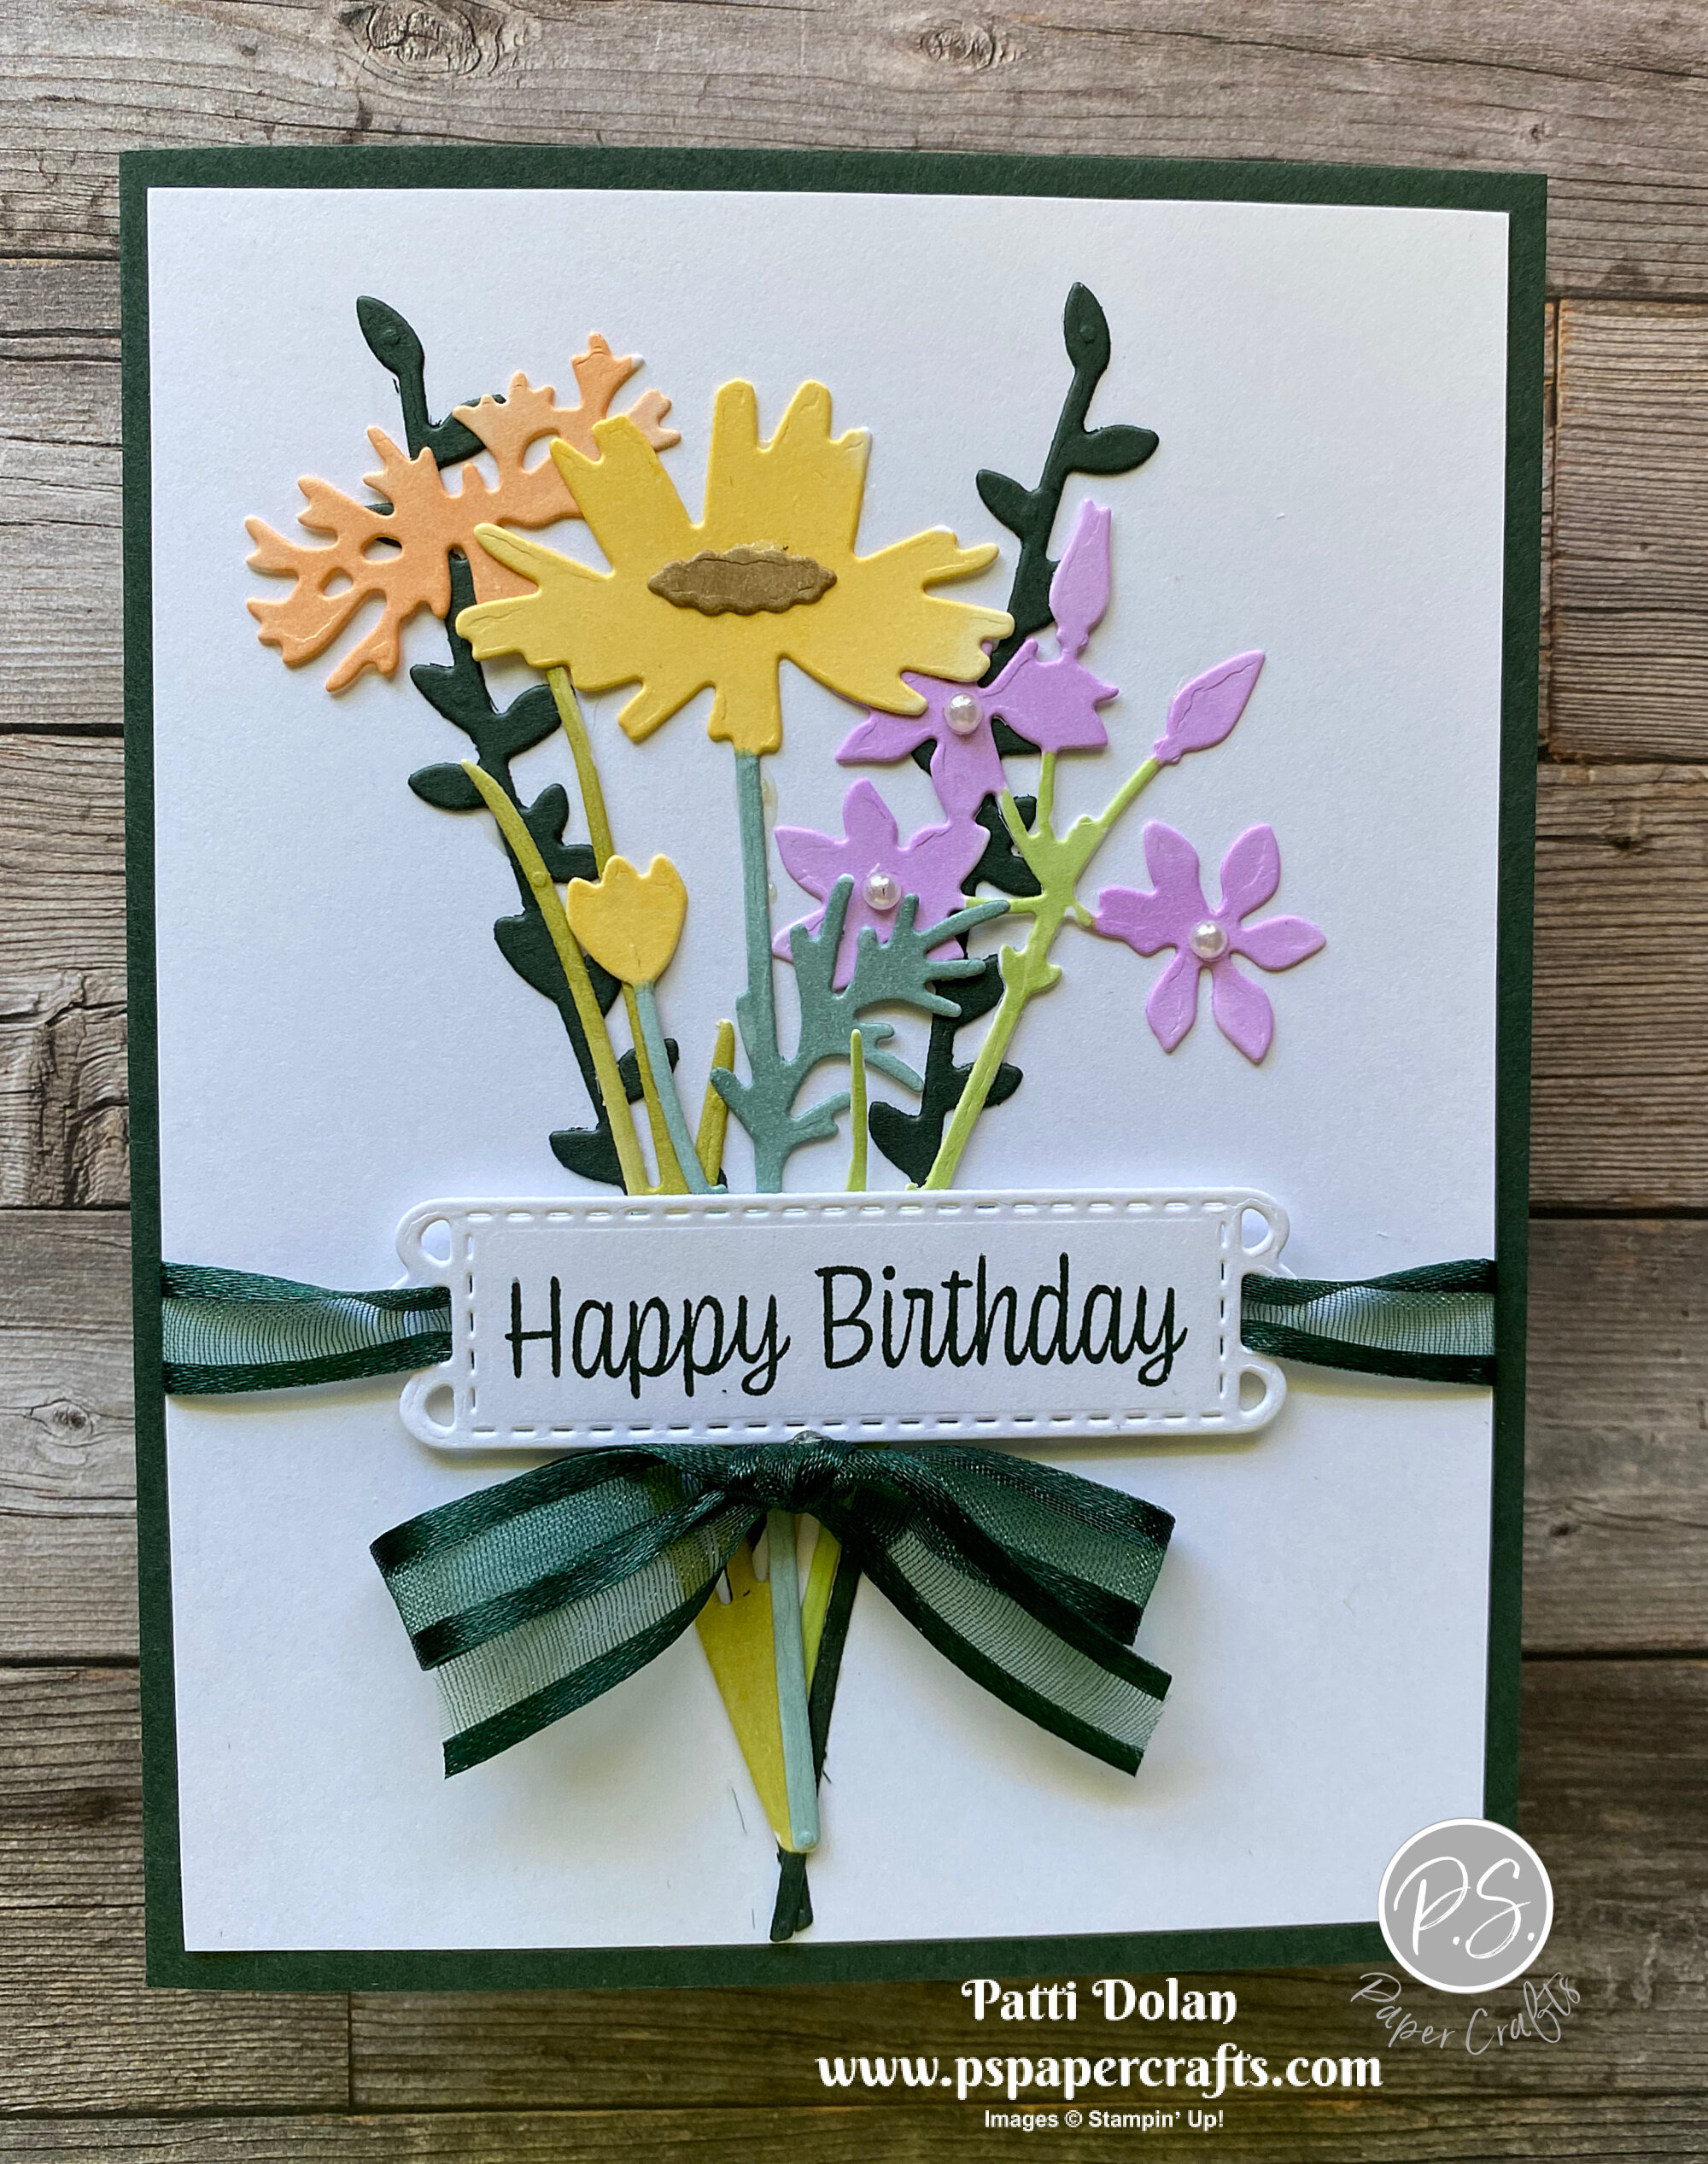
What a beautiful bouquet of flowers you can make using the Meadow Dies. I cut them out from white cardstock and colored them with Stampin’ Blends!

 
Quiet Meadow Birthday Card2.jpeg
 

In the video I’ll show you how to make this card as well as how you can paper-piece the flowers instead of coloring them.


The Meadow Dies create such pretty, delicate flower and there’s a couple of butterflies and labels as well.

 
Screen Shot 2021-05-26 at 2.21.46 PM.png
 

Tips & Instructions

  • Evening Evergreen Card Base - 5 1/2 x 8 1/2, score at 4 1/4

  • Basic White Layer - 5 1/4 x 4

  • Cut flowers, flower center and label from Basic White Cardstock using the Meadow Dies.

  • Color using Stampin’ Blends. I used Dark Granny Apple Green, Light Old Olive and Light Soft Succulent for the stems and leaves. For the flowers I used Dark Pale Papaya, Light Fresh Freesia and Dark So Saffron. The center of the So Saffron flower was colored with Light Soft Suede.

  • Cut two greenery pieces from Evening Evergreen Cardstock.

  • Adhere all the pieces to the white layer using Liquid Glue.

  • Stamp sentiment with Evening Evergreen Ink and cut with the label die. The sentiment is from the Sweet As A Peach Stamp Set.

  • Feed a piece of Evening Evergreen Ribbon through the back of the label. Add some Dimensionals to the back of the label making sure you adhere to the ribbon as well. Adhere the label to card and then wrap the ribbon around and adhere it to the back. Adhere layer to card.

  • Tie bow and adhere with Glue Dot.

  • Add small pearls to the center of the flowers.

 
Quiet Meadow Birthday Card1.jpeg
 

On the inside stamp the sentiments with Evening Evergreen Ink. Cut and color the flower like you did on the card front and adhere to inside layer, snipping off the excess stem and leaves. Color the flower centers using the Soft Suede Stampin’ Blends Marker.

 
Quiet Meadow Birthday Inside.jpeg
 

Shop Here

Quiet Meadow Thinking of You

I love this style of card; simple, rustic, natural! I used the Quiet Meadow Bundle to make it.

 
Quiet Meadow Thinking of You card2.jpeg
 

The stamp set in this bundle has some great images to get creative with.

 
Quiet Meadow Thinking of You stamp.jpeg
 

Tips & Instructions

  • Early Espresso Card Base - 5 1/2 x 8 1/2, score at 4 1/4.

  • Crumb Cake Layer - 5 1/4 x 4, emboss with Brick & Mortar 3D Embossing Folder.

  • Very Vanilla Layer - 4 4 1/4 x 1 3/4, stamp floral image with Early Espresso Ink and adhere to embossed layer.

  • Stamp sentiment on scrap of Very Vanilla Cardstock and cut with label die.

  • Feed piece of Crumb Cake Baker’s Twine through label, add Dimensionals to back of label and adhere to card, adhering the Baker’s Twine to the back of the embossed layer. Adhere layer to card.

  • Add Champagne Rhinestones to flower centers and one to the sentiment label.

 
Quiet Meadow Thinking of You Card1.jpeg
 

On the inside stamp the floral image on Very Vanilla (5 1/4 x 4) layer using Early Espresso Ink.

 
Quiet Meadow Thinking of You inside.jpeg
 

Supply List

Sketch Saturday - Color & Contour

When I saw the scalloped strip on the sketch, I knew I wanted to use the Color & Contour Bundle. This is such a simple card but I’m happy with how it turned out.

 
Sketch Saturday - Color & Contour Card1.jpeg
 

Here’s the sketch from the Atlantic Hearts Sketch Challenge. Their sketch challenges are so fun to do.

 
Screen Shot 2021-05-21 at 5.45.38 PM.png
 

The Color & Contour Stamp Set has great images and I love the scalloped rectangles in the Scalloped Contour Dies. Bundle them together to save 10%.

 
Screen Shot 2021-05-21 at 6.04.48 PM.png
 

Tips & Instructions

  • Melon Mambo Card Base - 5 1/2 x 8 1/2, score at 4 1/4

  • Basic White Layer - 5 x 4 7/8 (I used this width so I could get the scalloped strip to fit.)

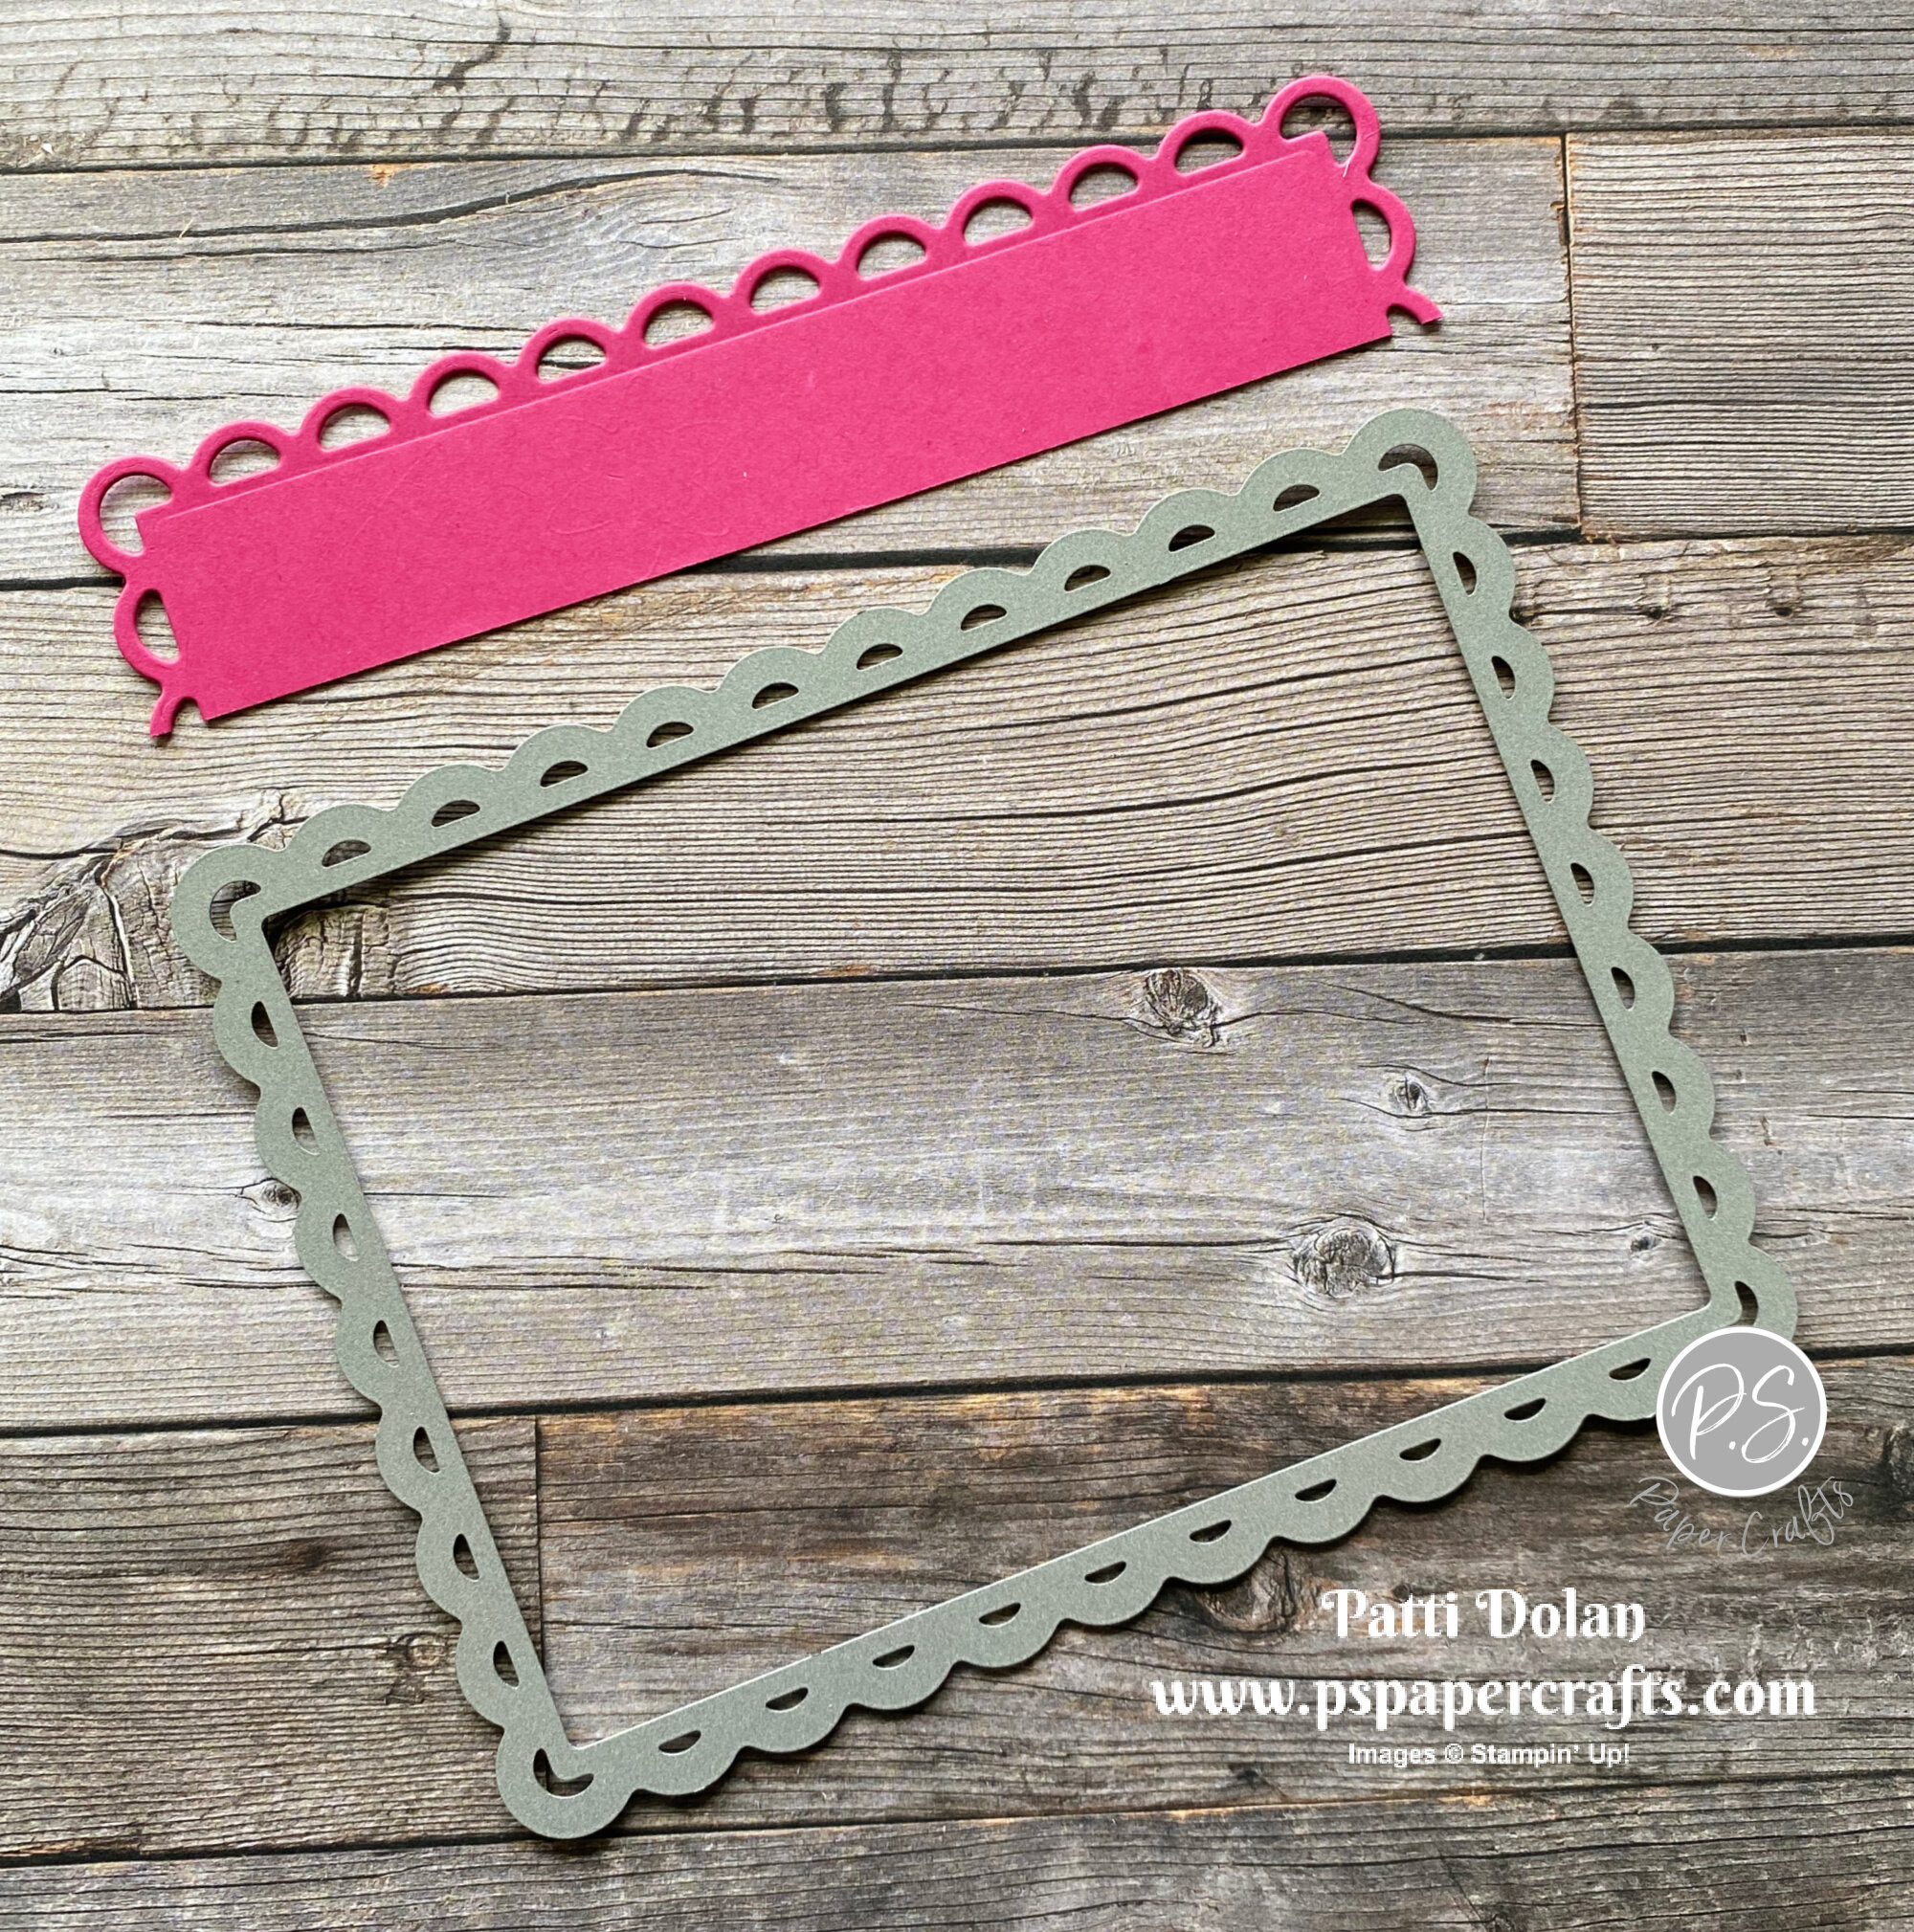
  • Melon Mambo Strip - 4 1/2 x about 1 1/2, cut with edge of the largest scalloped rectangle.

 
Sketh Saturday - Color & Contour scallop.jpeg
 
  • Cut down to about 5/8 wide and 4 7/8 long making sure you have complete scallops end-to-end.

  • Stamp sentiment with Melon Mambo Ink. The sentiment is from the Pansy Patch Stamp Set.

  • Stamp the splatter image with Flirty Flamingo Ink a few times.

  • Adhere layer and the scalloped strip to card.

  • Stamp flower on scrap of Basic White Cardstock, stamping the outline with Melon Mambo Ink and filler with Flirty Flamingo Ink. Color the flower center with Dark Daffodil Delight Stampin’ Blends Marker and cut with coordinating die.
    To help figure out how to line up the stamp, my friend Cheryl Becker showed me how to lay the stamps on the stamp case with the back of the stamp facing up. You can put a mark on the stamp at the bottom with a permanent marker.

 
Sketch Saturday - Color & Contour stamp.jpeg
 
  • Stamp the flower with the stem on Basic White Scrap using Pear Pizzazz Ink and cut with coordinating die. Cut off flower top.

  • Adhere stem with leaves to card and then add the flower with a Dimensional.

 
Sketch Saturday - Color & Contour Card2.jpeg
 

Cut the inside layer the same size as the card front layer (5 x 4 7/8). Stamp sentiment (from Color & Contour) and stamp the flower like you did on the card front.

 
Sketch Saturday - Color & Contour inside.jpeg
 

Supply List

Bloom Where You're Planted - Love You Card

I am loving the products from the Bloom Where You’re Planted Suite. The Paper Lattice give you a perfect background to hang your plants on!

 
Bloom Where You're Planted Love You card2.jpeg
 

In the video, I’ll walk you through the products in this suite and show you how to make this card. I have a few tips as well.


The Plentiful Plants stamps create such great images. The pots look so earthy. You can mix up the plants and pots. Just have fun with it. You can save 10% if you bundle the stamp set and dies. There is a great macrame hanger in the Perfect Plants Dies.

 
Bloom Where You're Planted Love You stamp.jpeg
 

Tips & Instructions

  • Misty Moonlight Card Base - 5 1/2 x 8 1/2, score at 4 1/4.

  • Bloom Where You’re Planted Designer Series Paper Layer - 5 1/4 x 4, adhere to card base.

  • Adhere Paper Lattice to card using tiny drops of glue.

  • Cut 2 macrame hangers from Basic White Cardstock. Cut off outer pieces on one to make it smaller (as shown in the video).

  • Stamp and cut pots, one with Misty Moonlight Ink and one with Cinnamon Cider Ink. Trim the bottom of the Cinnamon Cider pot.

  • Stamp large leafy plant with Garden Green Ink on Garden Green Cardstock and cut with coordinating Die.

  • Stamp snake plant with Just Jade Ink on Soft Sea Foam Cardstock and cut with coordinating die.

  • Cut small pot from Early Espresso Cardstock and small plant from Soft Sea Foam Cardstock.

  • Assemble plants, pots and hangers using Liquid Glue.

  • Stamp sentiment on 1/2” strip of Basic White and punch both ends with Banners Pick A Punch. Punch 3/4 strip of Misty Moonlight and punch both ends. Adhere together.

  • Adhere planters and sentiment using Dimensionals.

 
Bloom Where You're Planted Love You card1.jpeg
 

On the inside layer stamp large pot with Misty Moonlight Ink. Stamp smaller bunch of the big leafy plant with Garden Green Ink. Stamp smaller pot with Cinnamon Cider Ink and stamp snake plant with Just Jade Ink.

 
Bloom Where You're Planted Love You inside.jpeg
 

Supply List

Sweet Garden Birdhouses Hello Card

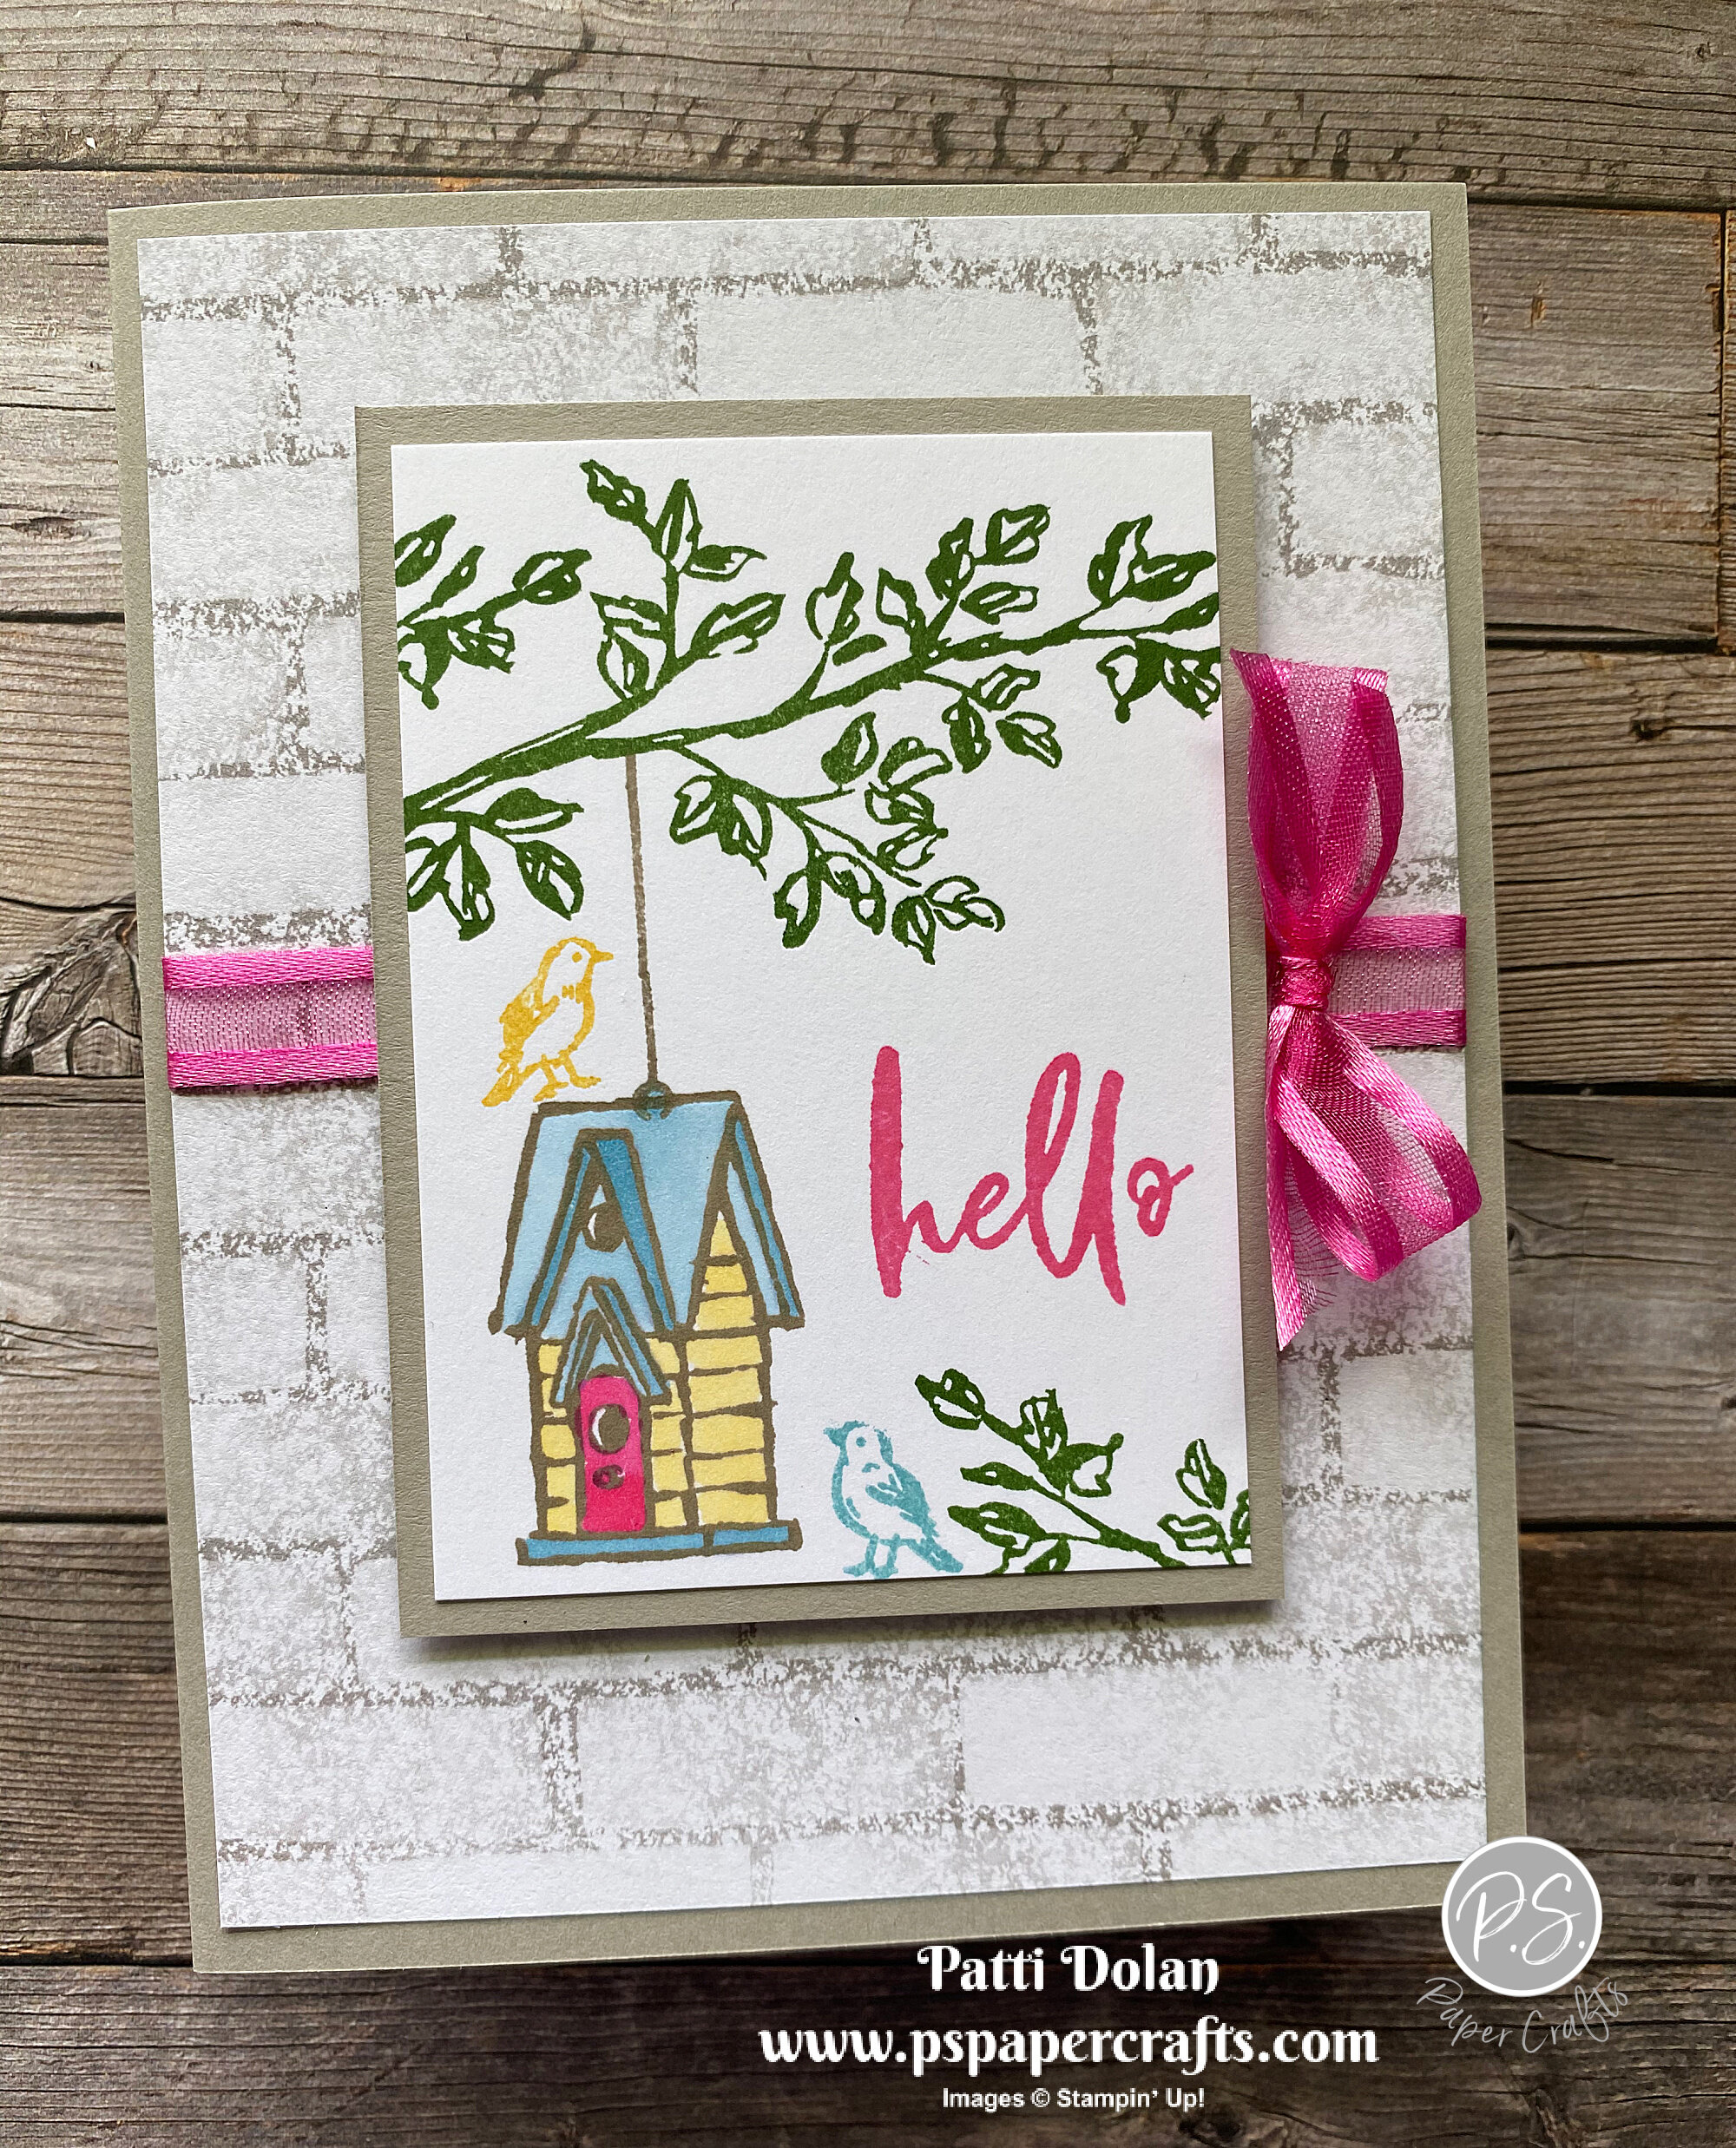
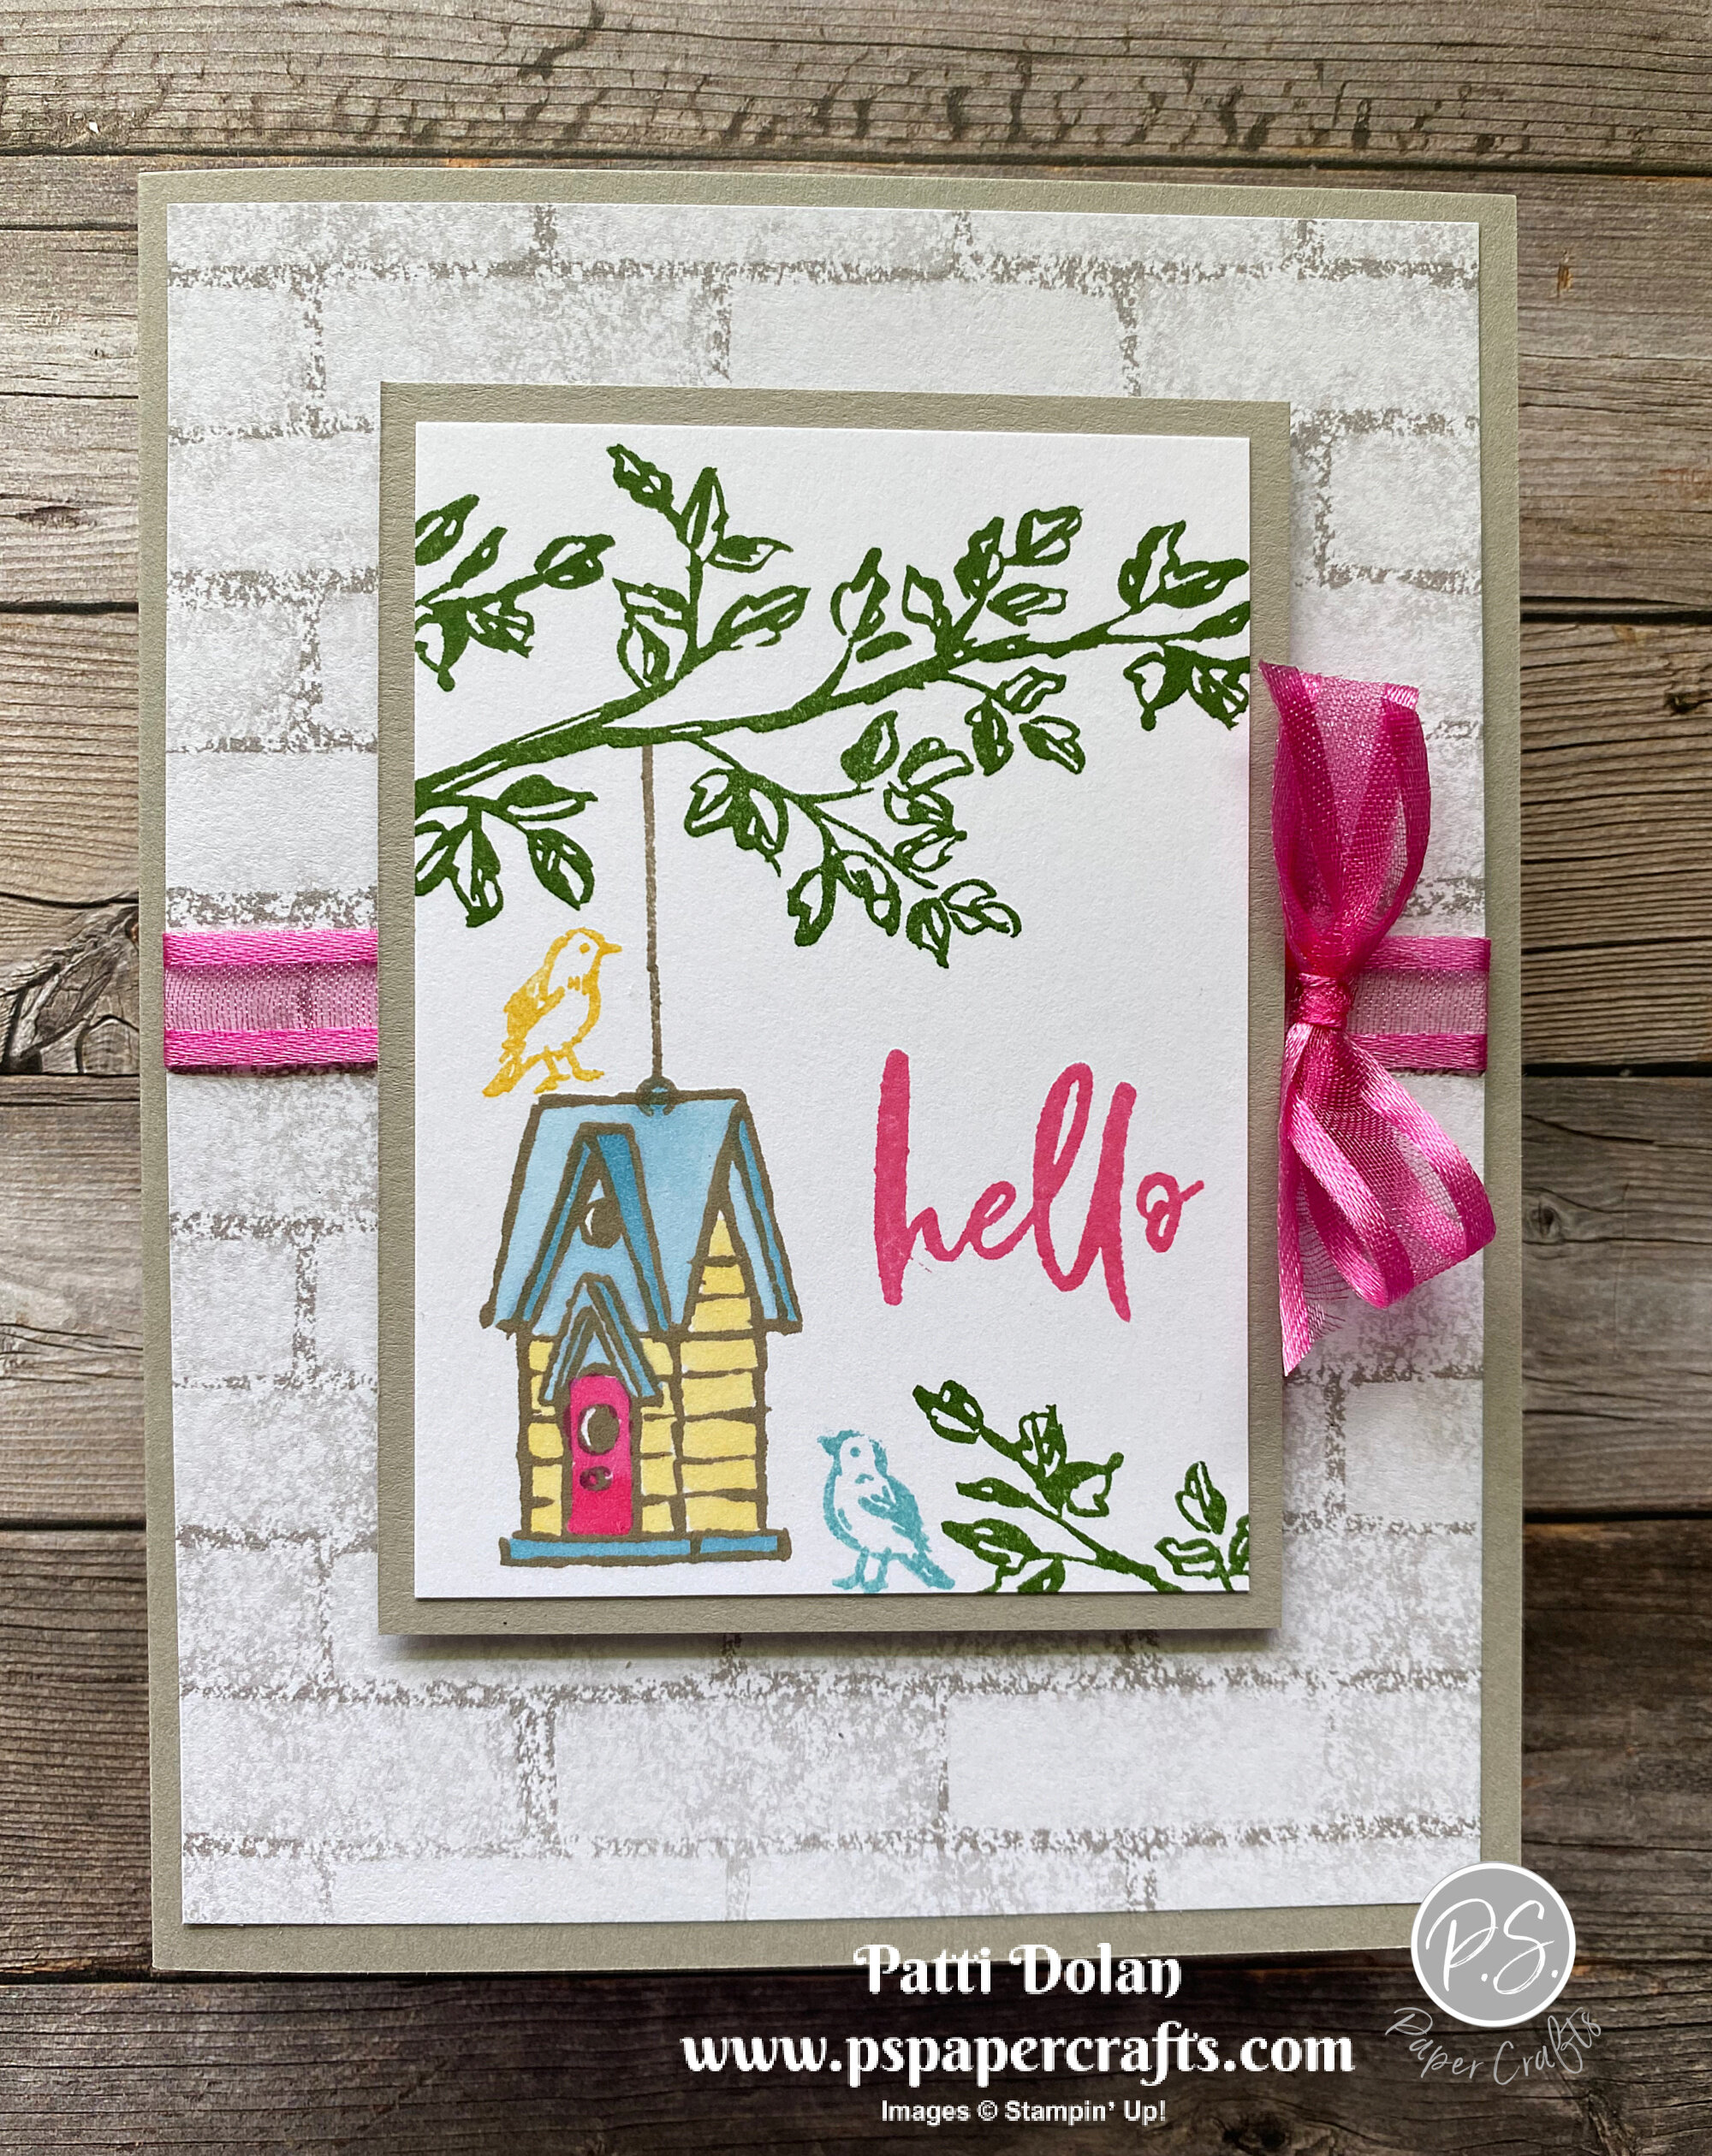
Isn’t this card sweet? I used the Garden Birdhouses Stamp Set to create it. I love birdhouses. I had them when I lived in NY and had birds feeding all the time. I miss them; I don’t seem to have the same kinds of birds here in Florida.

 
Sweet Garden Birdhouses Hello Card2.jpeg
 

You can create all kinds of bird feeders with this stamp set. You can have them hanging from a branch or sitting on a stand.

 
Sweet Garden Birdhouses Hello Card - Stamp.jpeg
 

The background layer is from the Bloom Where You’re Planted Designer Series Paper. There are lots of great patterns for backgrounds.

 
Screen Shot 2021-05-19 at 9.18.24 PM.png
 

Tips & Instructions

  • Gray Granite Card Base - 5 1/2 x 8 1/2, score at 4 1/4

  • Bloom Where You’re Planted Layer - 5 1/4 x 4, wrap piece of Polished Pink Ribbon around adhering it to the back and then adhere layer to card base.

  • Basic White Layer - 3 1/2 x 2 1/2. Stamp branches with Garden Green Ink. Stamp hanger and birdhouse with Gray Granite Ink. I made the hanger a little longer by stamping it twice masking the circle at the bottom on the first stamp.

  • Color the birdhouse with Stampin’ Blends. I used Balmy Blue, So Saffron and Dark Polished Pink.

  • Stamp the sentiment with Polished Pink and the birds with So Saffron and Balmy Blue Ink.

  • Adhere stamped layer to a piece of Gray Granite Cardstock cut at 3 3/4 x 2 3/4 and then adhere to card using Dimensionals.

  • Tie bow and adhere with Glue Dot.

 
Sweet Garden Birdhouses Hello Card1.jpeg
 

On the inside stamp pole and birdhouse with Gray Granite Ink. Color with Balmy Blue and So Saffron Stampin’ Blends. Stamp sentiment with Polished Pink Ink and add a couple of birds; one with So Saffron and one with Balmy Blue Inks.

 
Sweet Garden Birdhouses Hello Card inside.jpeg
 

Supply List

Woodsy Father's Day Card!

I Believe In You! That says it all. I made this card for my son for Father’s Day. He is an amazing Dad and I am so proud of him. He loves to hike so I wanted to make a card with nature!

 
Father's Day Card2.jpeg
 

I’ll show you how amazing the products from the Beauty Of The Earth Suite are. The Designer Series Paper is so pretty.


The trees in this stamp set are two-step stamping so you can stamp a light and dark color to give them some texture.

 
Father's Day Card stamp.jpeg
 

Tips & Instructions

  • Old Olive Card Base - 5 1/2 x 8 1/2, score at 4 1/4

  • Basic White Layer - 5 1/4 x 4, adhere to card base.

  • Beauty Of The Earth Designer Series Paper - 5 1/4 x 1 3/4, adhere to card.

  • Stamp 3 trees on Basic White with Early Espresso Ink and cut with coordinating Die.

  • Stamp 3 treetops with Old Olive Ink. Stamp the detailed image straight on and the background image by stamping off first and then stamp over the detailed image. Cut with coordinating die.

  • Adhere the trees to card. Adhere the treetops using Dimensionals.

  • Stamp sentiment on Basic White with Early Espresso Ink and cut with rectangle die. Adhere to card with Dimensionals.

  • Cut 2 birds from the blue sheet of the Designer Series Paper and adhere to card as shown.

 
Father's Day Card1.jpeg
 

On the inside, stamp tree by just inking the trunk with Early Espresso Ink. Stamp the tree top the same way you stamped the ones on the front. Stamp sentiment with Early Espresso Ink. The sentiment is from the Handsomely-Suited Stamp Set.

 
Father's Day inside.jpeg
 

Supply List

Register For My June Retreat!

My friend Vicki and I are holding a retreat that you can do in the comfort of your own home. We’re featuring Hand-Penned Bundle and Flowers of Friendship Bundle.

Here’s a sneak peek of the projects you’ll make.

 
Screen Shot 2021-05-19 at 8.11.54 AM.png
 

12 Projects - 6 Designs, 2 of each

Over $20 in Products

Giveaways

Video’s & PDFs

Exclusive Facebook Group

LOTS OF FUN!!!

Email patti@pspapercrafts.com to sign up!!!
Deadline June 7, 2021


Cost of Retreat: $35 local pickup or $42 if shipped

The kits include:

  • 12 Card Bases & Envelopes

  • Layers and Die Cuts

  • 1/2 pack of Hand-Penned Designer Series Paper (24 pieces 6x6)

  • 1/2 pack of White Crinkled Ribbon (5 yards)

  • 1/2 pack of Soft Succulent Ribbon (5 yards)

  • 1/2 pack of Genial Gems (50 pieces)

  • 1/2 pack of Black Matt Dots (80 pieces)

  • 16" Linen Thread

  • Multiple Prizes – given throughout the day

  • PDF complete with pictures, measurements and step-by-step instructions

  • Exclusive Facebook Group and access to videos demonstrating how to make each card

Note: You will require stamps, ink and adhesive to complete the cards. 


Choose your package - No Shipping or Taxes on add-ons

Payment due by June 7, 2021

  • Basic Card Kits - $35 local pickup or $42 if shipped
    (Includes 1 Entry for Giveaways)

  • Card Kits plus Hand-Penned Bundle - add $46.75
    (Includes 3 Entries for Giveaways)

 
Screen Shot 2021-05-15 at 8.45.03 PM.png
 
  • Card Kits plus Flowers Of Friendship Bundle - add $35.00
    (Includes 3 Entries for Giveaways)

 
Screen Shot 2021-05-15 at 8.48.42 PM.png
 
  • I Want It All Option for $116.75 Local Pickup or $123.75 if shipped

  • Card Kits

  • Hand-Penned Bundle

  • Flowers Of Friendship Bundle
    (Includes 5 Entries for Giveaways)


Email patti@pspapercrafts.com to sign up!!!

Deadline June 7, 2021

Peaceful Father's Day Card

This was a very easy card to make and I love how peaceful this beach scene is for a Father’s Day card.

 
Peaceful Father's Day Card2.jpeg
 

The background layer is from the Beauty Of The Earth Designer Series Paper. This blue pattern is perfect to use for a sky.

 
Screen Shot 2021-05-17 at 9.54.47 PM.png
 

I pulled out the Timeless Tropical Stamp Set for this card. It has great sentiments for masculine cards and I love these palm trees. You can use the coordinating In The Tropics Dies to cut the palm trees out or fussy cut them.

 
Screen Shot 2021-05-17 at 9.55.23 PM.png
 

Tips & Instructions

  • Night of Navy Card Base - 5 1/2 x 8 1/2, score at 4 1/4

  • Basic White Layer - 5 1/4 x 4, adhere to card base.

  • Beauty Of The Earth Designer Series Paper Layer - 5 x 3 3/4, adhere to card.

  • Sahara Sand Strip 5 x 1 1/2. Rub Sahara Sand Ink lightly over the Tasteful Textile 3D Embossing Folder before embossing the strip. Tear the strip to get a rough top edge.

  • Color palm tree stamp with Stampin’ Write Markers (NOT Stampin’ Blends). I used Soft Suede on the trunks and Pear Pizzazz on the leaves. Breathe on the stamp to moisten and stamp on Basic White Cardstock. Cut with coordinating die.

  • Lay out the embossed piece and palm trees and adhere. I have the palm trees just a little bit behind the embossed piece.

  • Stamp sentiment with Night of Navy Ink on Basic White Cardstock and cut with Tasteful Labels Die. Adhere to card using Dimensionals.

  • Add a Night of Navy Holiday Rhinestone to the label.

 
Peaceful Father's Day Card1.jpeg
 

On the inside stamp sentiment from the Handsomely Suited Stamp Set. I didn’t want the word “Handsome” so I covered the bottom of the stamp with a Post-It Note when I inked it and then removed it before I stamped it.

Color the palm trees stamp with Stampin’ Write Markers and stamp like you did on the card front.

 
Peaceful Father's Day Card inside.jpeg
 

Supply List

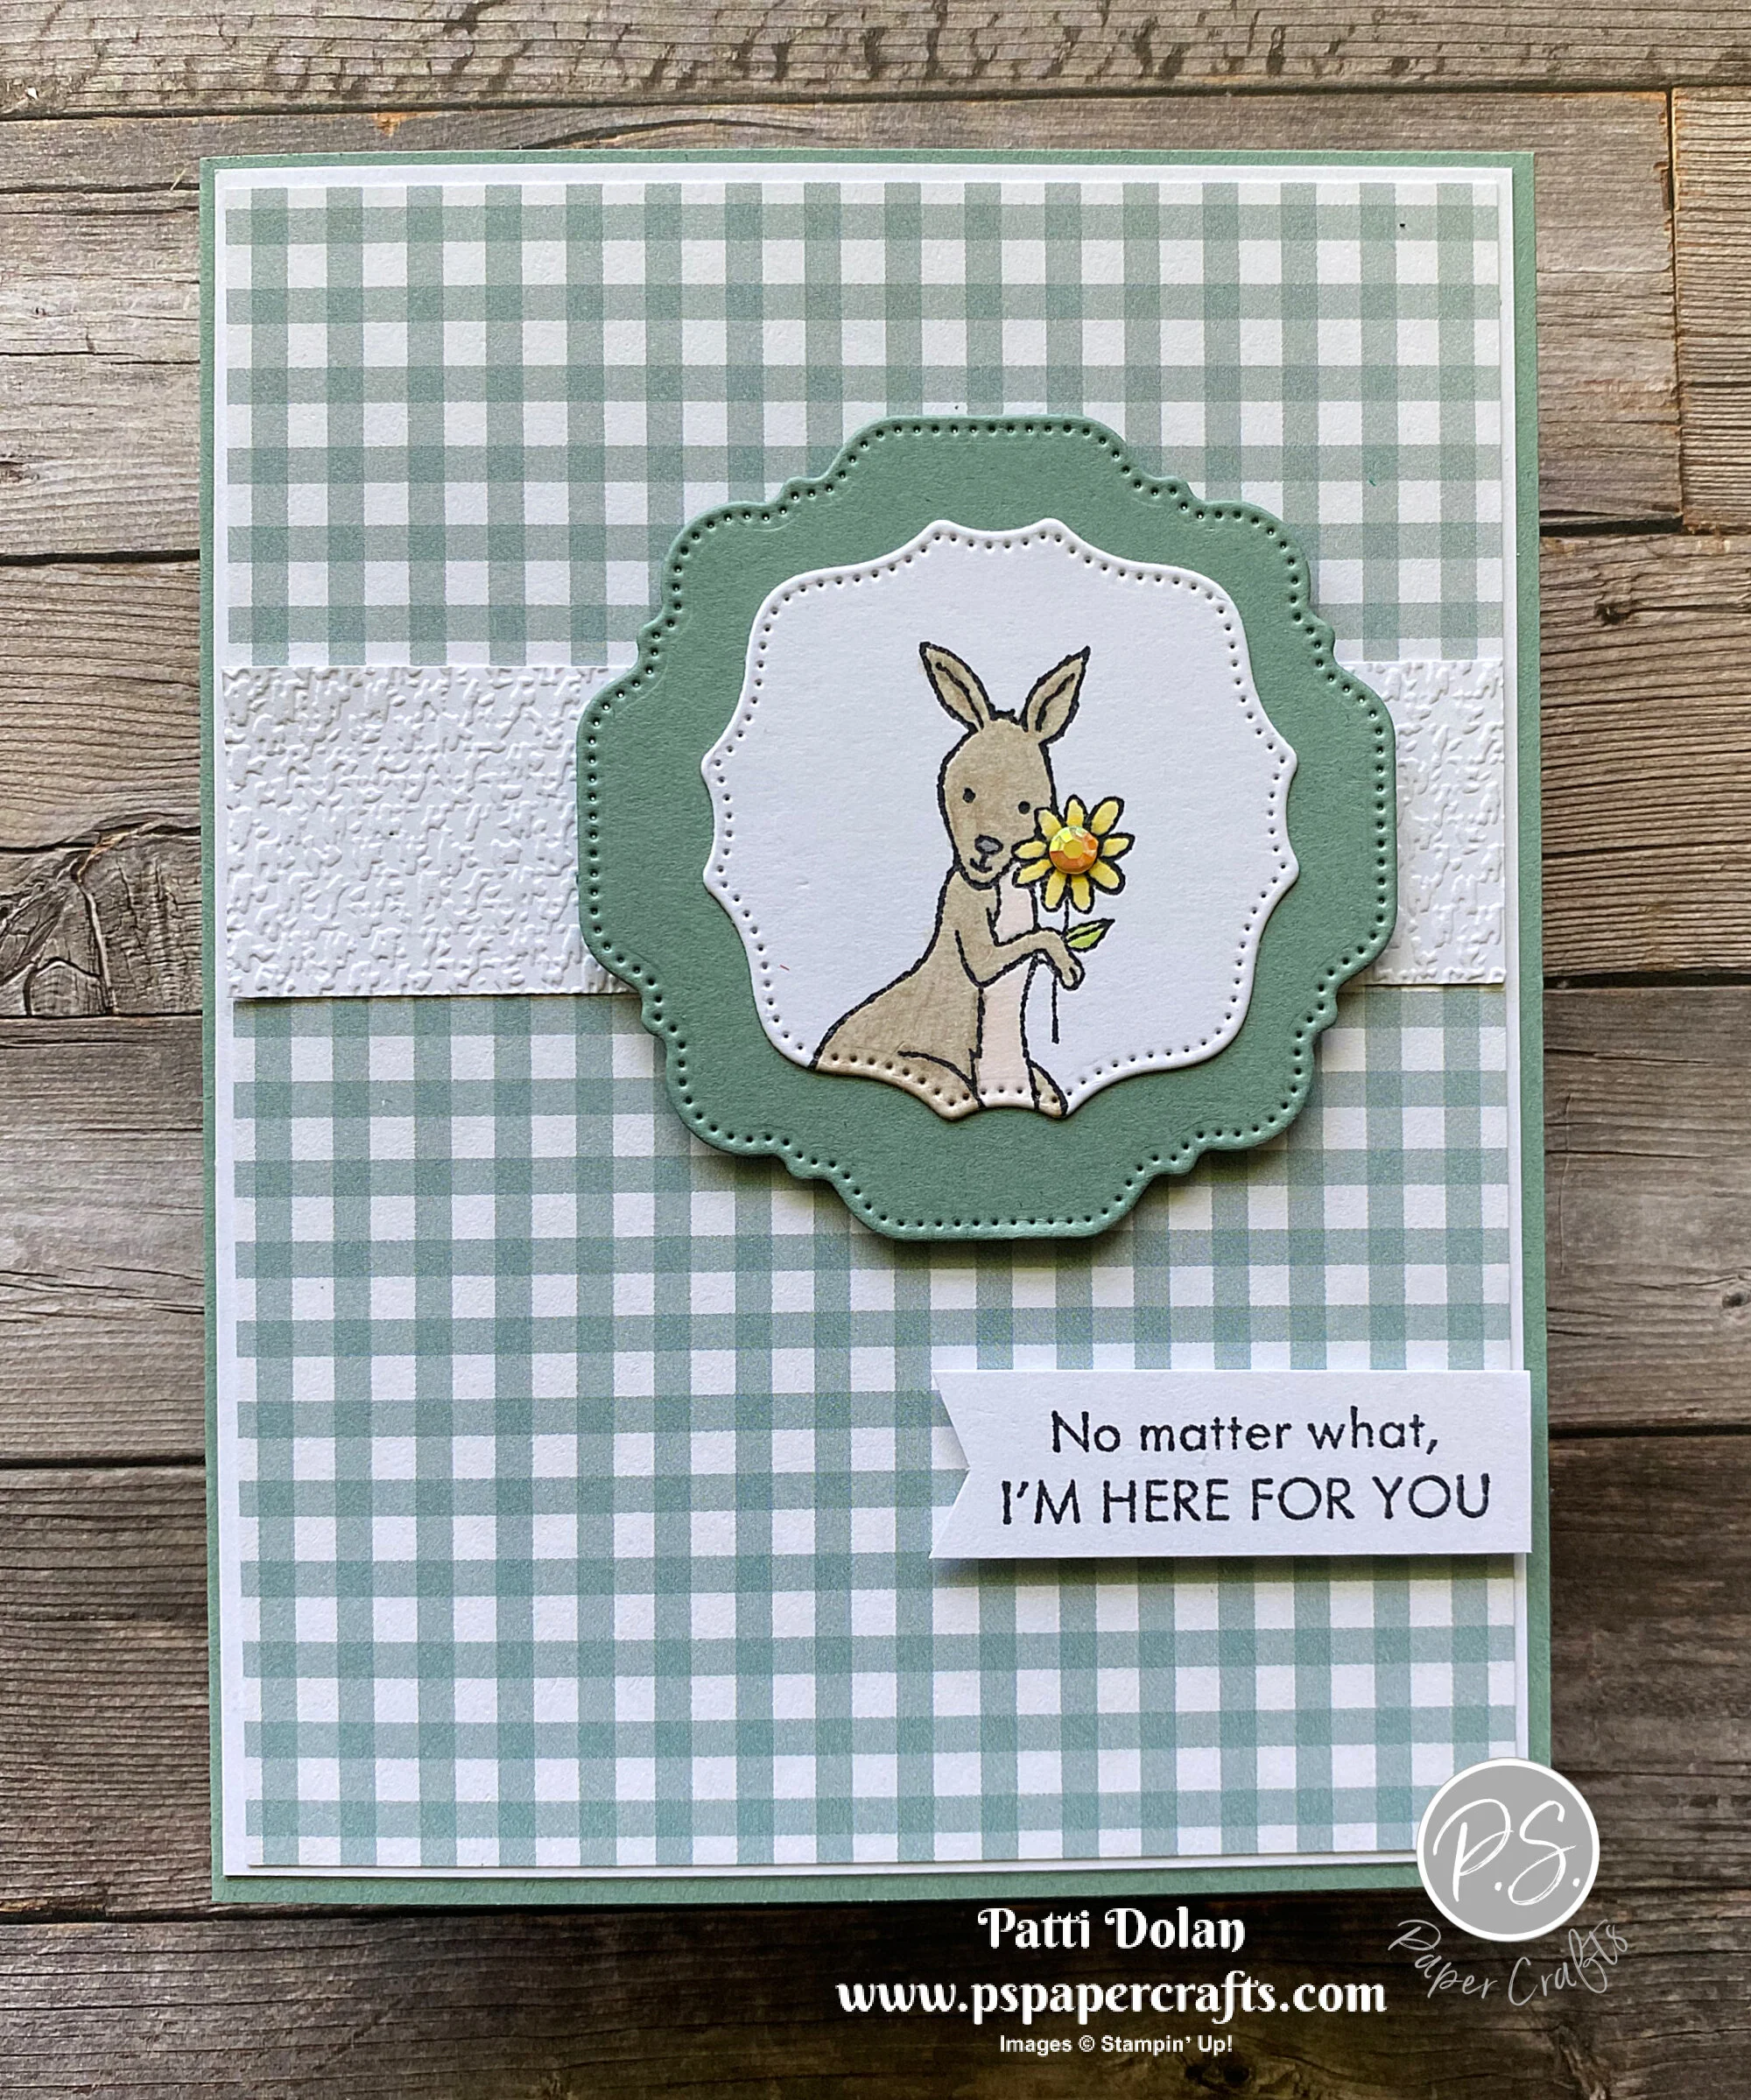
Sketch Saturday - Count On Me

I think this card is so cute! I made it for this week’s sketch challenge using the Count On Me Stamp Set and Pansy Petals Designer Series Paper.

 
Sketch Saturday - Count On Me.jpeg
 

This is the sketch I used from the weekly Atlantic Hearts Sketch Challenge. I love doing their sketch challenges!

 
Screen Shot 2021-05-14 at 5.22.58 PM.png
 

These sweet images are adorable. The kangaroo reminds me of the one from Winnie The Pooh!

 
Sketch Saturday - Count On Me stamp.jpeg
 

Tips & Instructions

  • Soft Succulent Card Base - 5 1/2 x 8 1/2, score at 4 1/4

  • Basic White Layer - 5 3/8 x 4 1/8, adhere to card base.

  • Pansy Petals Designer Series Paper - 5 1/4 x 4, adhere to card

  • Basic White Strip - 4 x 3/4, emboss with Tasteful Textile 3D Embossing Folder and adhere to card.

  • Stamp kangaroo with Black Memento Ink on Basic White. Color with Stampin’ Blends. I used Crumb Cake, Petal Pink, Smoky Slate and Daffodil Delight. Cut with the smallest Hippo & Friends Die.

  • Cut Soft Succulent Cardstock using the second largest stitched die from the Hippo & Friends Dies. Adhere behind the stamped piece and adhere to card using Dimensionals.

  • Stamp sentiment on 5/8 strip of Basic White with Black Memento Ink and punch one end with the Banners Pick A Punch. Adhere to card with Dimensionals.

  • Add a jewel to the center of the flower.

 
Sketch Saturday - Count On Me2.jpeg
 

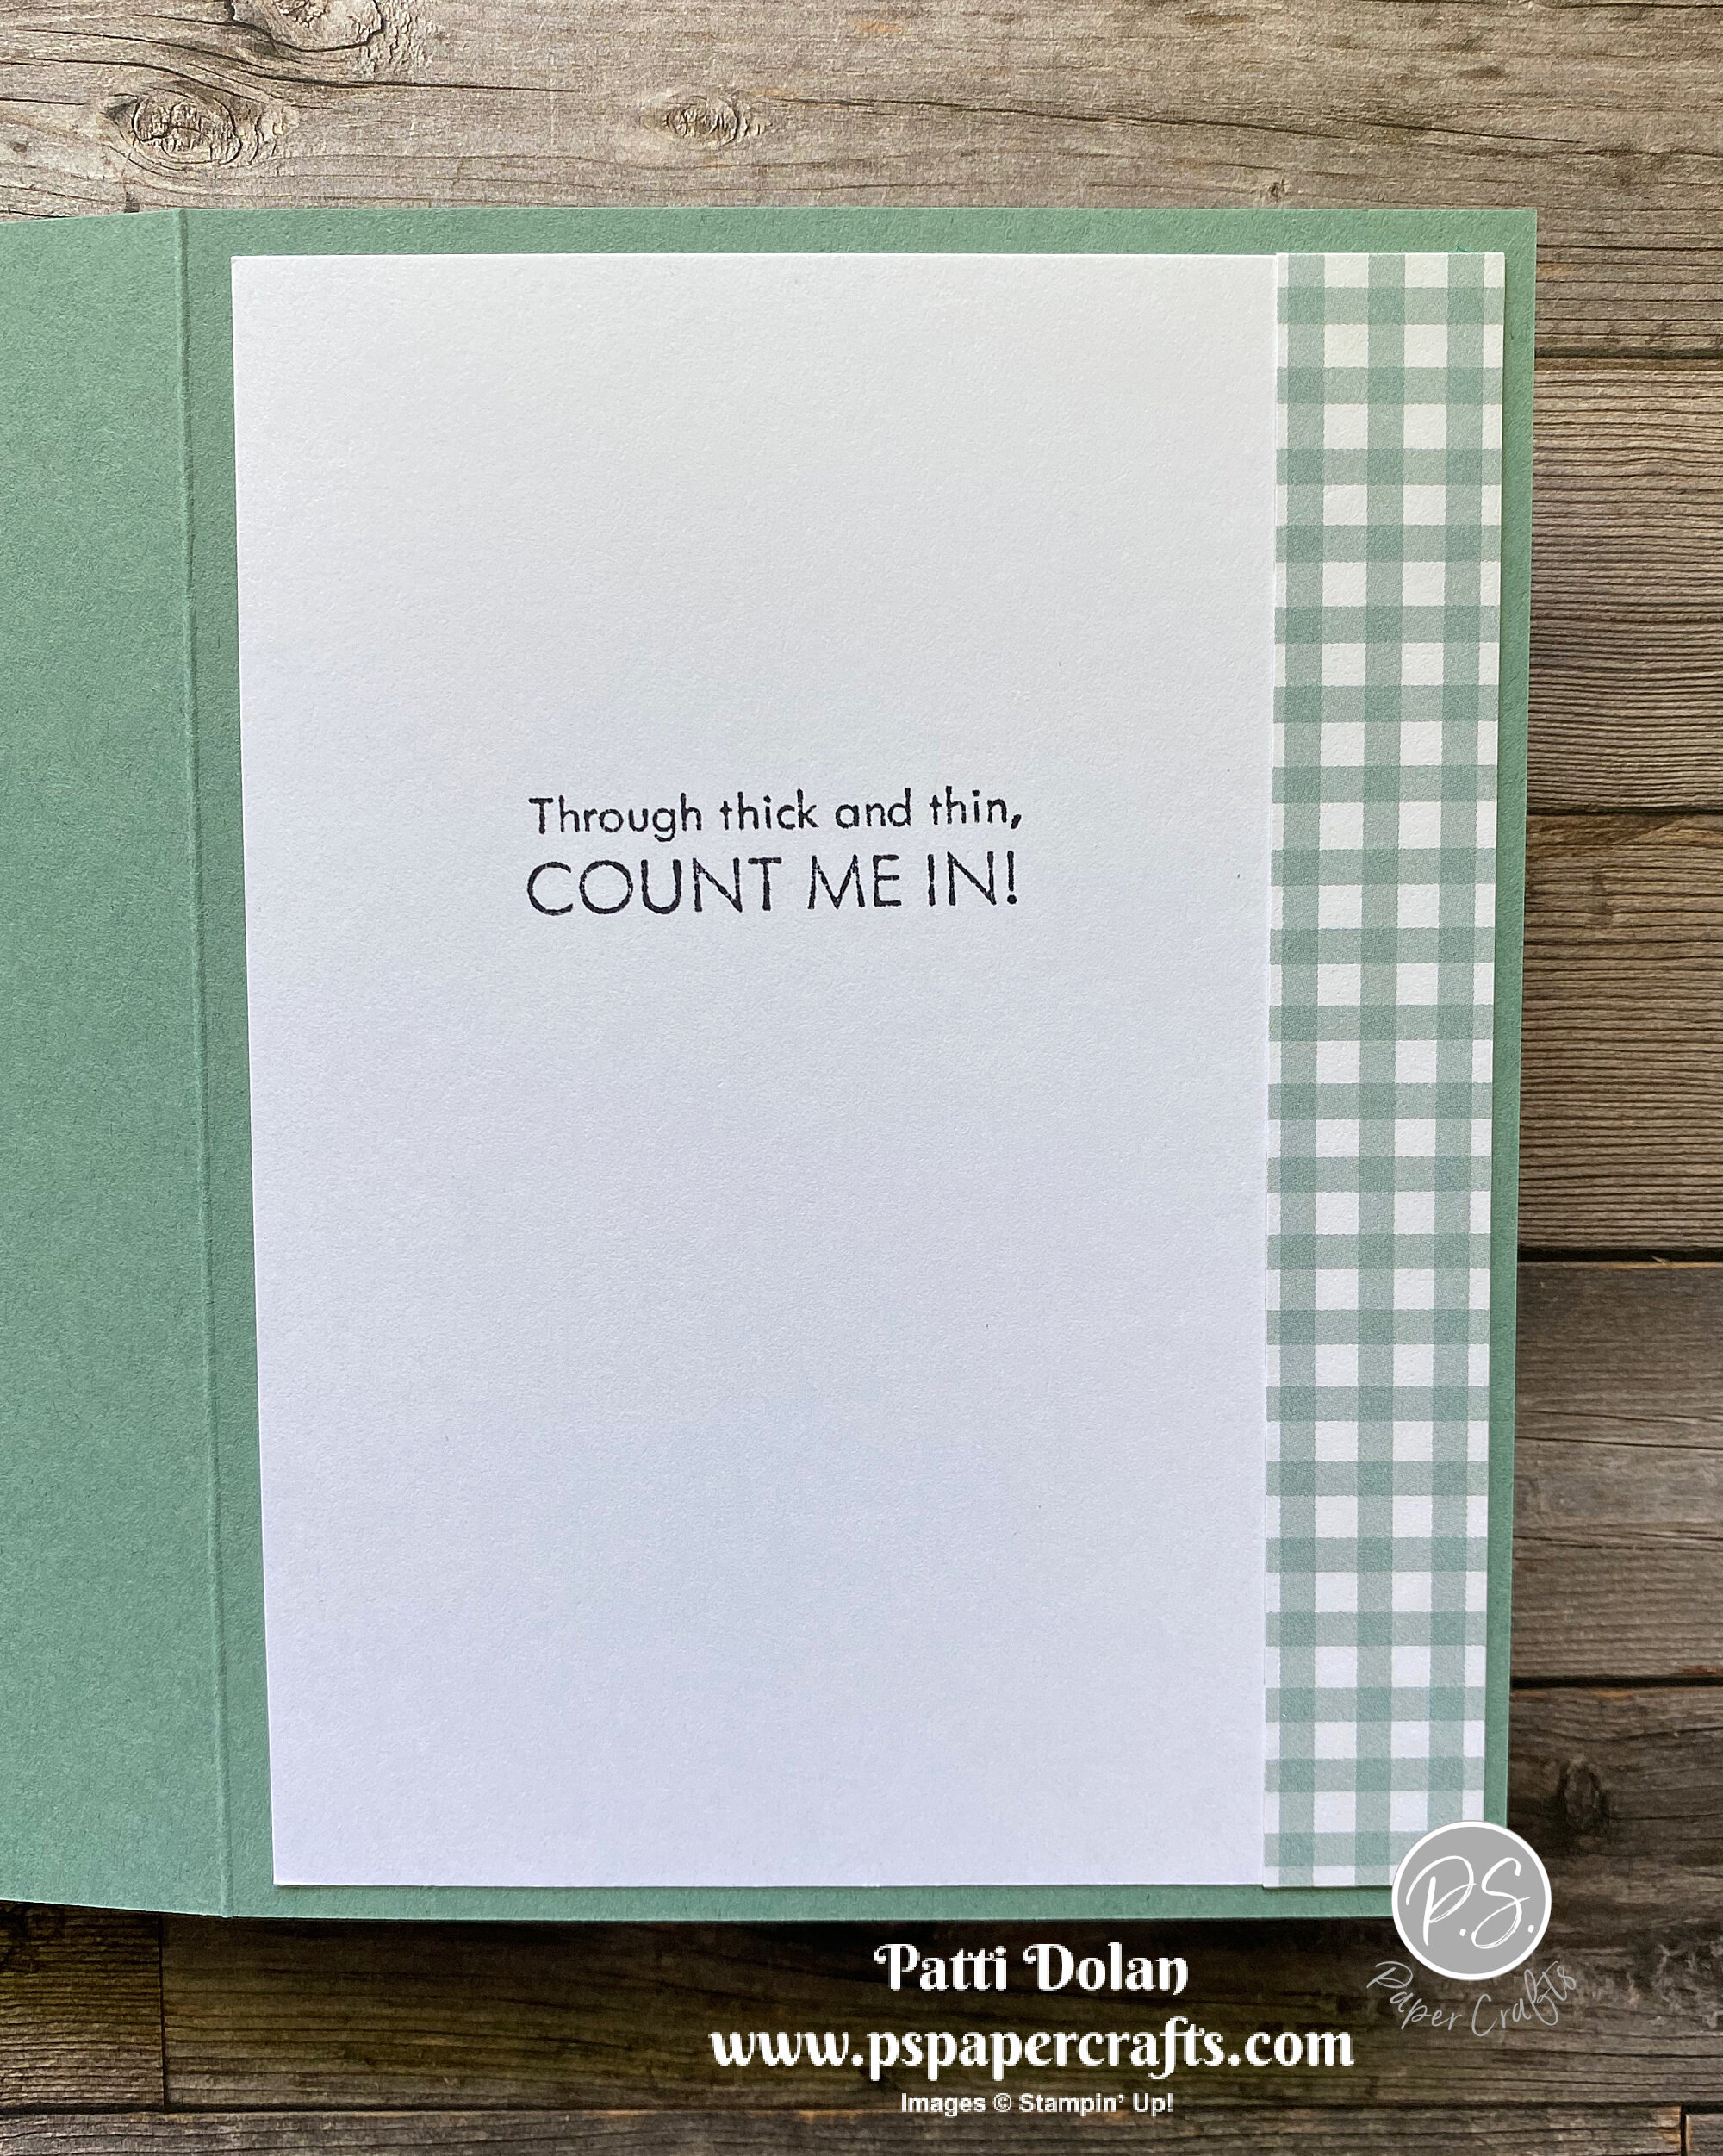
On the inside stamp sentiment with Black Memento Ink. Adhere 5 1/4 x 3/4 strip of the Designer Series Paper.

 
Sketch Saturday - Count On Me inside.jpeg
 

Supply List

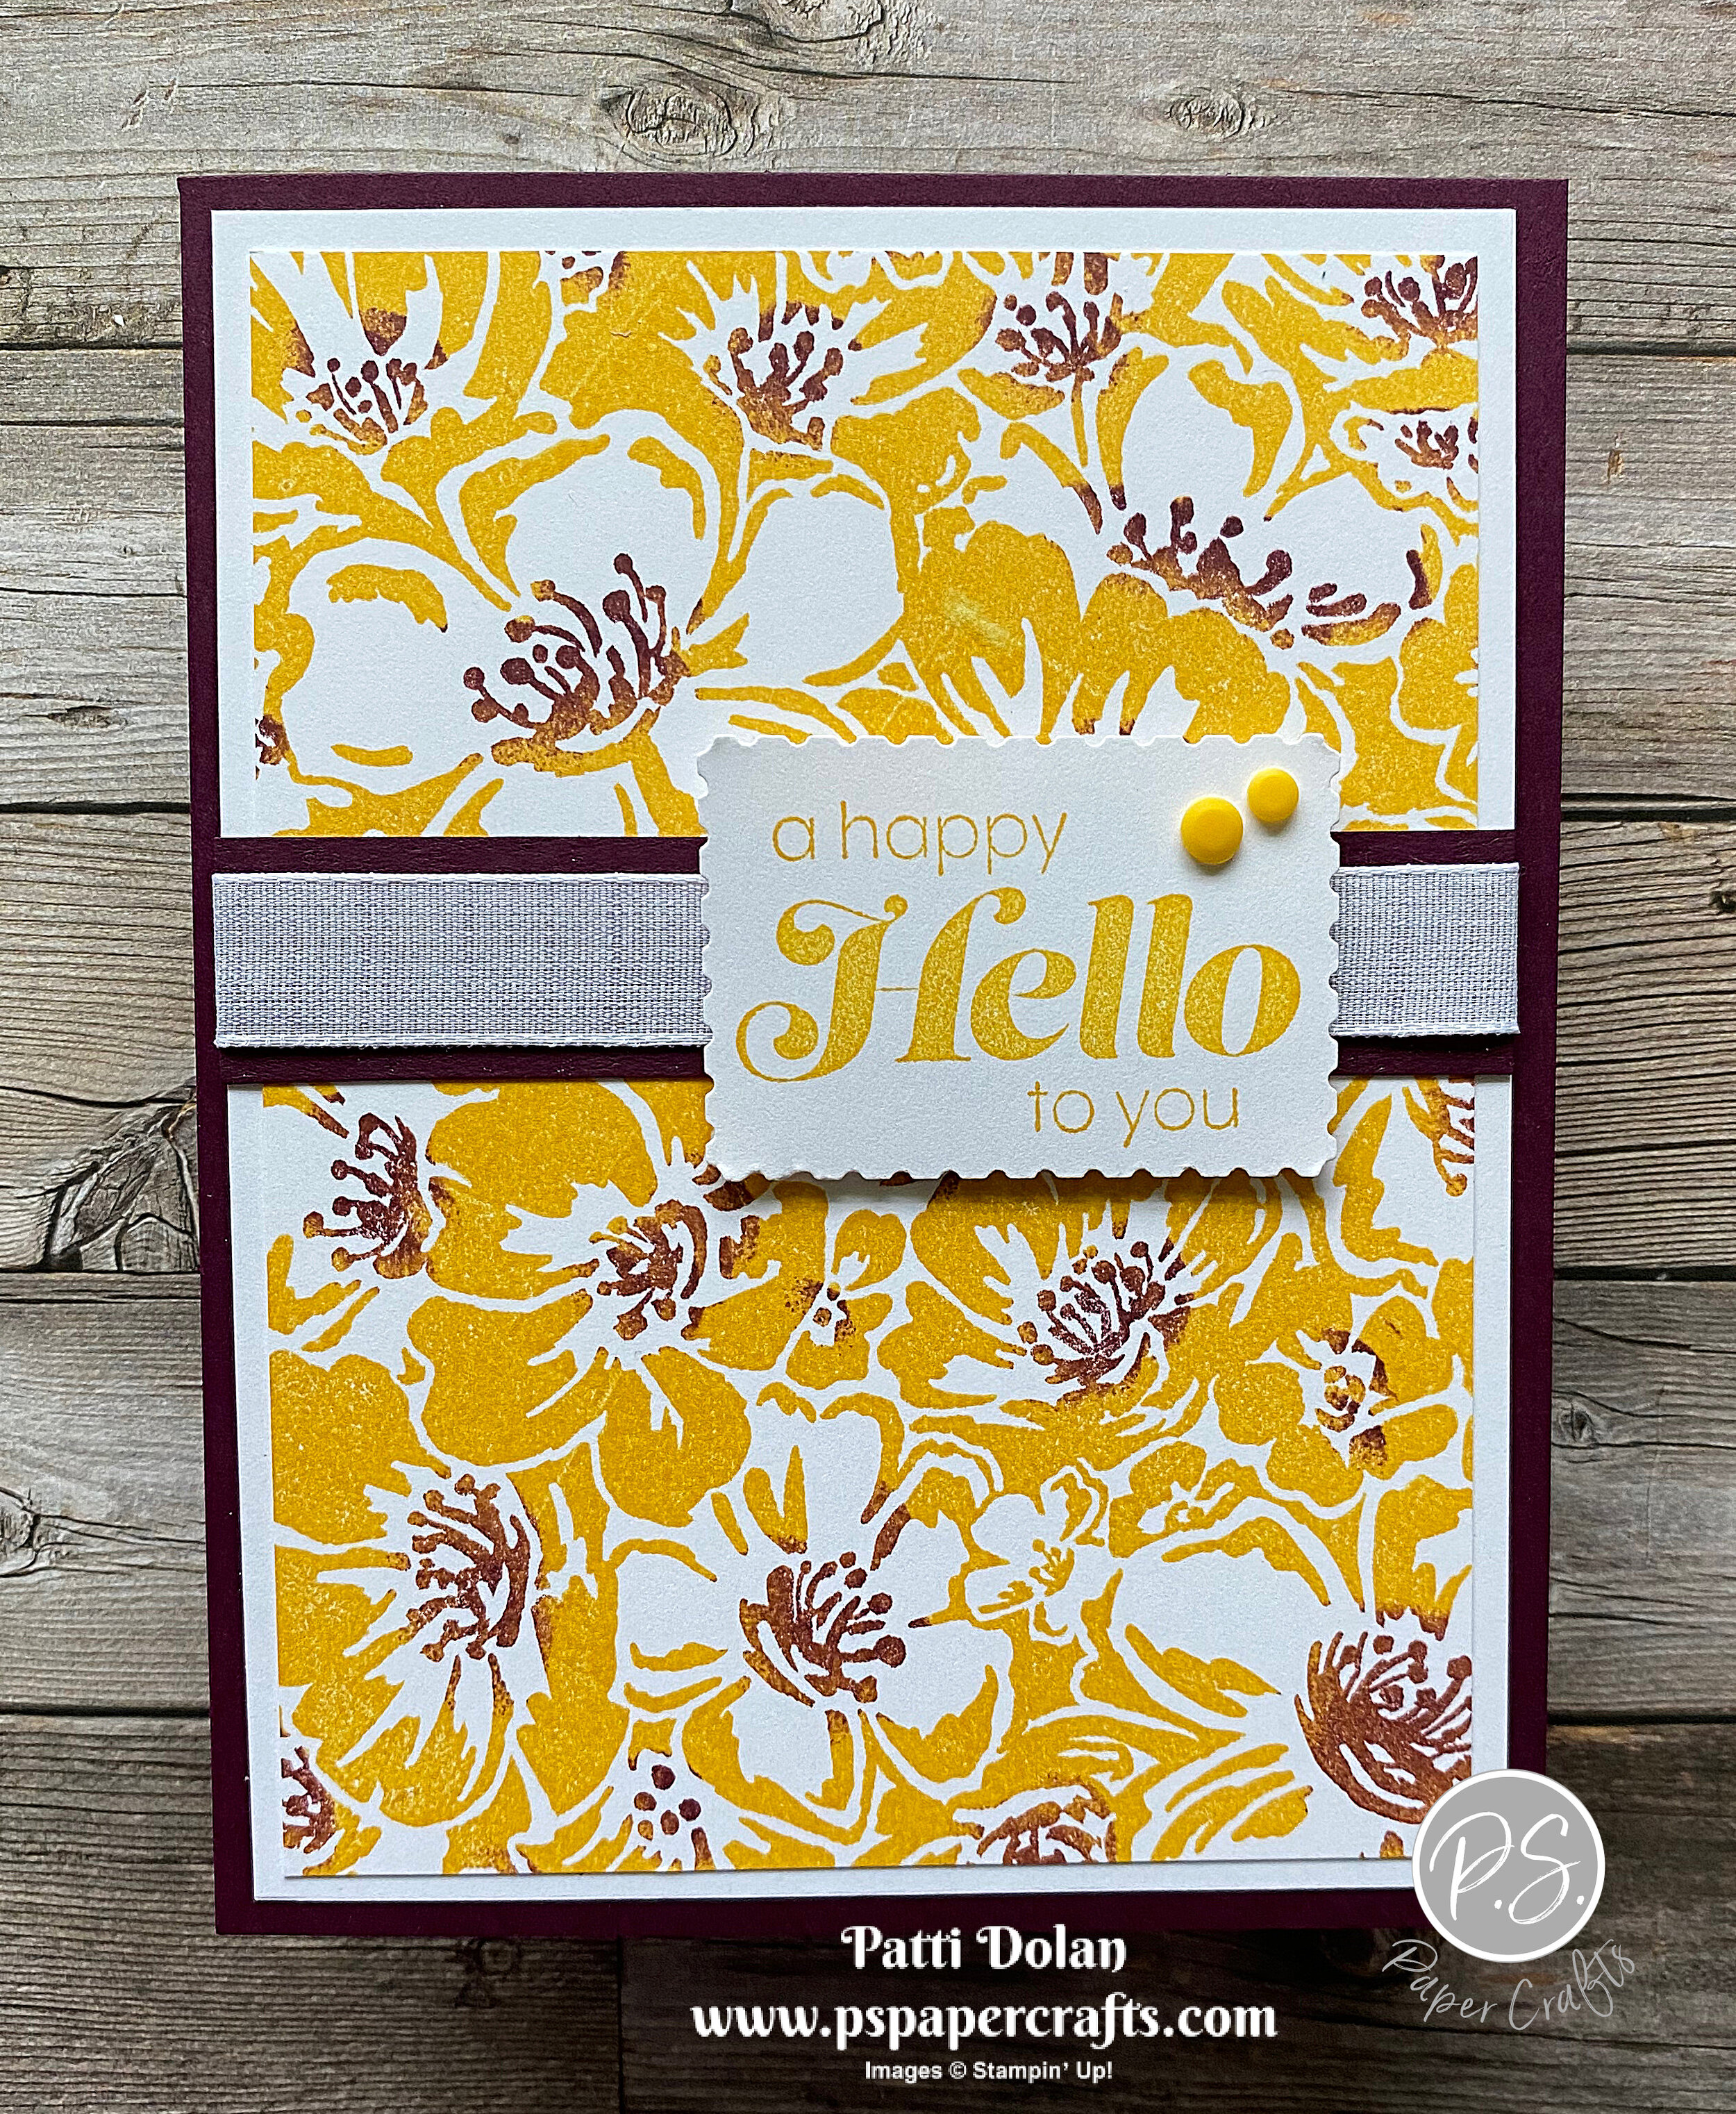
Fun Technique With The Wild Roses Stamp

I’ve been using background stamps lately and wanted to play with the Wild Roses Stamp. It creates such a beautiful background. The sentiment is from the Sunny Sentiments Stamp Set. These sentiments just make me happy!!!

 
Sunny Sentiments Hello Card stamp.jpeg
 

In the video I’ll show you how to ink up the stamp and then used a Sponge Dauber to color the centers of the flowers. I used the Stamparatus because the stamp is so large.


Tips & Procedures

  • Mango Melody Card Base - 5 1/2 x 8 1/2, score at 4 1/4

  • Basic White Layer - 5 1/4 x 4,

  • Basic White Layer to be stamped - 5 x 3 3/4

  • Ink up the entire stamp. I used the Stamparatus to make it easy to manage. Using a Sponge Dauber to add Melon Mambo Ink to the centers of each flower.

  • Stamp on the 5 x 3 3/4 layer and adhere to white layer.

  • Melon Mambo Strip - 4 x 3/4, adhere to layers.

  • Wrap White Ribbon around layers and strip and adhere to back. Adhere layers to card base.

  • Stamp sentiment on scrap of Basic White with Mango Melody Ink and punch with the Rectangular Postage Stamp. Adhere over ribbon using Dimensionals.

  • Add two Playing with Patterns Resin Dots.

 
Sunny Sentiments Hello Card1.jpeg
 

Follow the same steps using Blackberry Bliss Cardstock and Daffodil Delight and Blackberry Bliss Ink.

 
Sunny Sentiments Hello Card2.jpeg
 

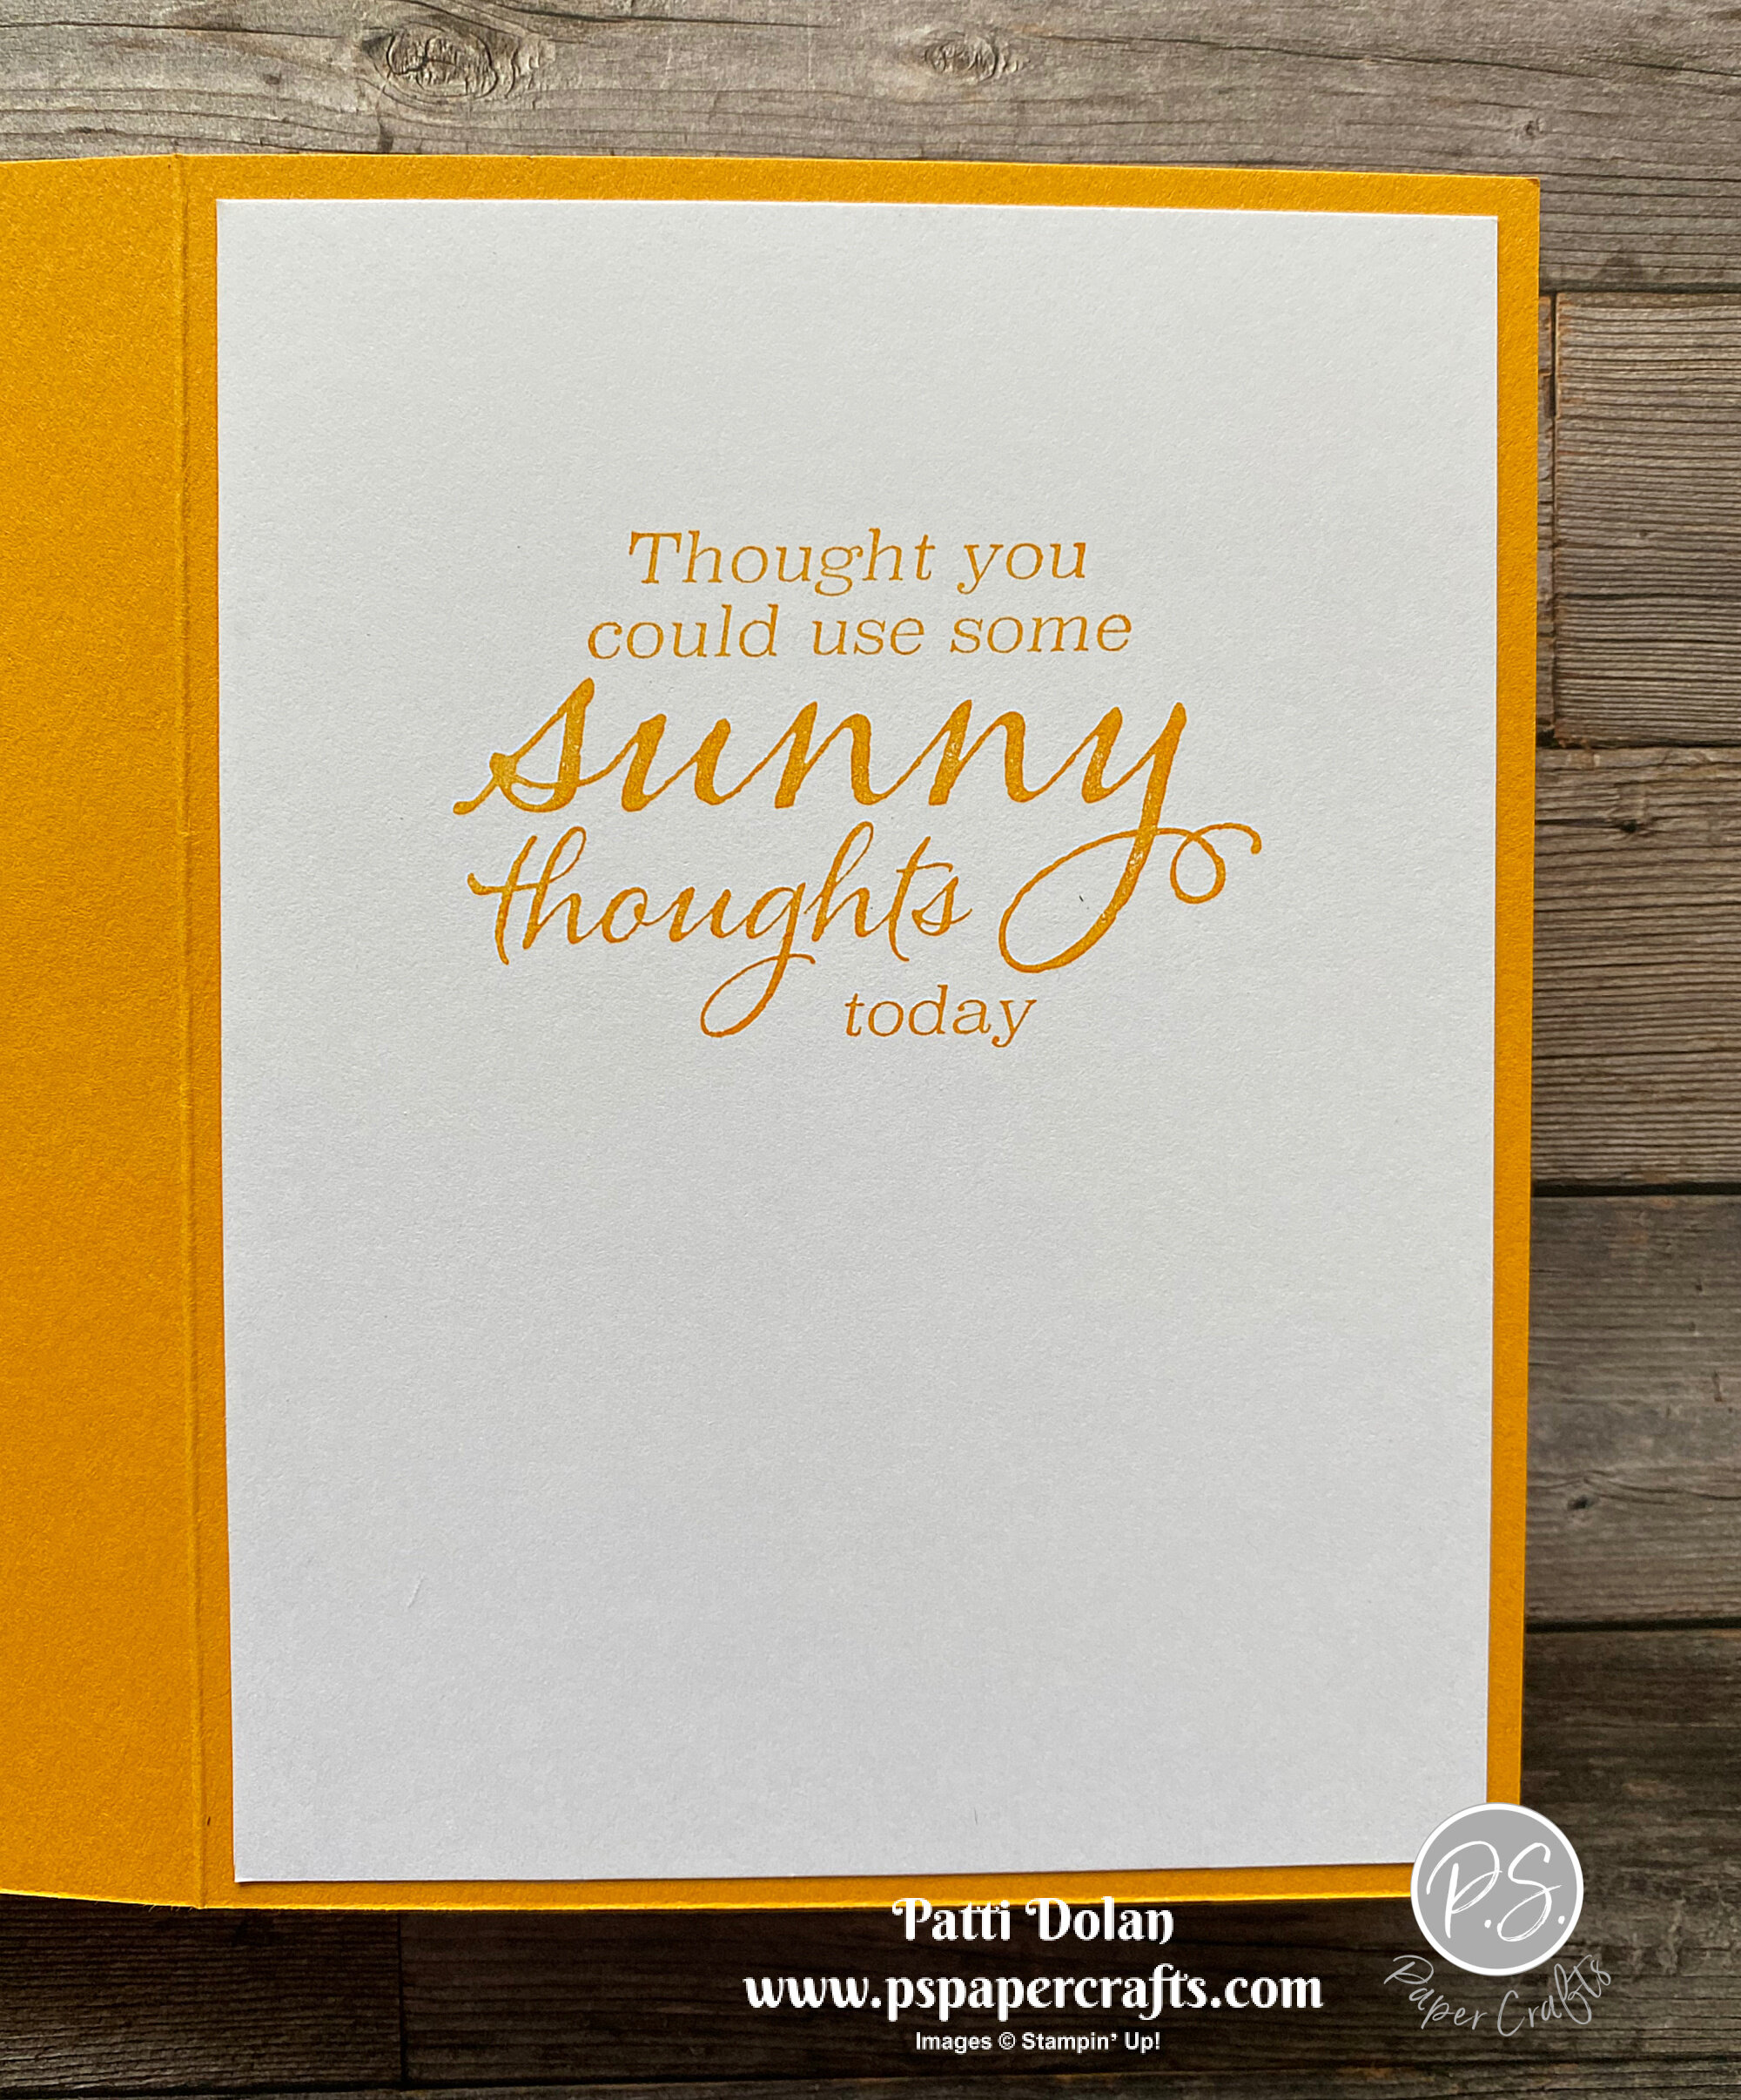
On the inside stamp sentiment with coordinating ink.

 
Sunny Sentiments Hello inside.jpeg
 

Supply List

Daisy Garden Sympathy Card

Don’t you just love background stamps. I used the new Daisy Garden Stamp for this card. I embossed it with White Embossing Powder and then colored with Watercolor Pencils to give it a soft look.

 
Daisy Garden Sympathy Card2.jpeg
 

The Daisy Garden Stamp will cover your entire card front. I used my Stamparatus so I could stamp it twice with Versamark to be sure I had good coverage.

 
Daisy Garden Sympathy Card stamp.jpeg
 

Once I heat embossed it, I colored the leaves and flower centers with Watercolor Pencils and then used a Blender Pen to soften it up.

 
Daisy Garden Sympathy Card pencils.jpeg
 

Tips & Instructions

  • Old Olive Card Base - 5 1/2 x 8 1/2, score at 4 1/4

  • Crumb Cake Layer - 5 3/8 x 4 1/8, stamp the daisy image with Versamark Ink. This is where the Stamparatus came in handy. I was able to stamp the image twice to get good coverage and it is also helpful to manage such a large stamp.

  • Pour White Embossing Powder over the image, shake off the excess and heat with your Heat Tool.

  • Color the flower centers with a Early Espresso and the leaves with Old Olive Watercolor Pencils. Blend with a Blender Pen.

  • Wrap Linen Thread around the layer 3 times and adhere to the back. Adhere layer to card base.

  • Stamp sentiment (from Inspired Thoughts) on Basic White scrap with Old Olive Ink and punch with the Label Me Fancy Punch. Adhere to card using Dimensionals.

  • Tie bow with Linen Thread and adhere with Glue Dot.

 
Daisy Garden Sympathy Card1.jpeg
 

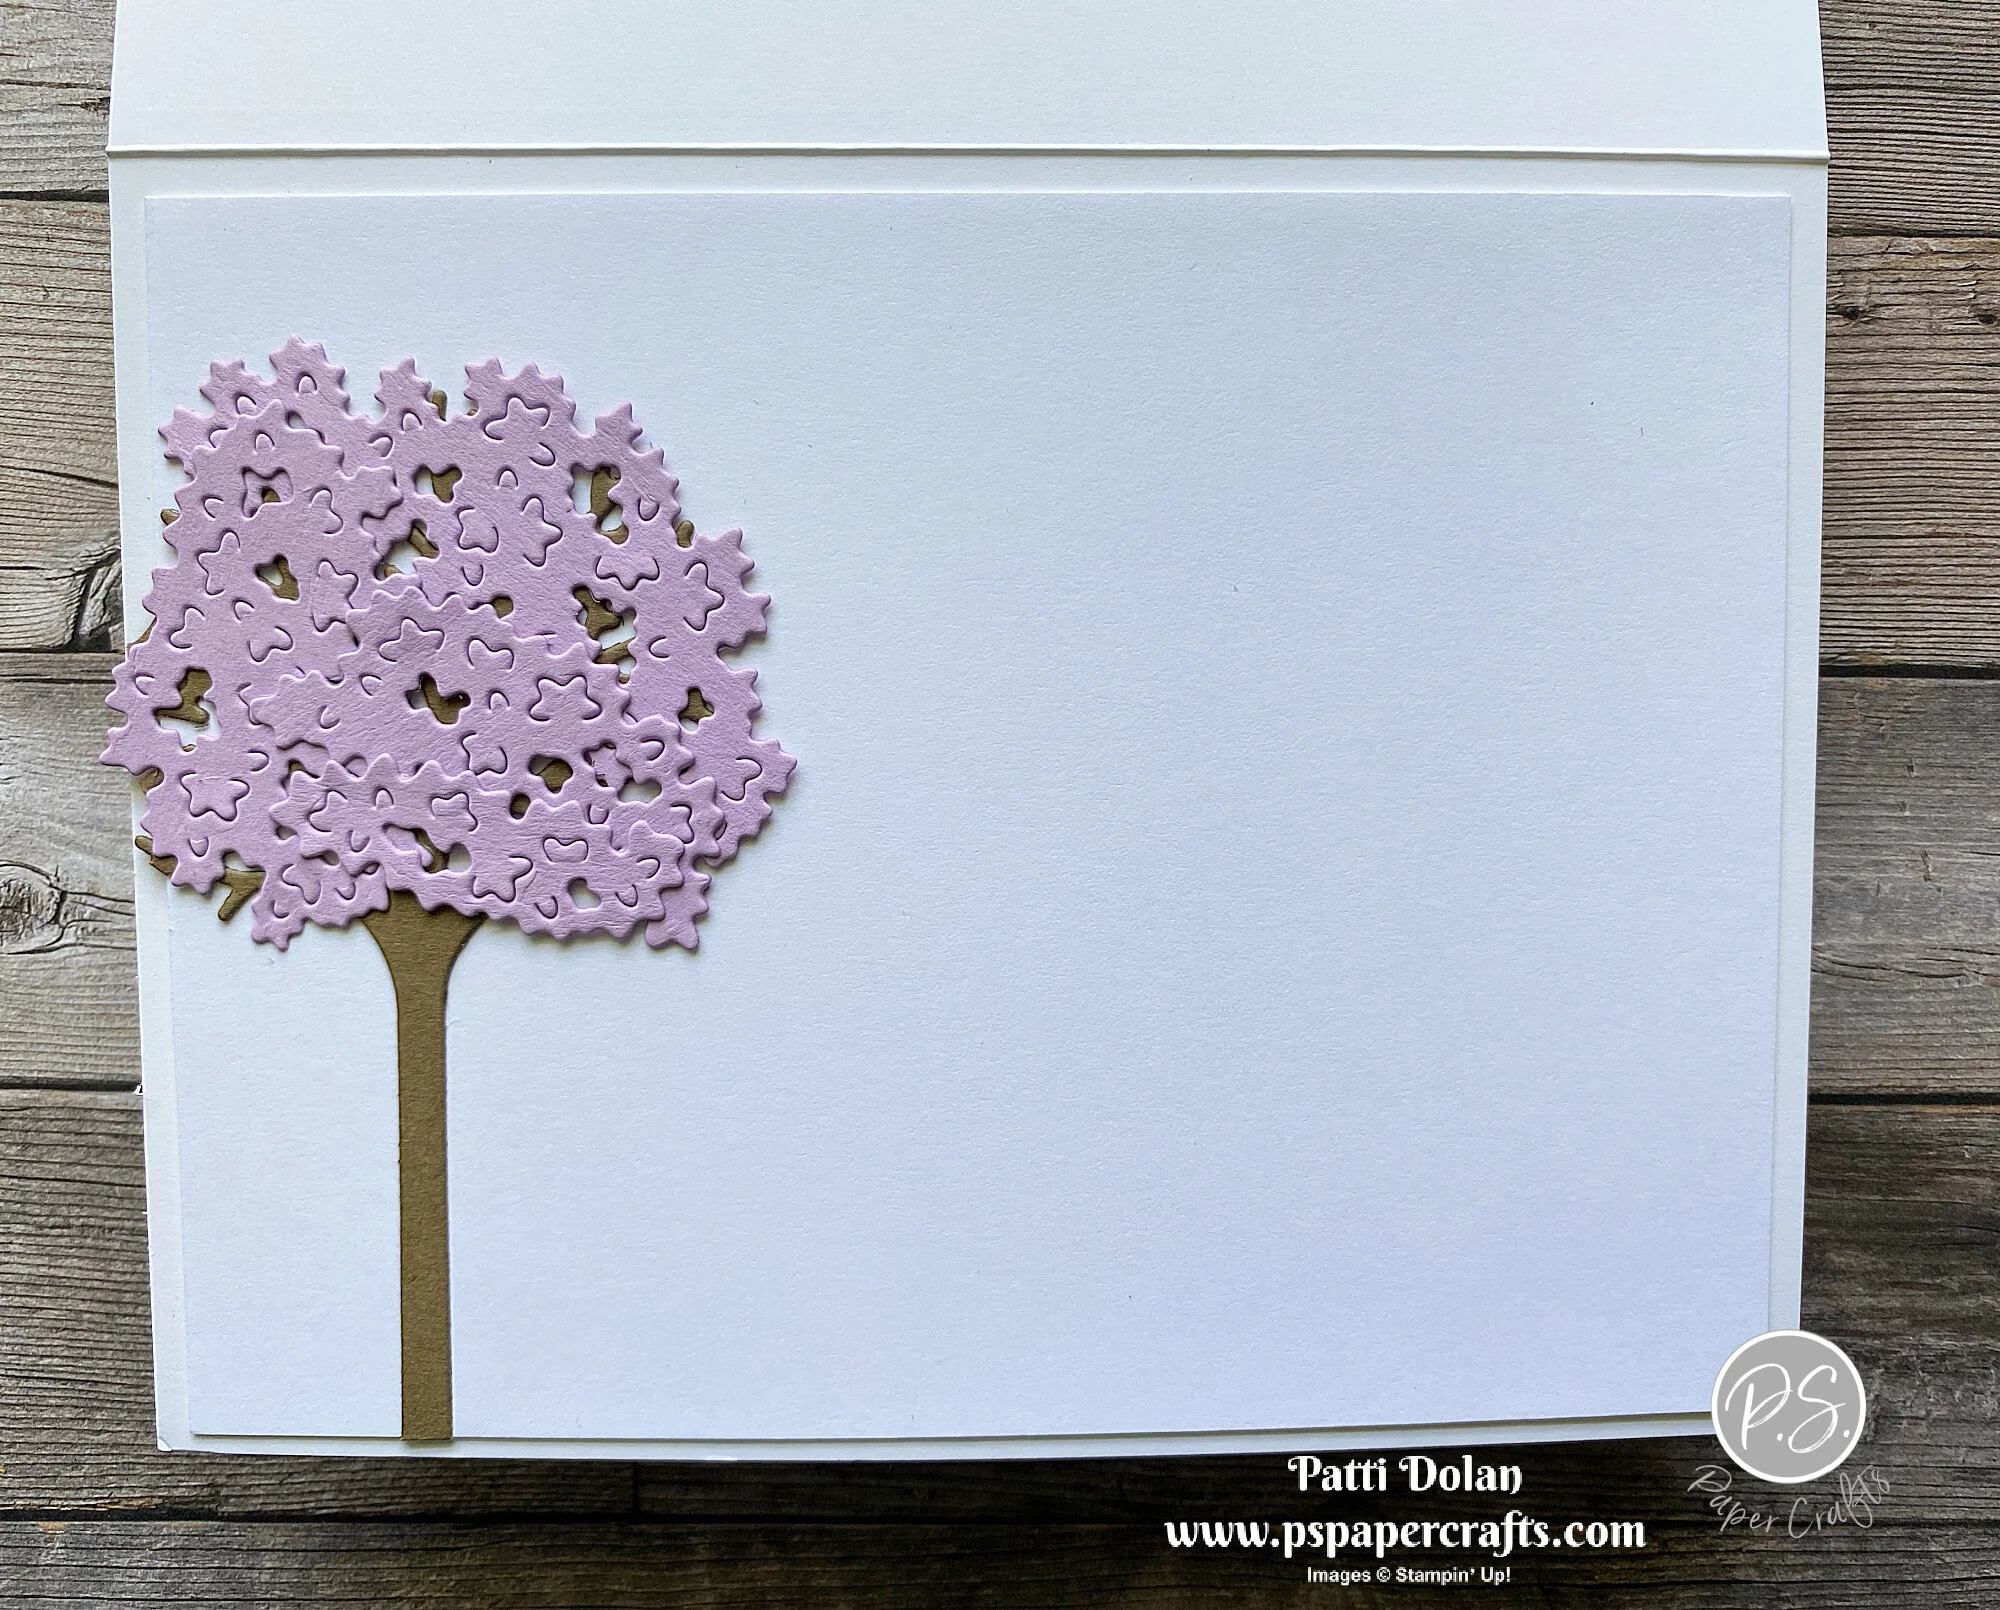
On the inside stamp portion of the daisy with Old Olive Ink and color with Watercolor Pencils. I used Early Espresso for the flower centers, Daffodil Delight for the flowers and Old Olive for the leaves and stems. Blend with a Blender Pen making sure you clean it often when coloring the yellow because it will pick up the green from the stamped image. Stamp the sentiment with Old Olive Ink.

 
Daisy Garden Sympathy Card inside.jpeg
 

Supply List

Pretty Sending Hugs Cards

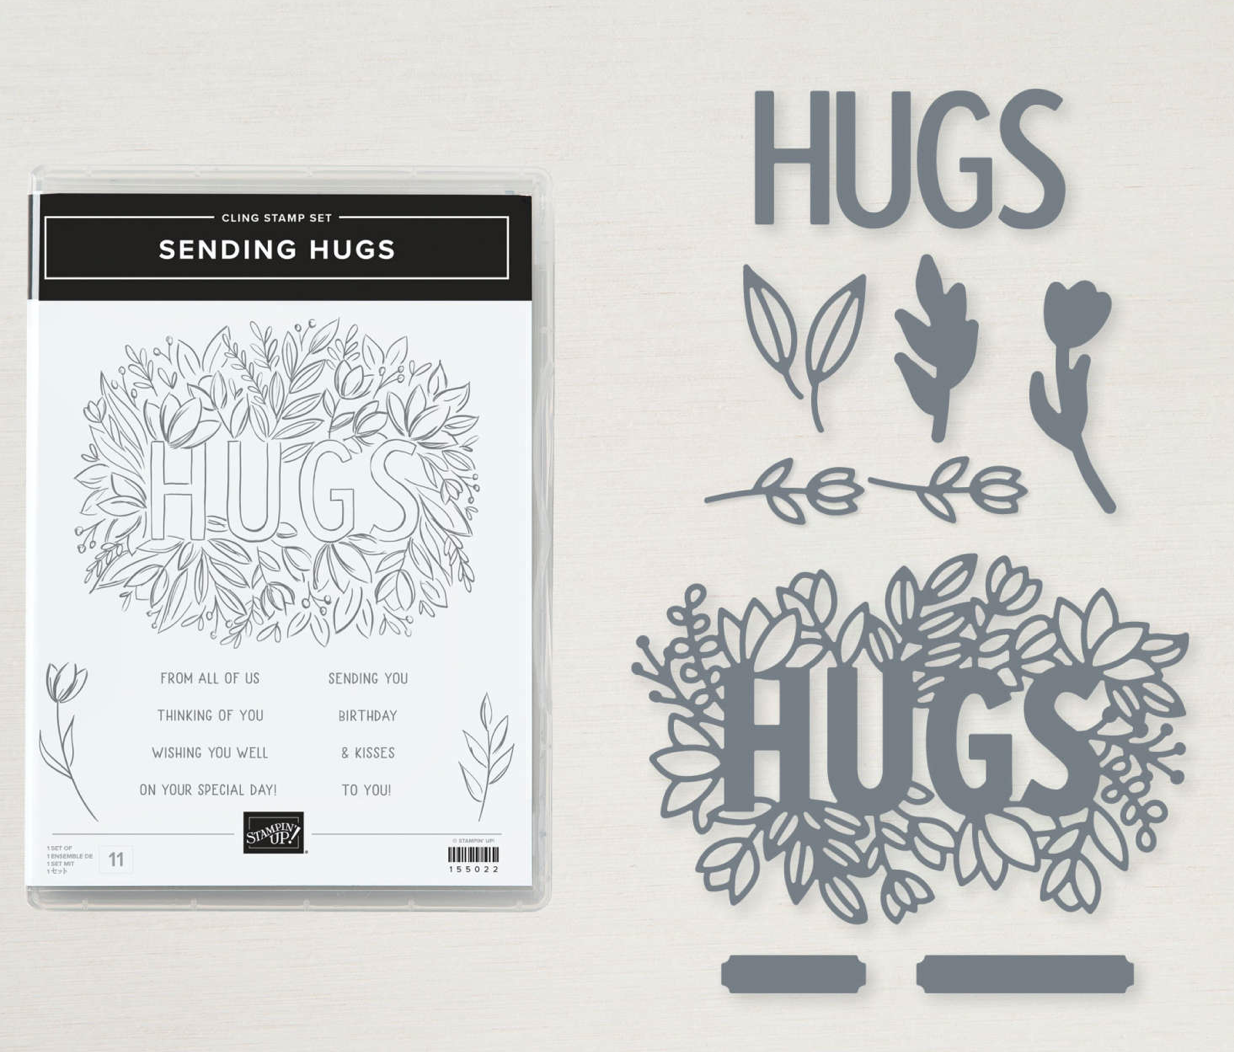
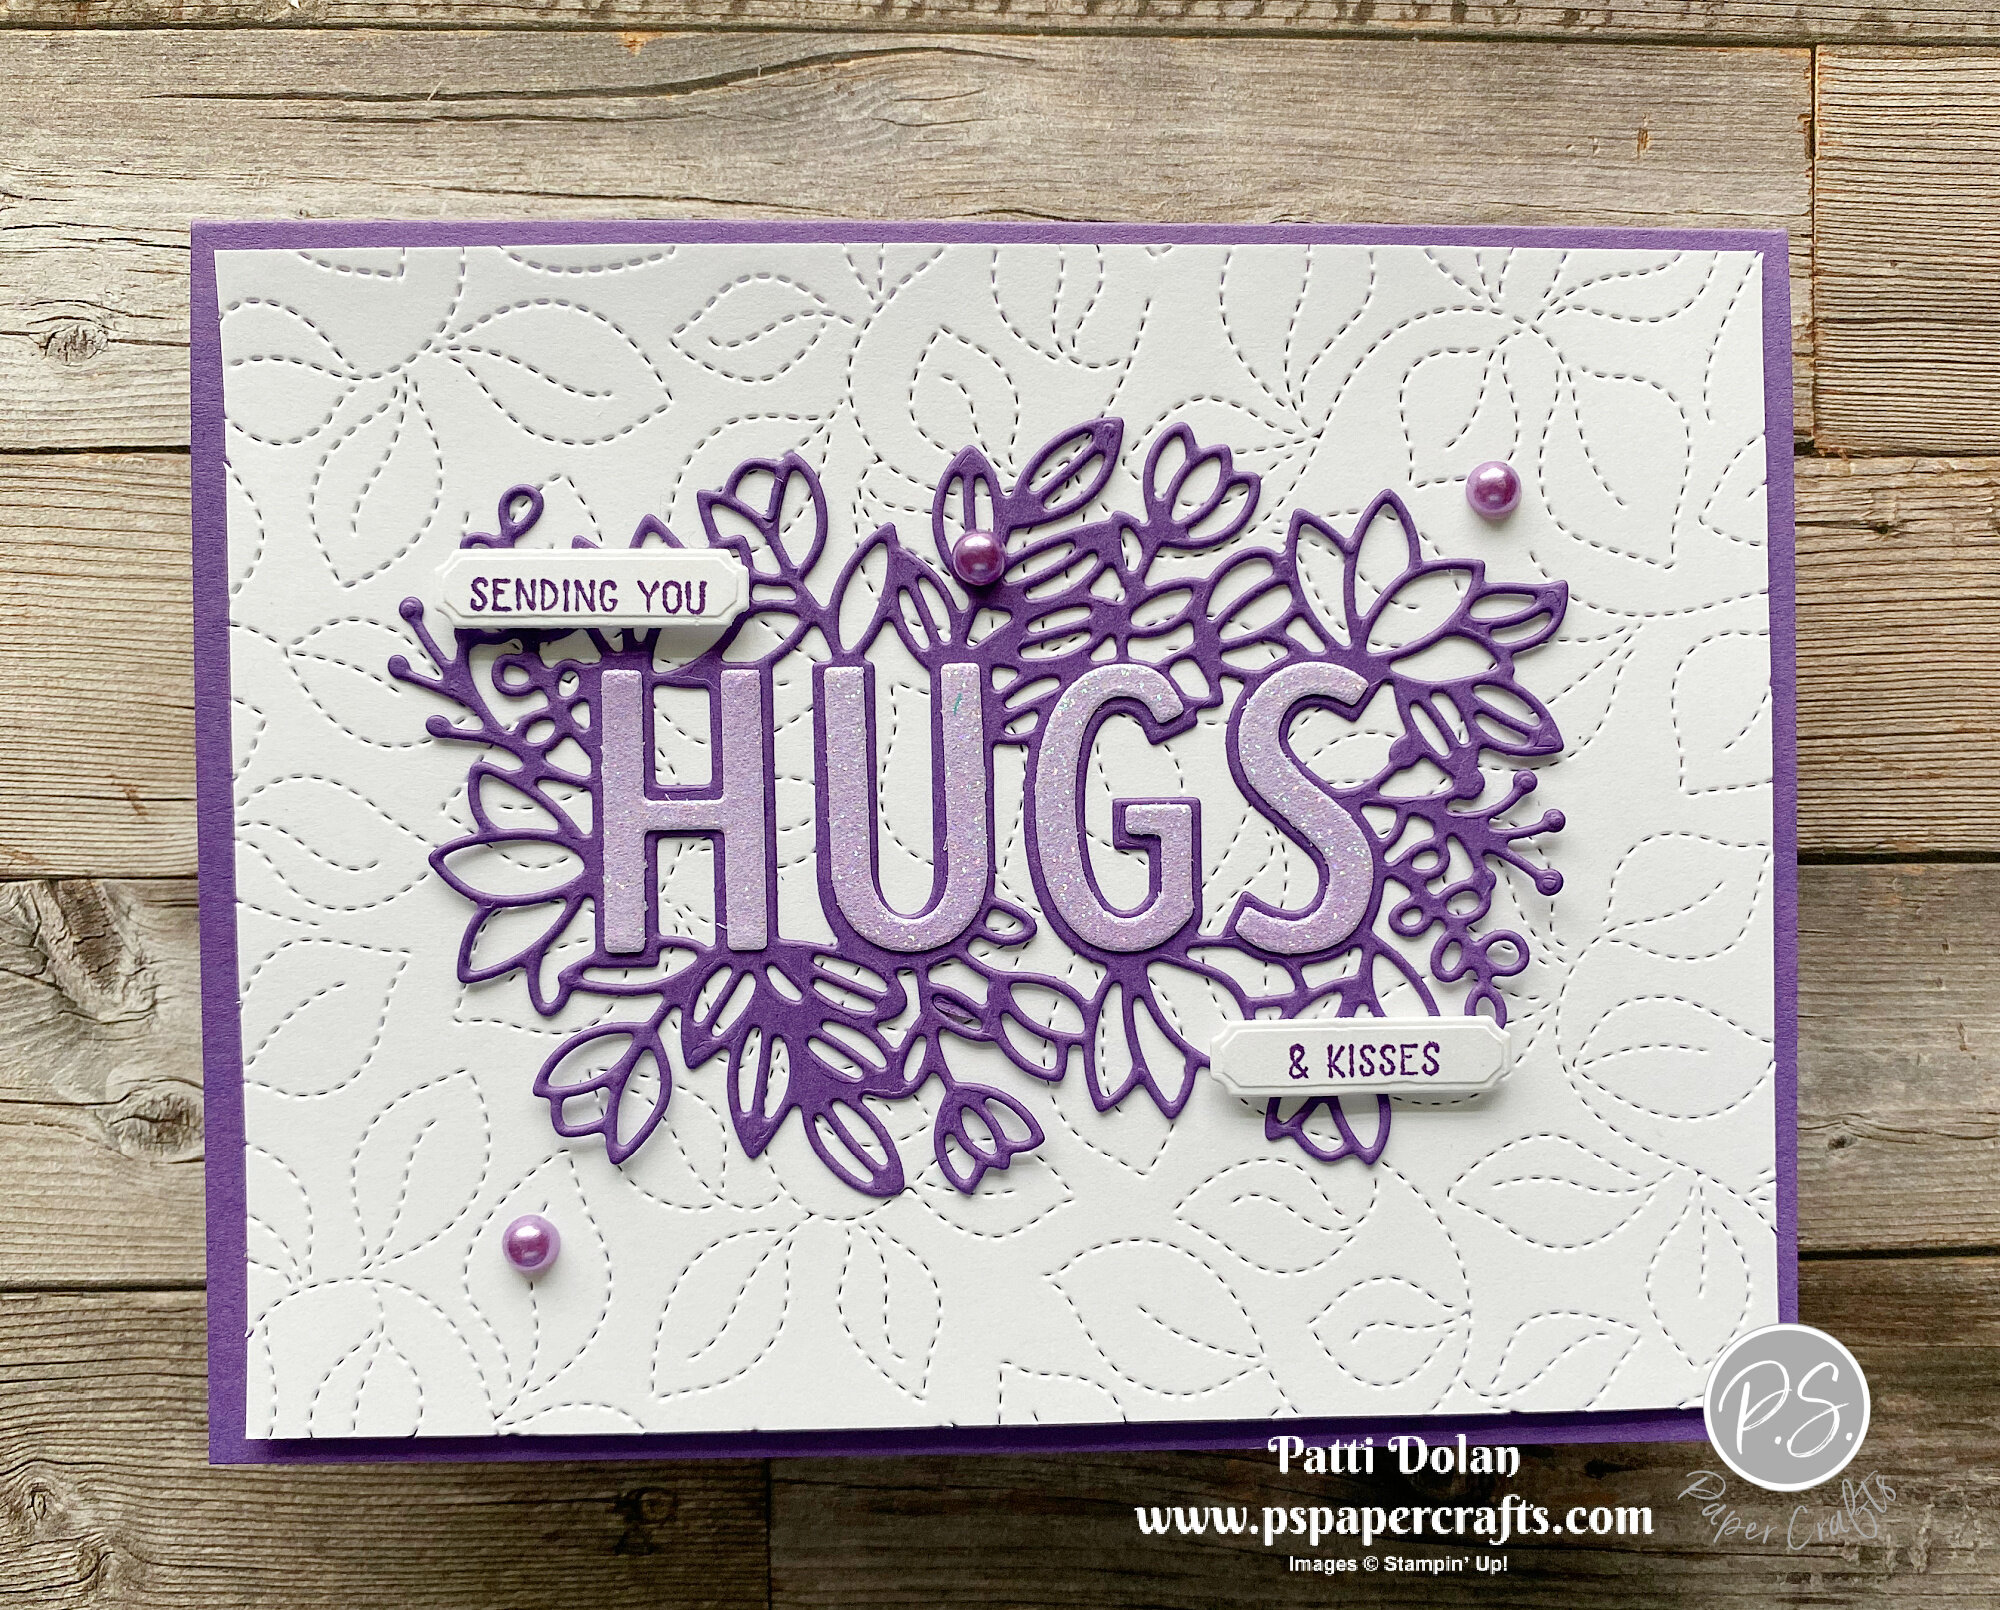
I made these 3 pretty cards using the Sending Hugs Bundle. There is so much you can do with this bundle.

 
Whatever it is, the way you tell your story online can make all the difference.
 

In the video I’ll show you the bundle and the different ways to use it. I’ll make the purple card and walk you through the steps.


This bundle jumped out at me the very first time I looked through the catalog. I love that you can layer the “HUGS” on the stamped image or die cut image!

 
Whatever it is, the way you tell your story online can make all the difference.
 

Tips & Instructions

  • Gorgeous Grape Card Base - 5 1/2 x 8 1/2, score at 4 1/4

  • Basic White Layer - 5 1/4 x 4, cut with the Stitched Greenery Die and adhere to card base.

  • Cut floral piece from Gorgeous Grape Cardstock using the large floral die from the Layering Hugs Dies.

  • Cut the HUGS letters from the light side of the Gorgeous Grape Ombre Specialty Paper and adhere to the floral piece. Adhere piece to card.

  • Stamp the “Sending You” and “& Kisses” on Basic White scrap with Gorgeous Grape Ink and cut with the small label die. Adhere using Dimensionals.

  • Add some Pastel Pearls.

 
Whatever it is, the way you tell your story online can make all the difference.
 

Follow the same steps as above using Evening Evergreen for the card base and floral piece and Soft Succulent for the stitched layer. I added a layer of Basic White behind the stitched layer (5 3/8 x 4 1/8). The “HUGS” was cut from a piece of the Mango Melody Ombre Specialty Paper.

 
Whatever it is, the way you tell your story online can make all the difference.
 
  • The card base for this card is Fresh Freesia and the stitched layer is Soft Succulent.

  • I stamped the large floral piece with Black Memento Ink on a piece of Basic White Cardstock and then cut it to size.

  • Color the flowers and leaves with Stampin’ Blends (Polished Pink, Pale Papaya, Soft Succulent, Fresh Freesia, Granny Apple Green, Evening Evergreen)

  • Adhere ribbon around stitched layer add stamped layer using Dimensionals.

  • Tie bow and adhere with Glue Dot. Add some In Color Jewels.

 
Whatever it is, the way you tell your story online can make all the difference.
 

Supply List

Cute Party Puffins Birthday Card

These puffins are so cute. I made this card using the Party Puffins Stamp Set. I also used the Stitched With Whimsy Dies just to make it fun!

 
Party Puffins Birthday Card2.jpeg
 

The images and sentiments in this stamp set are perfect for a kid’s card.

 
Party Puffins Birthday Card stamp.jpeg
 

This was the first time that I used the Stitched With Whimsy Dies and I didn’t realize that they add the embossed stitching but don’t actually cut them out. I fussy cut them which was so easy to do.

 
Whatever it is, the way you tell your story online can make all the difference.
 

Tips & Instructions

  • Thick Basic White Card Base - 5 1/2 x 8 1/2, score at 4 1/4

  • 2021-2023 In Color Designer Series Paper (Pale Papaya) - 5 1/4 x 4, emboss using the largest Stitched With Whimsy Die. Adhere to card base.

  • Basic White Cardstock - stamp the puffin image with Black Memento Ink. I used the Stamparatus so I could stamp it twice to get a nice, dark shade.

  • Using the largest square Stitched With Whimsey Die, emboss around the image and then fussy cut.

  • Color the feet and beak using the Dark Pale Papaya Stampin’ Blends Marker. Color the hat with the Dark and Light Granny Apple Green Stampin’ Blends Markers. Color the pompom with the Dark Daffodil Delight Stampin’ Blends Marker.

  • You should have a 4 1/4 x 3/4 strip of the designer series paper left. Flip it to show the plaid pattern and adhere it to the card. Adhere stamped image using Dimensionals.

  • Stamp sentiment with Granny Apple Green Ink and emboss with the rectangle stitched die. Fussy cut and adhere to card using Dimensionals.

  • Add some Opal Rounds to card and sentiment.

 
Whatever it is, the way you tell your story online can make all the difference.
 

On inside layer, stamp sentiment with Granny Apple Green Ink. Stamp cake with Black Memento Ink and color with Pale Papaya, Granny Apple Green and Daffodil Delight Stampin’ Blends Markers. Add some Wink Of Stella o candles and frosting.
 
Whatever it is, the way you tell your story online can make all the difference.
 

Sketch Saturday - Sweet As A Peach

I’m really happy with how this card turned out. I made it for this week’s Atlantic Hearts Sketch Challenge.

 
Sketch Saturday - Sweet As A Peach card1.jpeg
 

Here’s the sketch. It took me a little time to figure out the measurements but I always practice with scrap paper to get the sizes figured out.

 
Screen Shot 2021-05-07 at 5.32.11 PM.png
 

I used the Stitched Greenery Die to create the background layer. It creates this pretty stitched design for a full card layer. I’m sure going to be using this a lot!

 
Screen Shot 2021-05-07 at 5.42.42 PM.png
 

Tips & Instructions

  • Calypso Coral Card Base - 5 1/2 x 8 1/2, score at 4 1/4

  • Basic White Cardstock - 5 1/4 x 4, cut with the Stitched Greenery Die to get the stitched leaves.
  • You’re A Peach Designer Series Paper (blue polka dot) - 4 x 3, cut banner on one end.

  • You’re A Peach Designer Series Paper (floral) - 3 x 1 1/2, cut banner on one end.

  • Pale Papaya Cardstock - 2 1/2 x 1, emboss with the Dots Embossing Folder and cut banner on one end.

  • Arrange banners on white layer as shown in the picture.

  • Wrap ribbon around the layer and adhere to the back.

  • Basic White Strip - 3/4” stamp sentiment with Calypso Coral Ink and punch both ends using the Banners Pick A Punch. Adhere to card using Dimensionals.

 
Sketch Saturday - Sweet As A Peach card2.jpeg
 

On the inside stamp sentiments with Calypso Coral Ink. Stamp flowers with Pale Papaya Ink. Stamp center with Black Memento Ink and stamp some of the small flowers with Balmy Blue Ink.

 
Sketch Saturday - Sweet As A Peach inside.jpeg
 

Supply List

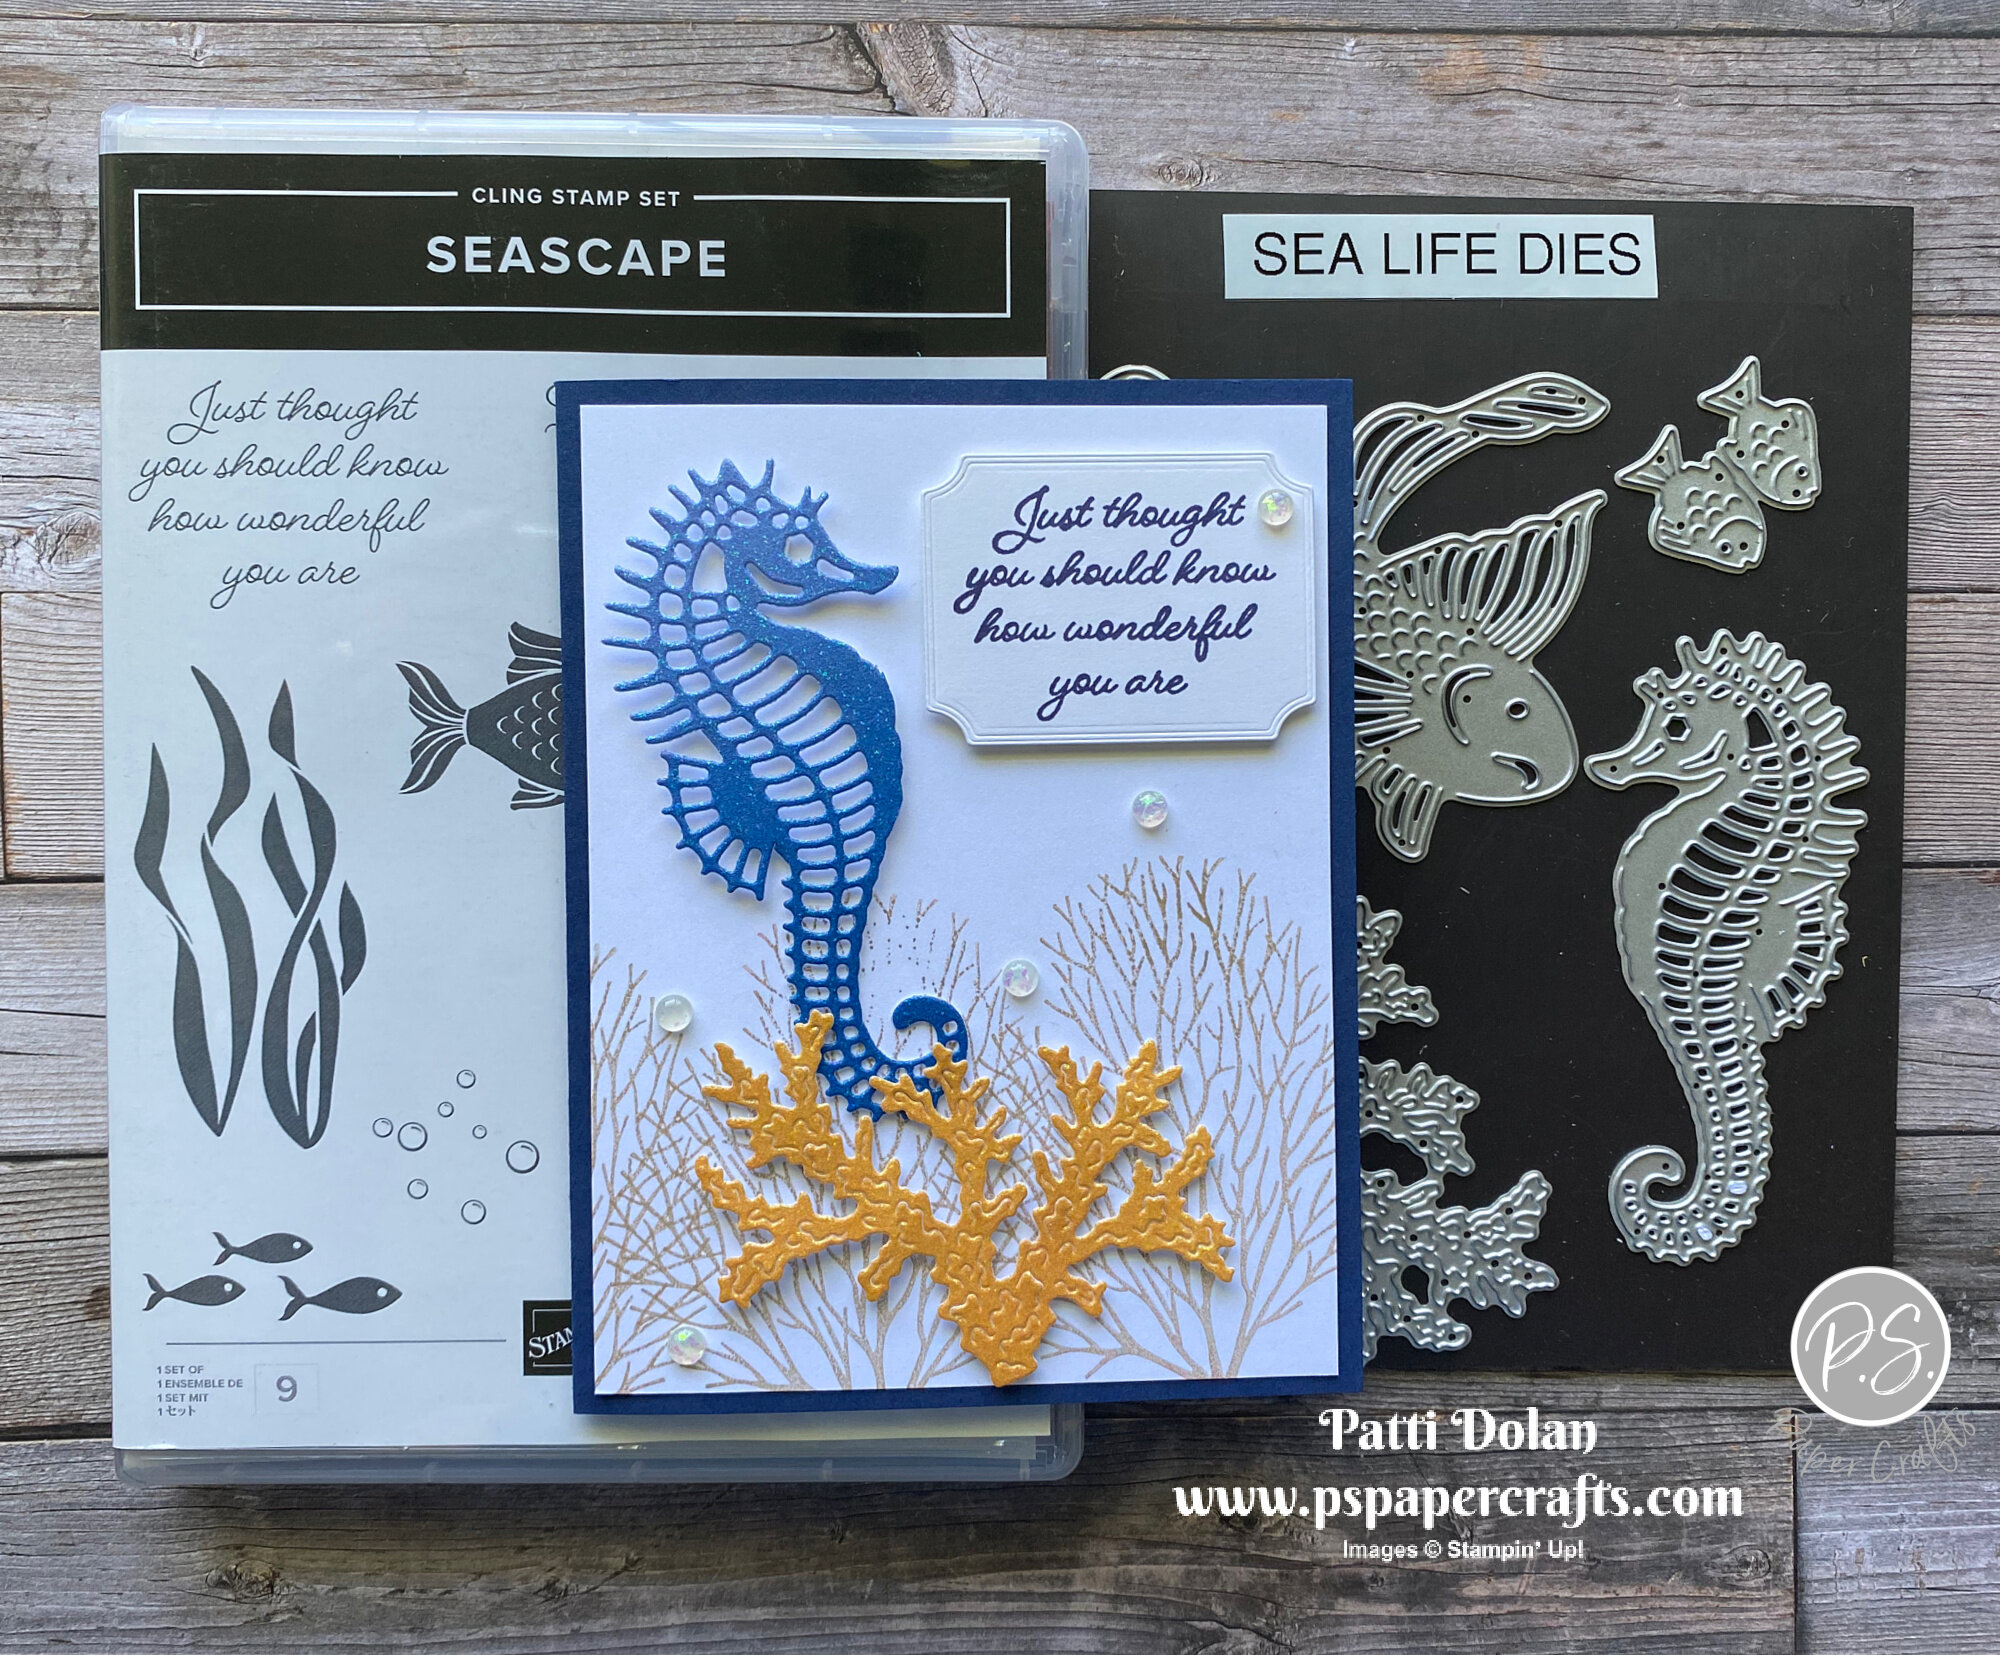
Sparkly Seahorse Friendship Card

Wouldn’t you love to receive a card like this. The sentiment is so special and would make anyone feel great.

 
Seascape Friendship card2.jpeg
 

In the video I’ll show you how I used the new Ombre Specialty Paper to cut out the seahorse and sea plant. The paper is glimmer and has lots of sparkle to it.


The Sea Life Dies are so cool and the images in the Seascape Stamp Set and really fun.

 
Seascape Friendship supplies.jpeg
 

Tips & Instructions

  • Night of Navy Card Base - 5 1/2 x 8 1/2, score at 4 1/4

  • Basic White Layer - 5 1/4 x 4, stamp sea plants a few times with Crumb Cake Ink, stamping off first to get a lighter shade. Adhere layer to card base.

  • Cut the sea plant and seahorse from the Ombre Specialty Paper. Snip around the sea horse to cut finish cutting it out. Adhere to card using Mini Dimensionals.

  • Stamp sentiment with Night of Navy Ink on Basic White and cut with the Tasteful Labels Dies. Adhere with Dimensionals.

  • Add some Opal Rounds to card front.

 
Seascape Friendship card1.jpeg
 

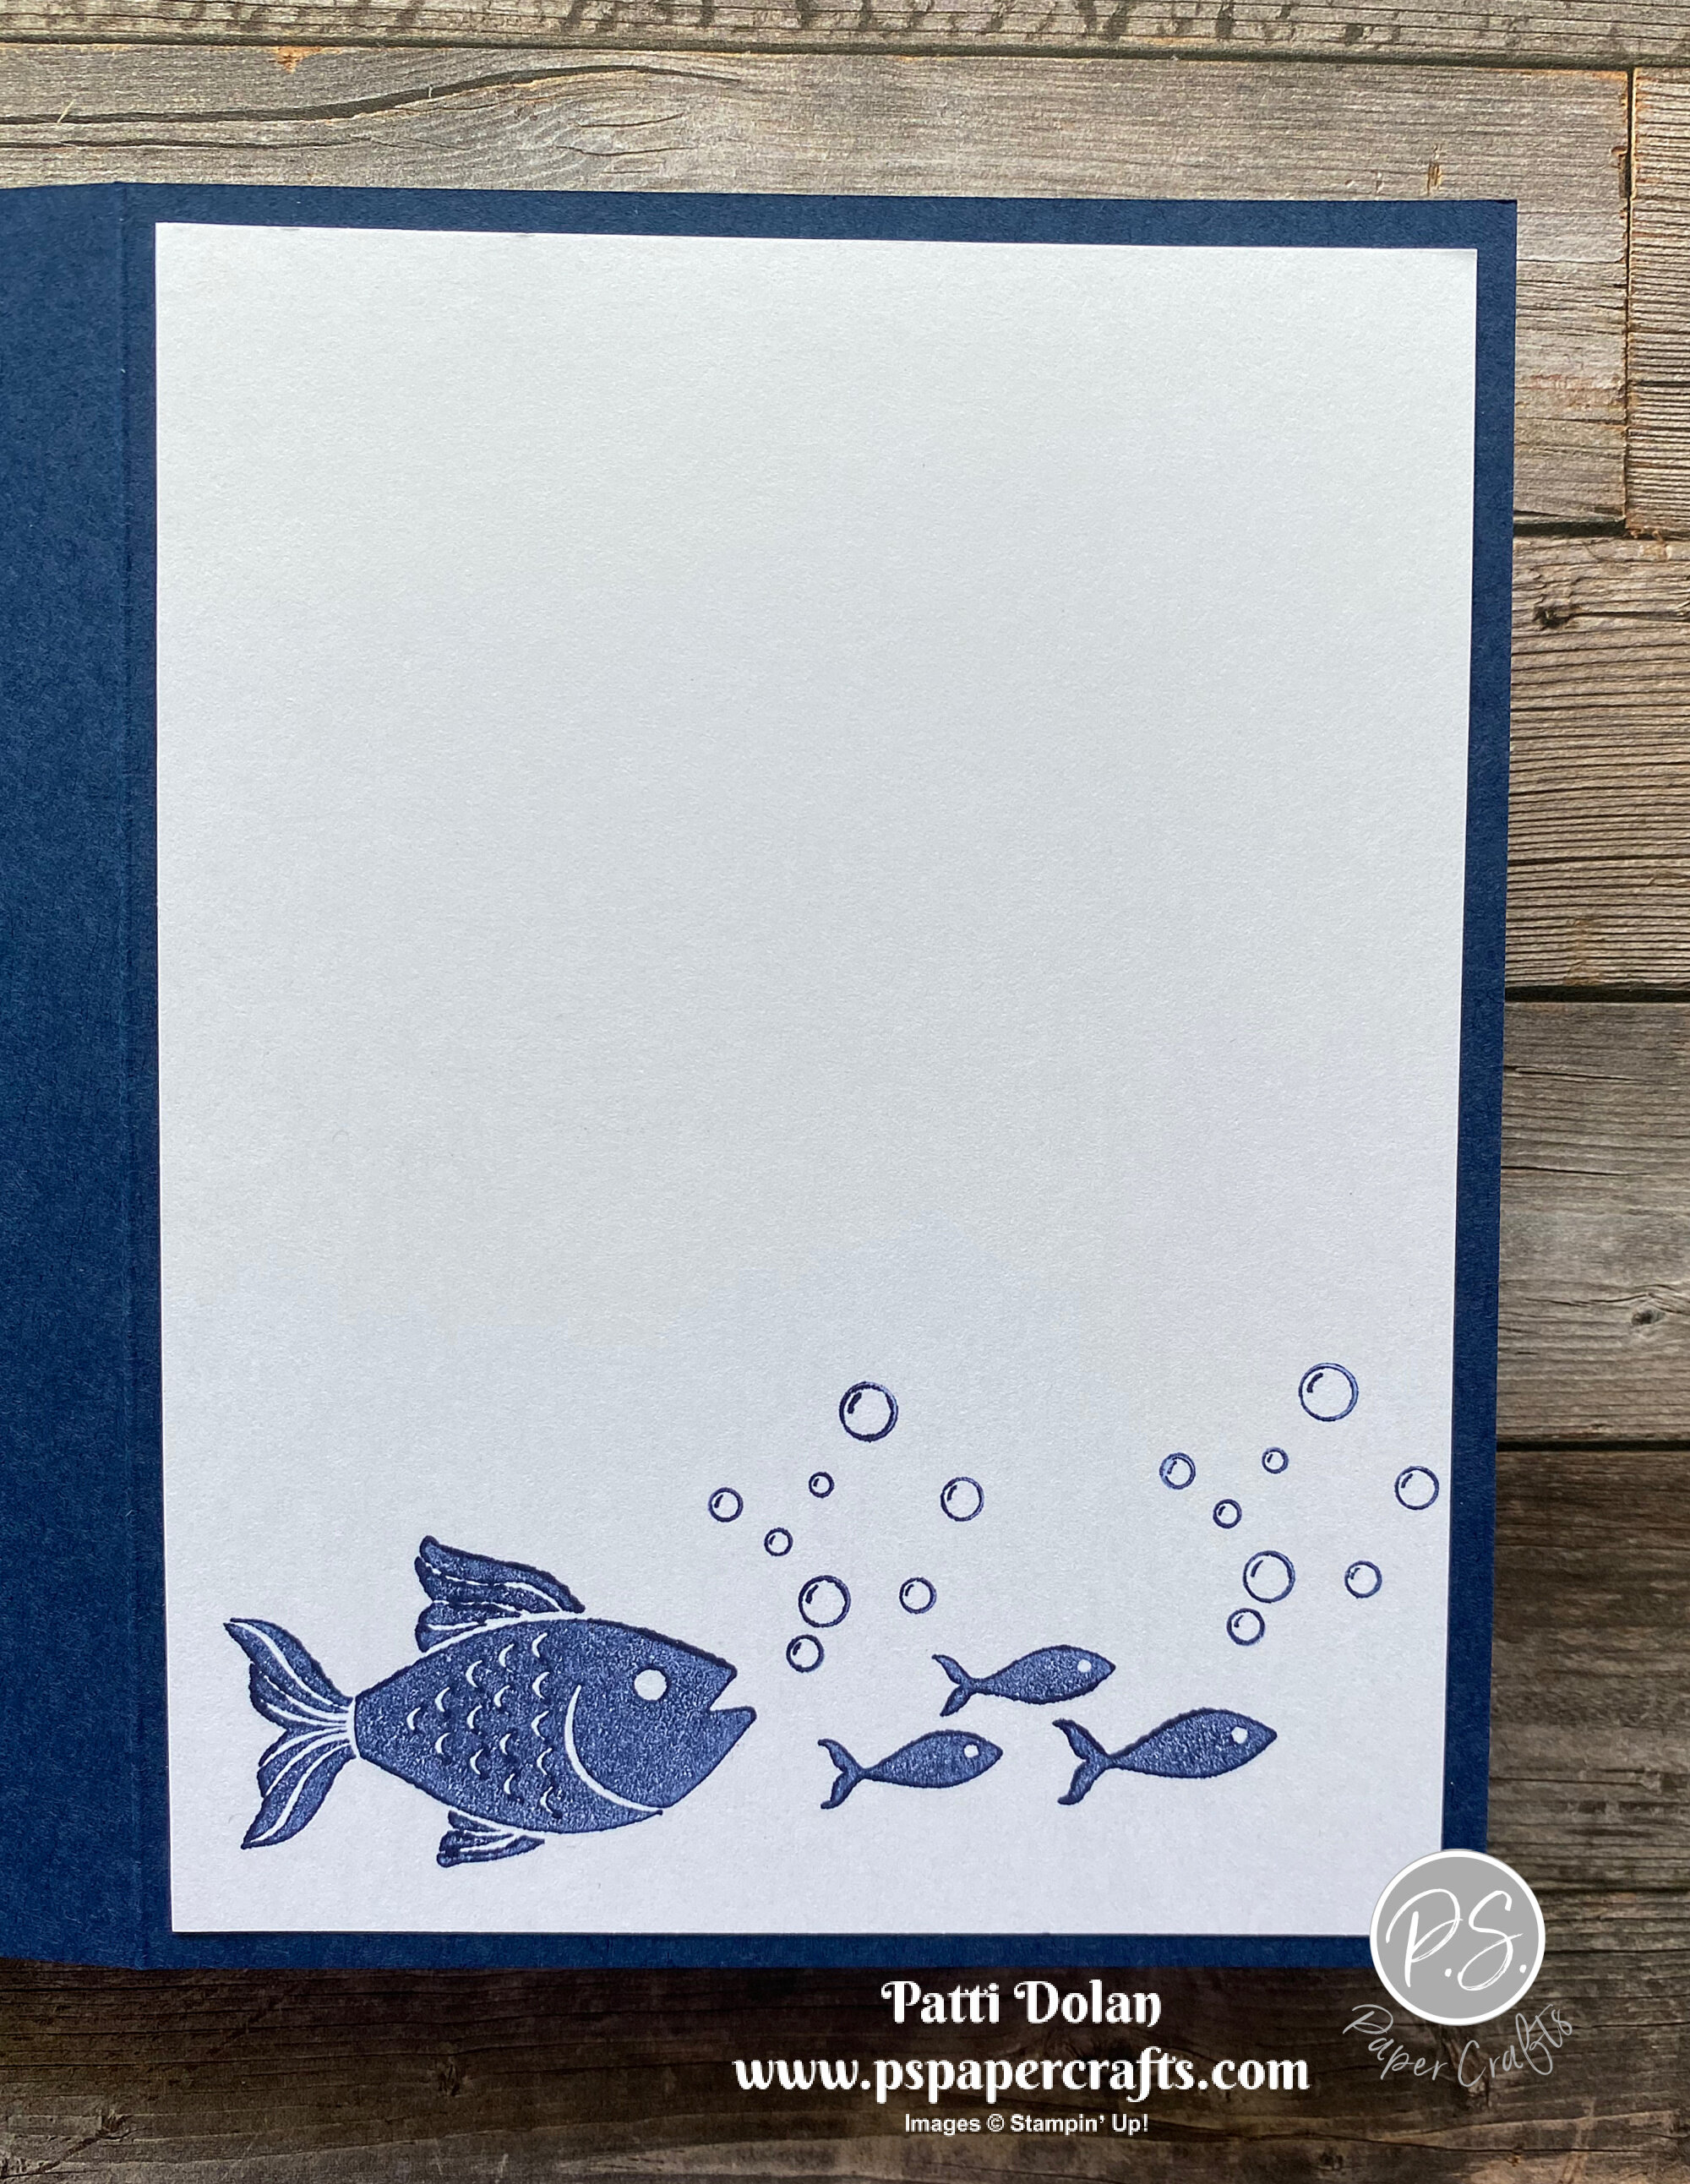
On the inside stamp the large fish and school of fish with Night of Navy Ink, stamping off first. Stamp the bubbles with Night of Navy Ink, stamping off twice first.

 
Seascape Friendship inside.jpeg
 

Supply List

Inspiring Canopy Healing Thoughts Card

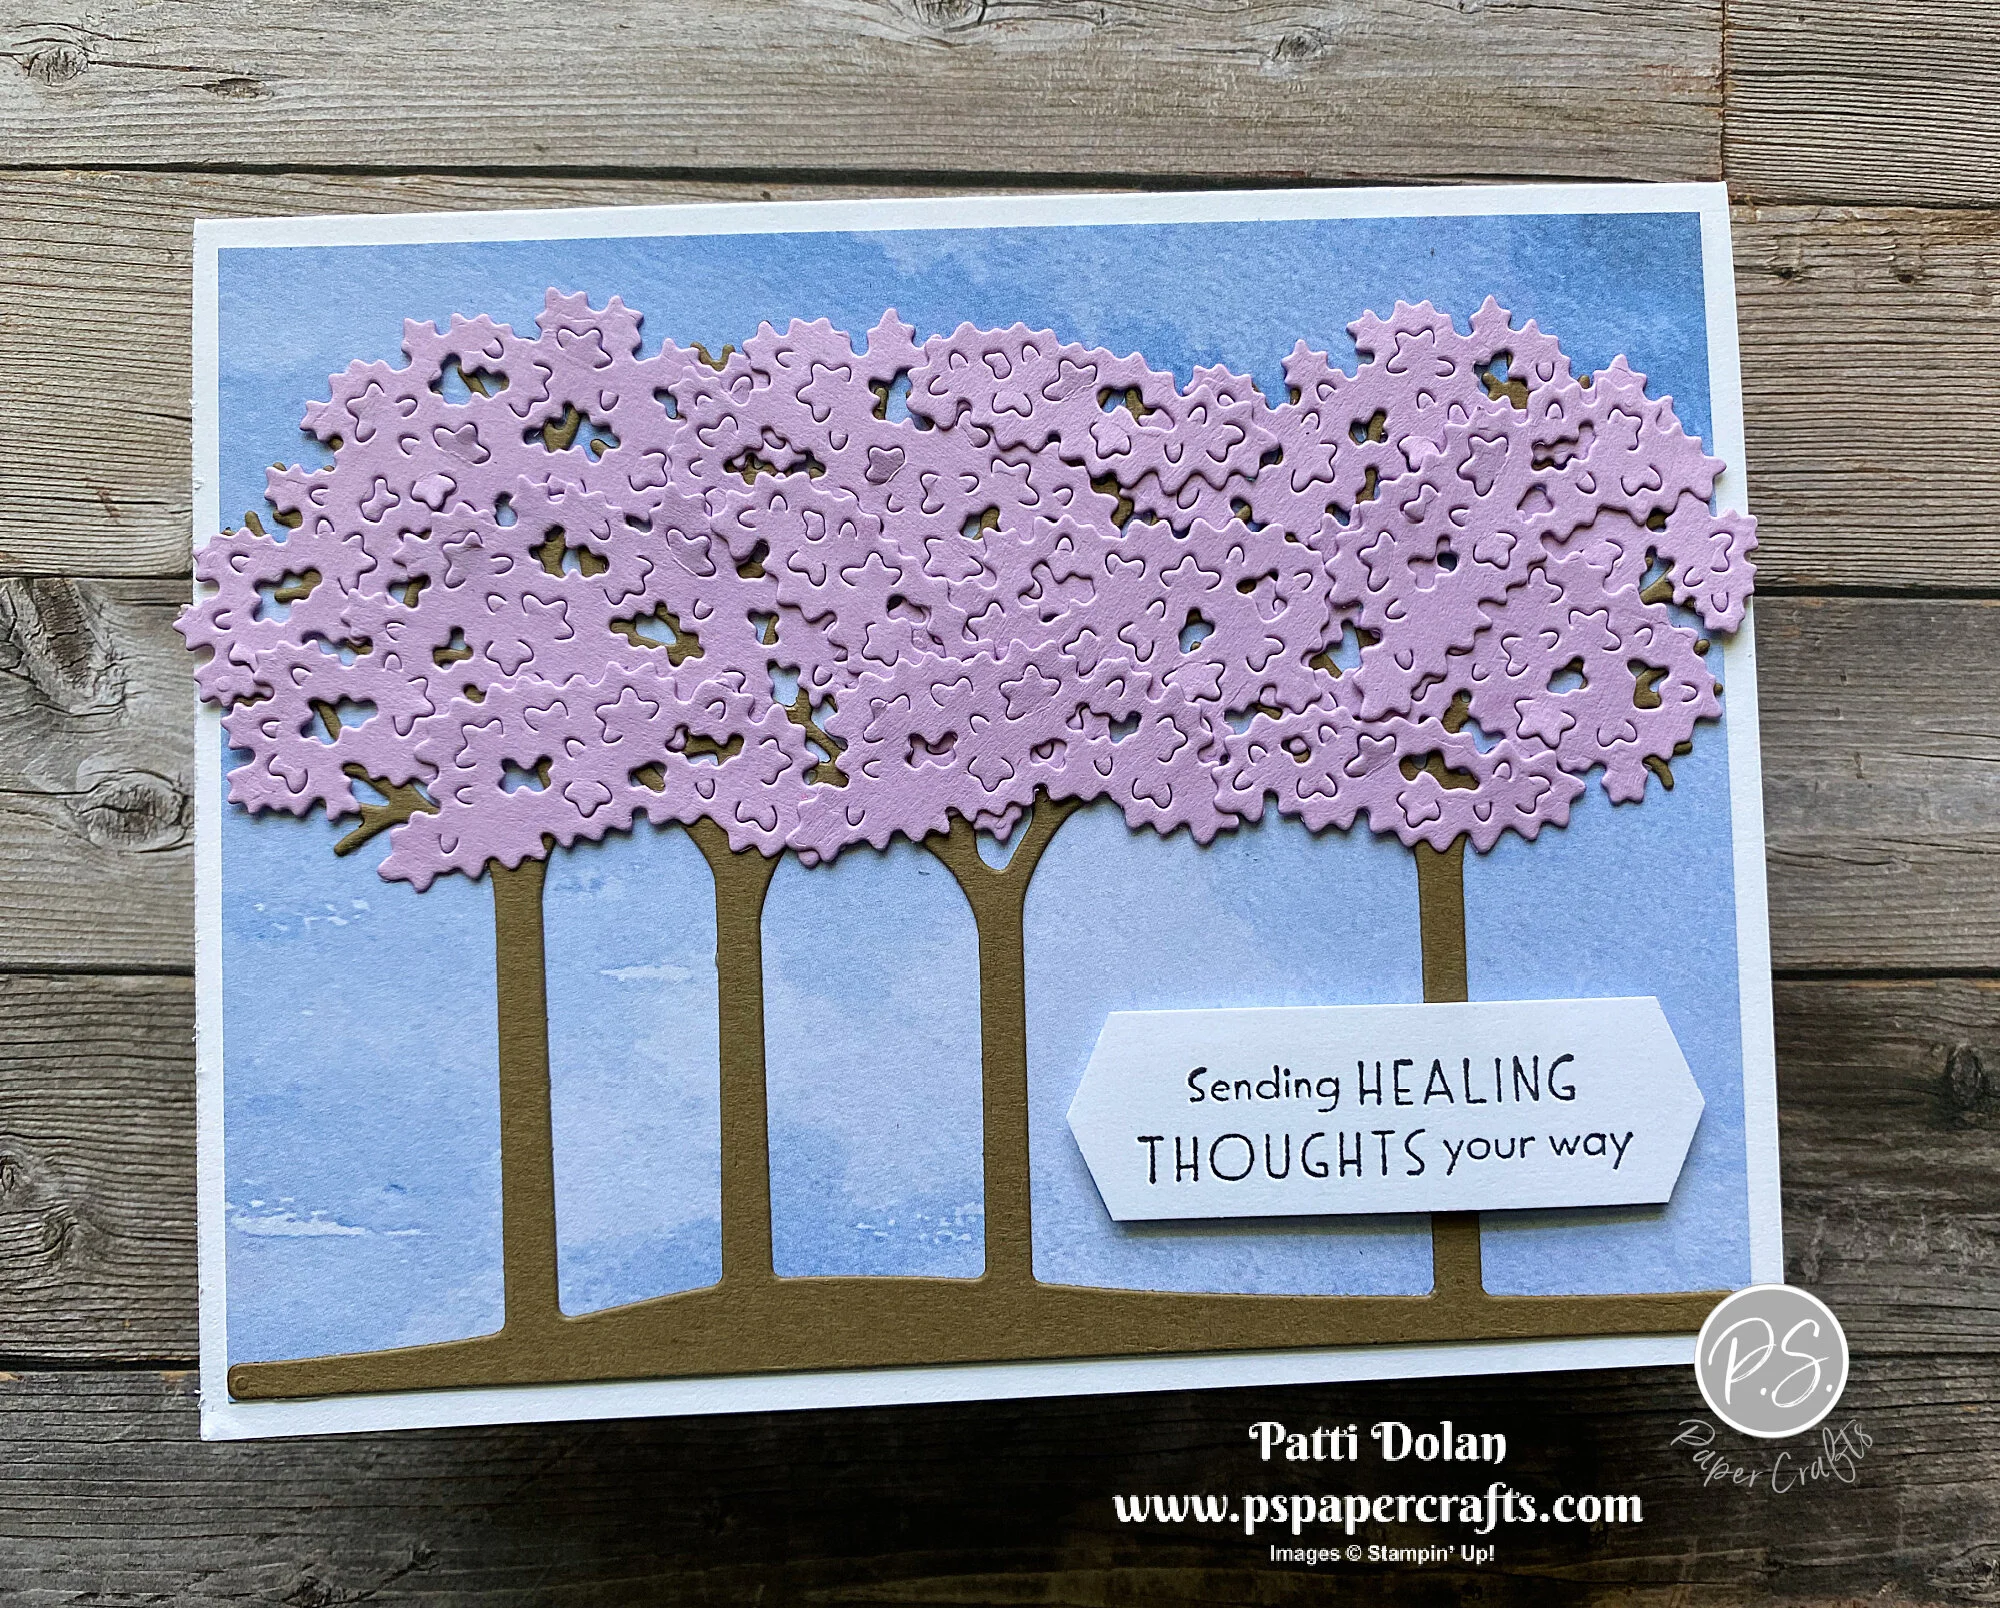
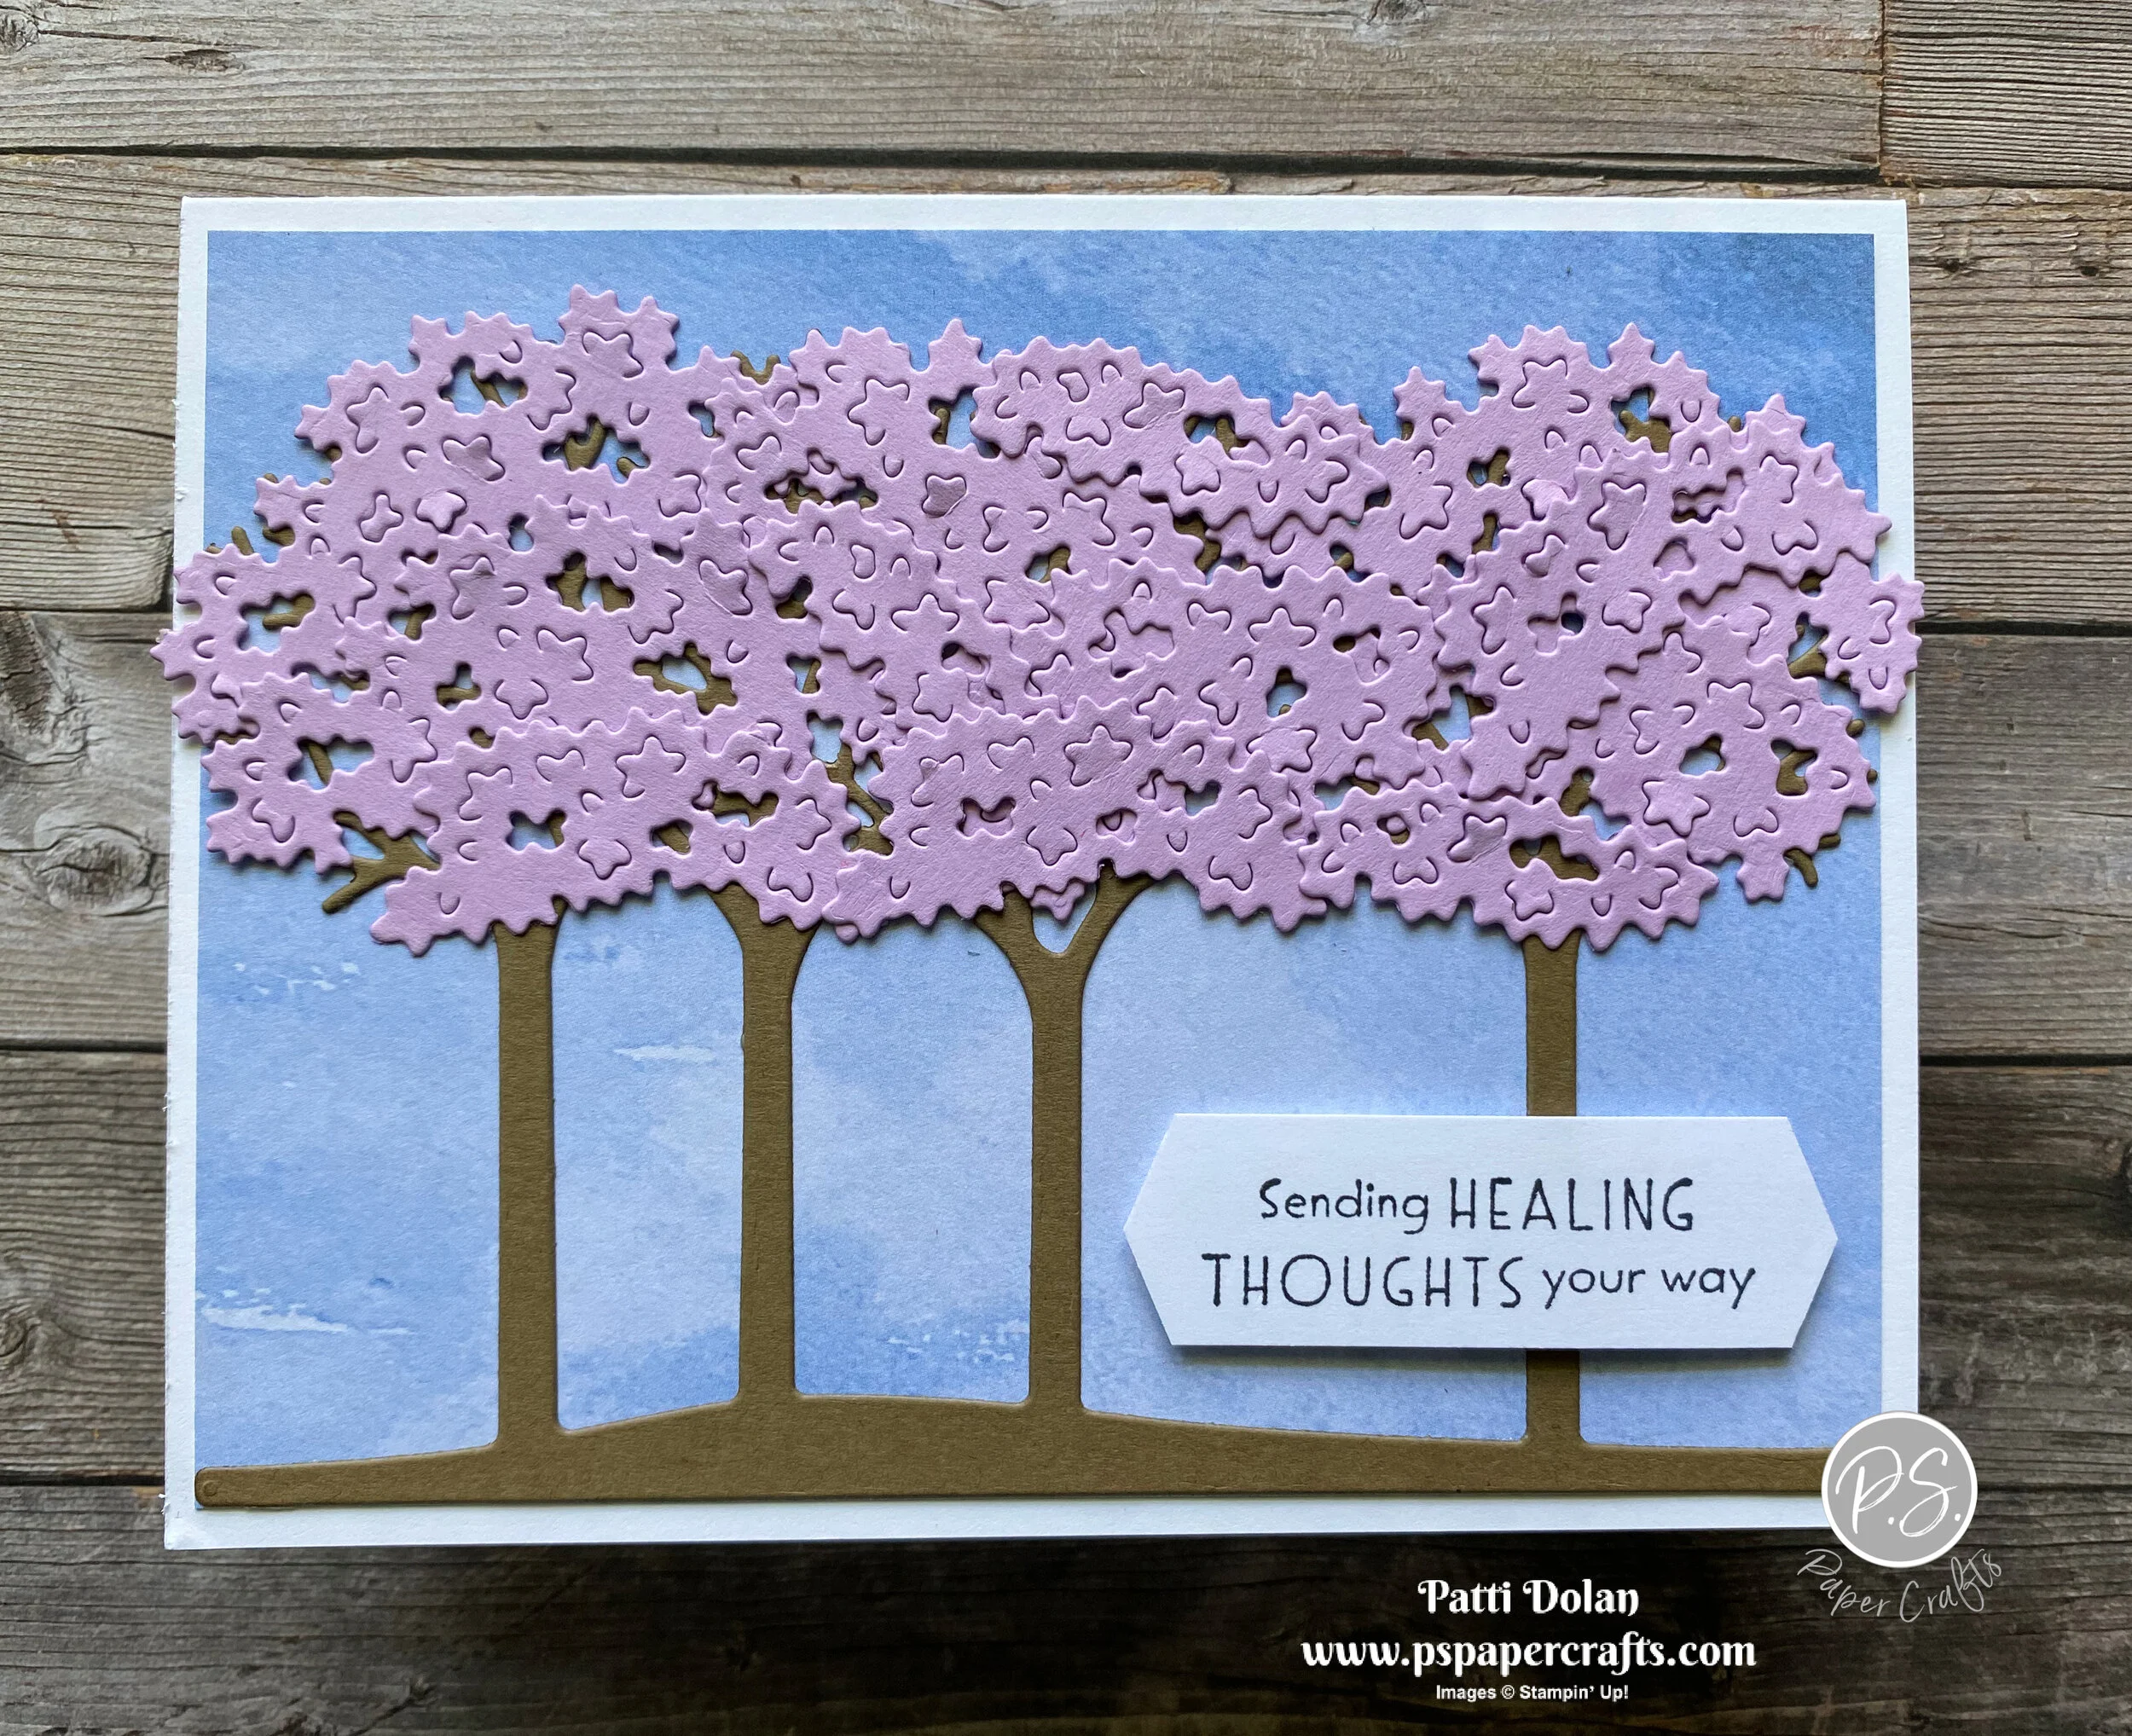
Isn’t this a pretty spring card? With the new Inspiring Canopy Dies you can cut these beautiful trees to fill your card front.

 
Inspiring Canopy Healing Thoughts card2.jpeg
 

There’s such a great variety of sentiments in the Inspired Thoughts Stamp Set. It’s a great set to have in your stash. Bundle together the stamp set and dies an save 10%.


Tips & Instructions:

  • Thick Basic White Card Base - 5 1/2 x 8 1/2, score at 4 1/4

  • Beauty Of The Earth Designer Series Paper - 5 1/4 x 4

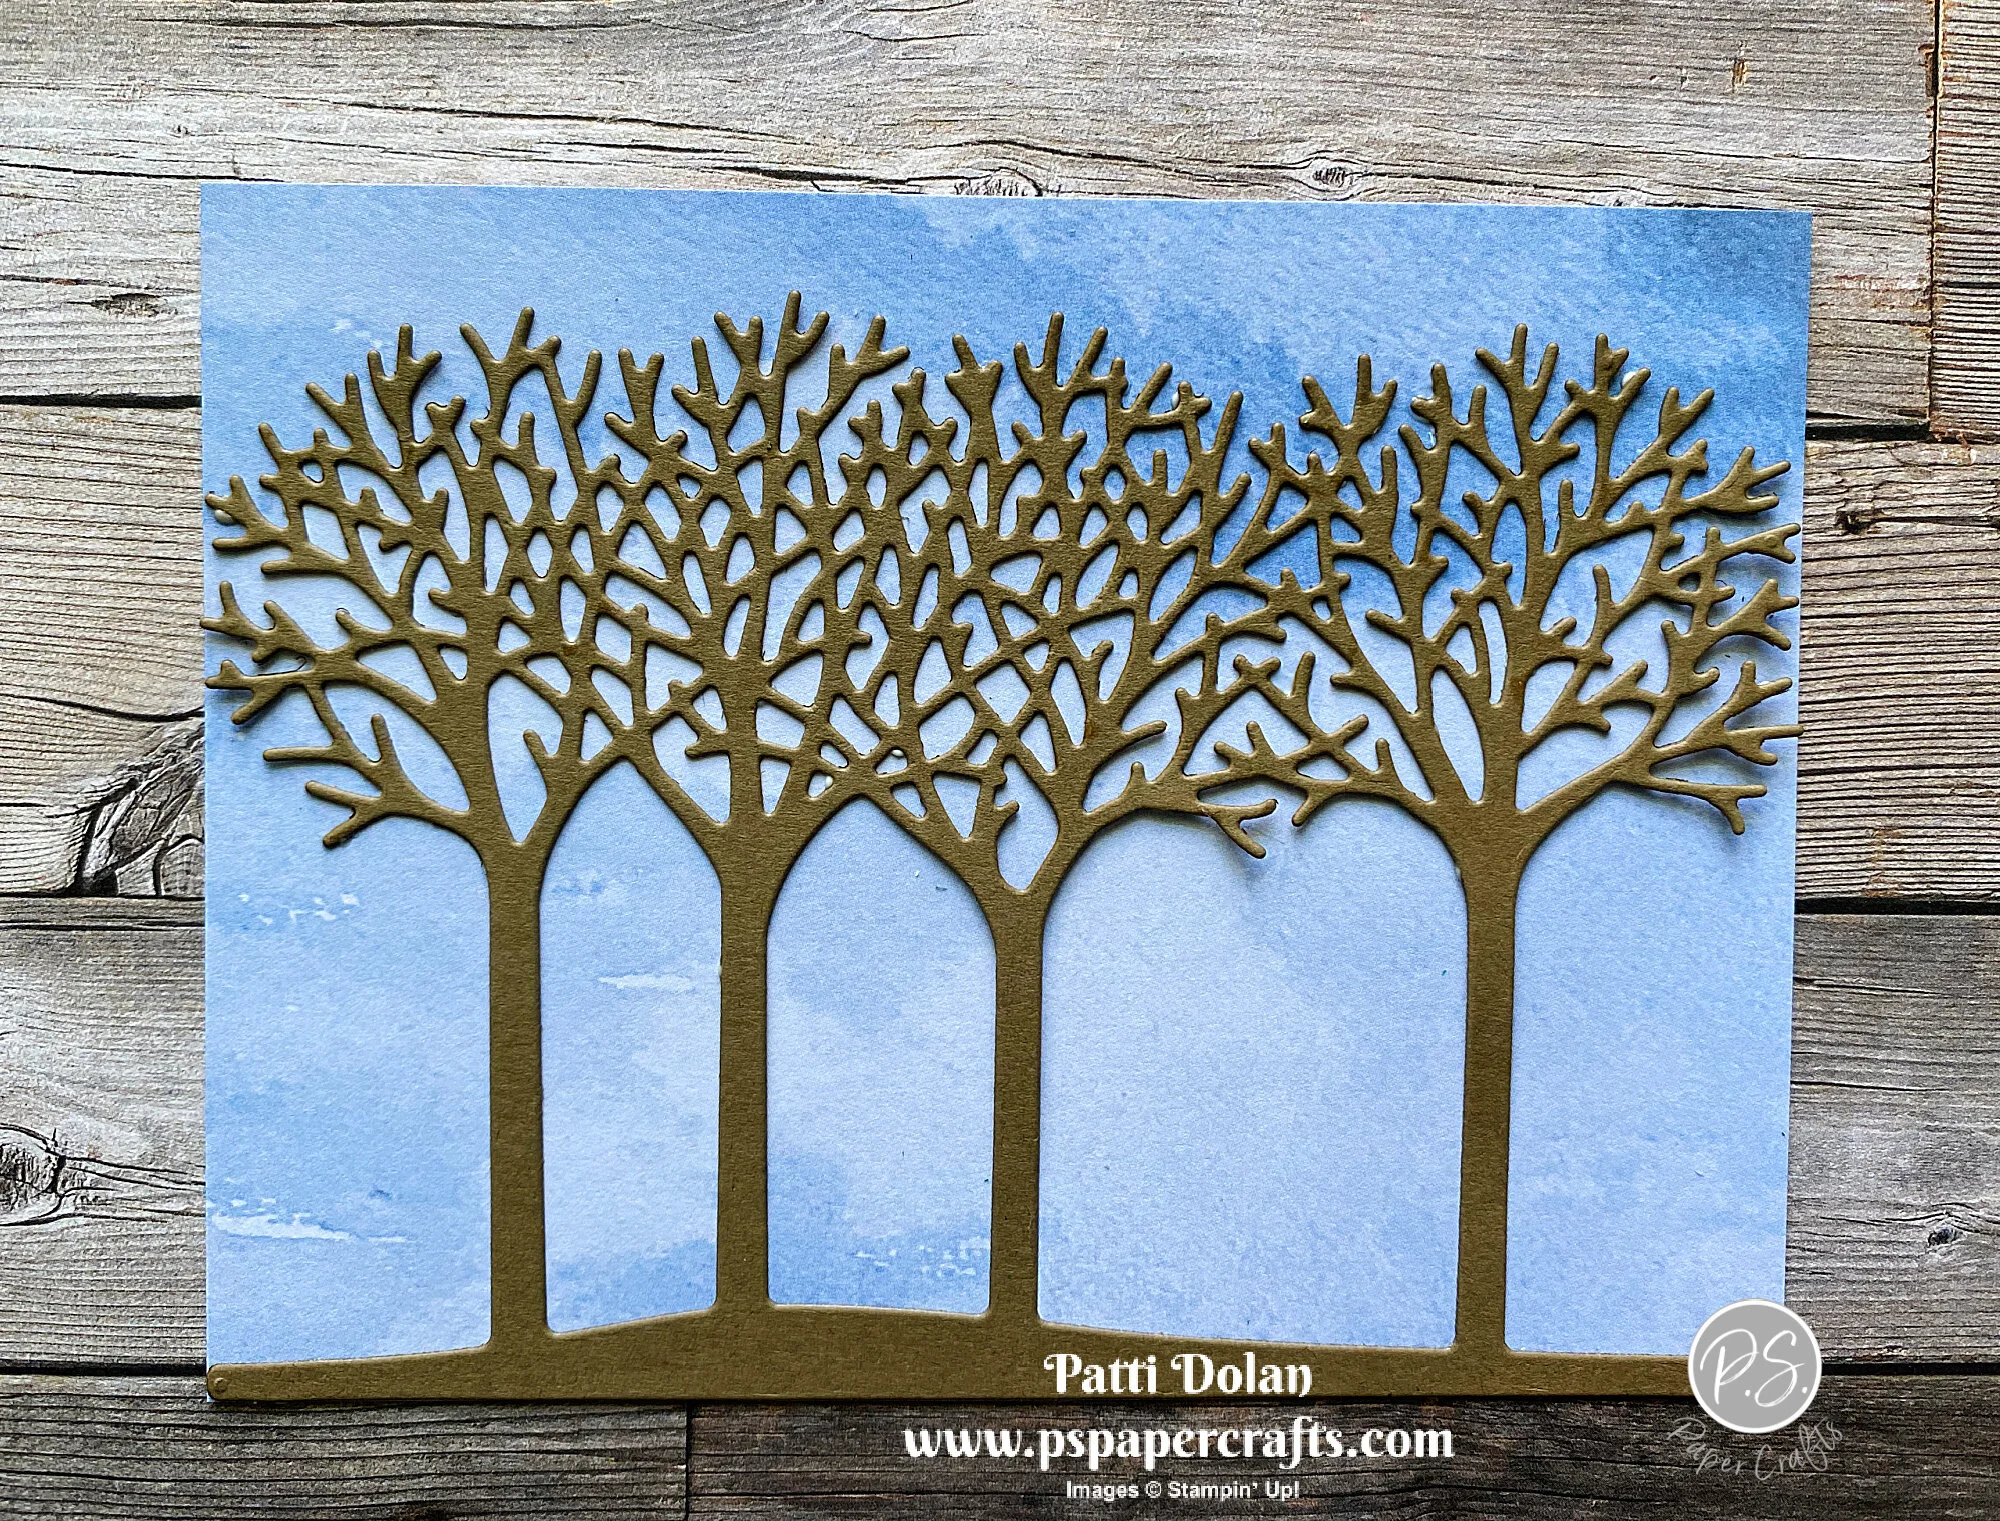
  • Soft Suede Cardstock - cut trees and adhere to layer.

 
Inspiring Canopy Healing Thoughts step1.jpeg
 
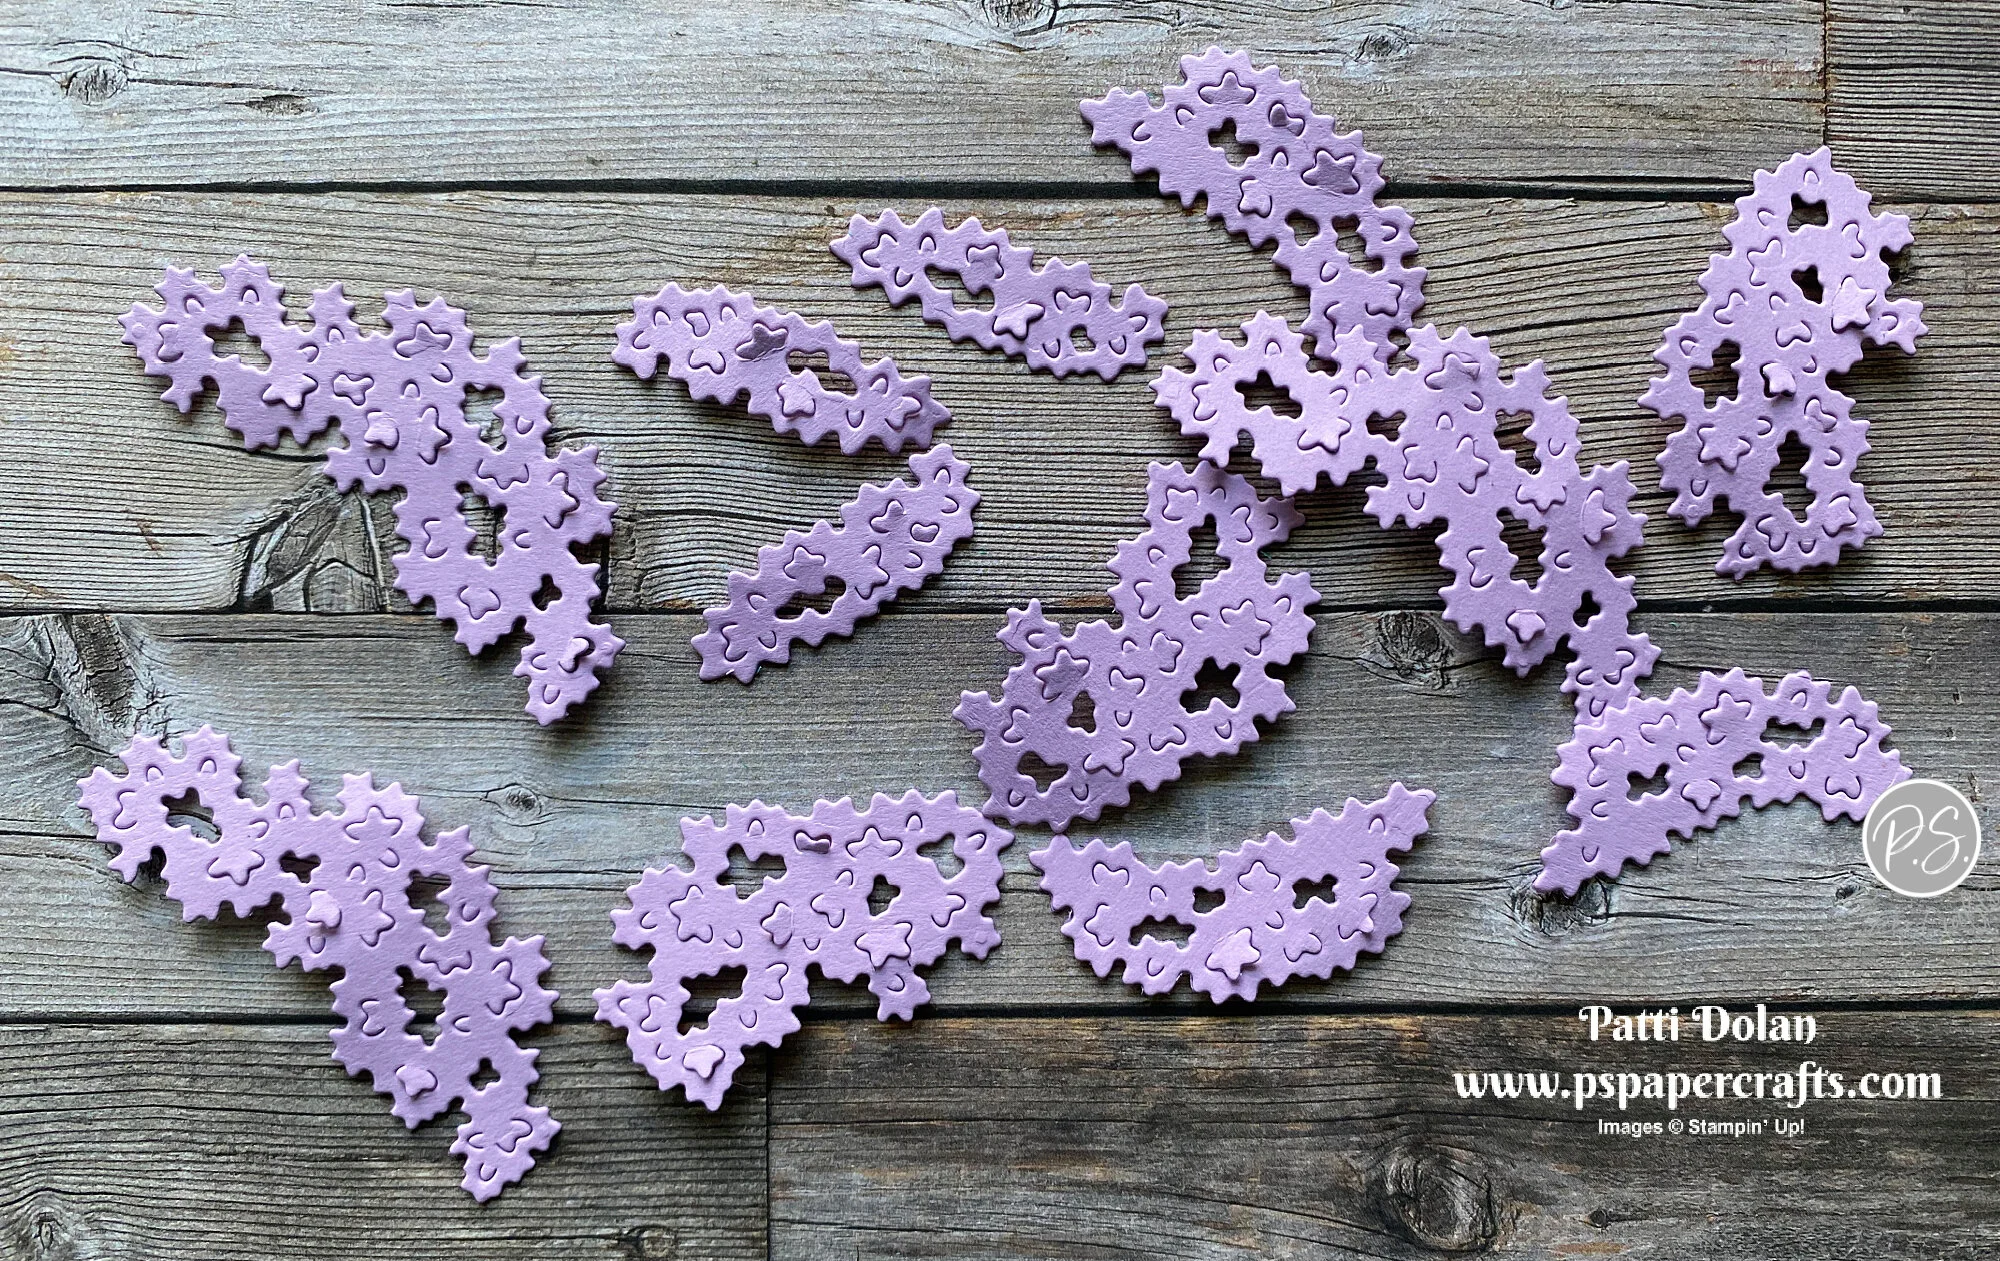
  • Fresh Freesia Cardstock - cut 3 sets of all the treetop pieces.

 
Inspiring Canopy Healing Thoughts step2.jpeg
 
  • Adhere the treetop pieces to the trees starting at the top and covering all branches.

  • Adhere layer to card base.

  • Basic White Strip - 3/4” wide, stamp sentiment with Black Ink and cut down to size. Punch both ends with the Banners Pick A Punch and adhere to card using Dimensionals.

 
Inspiring Canopy Healing Thoughts card1.jpeg
 

Cut one tree with Soft Suede Cardstock. You’ll have to cut it apart from the other trees. Cut one set of treetops from Fresh Freesia Cardstock Adhere to tree and treetops to inside layer.

 
Inspiring Canopy Healing Thoughts inside.jpeg
 

Supply List

Groovy Tie Dye B-day Card

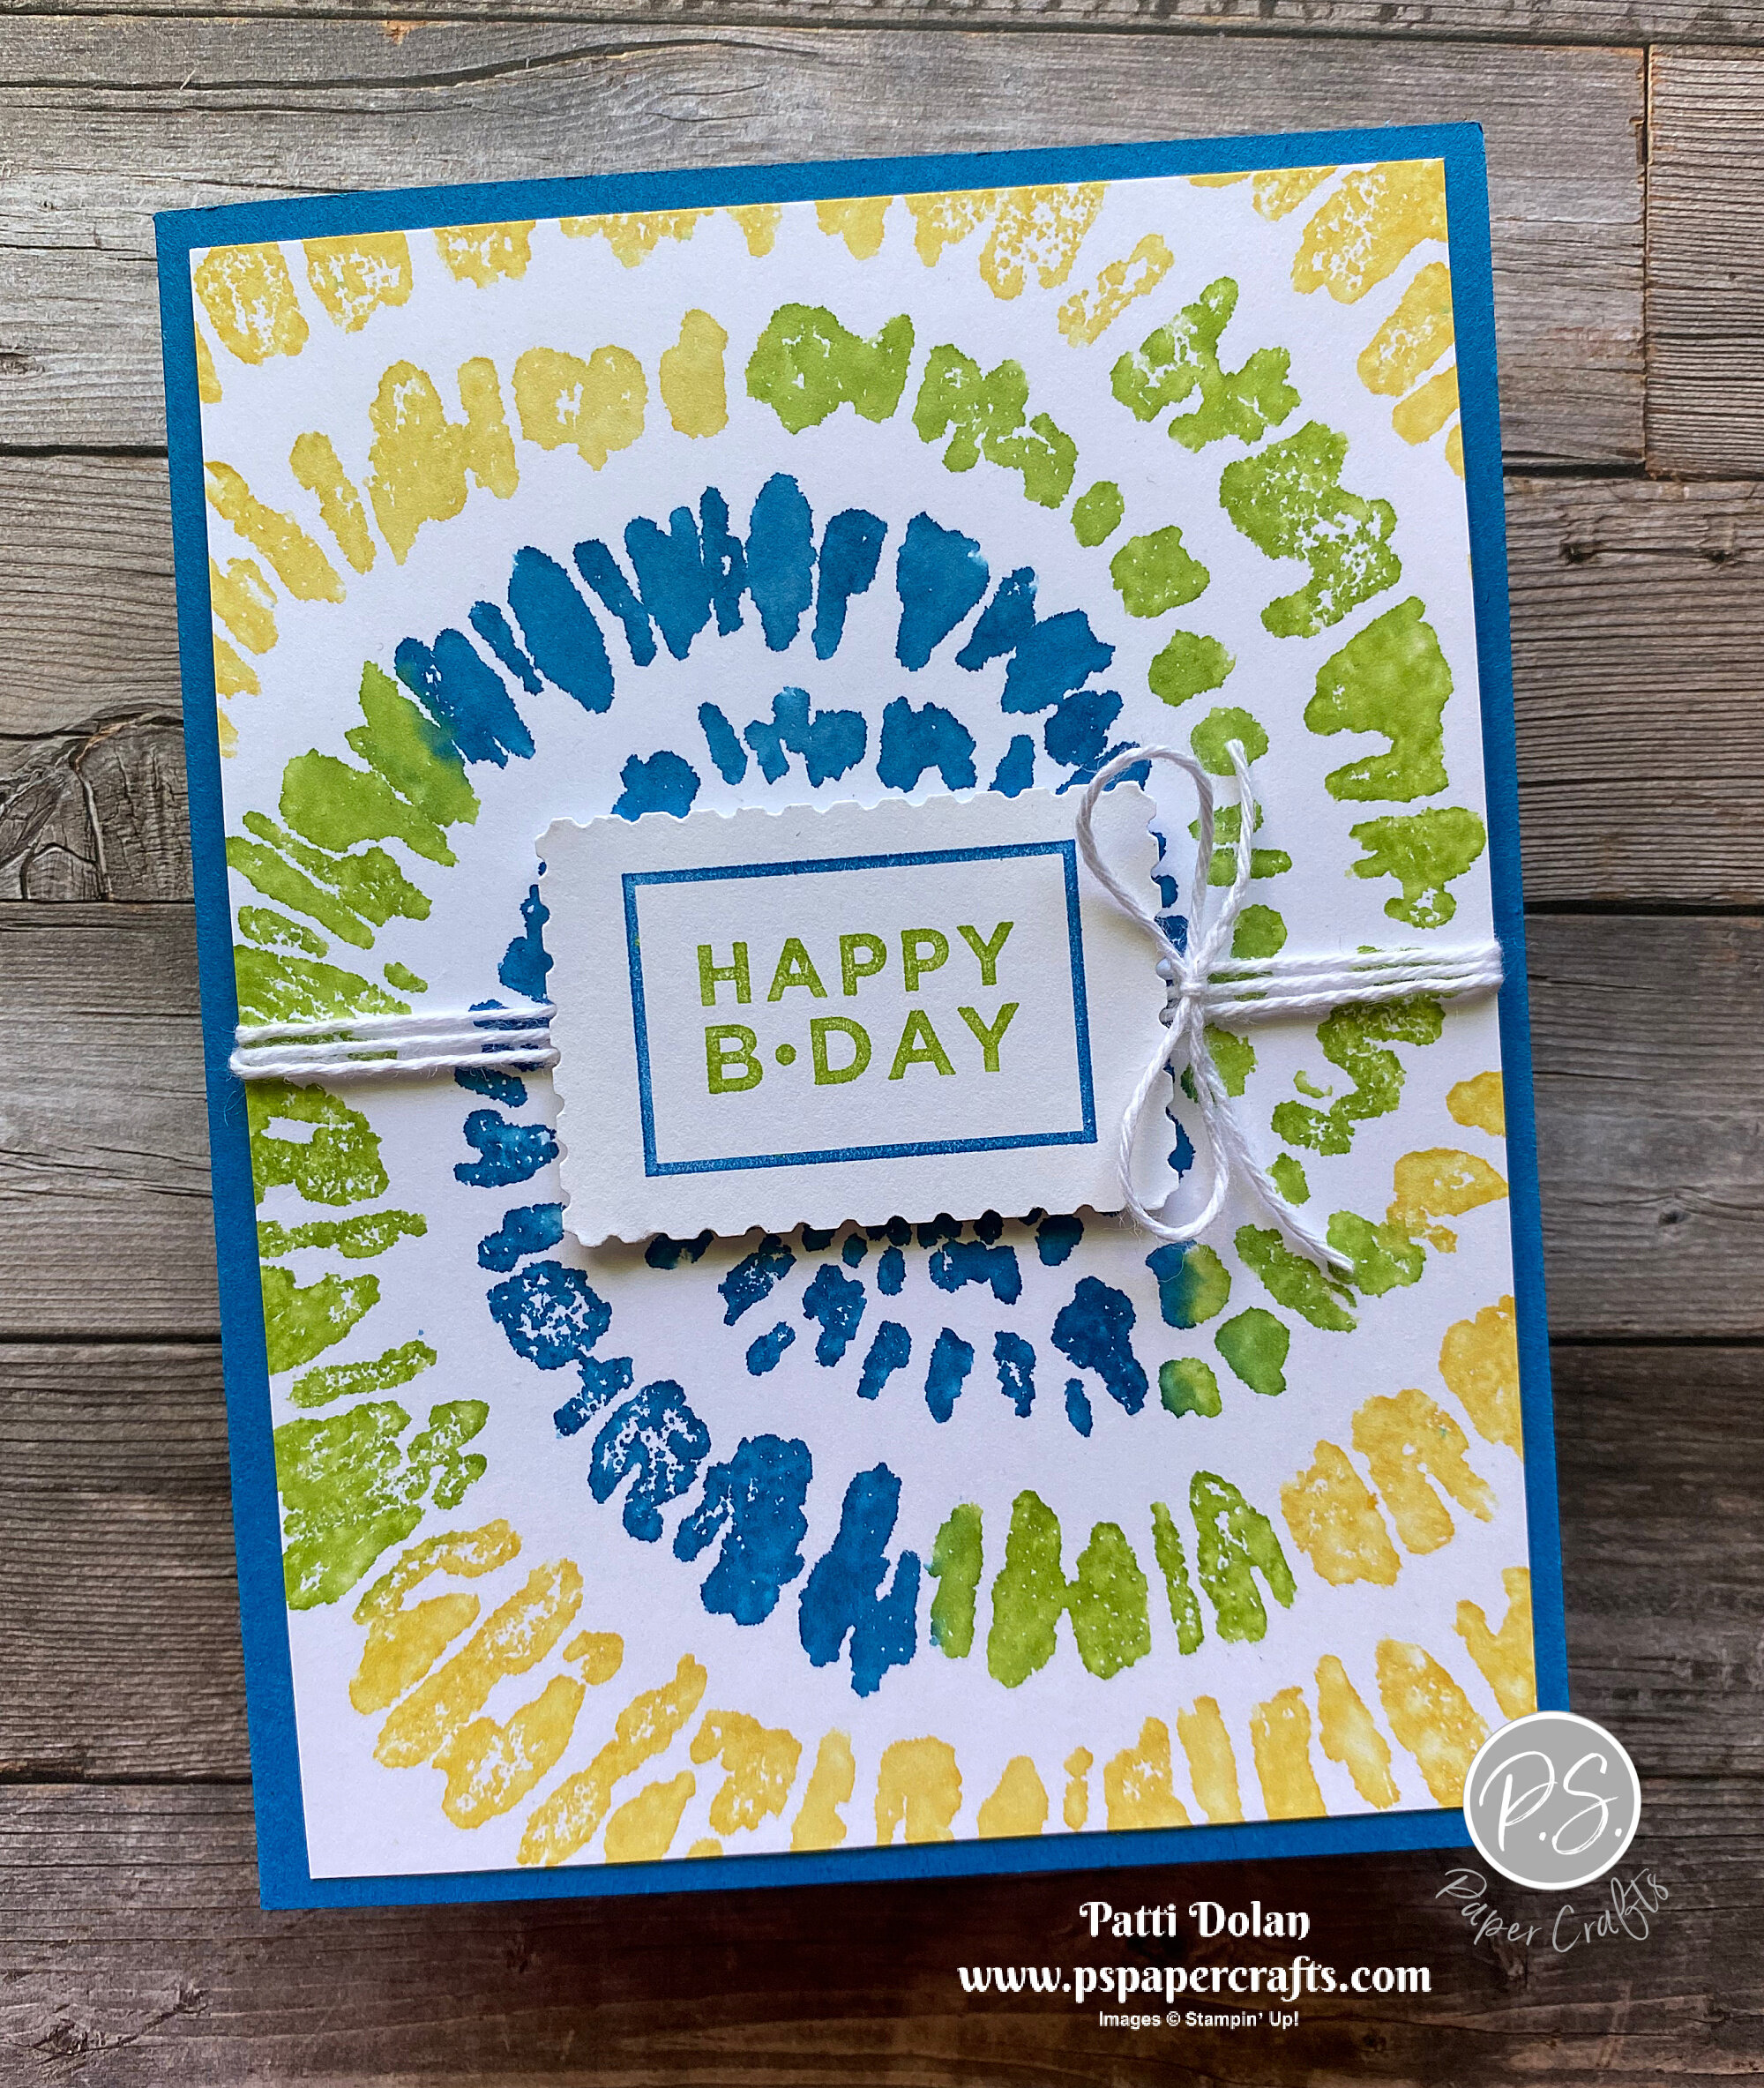
I made this card for my son’s birthday. He loves tie dye so this new Spiral Dye Stamp is just what I needed to make his card. I think he’s going to love it!

 
Groovy Tie Die Bday Card2.jpeg
 

In the video I’ll show you how I colored the stamp with different colors and then spritzed it to get that tie dye look. This was a fun card to make.


I used Pacific Point, Granny Apple Green and Daffodil Delight to get a nice bright look.

 
Groovy Tie Die Bday Card supplies.jpeg
 

Tips & Instructions

  • Pacific Point Card Base - 5 1/2 x 8 1/2, score at 4 1/4

  • Basic White Layer - 5 1/4 x 4

  • Using the Stamparatus line up the white layer and Spiral Dye Stamp as shown in the video.

  • Color the stamp with Stampin’ Write Markers changing colors as you want. Spritz with water using the Stampin’ Spritz. I used Pacific Point, Granny Apple Green and Daffodil Delight.

  • Stamp the image on the white layer.

  • Wrap 3 White Baker’s Twine around layer and adhere to the back. Adhere layer to card base.

  • Color the Happy B-Day stamp with Pacific Blue and Granny Apple Green Markers, breath on it and stamp on a scrap of Basic White Cardstock. Punch using the Rectangular Postage Stamp Punch and adhere using Dimensionals.

  • Tie bow with strand of Bakers Twine and adhere with Glue Dot.

 
Groovy Tie Die Bday Card1.jpeg
 

For the inside color the sentiment stamp with all three colors starting with the Daffodil Delight, then Granny Apple Green, then Pacific Point. Breath on the stamp and stamp on the inside layer.

 
Groovy Tie Die Bday Card inside.jpeg
 

Supply List

Elegantly Said Anniversary Card

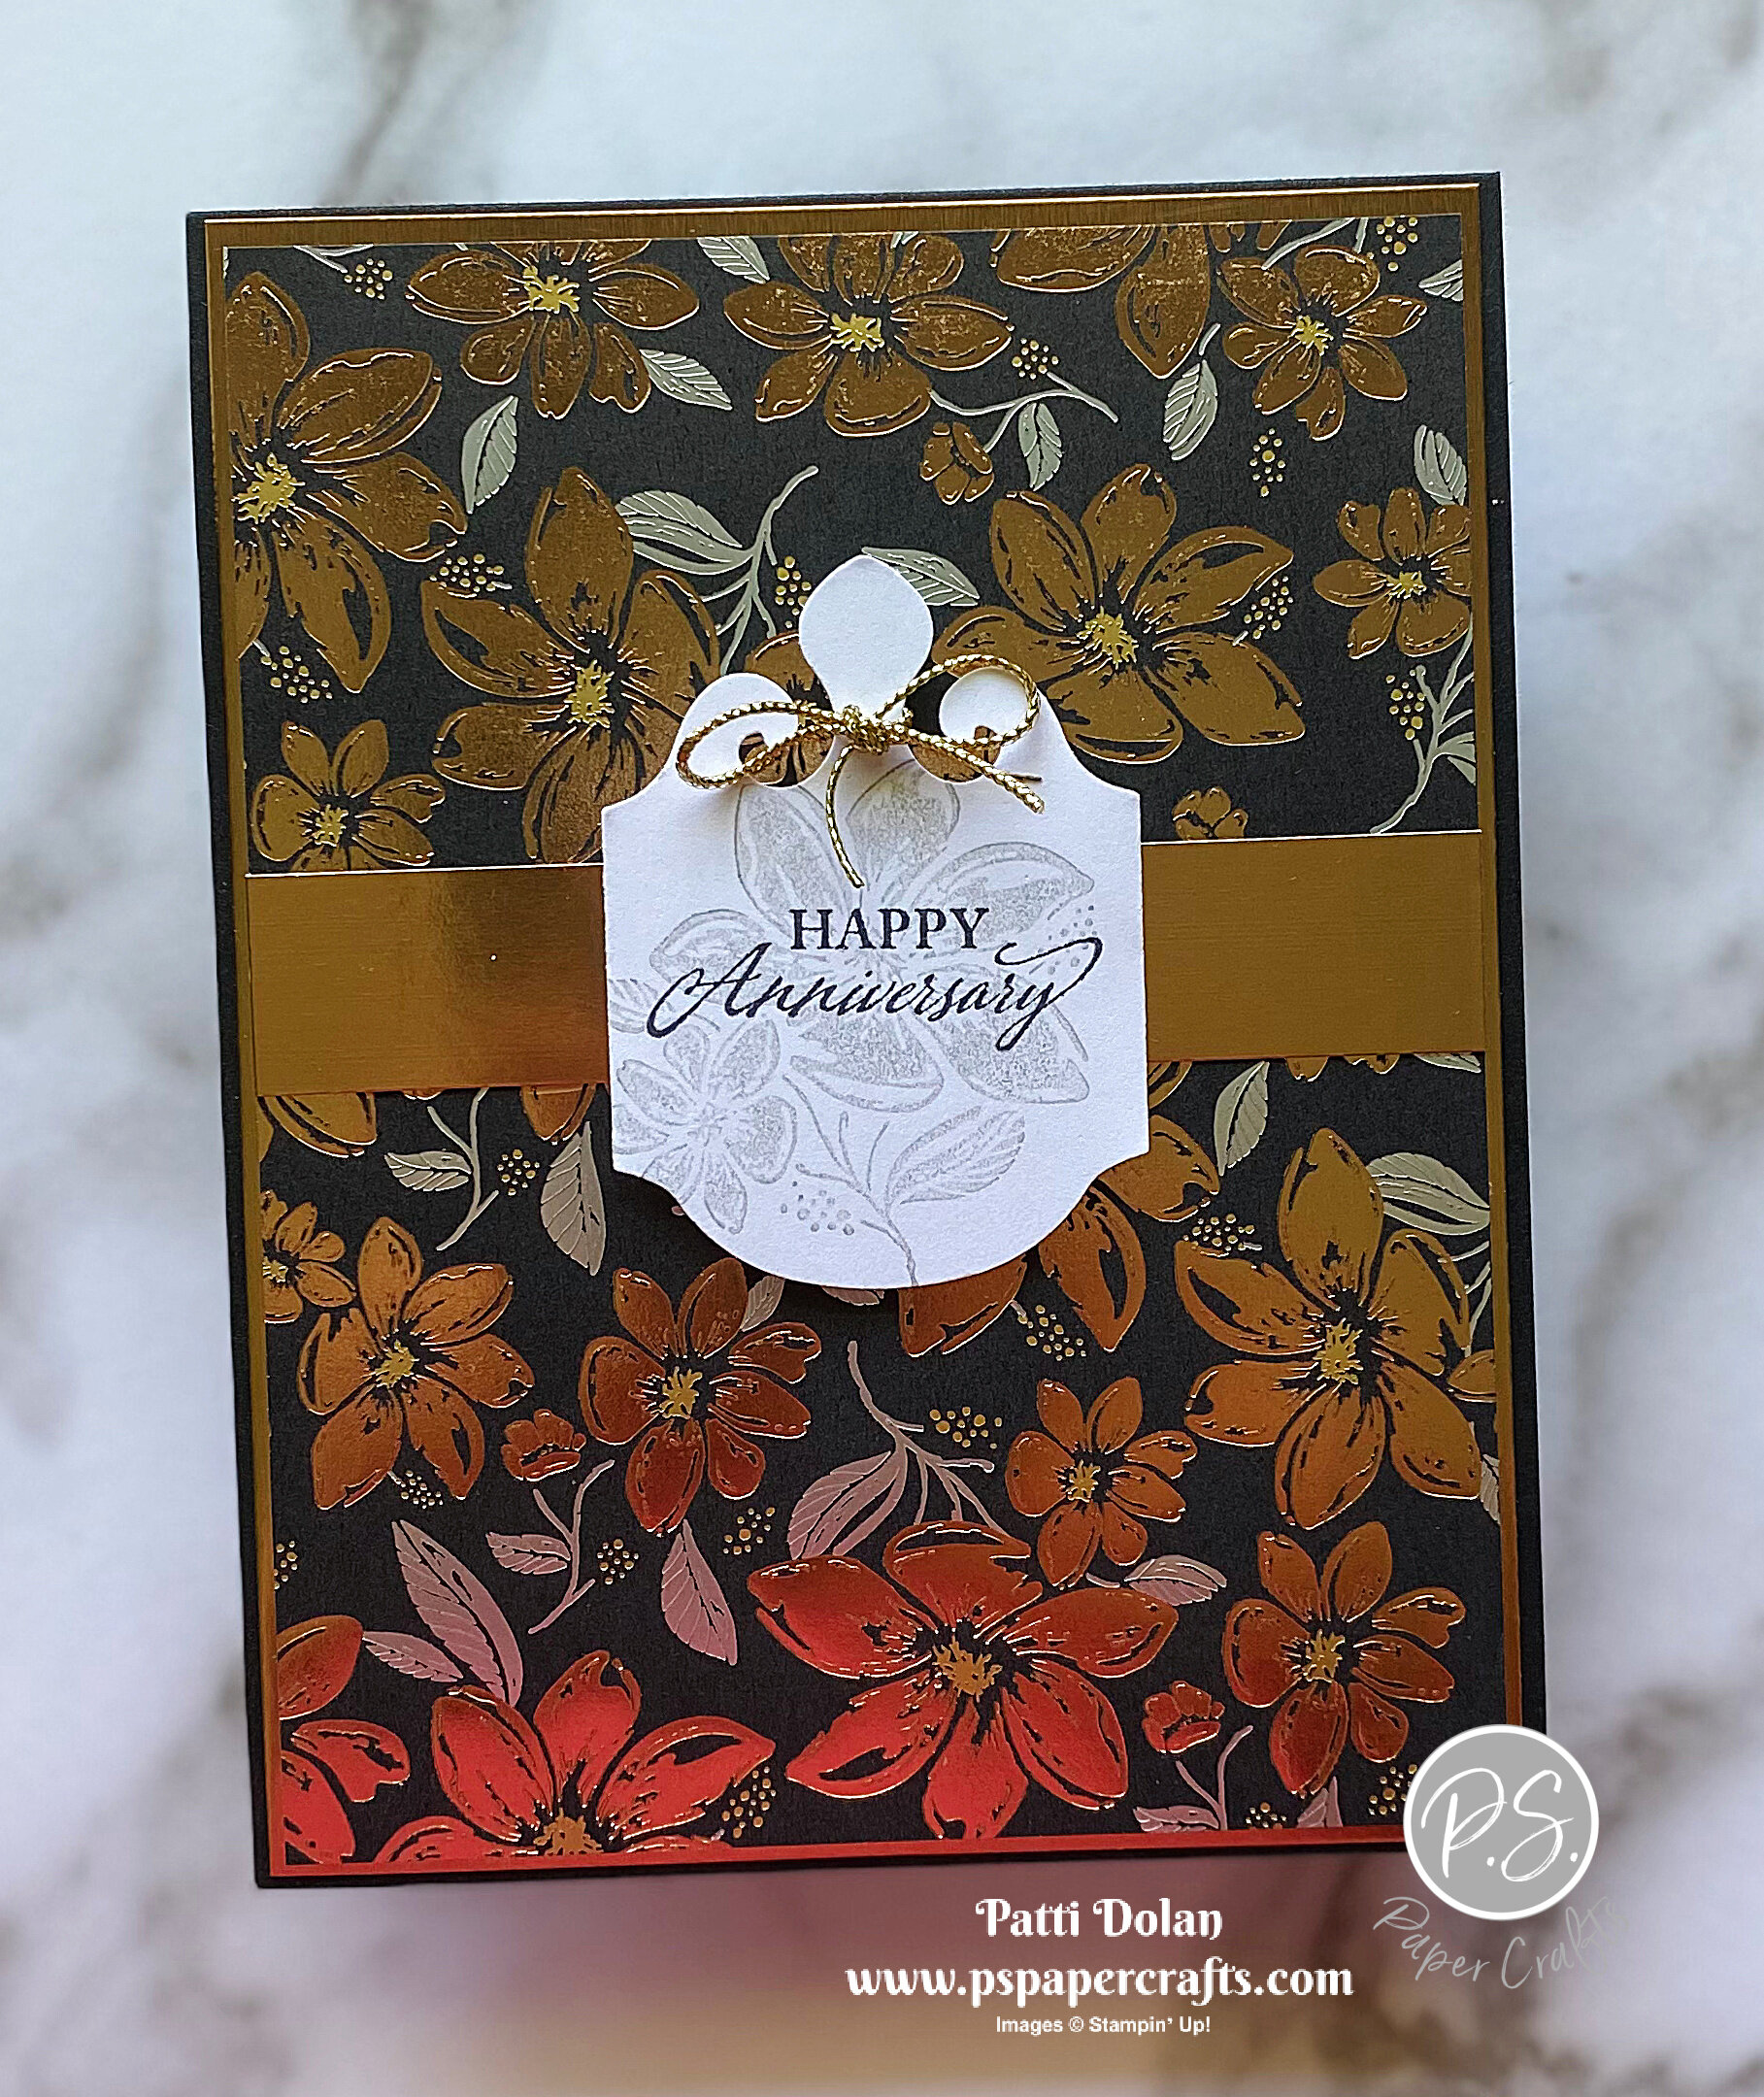
I made this beautiful anniversary card using the Elegantly Said Bundle from the new catalog.

 
Elegantly Said Anniversary Card1.jpeg
 

The sentiments are so pretty and the images are gorgeous. I think my favorite is the flower stamp. The punch is gives your card an elegant look.

 
Screen Shot 2021-05-04 at 12.54.42 PM.png
 

The thing that makes this card is the Simply Elegant Specialty Designer Series Paper. It has gold, copper and silver accents and is just beautiful.

 
Screen Shot 2021-05-04 at 1.13.47 PM.png
 

Tips & Instructions

  • Basic Black Card Base - 4 1/4 x 11, score at 5 1/2 (top folding)

  • Copper Foil Sheet - 5 3/8 x 4 1/8 (Tip - cut out center to save for another project)

  • Simply Elegant Specialty Designer Series Paper - 5 1/4 x 4

  • Copper Foil Strip - 4 x 3/4

  • Adhere layers and strip to card base

  • Stamp sentiment with black ink on Basic White Cardstock and punch with Elegant Tag Punch. Stamp the flower image with Smoky Slate Ink, stamping off twice to get a very light shade.

  • Tie piece of Simply Elegant Trim on top of tag and adhere tag to card using Dimensionals.

 
Elegantly Said Anniversary Card2.jpeg
 

On the inside stamp the sentiment with black ink and stamp the flower image with Smoky Slate Ink, stamping off once to get a lighter image.

 
Elegantly Said Anniversary Card inside.jpeg
 

Supply List

New Catalog Live / Ways To Get FREE Products

The new 2021-2022 Annual Catalog is LIVE!!!
You can start ordering today!

Click the catalog image to go to see an online copy.


Before you shop, check out two ways you can get FREE products!

 
May Specials.png
 

First, when you purchase the Starter Kit between May 4 and May 31, Stampin' Up! is giving you an extra $30 in products on top of their already great deal.

You spend $99 (plus Tax) and get:

  • $155 worth of products (your choice)

  • FREE Shipping on this order

  • 20% Discount on future orders (with the opportunity to get 25%)

  • Join a fantastic group of Stampers (Facebook, challenges, prize patrol, sharing ideas, etc.)
    This is my favorite part of being a demonstrator, my tribe!!!

You don't have to do this as a business, just enjoy the discount like so many Demonstrators!

The other deal is when you place an order of $250 or more and you'll get $25 extra in free product.

 
Screen Shot 2021-05-03 at 4.19.49 PM.png
 
Screen Shot 2021-05-03 at 4.20.06 PM.png

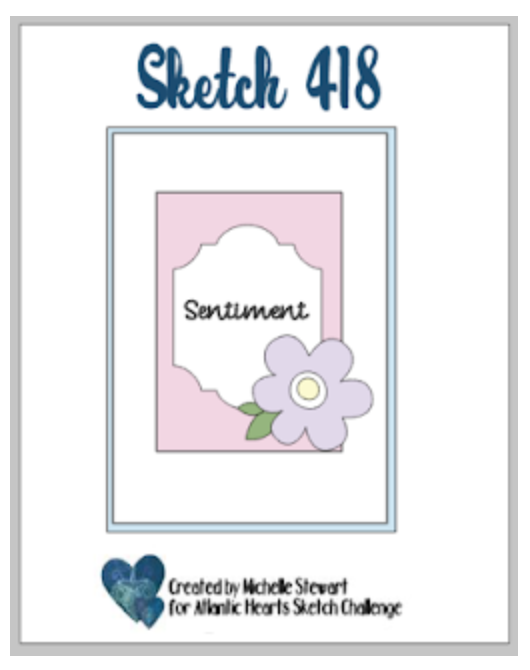
Sketch Saturday - Pansy Patch

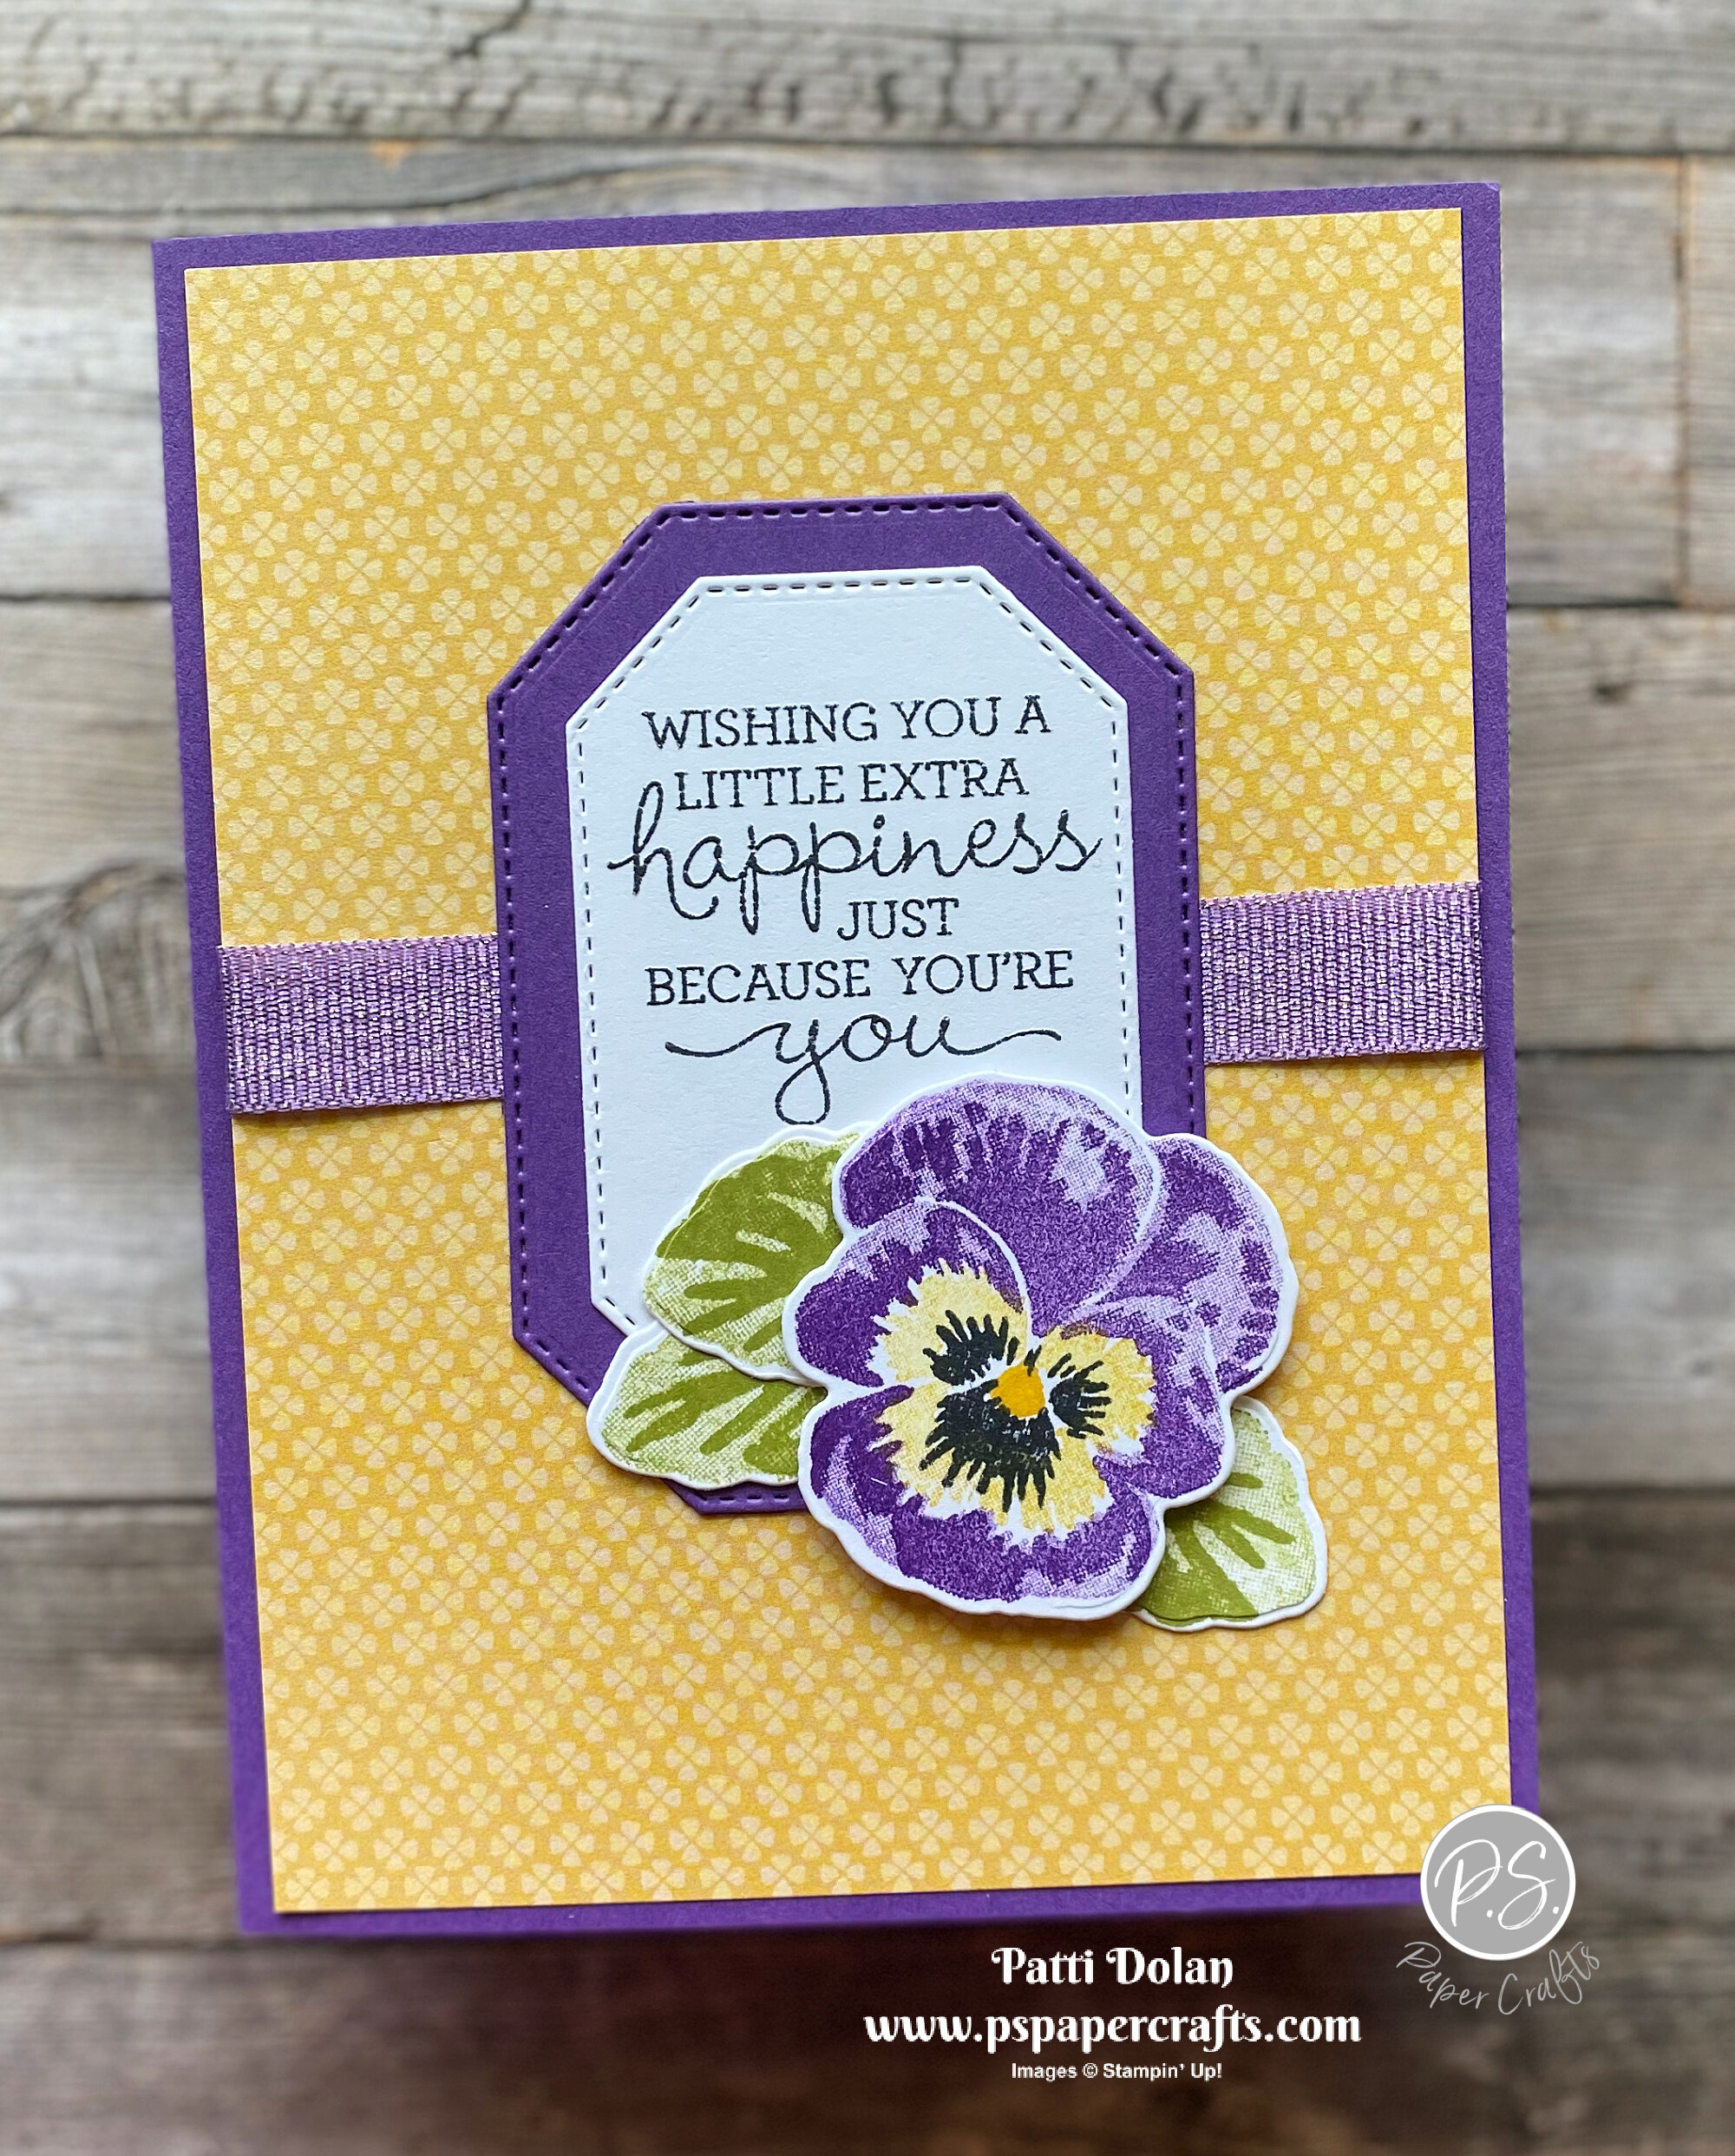
I was so happy to see the Pansy Patch Stamp Bundle in the new catalog. Pansies are my favorite flowers! They just make me happy!

 
Sketch Saturday - Pansy Patch card1.jpeg
 

I made this card for the weekly Atlantic Hearts Sketch Challenge. This was a great sketch for my style.

 
Screen Shot 2021-04-30 at 3.54.09 PM.png
 

The Pansy Patch Stamp Set has beautiful sentiments. I love the font. There are lots of layers for your pansies. Just play with them to see how they work.

 
Sketch Saturday - Pansy Patch stamp.jpeg
 

Steps & Instructions

  • Gorgeous Grape Card Base - 5 1/2 x 8 1/2, score at 4 1/4

  • Pansy Petals Designer Series Paper - 5 1/4 x 4

  • Wrap a piece of Highland Heather Grosgrain Ribbon around the layer and adhere to the back and then adhere to the card base.

  • Stamp sentiment with black ink on Basic White Cardstock and cut with the second from largest stitched label from the Hippo & Friends Dies. Cut the larger label from a piece of Gorgeous Grape Cardstock and adhere layers together, then adhere to card.

  • Create the pansy by doing the following steps:

    • Stamp the large detailed pansy with Gorgeous Grape Ink.

    • Stamp the large plain pansy with Gorgeous Grape Ink, stamping off first to get a lighter shade.

    • Stamp the inside with Daffodil Delight Ink, stamping off twice to get a light shade.

    • Stamp the detail inside with Black Ink.

    • Stamp the dot in the center with Daffodil Delight Ink.

  • Stamp the 3 leaves with Pear Pizzazz Ink. Stamp the detailed image straight on and then the background with Pear Pizzazz Ink, stamping off first.

  • Cut the pansy and the leaves with coordinating dies and adhere to the label using Dimensionals for the pansy.

 
Sketch Saturday - Pansy Patch card2.jpeg
 

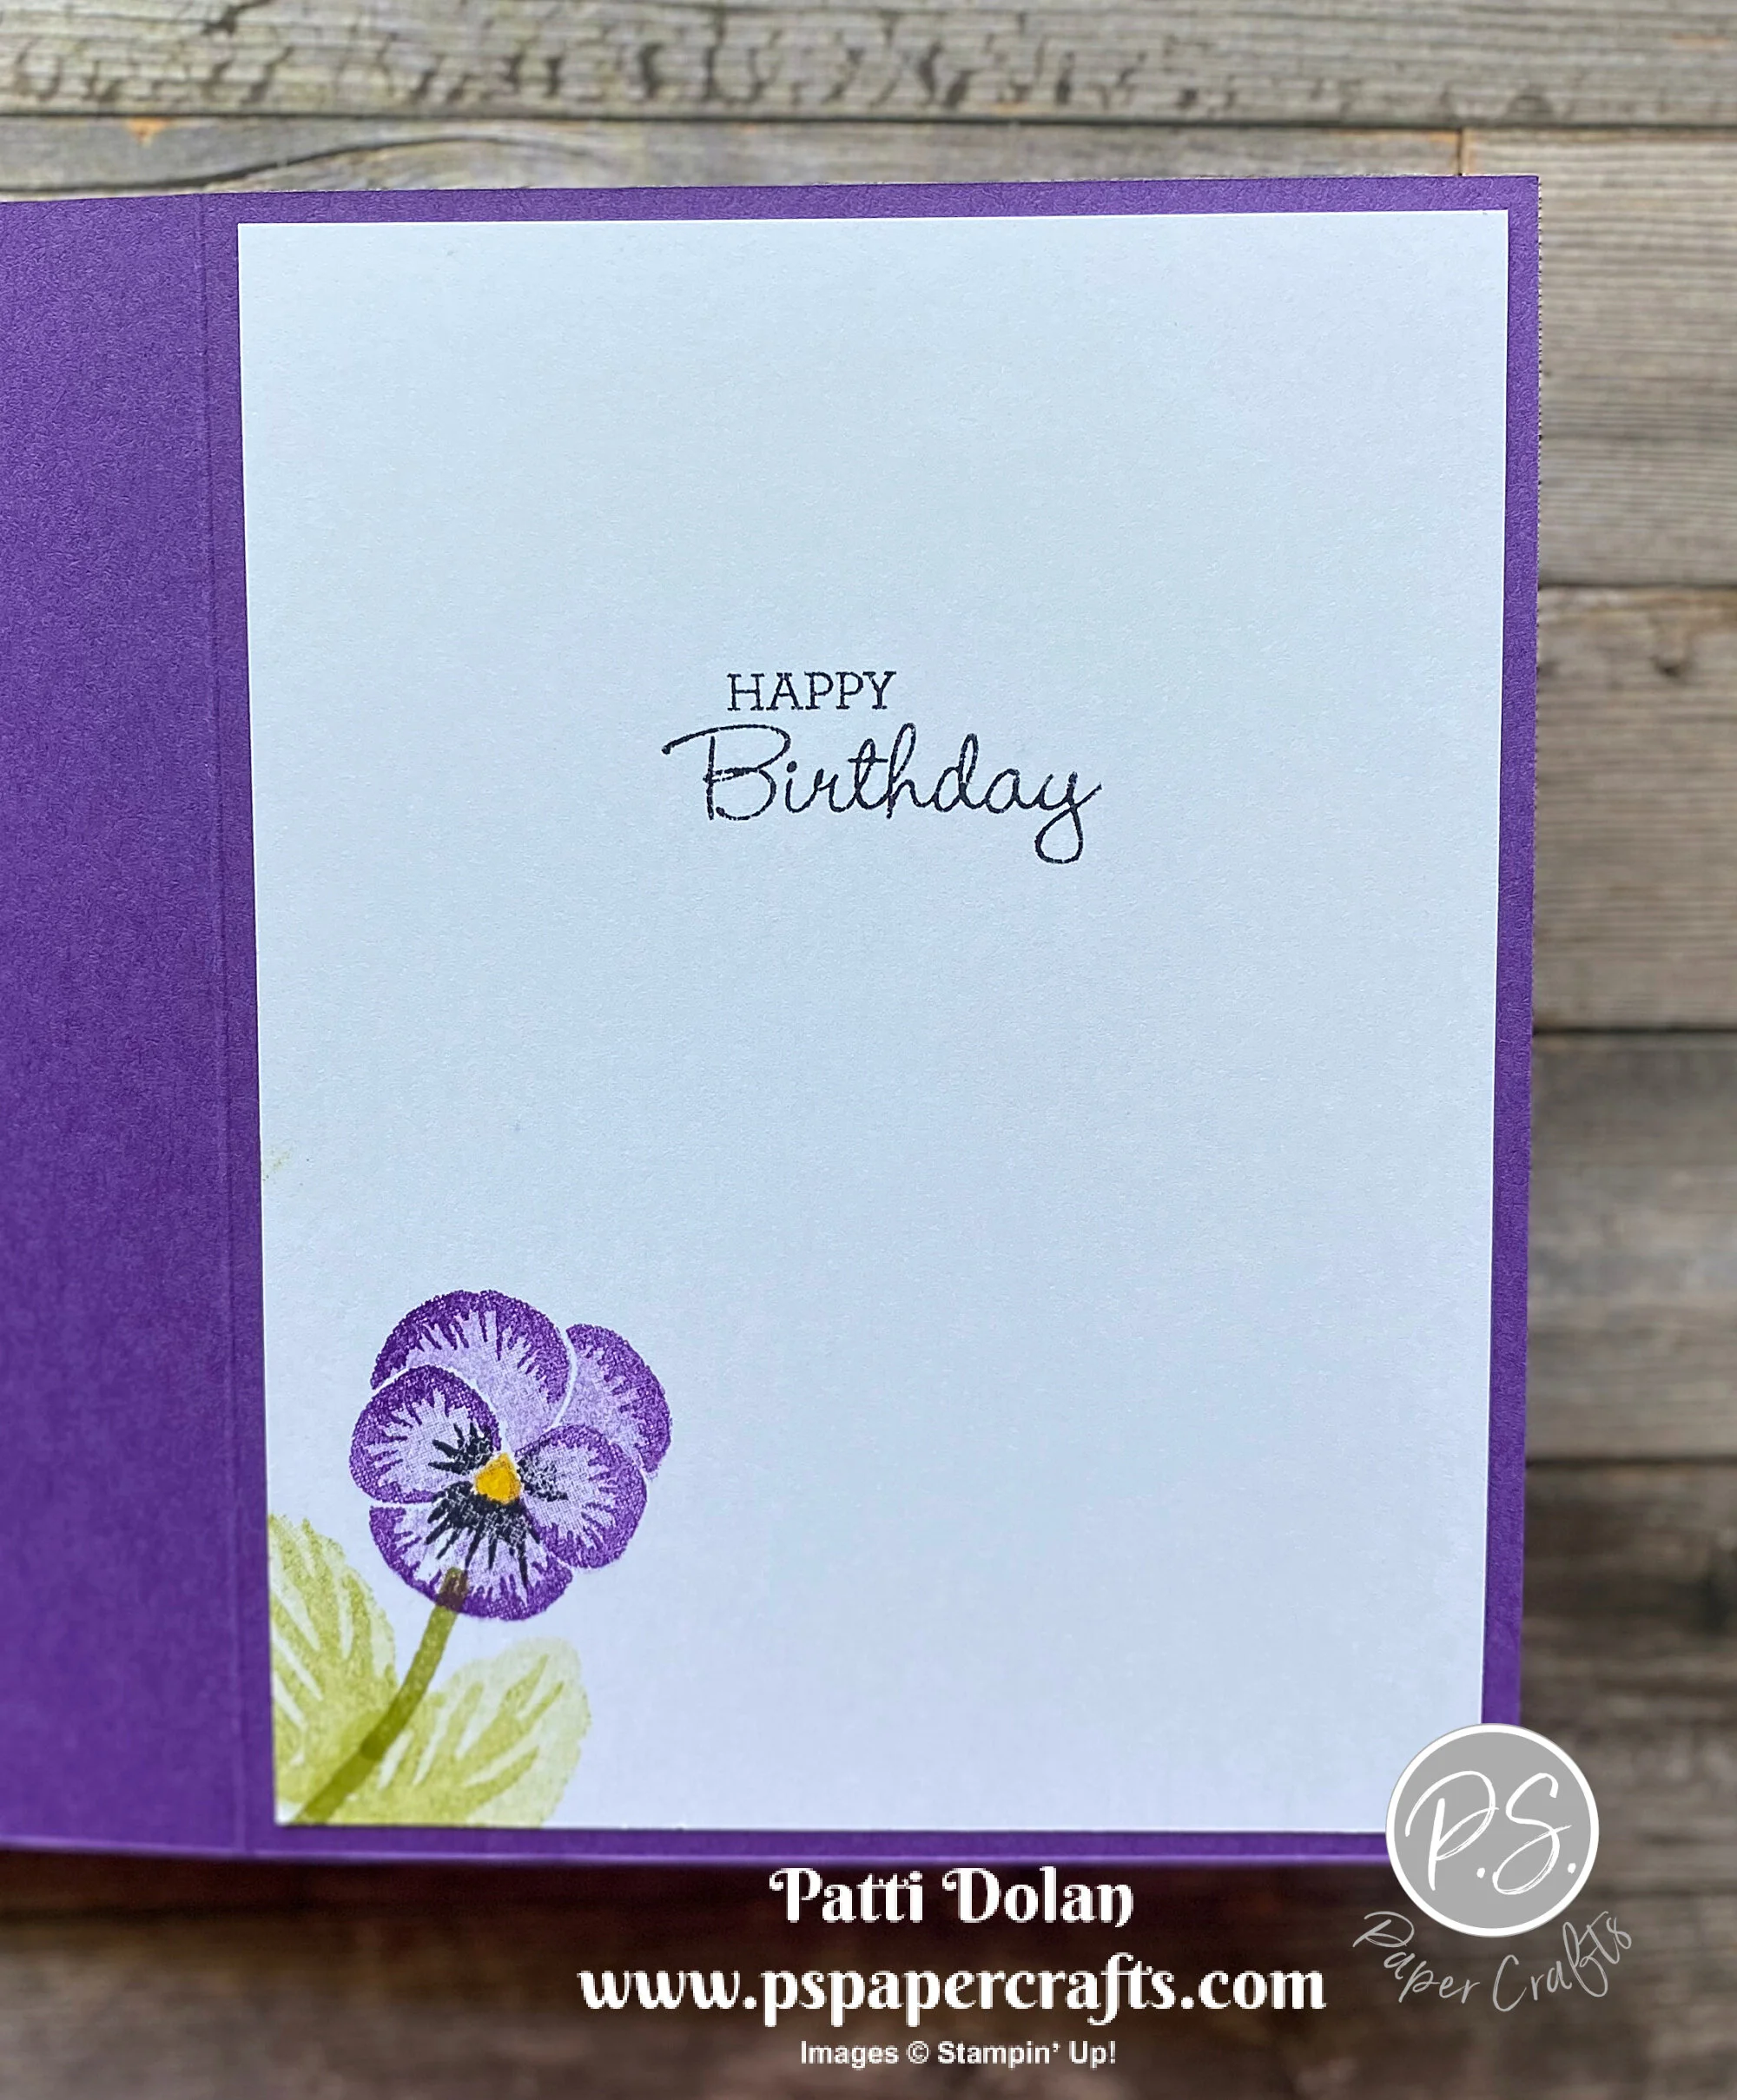
On the inside, stamp the sentiment with black ink. Stamp the stem and leaves with Pear Pizzazz Ink. Stamp the smaller pansy with Gorgeous Grape Ink, stamping the detailed image directly and the background image by stamping off first. Stamp detailed inside with black ink and the center with Daffodil Delight Ink.

 
Sketch Saturday - Pansy Patch inside.jpeg
 

Supply List