0
items
$0


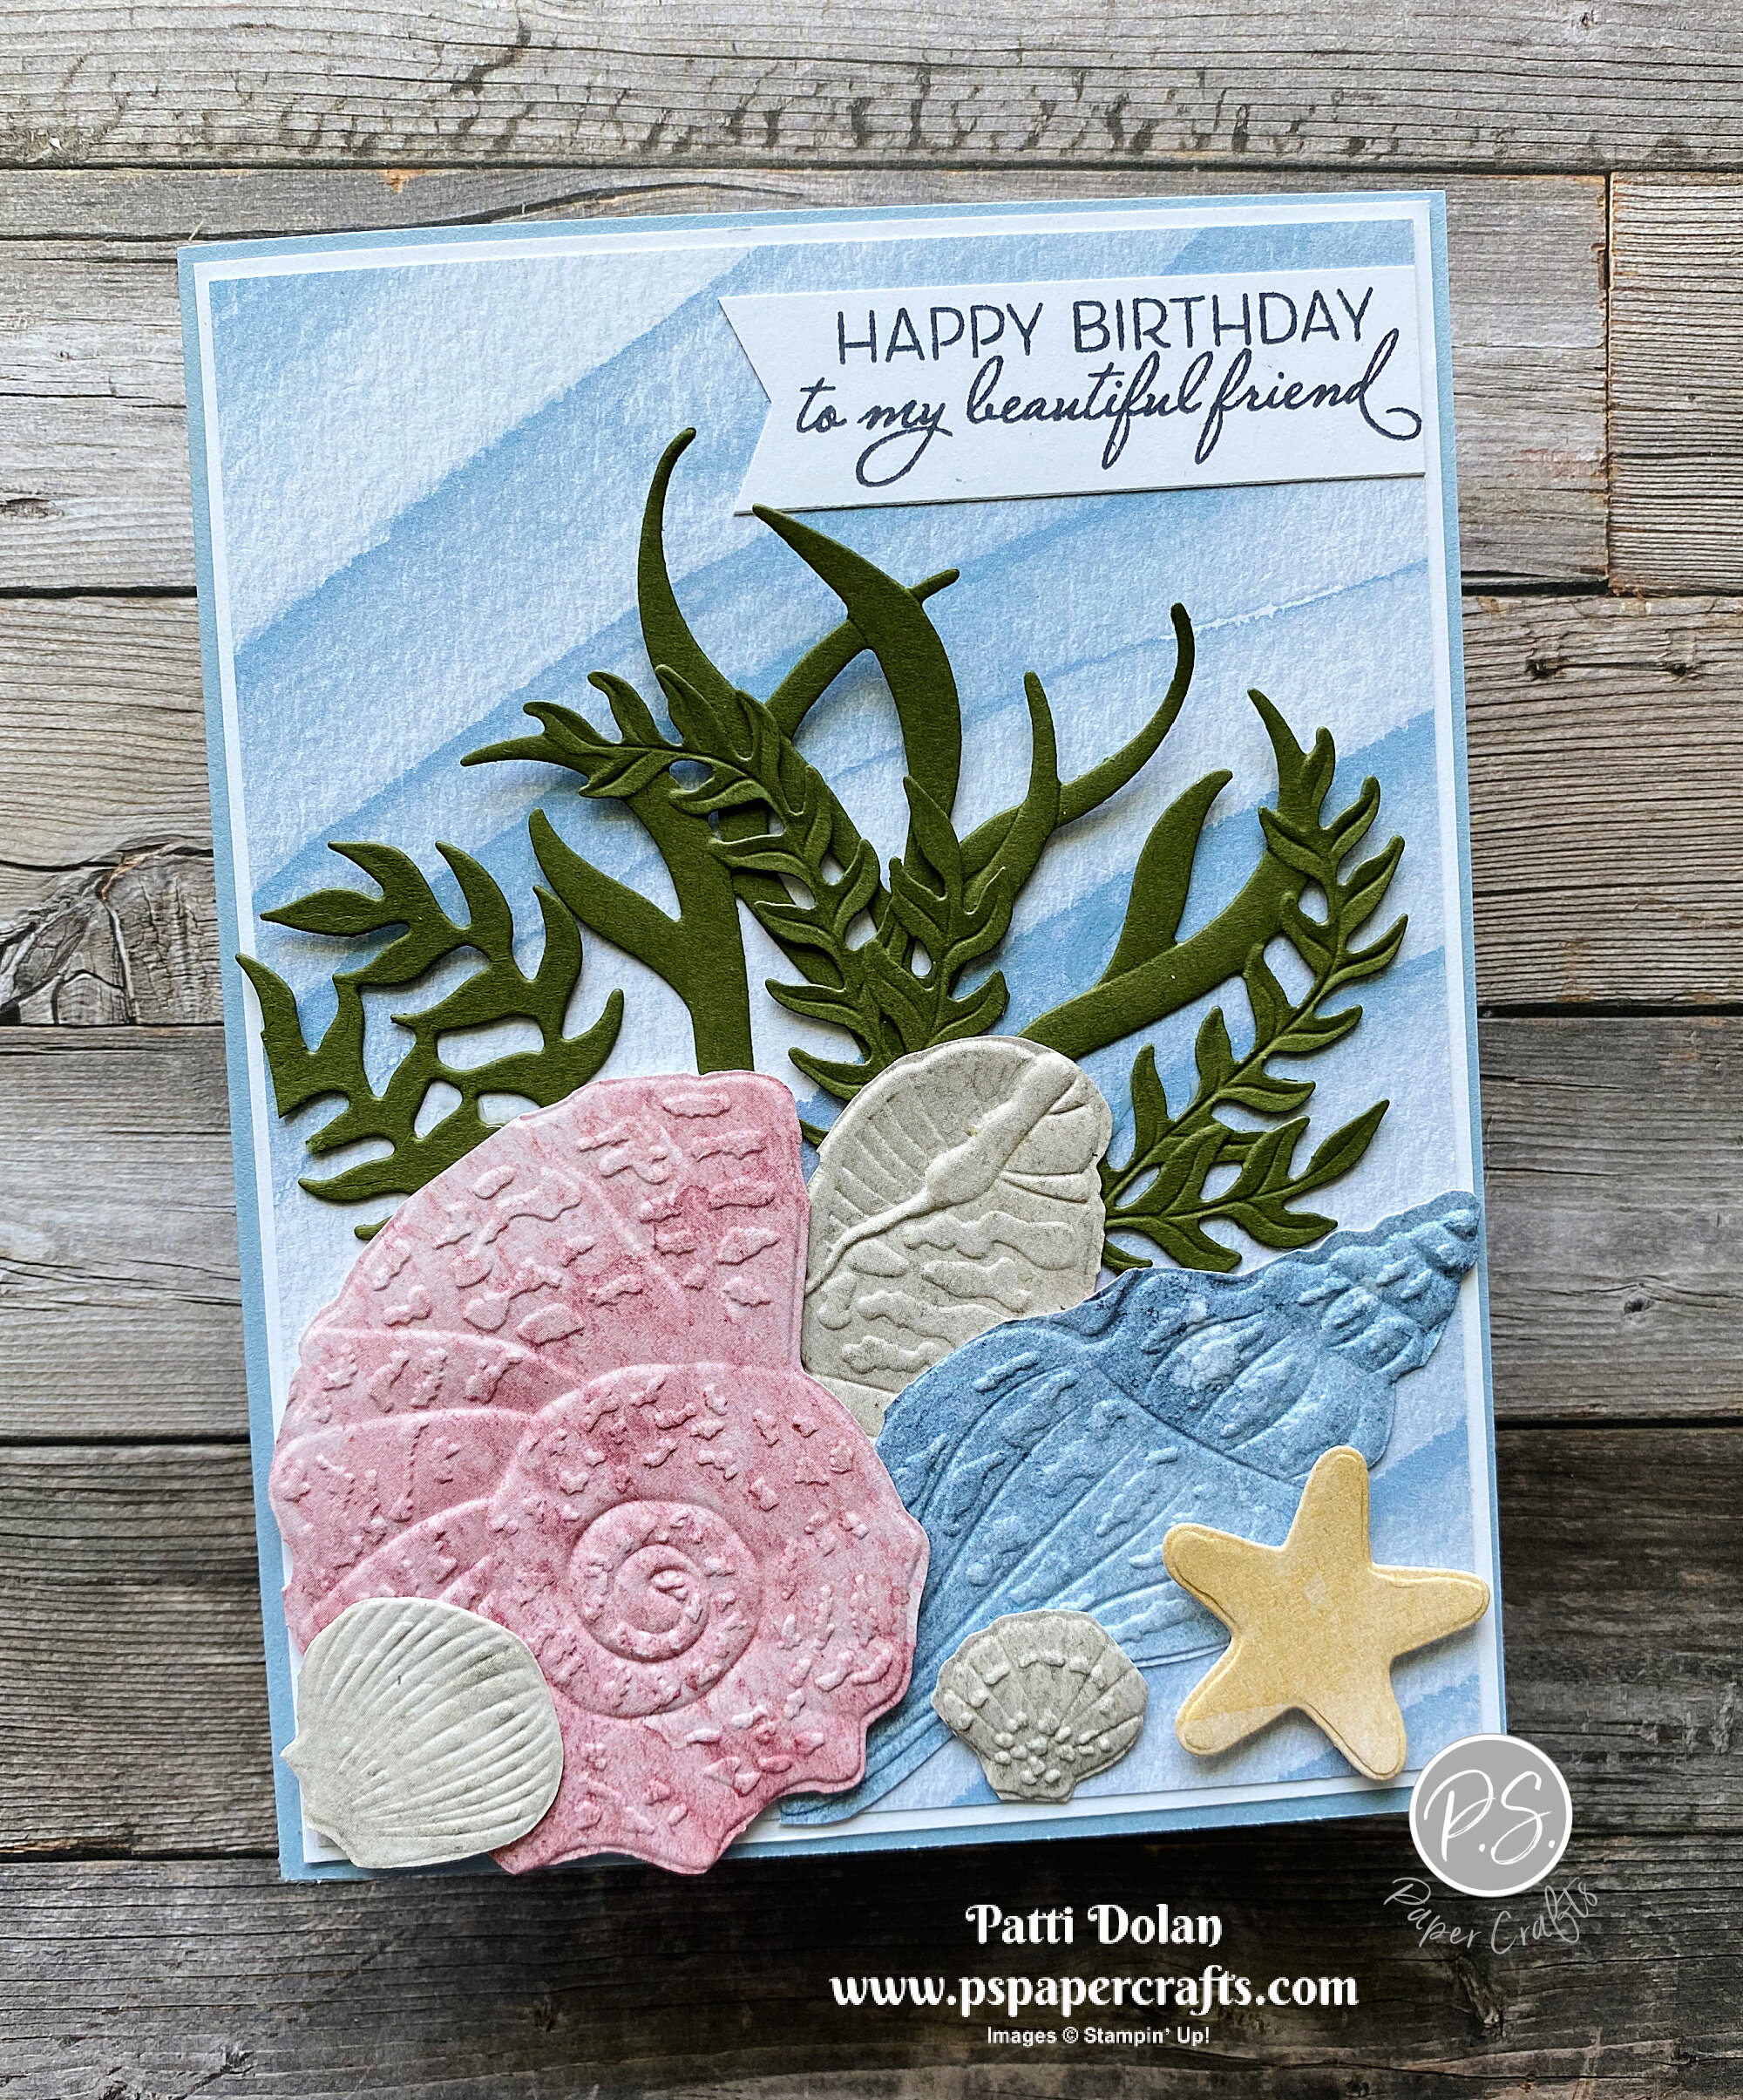
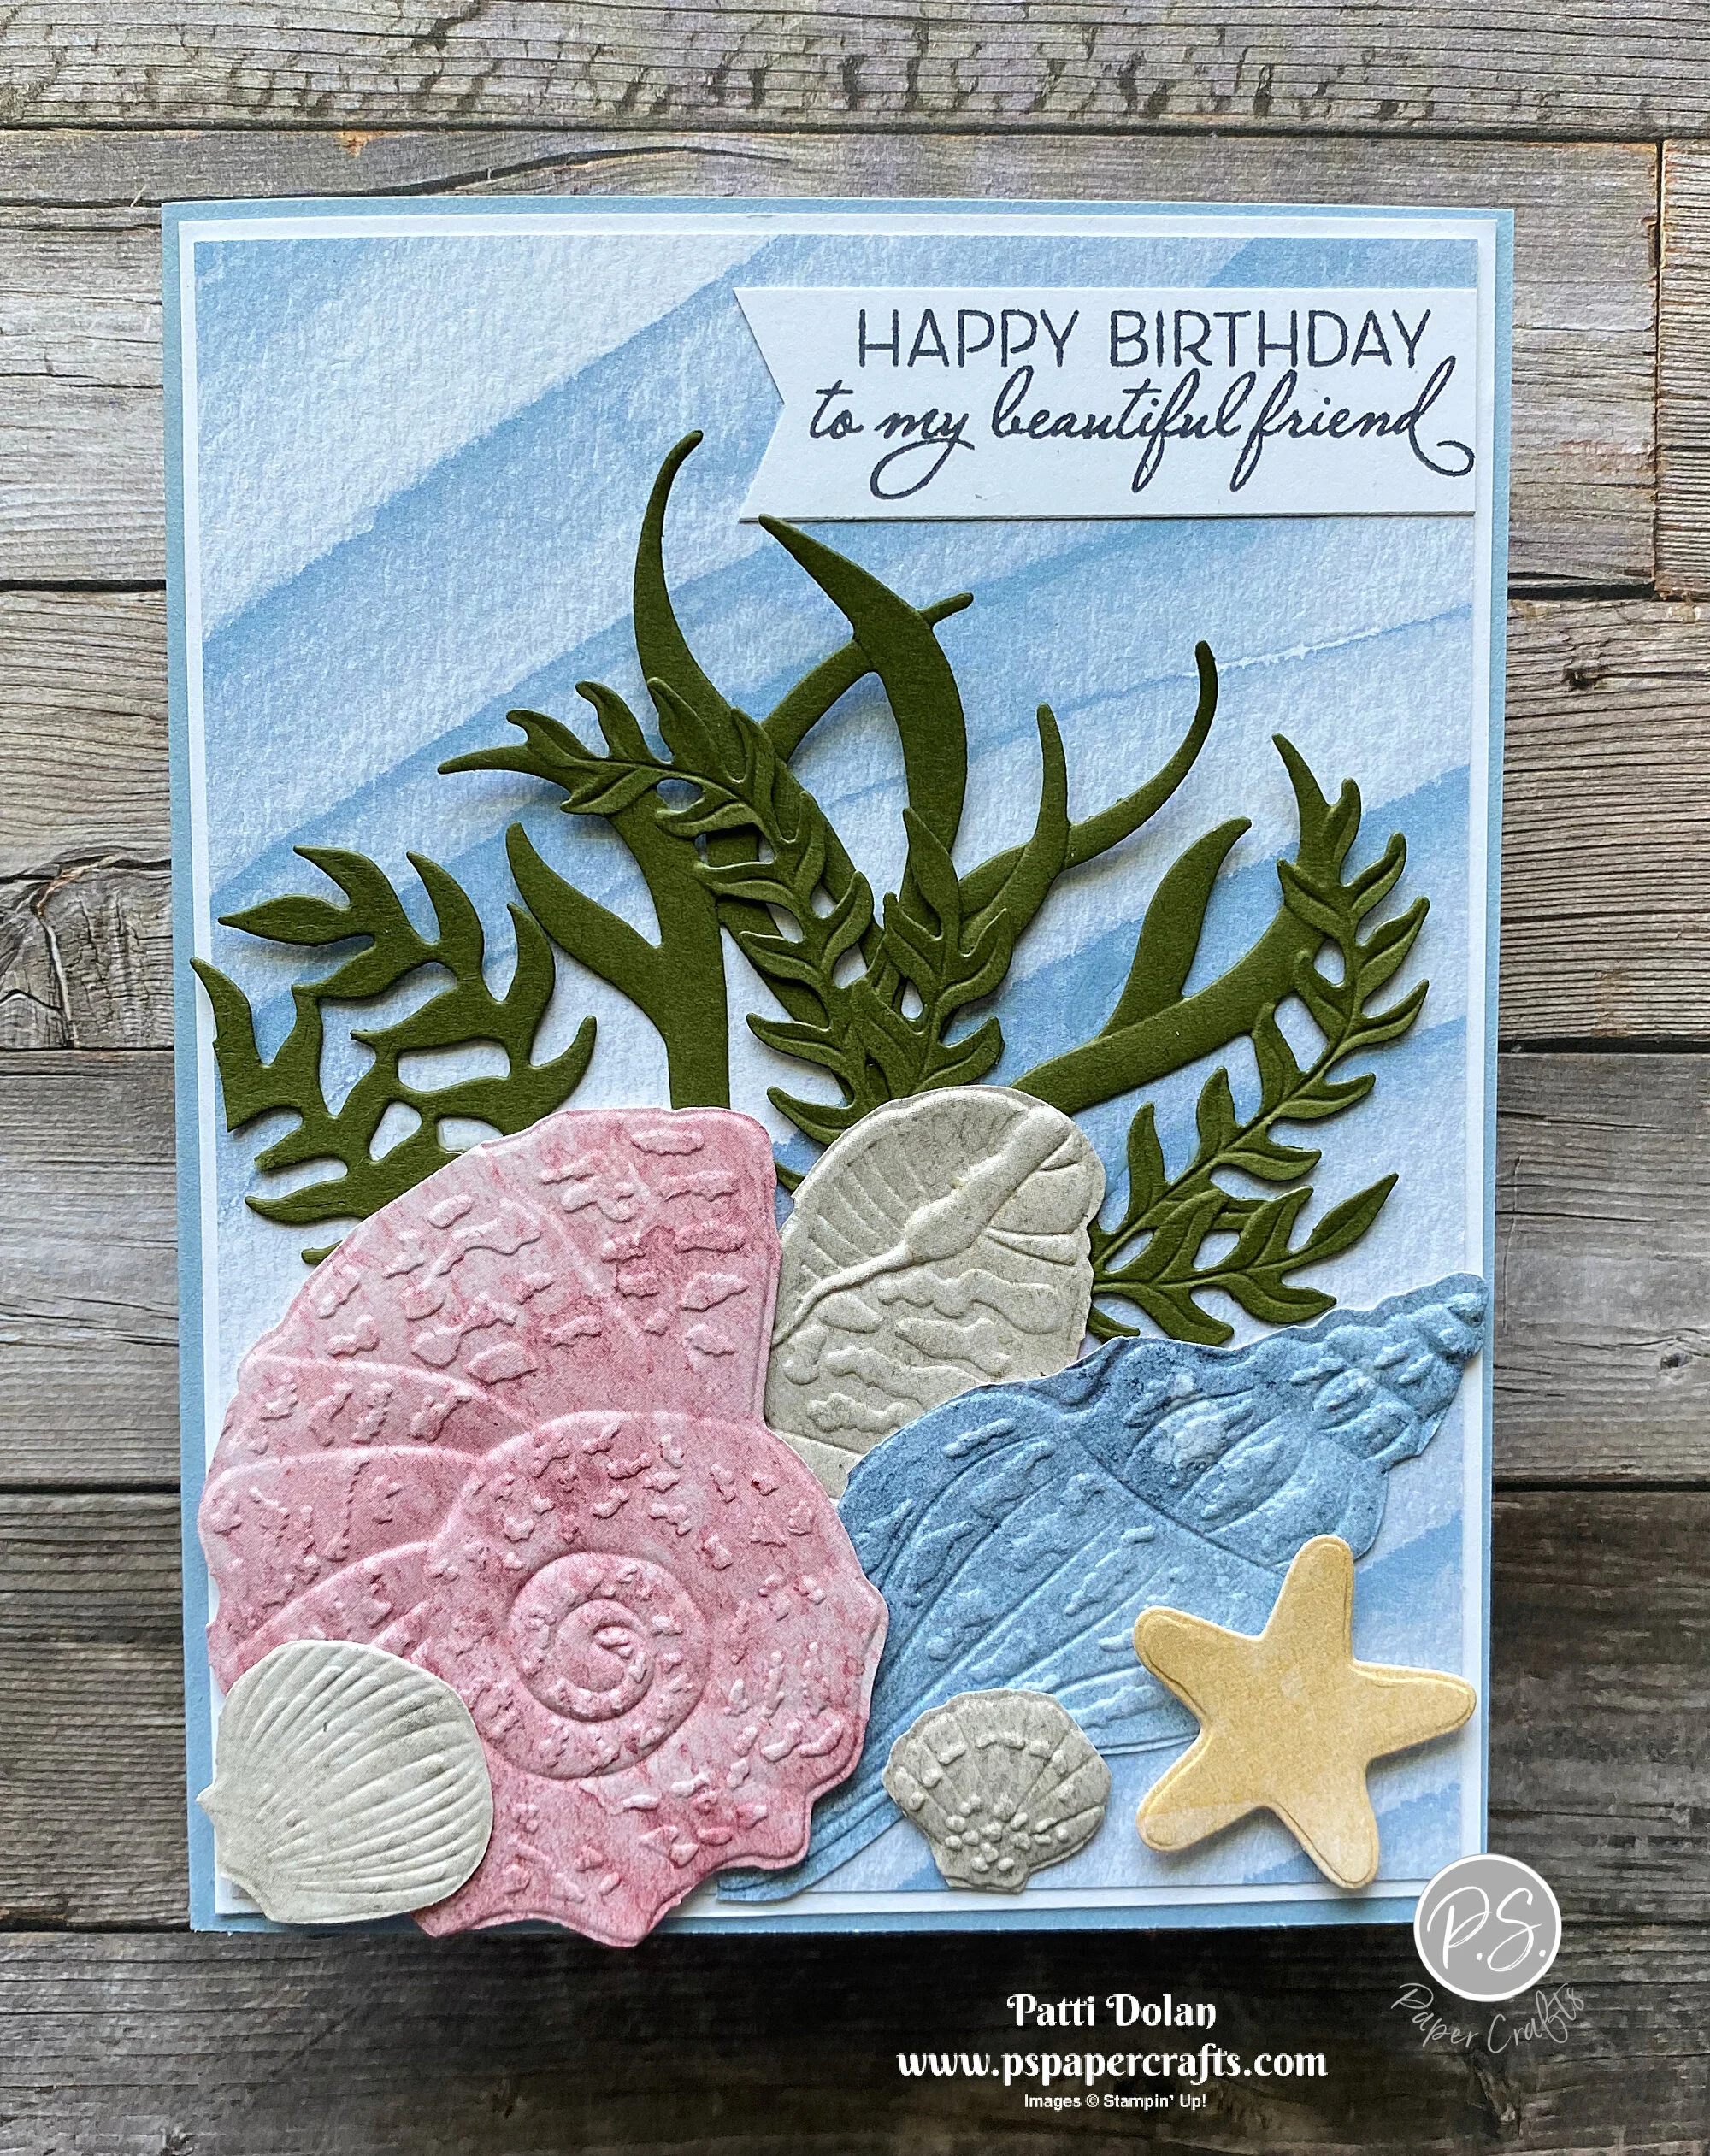
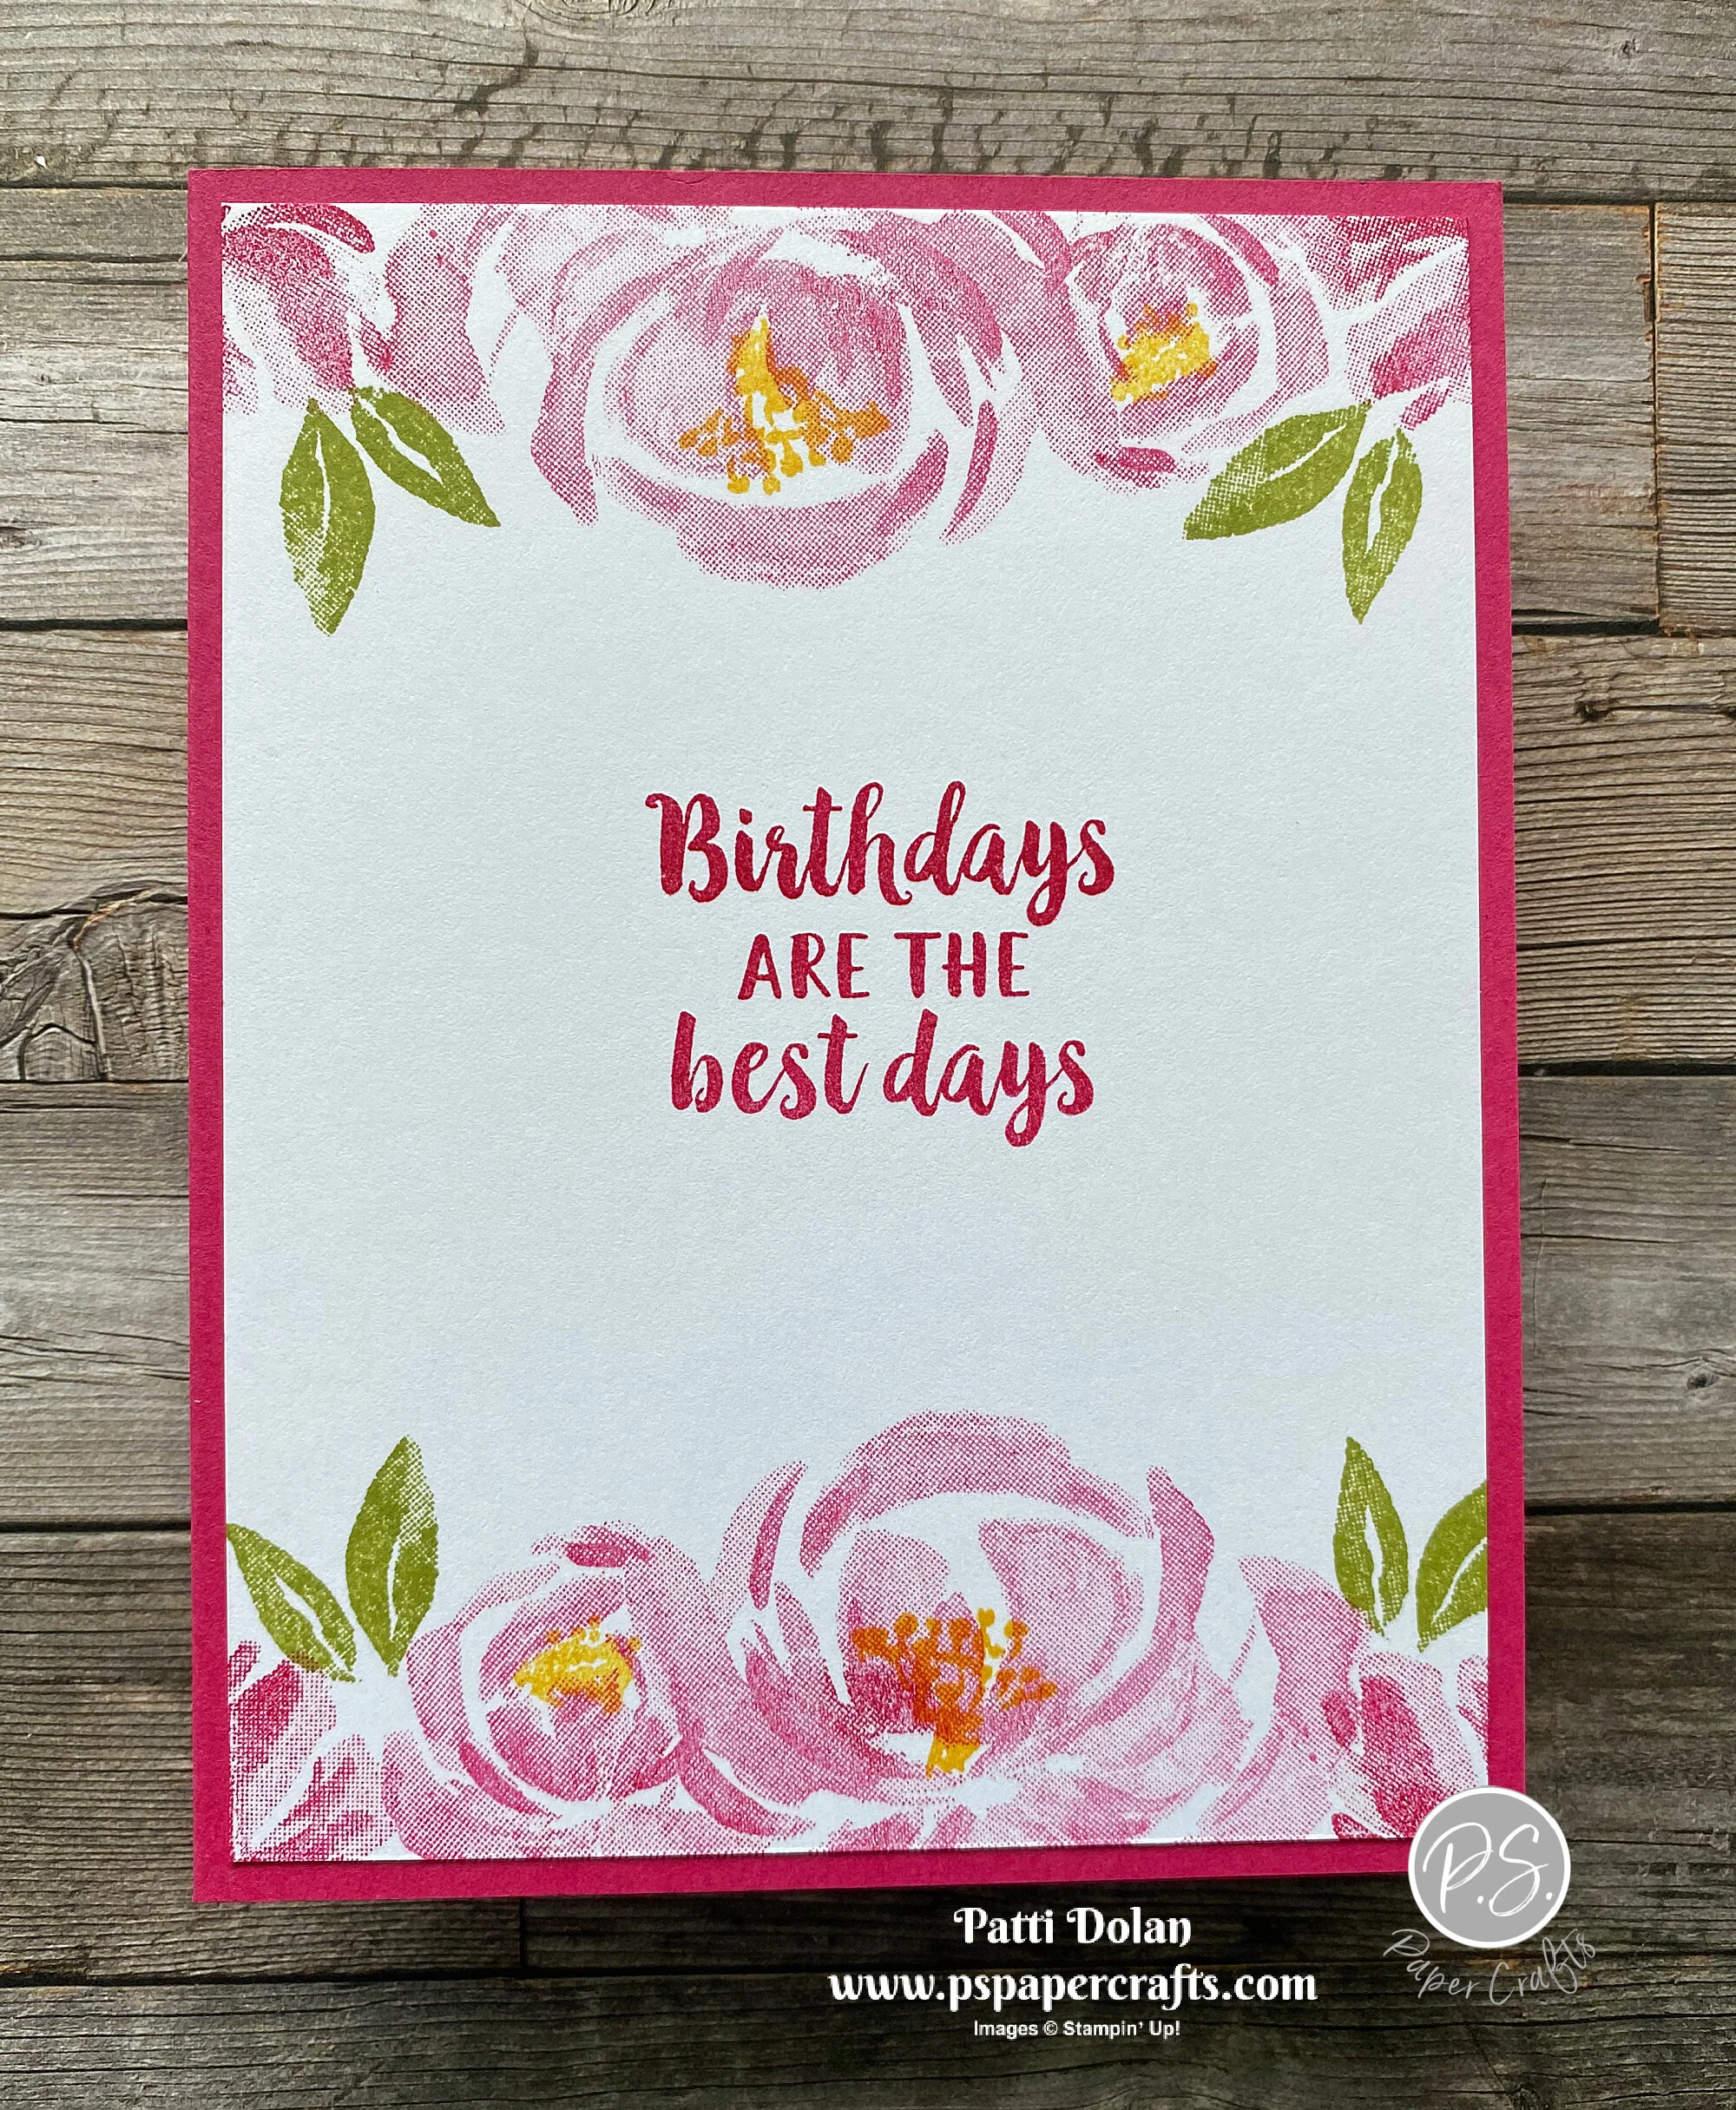
Sketch Saturday - Fine Art Floral
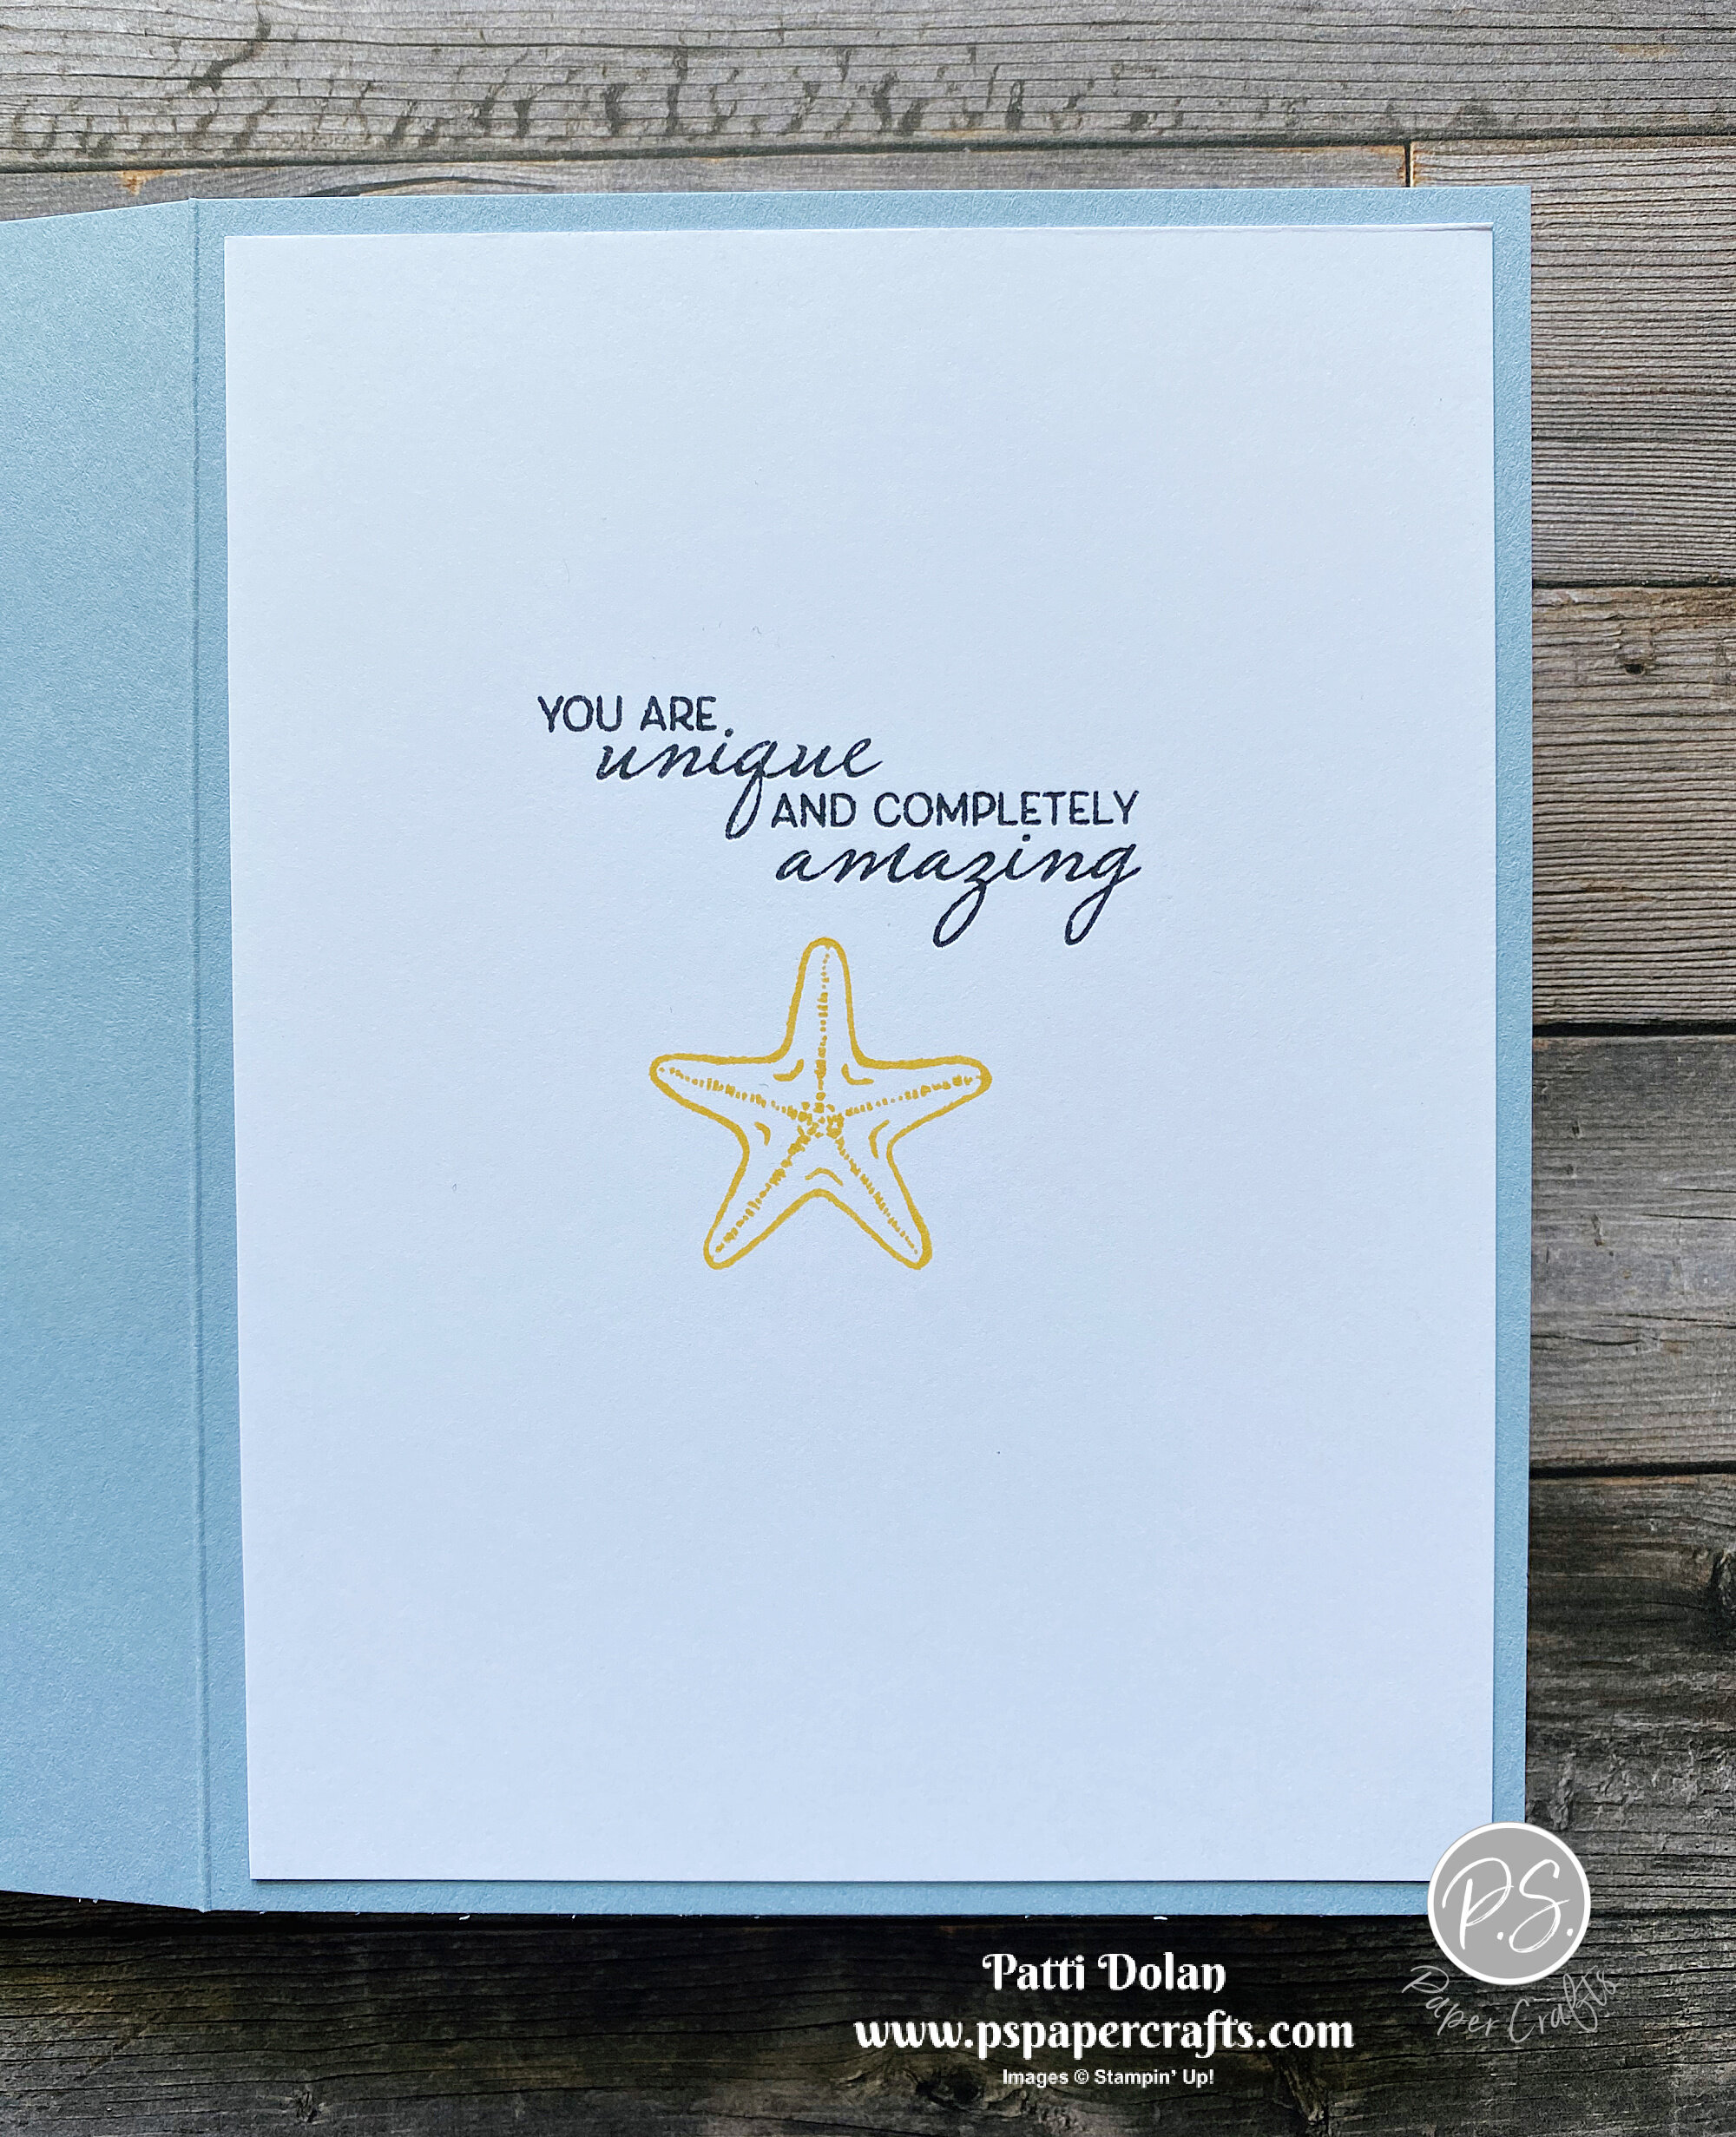
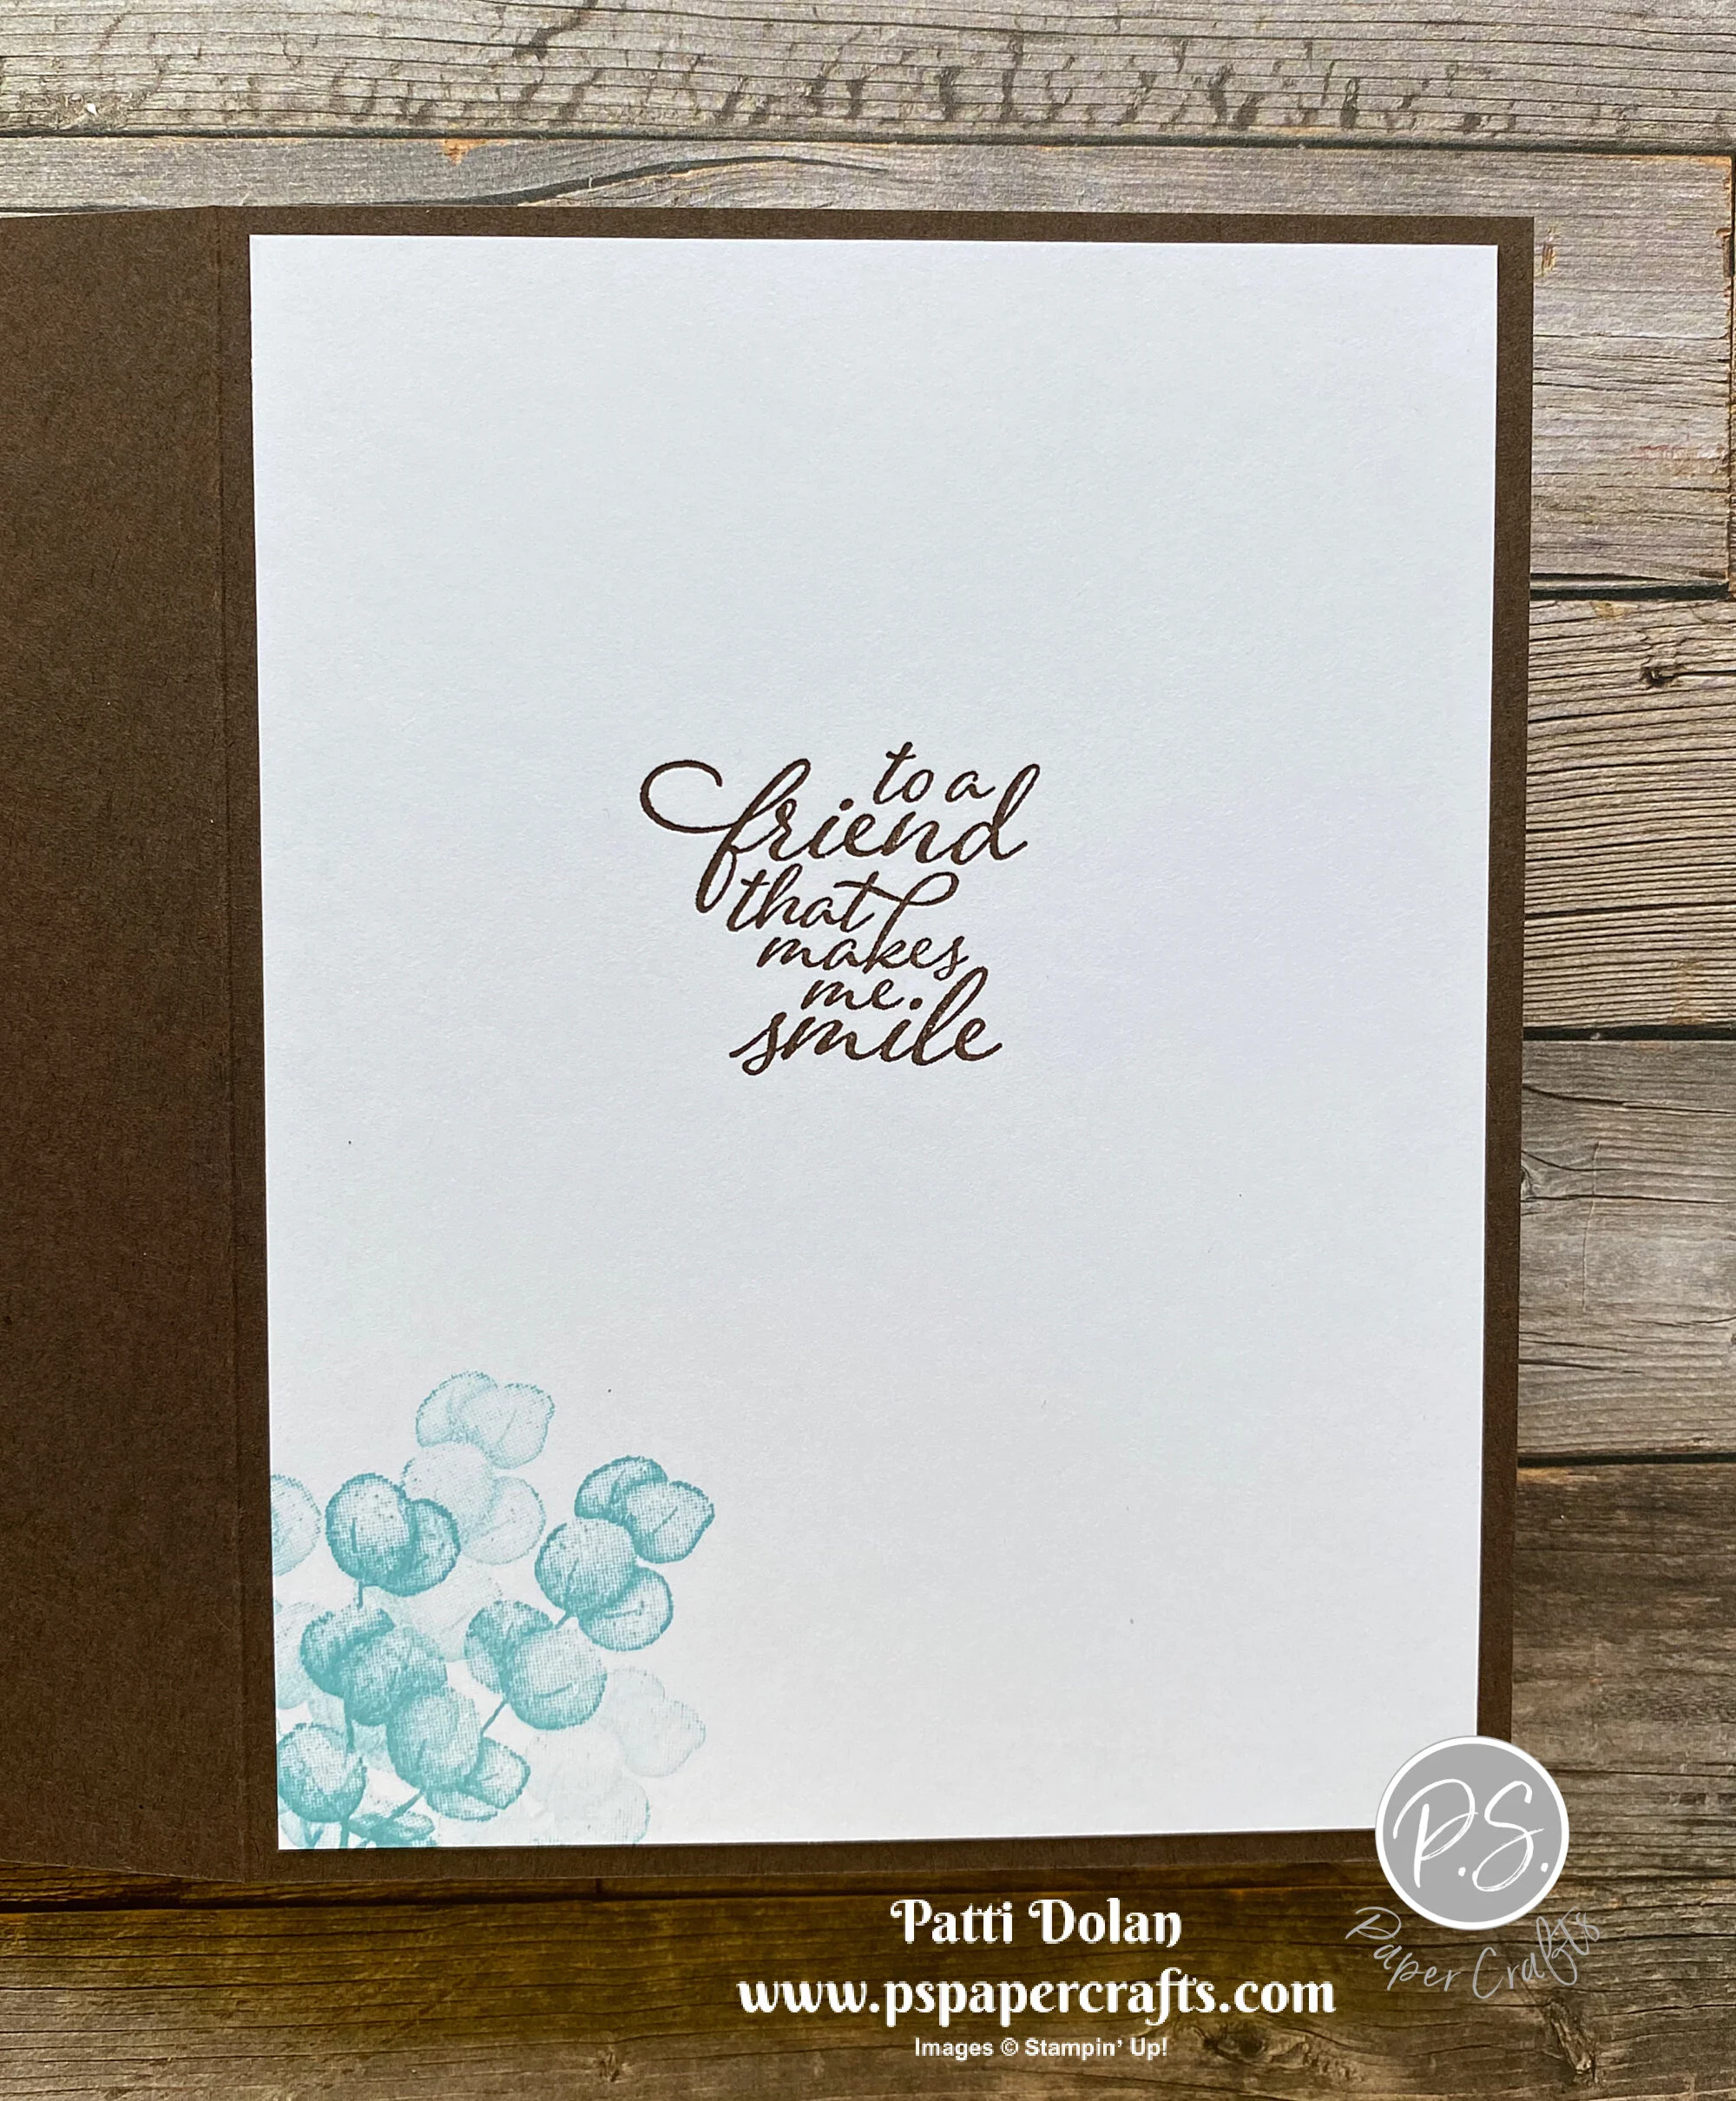
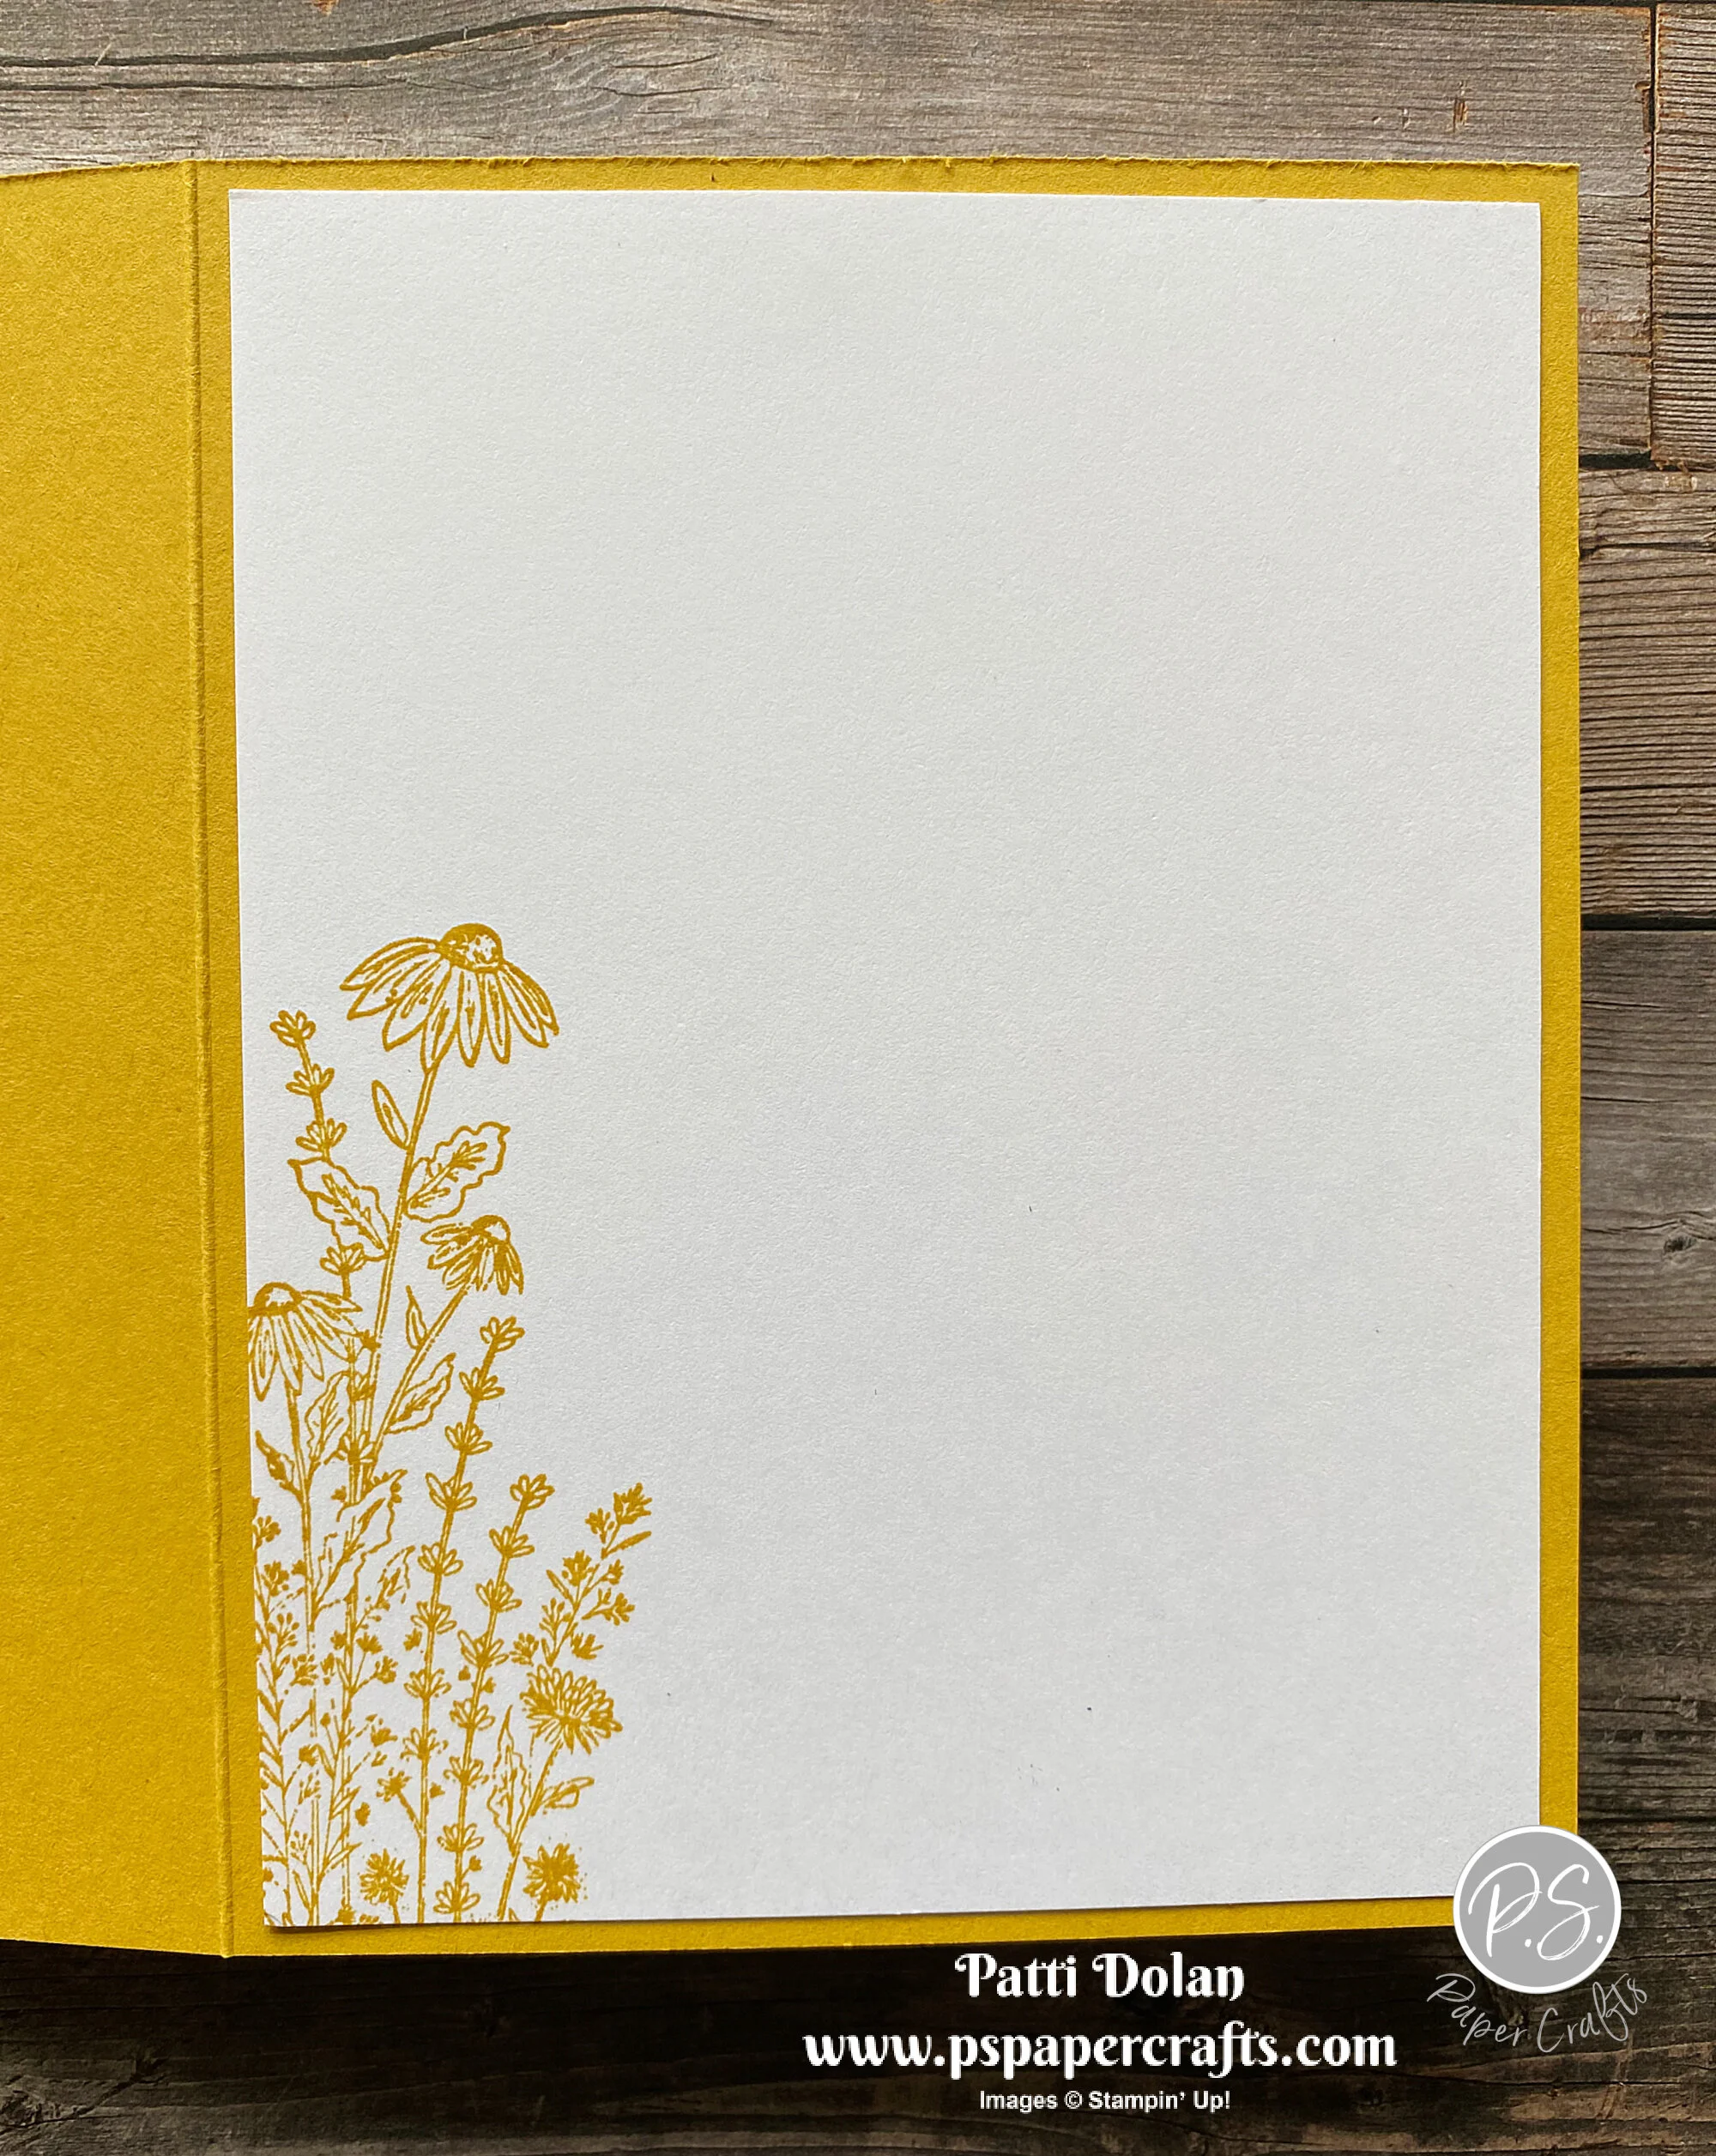
I made this pretty birthday card for this week’s sketch challenge.

The sketch is from the Atlantic Hearts Sketch Challenge. When I saw this, I was happy because this is one of my favorite designs for a card; so easy to make.

There’s lots of texture on this card with the embossed layer and strip. The Fine Art Floral Designer Series Paper even looks like it has texture to it.

Tips & Instructions
Night Of Navy Card Base - 5 1/2 x 8 1/2, score at 4 1/4
So Saffron Layer - 5 3/8 x 4 1/8, adhere to card base
Basic White Layer - 5 1/4 x 4, emboss with the Painted Texture 3D Embossing Folder
Fine Art Floral Designer Series Paper Layer - 5 1/4 x 2 1/2, adhere to embossed layer and adhere to card.
So Saffron Strip - 5 3/8 x 1/2, emboss with Tasteful Textile 3D Embossing Folder and adhere to card along seam.
Stamp sentiment on scrap of Basic White and punch with the Double Oval Punch.
Punch scrap of Night Of Navy with the larger, scalloped Double Oval Punch and adhere behind sentiment oval. Adhere to card using Dimensionals.
Add Holiday Rhinestones to sentiment label.