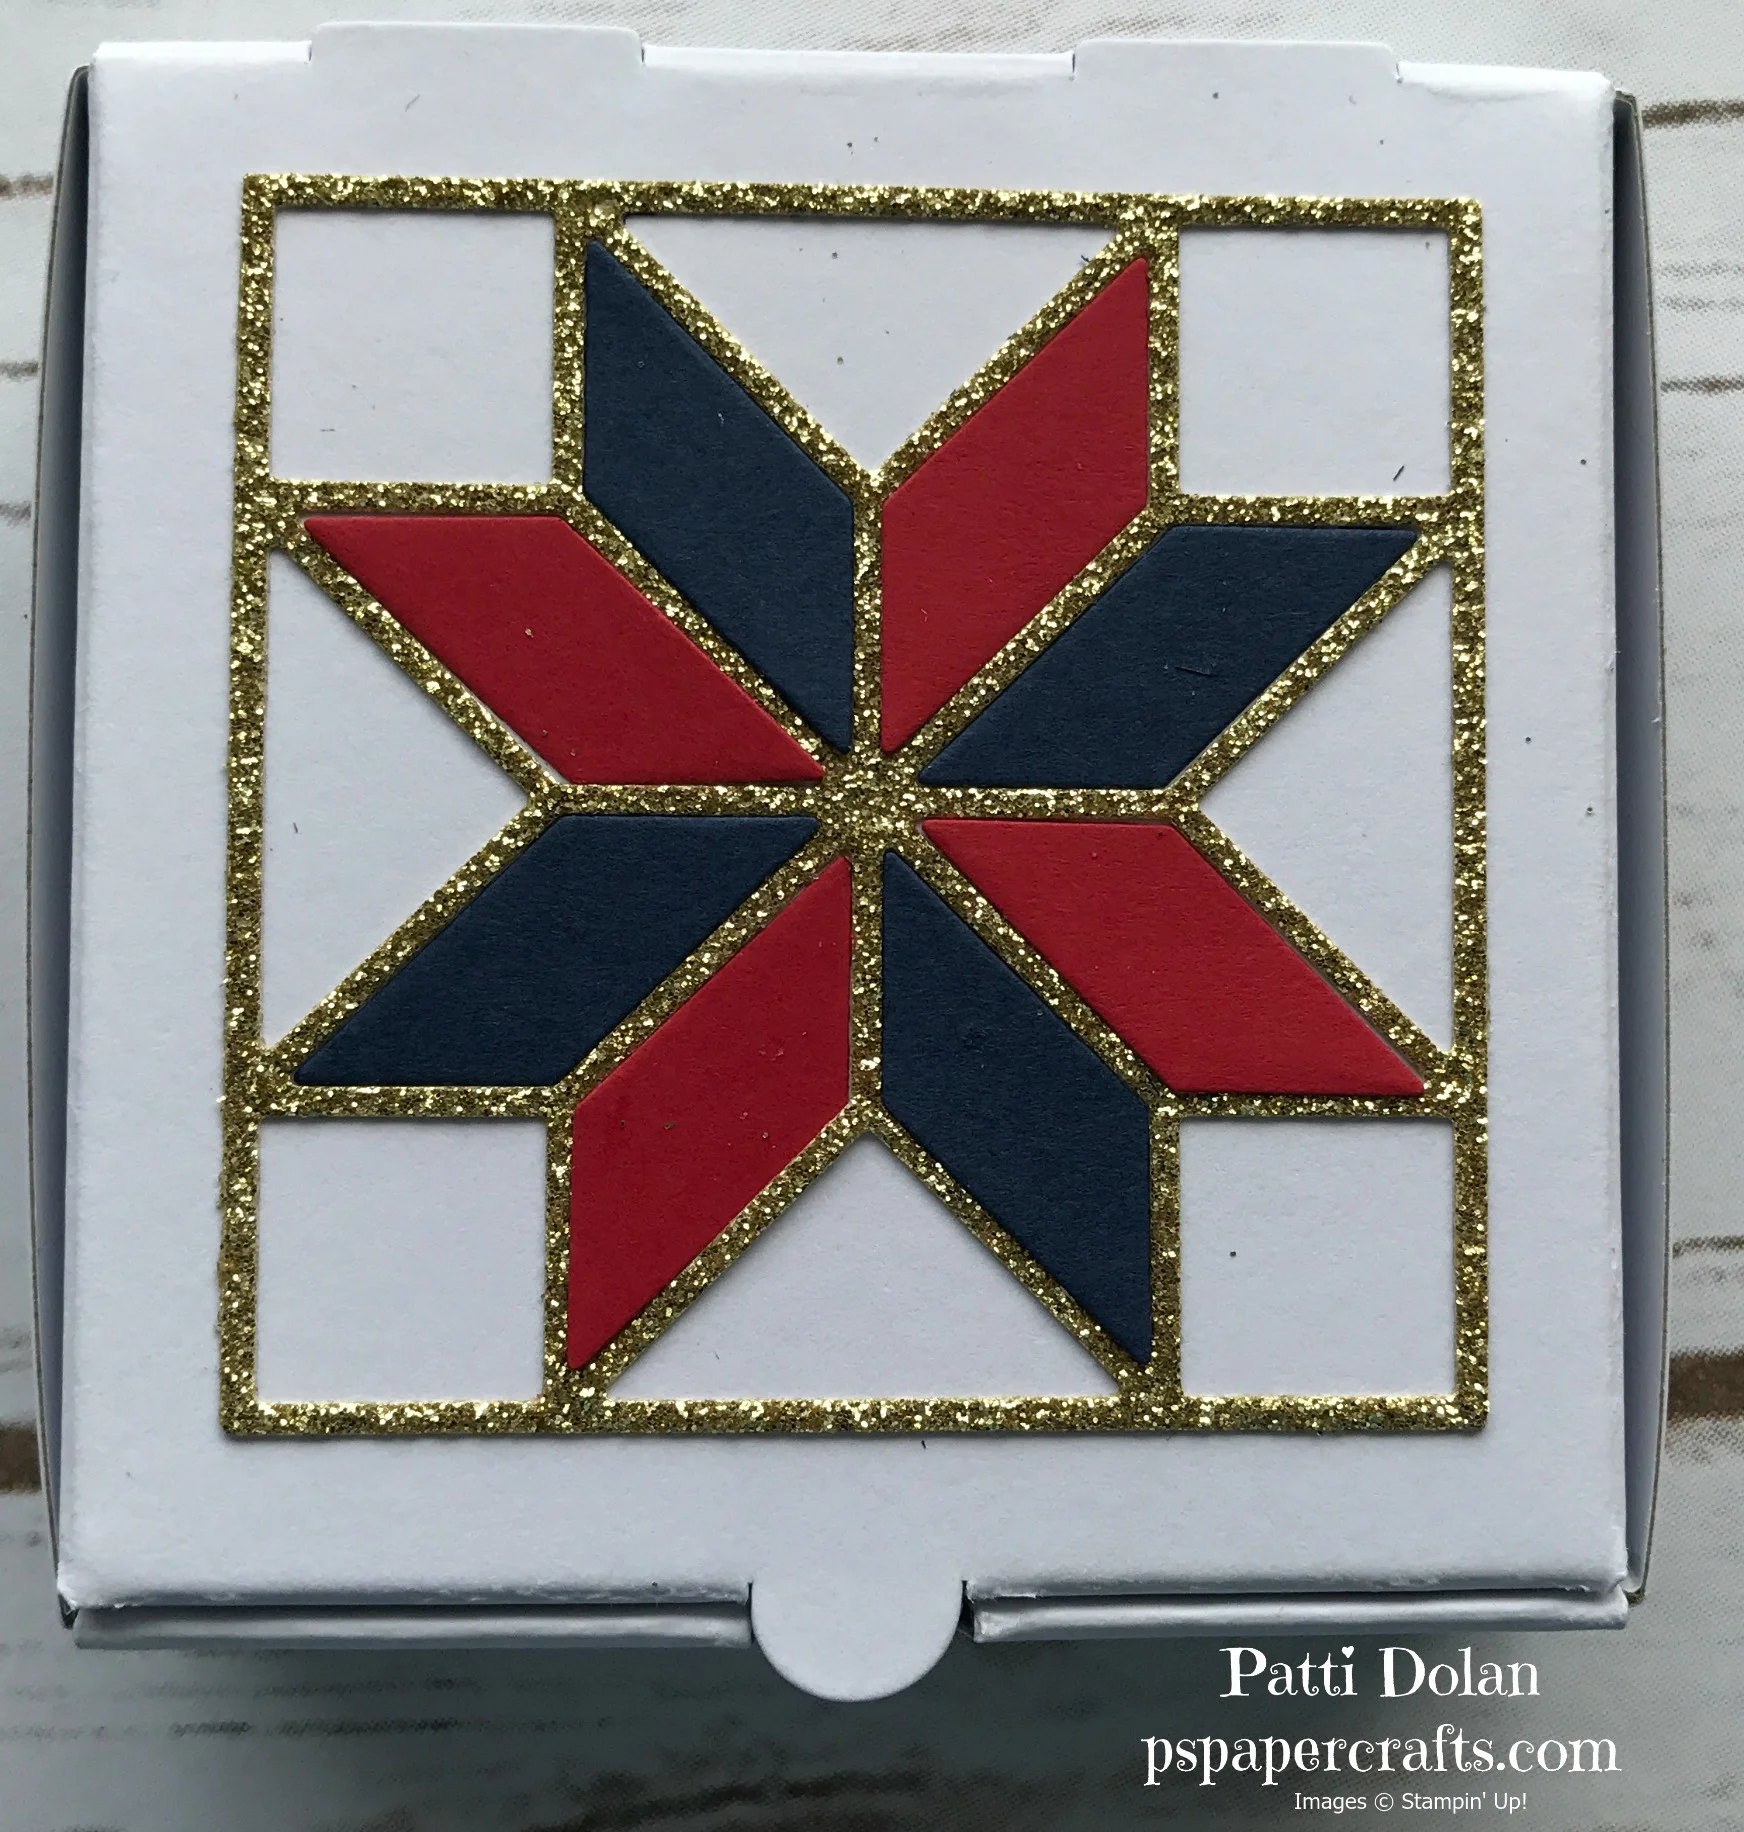
Don't you just love packaging, making pretty boxes and bags for gifts? We're into Week 3 of our 12 Weeks of Christmas Series and I'll show you how I transformed a plain white Mini Pizza Box into a beautiful little gift package.

These pizza boxes are so cute and you can put lots of small items in them. Some ideas for filling these boxes are 3x3 notecards with envelopes, chocolates, jewelry, gift cards, the list goes on and on.

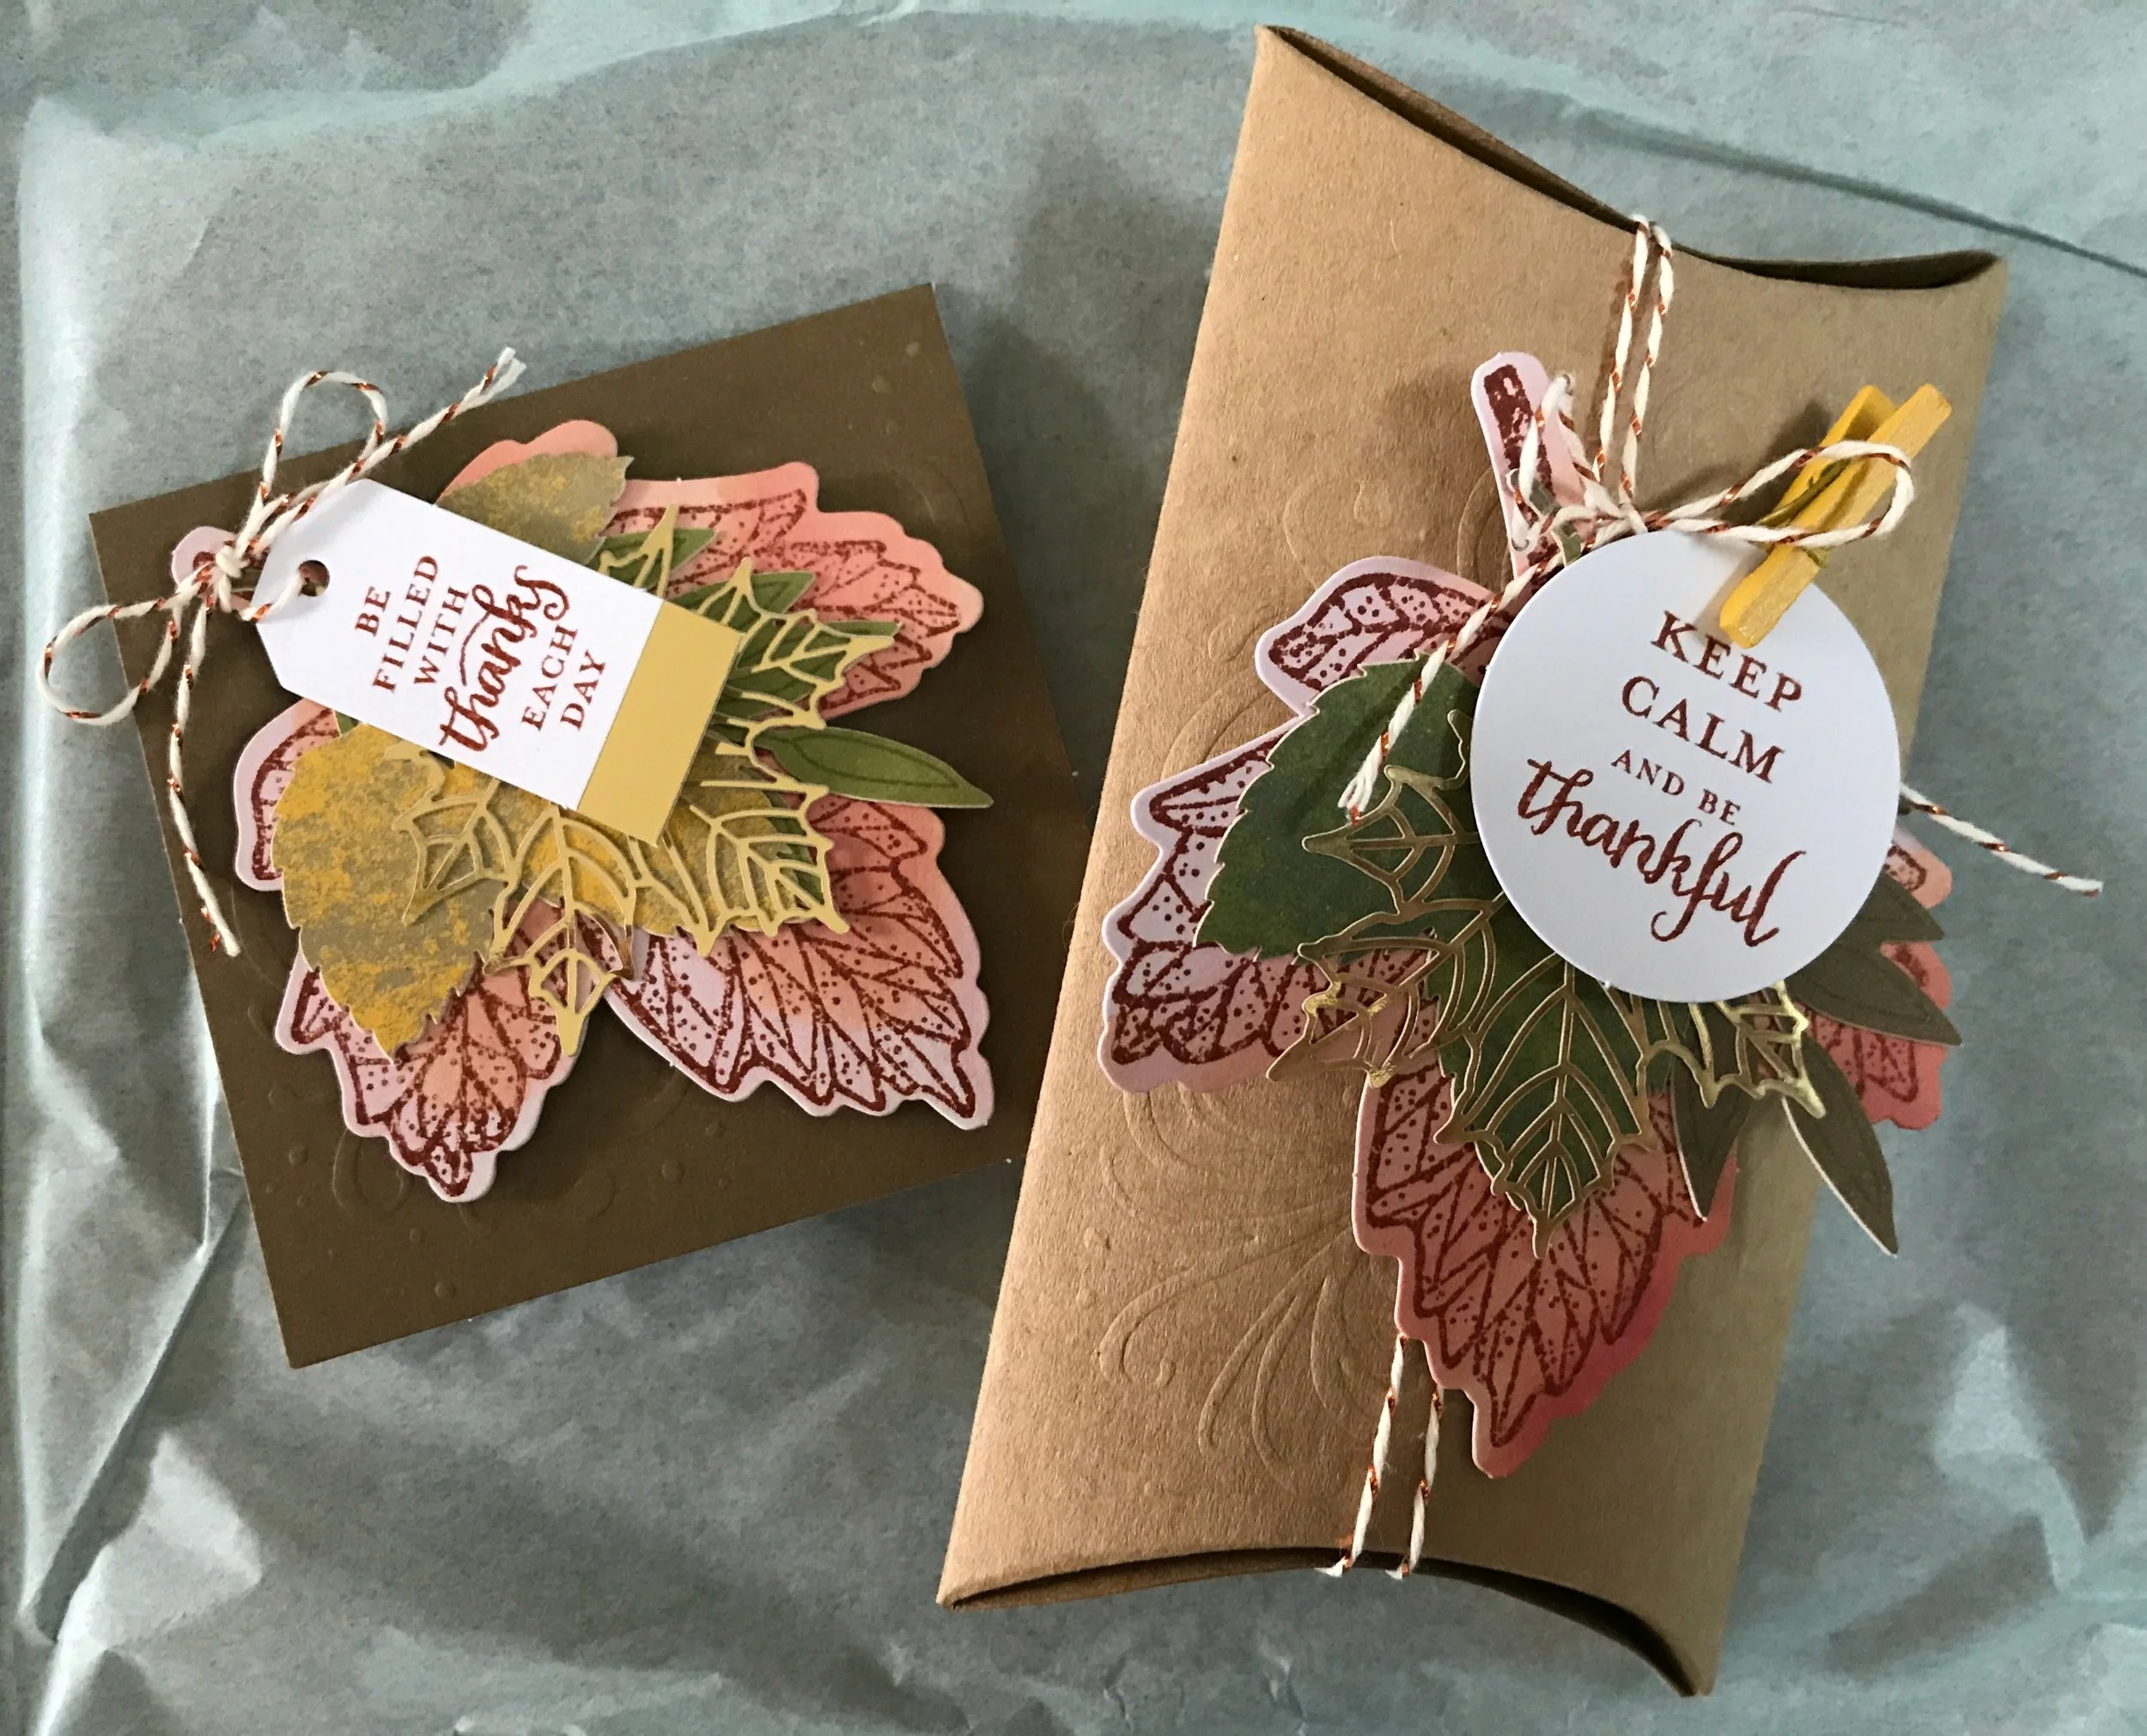
I cut out the bow in Cherry Cobbler and added a Gold Faceted Gem in the center. The pine cones have Gold Wink Of Stella added to give them some glimmer.

For this one, I cut a different pine cone and backed it with Gold Glimmer Paper. Pretty Gold Ribbon adds to the glimmer.
The dimensions for the DSP are:
-- 3 1/4 x 3 1/4 for the top
-- 3 1/4 x 3/4 for each side strip (4 pieces)
-- Use a small circle punch or side of label punch to add a notch to the front piece.
Watch the video below to see the steps to make this project.
If you want any of the products I've demonstrated today, just click on the Order Now or Shop Now button and it will bring you to my Online Store. Please use the current Host Code when you go to checkout your order. You can also click directly on an item to order it.
Don't forget the Designer Series Paper special; buy 3 get 1 free.