


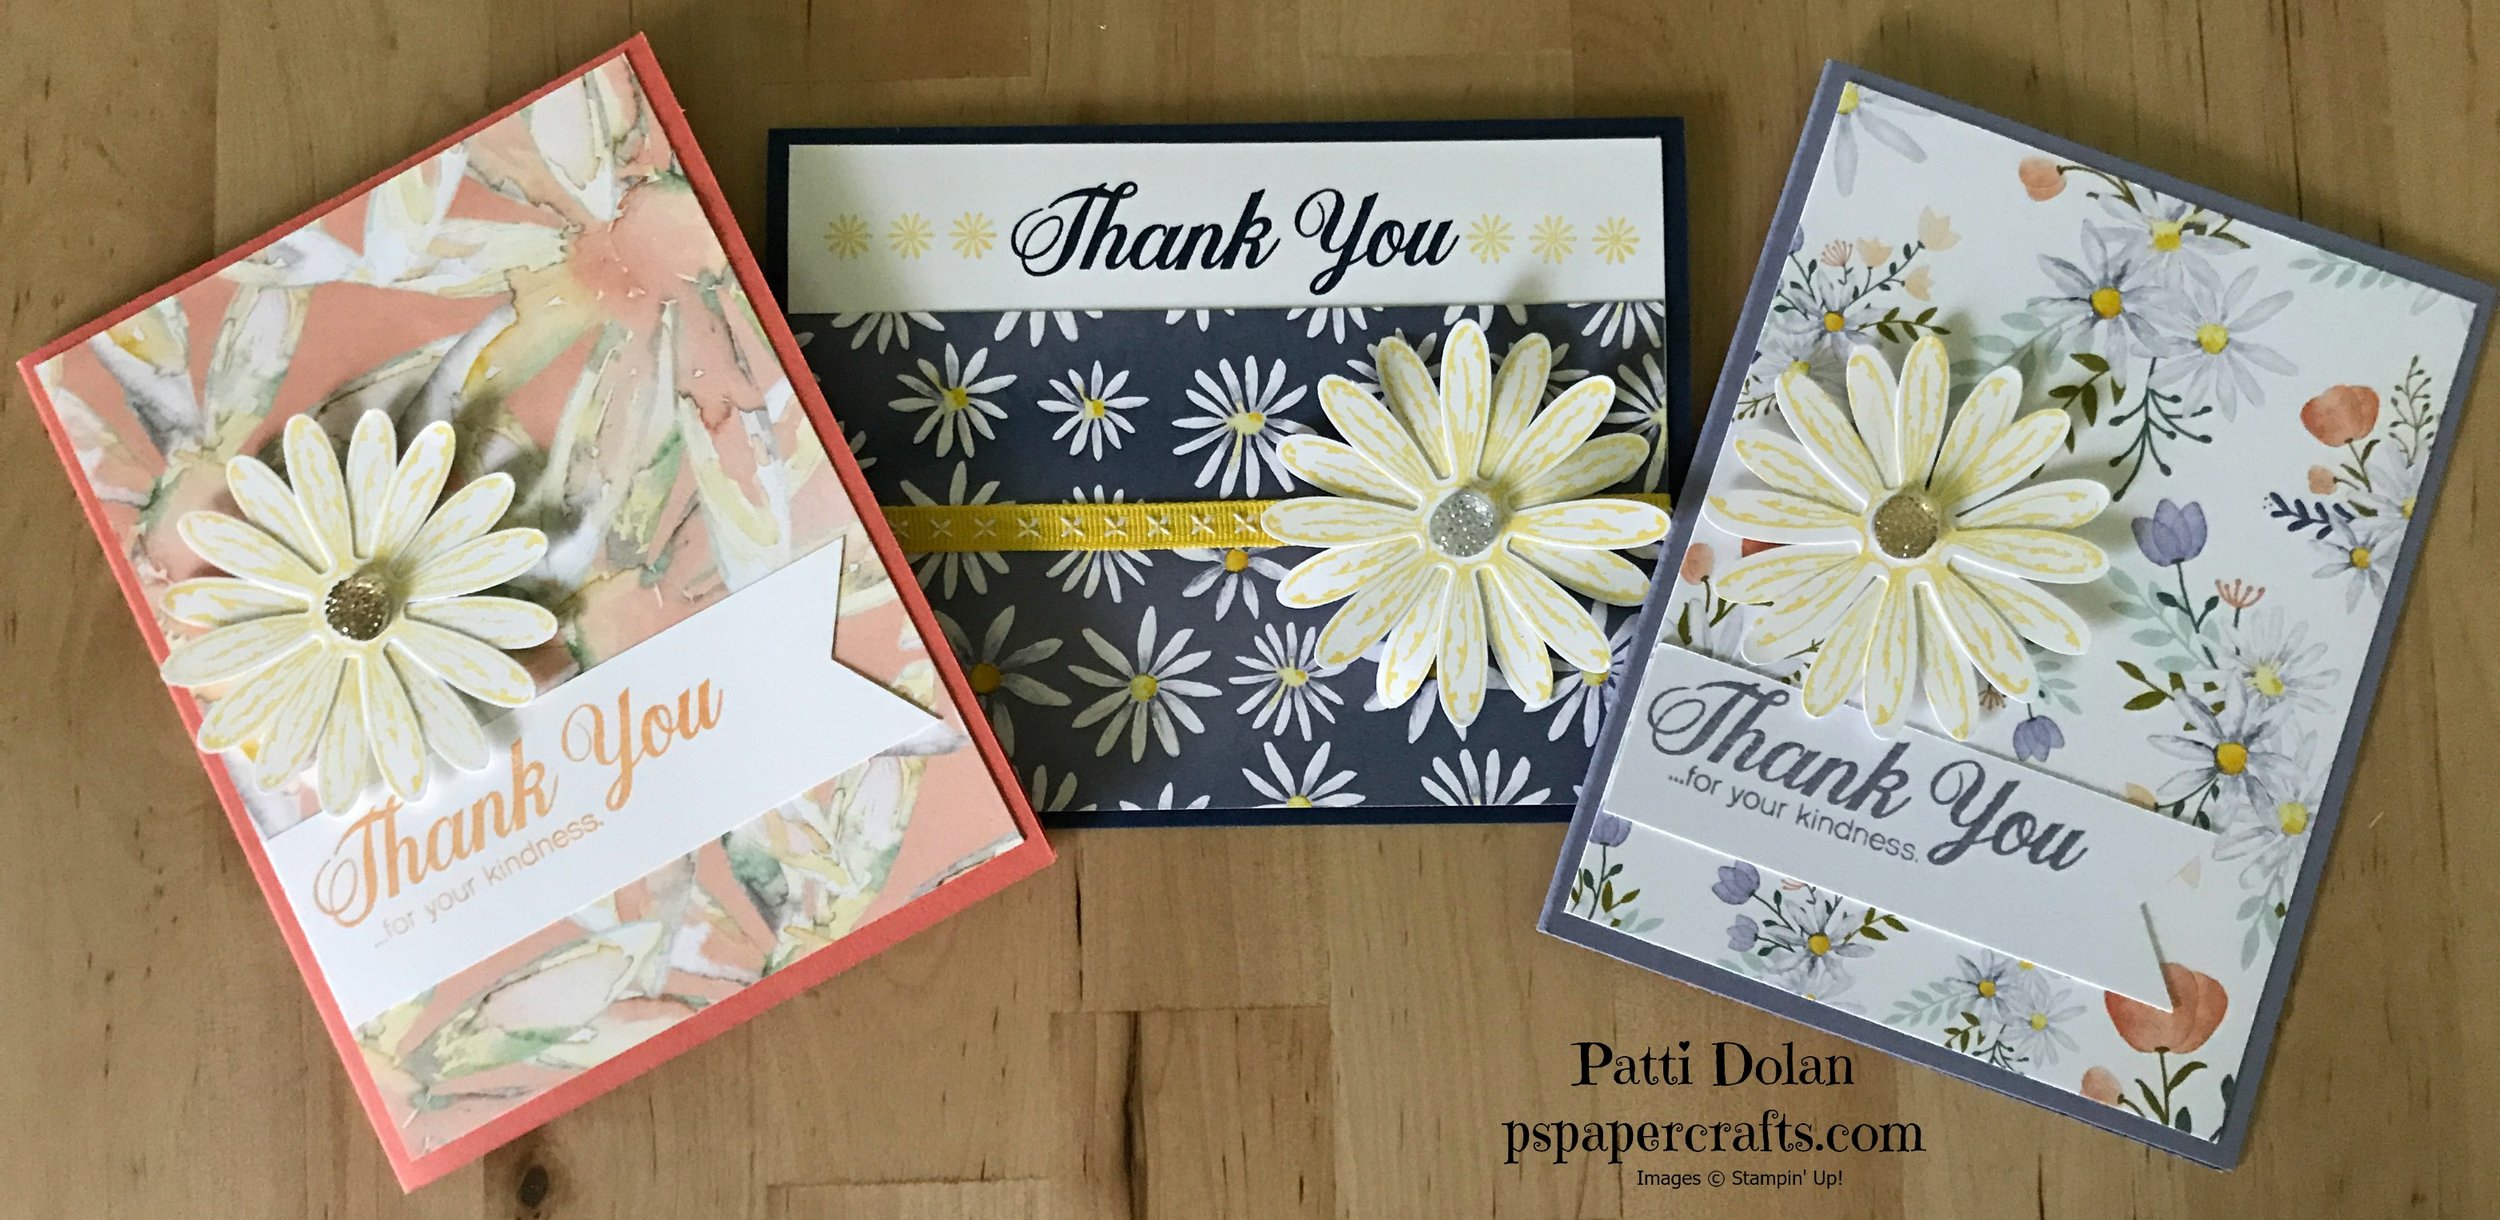
Daisy Thank You Cards
My friends and I wanted to make thank you cards for some women who hosted a luncheon this week. The luncheon was really nice with some great food and fellowship.
It was easy to make different cards using the Daisy Delight Bundle and Designer Series Paper.
Watch the video below to see how I made the blue card.


This card was made with Night Of Navy Cardstock and Ink, Daffodil Delight Ink and Ribbon and the Delightful Daisy Bundle and Daisy Delight DSP. See all the products at the bottom of this blog.

This card was made using Wisteria Wonder Cardstock and Ink and Daffodil Delight Ink along with the Delightful Daisy Bundle and Daisy Delight Designer Series Paper. See all the products at the bottom of this blog.

This card was made with Calypso Coral Cardstock and Peekaboo Peach and Daffodil Delight Ink along with the Daisy Delight Bundle and Delightful Daisy Designer Series Paper. See all the products at the bottom of this blog.
Below is the supply list used for thesecards. You can order these products by shopping clicking the Order Now button and using the June Host Code JPBMWUQF

Want to craft but feel like you don’t have the right supplies? Sign up for Paper Pumpkin! First-time customers get an introductory 25% off for June, July, and August if you sign up by June 10, 2017.
What is Paper Pumpkin??? That's a great question. Paper Pumpkin is a monthly subscription that provides an all-inclusive kit that arrives at your door every month. I love getting surprised each month with a new fun project.
Here are some of the highlights of Paper Pumpkin:
The convenience of an all-inclusive kit arriving at your door every month.
Exclusive photopolymer stamp sets and the opportunity to build a collection.
Crafting time you can count on without a lot of prep work.
Trying new techniques.
Creating alternate projects with all the goodies in the box.
Purchasing past kits and refills so the fun never ends.
The quality of the products and variety of projects each month.
Sharing ideas with a community of online crafters.
The surprise factor!
Contact me if you are interested or have any questions. patti@pspapercrafts.com
You can click on the Paper Pumpkin picture on the right and use the promo code STARTHERE to subscribe to get 25% off for the months of June, July and August if you are a first time subscriber. Hurry, you must sign up by June 10, 2017
Loving the Wood Crate and Wood Words from Stampin' Up!
I am in love with these little crates that you can make with the new Wood Words Bundle from Stampin' Up! Aren't they just so cute!!!!

This is the crate that I make in the video. Its made with Color Series Designer Series Paper (DSP). I stamped the Rooster in Berry Burst using the Wood Words stamp on Whisper White cardstock and cut it out using the the Wood Crate Framelits. I adhered it to the smallest square from the Stitched Shapes Framelits.
Below are some other projects that I made with this bundle.

Below are pictures with the products used to make each of the crates I showed on the video.

I used Powder Pink cardstock that I stamped in Fresh Fig with the flowers from the Wood Words stamp set. The for you sentiment is also from the Wood Words stamp set and it was stamped on Whisper White which was cut from the Stitched Shapes Framelits and layered on a piece of Fresh Fig cardstock that was cut from the Layering Circles Framelits. I added a Gitter Enamel Dot to add a little sparkle!

I cut the crate from Crumbcake Cardstock that we stamped with the flowers from the Wood Words set in Fresh Fig. I stamped the heart from the same set in Fresh Fig ink and cut it out using the Layering Circles and adhered it to the crate

I cut the crate using the Wood Textures DSP and adhered the Copper Trim around the middle. Then I stamped on Very Vanilla cardstock the "for you" and cut it out with the tag framelits from the Wood Crate Framelits Dies. I made a bow with 3 strands of the Linen Thread and adhered it with a glue dot. The notecards were made with Very Vanilla cardstock cut at 6 x 3 and scored at 3" to fold in half. I stamped the star in Tranquil Tide, the heart in Fresh Fig and the rooster in Lemon Lime Twist and then the sentiments in Black. I stamped the flowers in Fresh fig. All the images and sentiments are from the Wood Words stamp set.
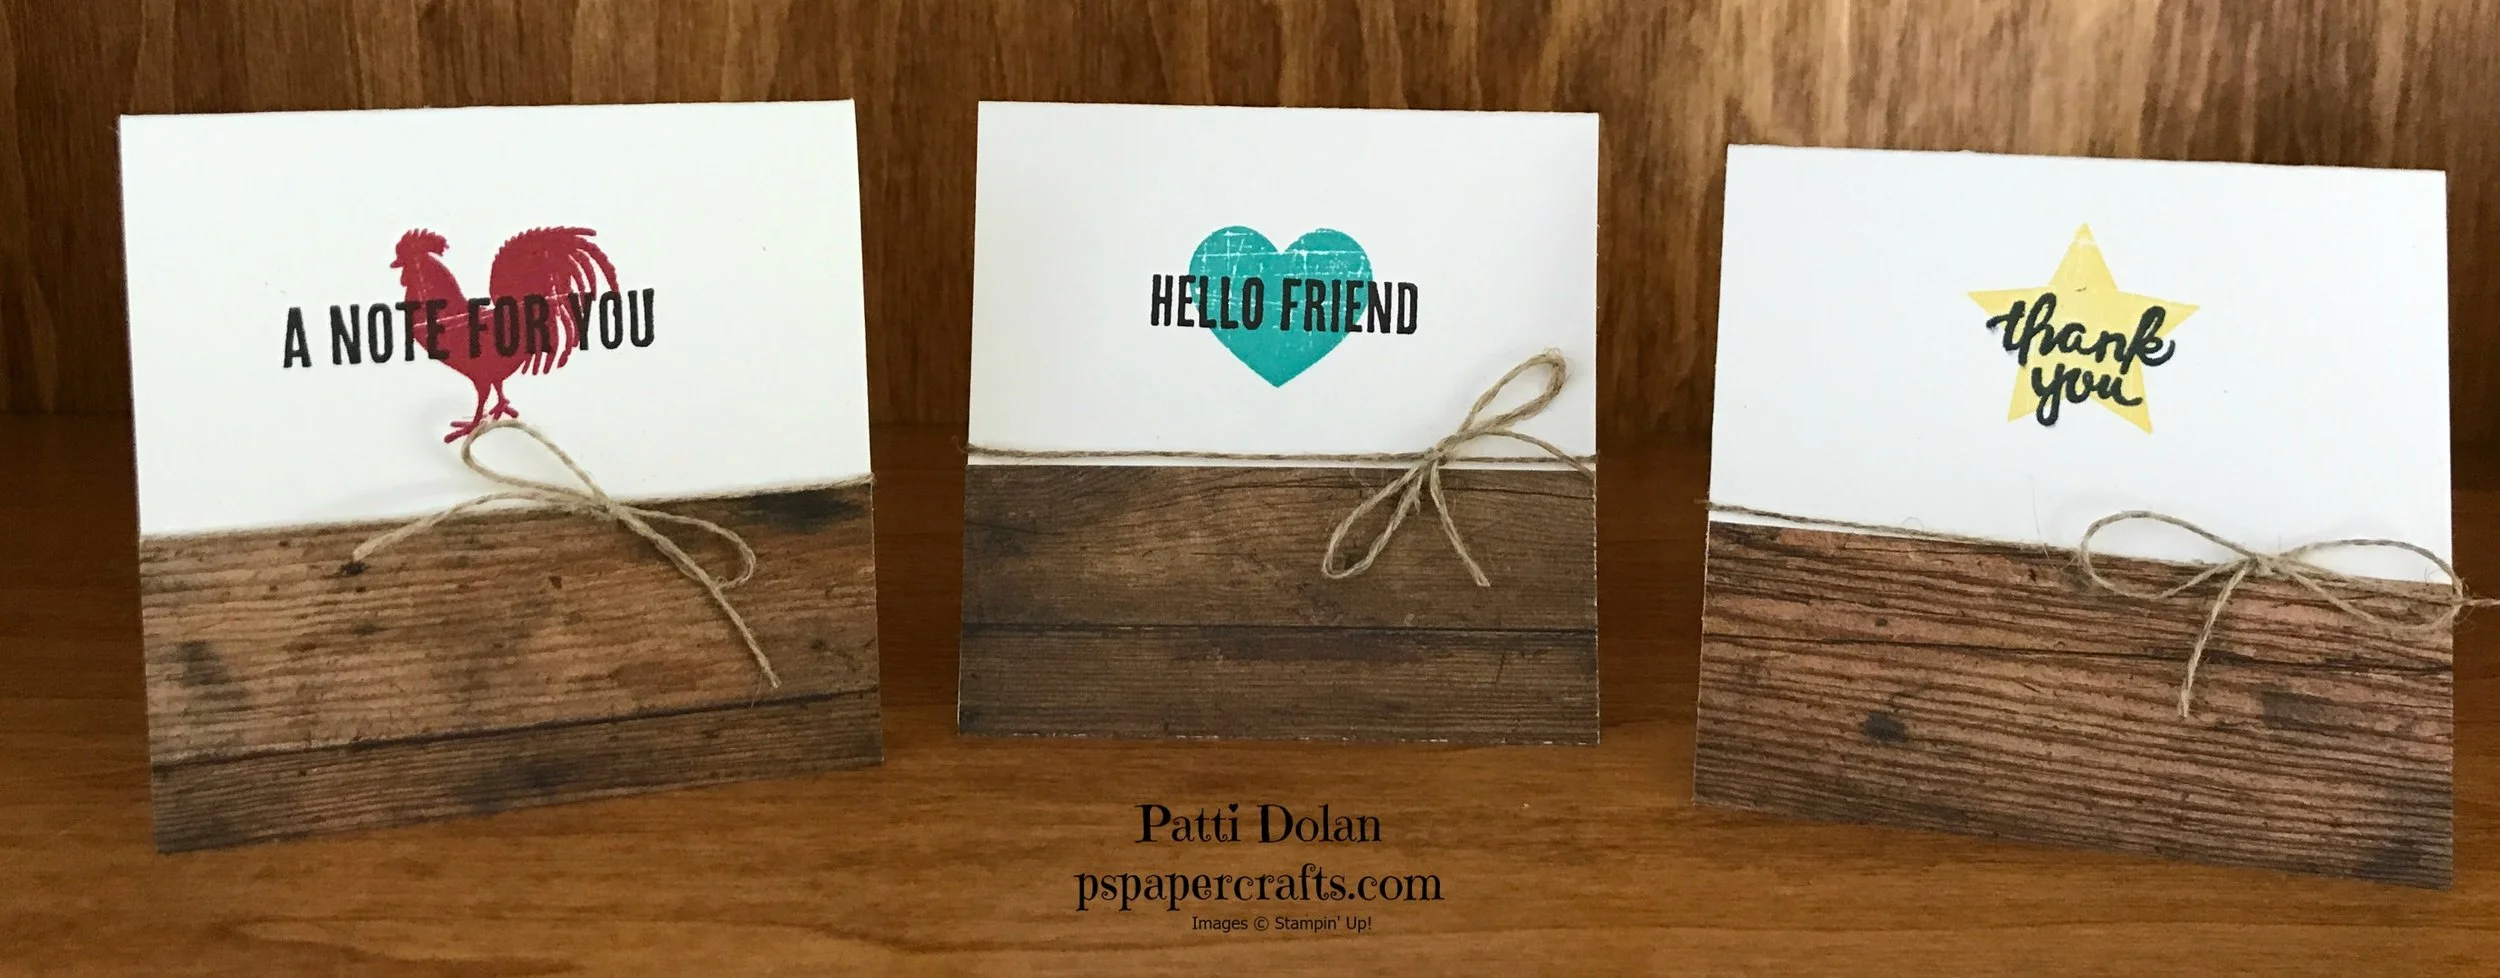
These are the notecards that I made at the OnStage event. They notecard base is 6 x 3 and folded in half. The bottom of each notecard has a leftover piece of Wood Textures DSP cut at 1 1/4 x 3. The images and sentiments are from the Wood Words stamp set and a piece of Linen Thread was wrapped around each notecard and tied in a bow.
You can order these products by shopping clicking the Order Now button and using the June Host Code JPBMWUQF
Leave me a comment if you have any questions or need a catalog. Thanks!!!
Stampin' Up! New Catalog Launch - Patti's Top 10 Picks
Today is a very exciting day at Stampin' Up! The 2017-2018 annual catalog was launched and you can start ordering from it now!!!! There are SO MANY great products in this catalog. I had a hard time sticking to a top 10 stamp sets.
Watch the video below to see what I picked.
Please leave me a comment if you are interested in getting a new catalog. There is a link to the Catalog PDF on my Home Page.
You can order these products by shopping clicking the Order Now button and using the June Host Code JPBMWUQF
Below are some short videos from the Stampin' Up! site showing how to use some of the products from the new catalog.
Easy Masculine Birthday Card
Do you struggle with making masculine cards? I sure do. I like the Happy Birthday Thinlits because it covers a good portion of the card and looks very clean.
I used Tranquil Tide and Fresh Fig on the cards. I think they are good "guy" card colors.
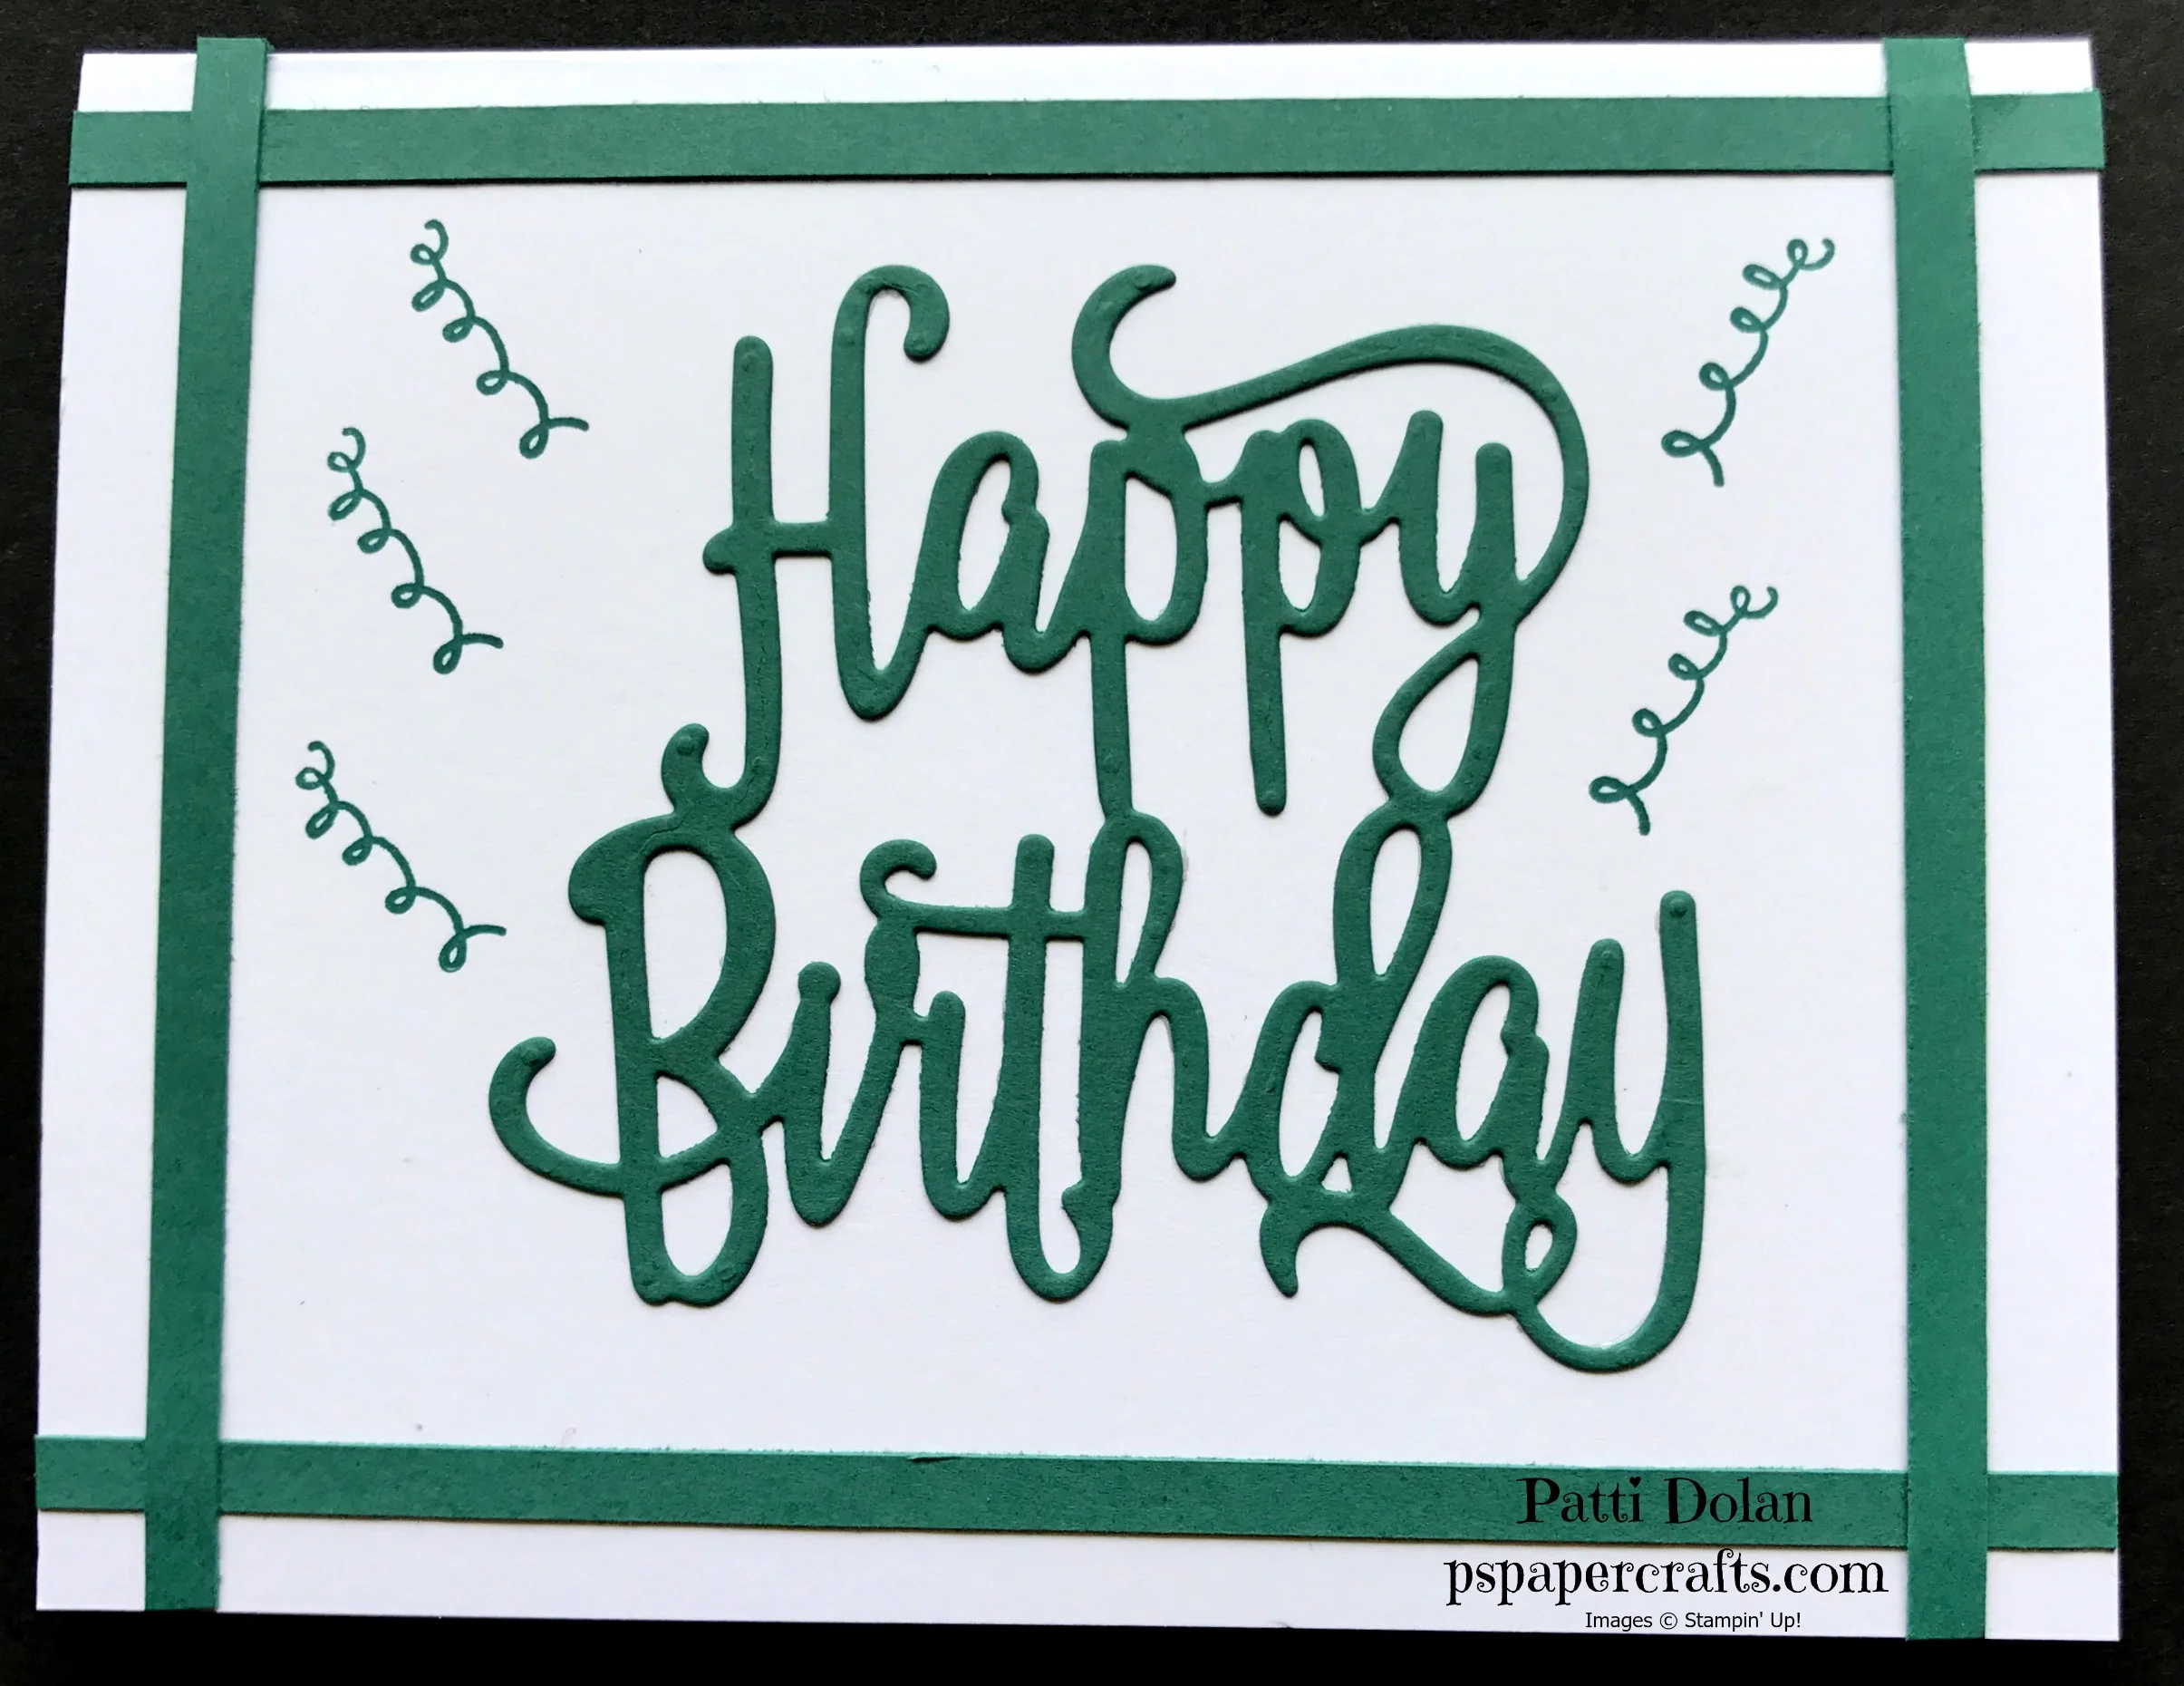
This was done using the Tranquil Tide cardstock and Ink.

This card was made using the Fresh Fig cardstock and ink.
Check out the video below to see how I made this card.
Ask me how to get a catalog. You can start ordering from our new catalog on June 1, 2017...YIPPEE!!
Leave me a comment or email me. patti@pspapercrafts.com
Below is the supply list used for this card. You can order these products by shopping clicking the Order Now button and using the June Host Code 29KJ7NZN
Rustic Farmer’s Market Style Card
Today’s card is very rustic featuring a wood crate and simple daisies. I just love daisies, they are so delicate and sweet. I used the Wood Crate Framelits and Wood Words stamp set along with the Daisy Delight stamp set.

Join me in the video below to see how I made it. Which one do you like better?
Leave a comment or email me if you need a catalog or have any questions.
Below is the supply list used for these cards. You can order these products by shopping clicking the Order Now button and using the May Host Code - HB6BQJV
Super Simple Thank You Card Using The Daisy Delight Bundle
I made this super easy card with the new Daisy Bundle from Stampin' Up! I love the daisy in Berry Burst, it looks like a painted daisy.

Which inside do you like better?

Below is the supply list used for this card. You can order these products by shopping clicking the Order Now button and using the May Host Code - HB6BQJV (check my home page for the current month's host code)
Relaxing Card using the Sponging Technique
I had fun making this card using the sponging technique. It reminds me of relaxing in the mountains looking over a beautiful lake. I absolutely love this new Colorful Seasons Bundle from Stampin' Up! It is so versatile and can be used for every season of the year.

See my video below to see how I made it.
Card Dimensions:
- Card Base - Early Espresso 5 1/2 x 8 1/2, scored at 4 1/4
- Layer for card front and inside - Whisper White 5 1/4 x 4
- Scraps of Whisper White for chairs and flowers
- Scrap of Early Espresso for tree branch
Below is the supply list used for this card. You can order these products by shopping clicking the Order Now button and using the May Host Code - HB6BQJV.
Leave me a comment or email me if you are interested in receiving the new catalog. patti@pspapercrafts.com
Bright and Cheery Happy Birthday Card
Today I created a Birthday card using products from the new Stampin' Up! 2017-2018 catalog. I love the new In Colors, especially the combination in this card of Berry Burst and Lemon Lime Twist.

The Dimensions for this card are:
- Card Base - Whisper White 5 1/2 x 8 1/2, scored at 4 1/4
- Layer - Lemon Lime Twist 5 1/2 x 4 1/4
- Layer - Whisper White 4 1/4 x 1 1/2
Below are the supplies used for this card. Some of the products are not available until June 1, 2017. Pease contact me if you want a new catalog. patti@pspapercrafts.com
Thinking Of You Card
Today I want to share a sweet card using the Thoughts and Prayers stamp set. This set has so many nice sentiments to show you're thinking of someone who is going through a hard time.

Below are the measurements along with pictures to help you to follow along.
Card Base:
- Early Espresso - 5 1/2 x 8 1/2, scored at 4 1/4
- Designer Series Paper - 5 1/4 x 4
- Early Espresso - 3 3/4 x 3
- Whisper White - 4 x 3 1/4
- Scraps of Early Espresso and Whisper White for circles
- Whisper White - 5 1/4 x 4 for inside
I used the Thoughts and Prayers Stamp Set

Adhere DSP to Card base using Snail Adhesive

Stamp tree image on Whisper White cardstock and adhere to Early Espresso layer.

Cut scalloped circle in Early Espresso using the Big Shot and the Layering Circles Framelits Die.

Cut stitched circle in Whisper White using the Stitched Shapes Framelits Die.
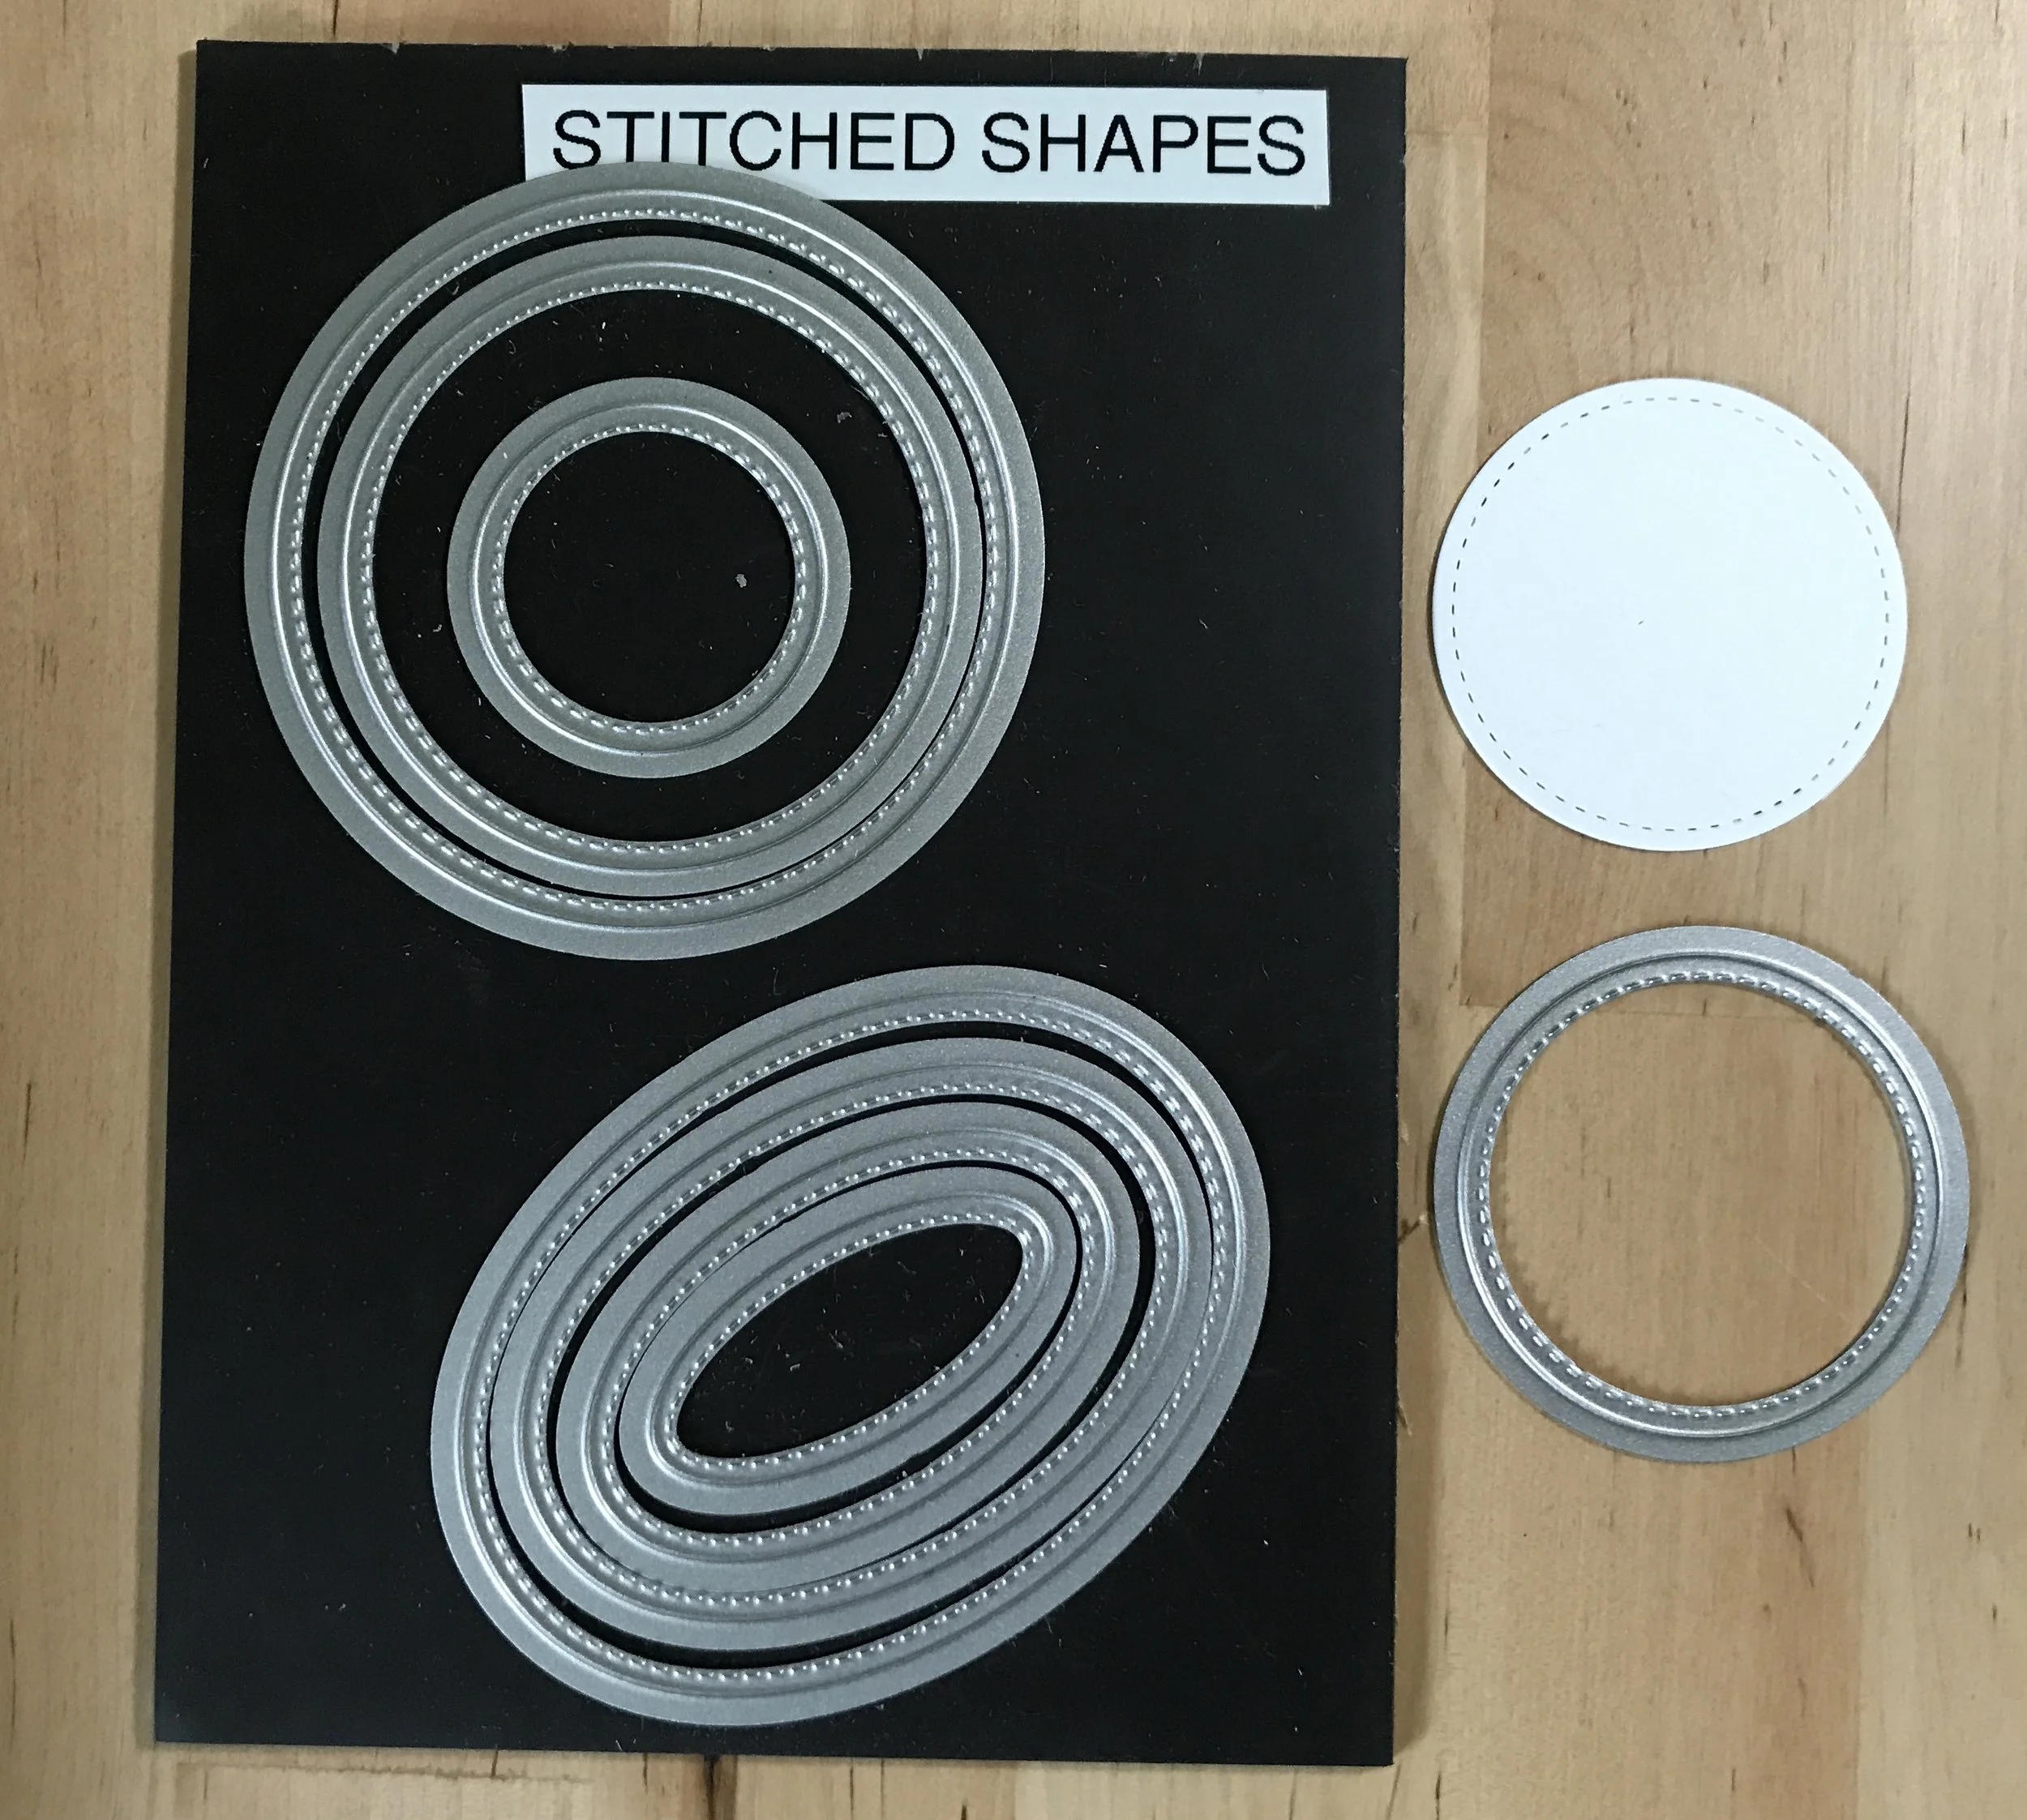
Stamp sentiment on the Whisper White stitched circle in Early Espresso ink using the Masking Technique.
To use the Masking Technique, cover the part of the stamp that you don't want with a post-it note. For this card, the stamp's sentiment is "Thinking of You....Please know that I care" but I only wanted the "Thinking of You" part.
I covered the "Please know that I care." with the post-it note and inked up the stamp. Then I removed the post-it note before stamping on the stitched circle.

Adhere the stitched circle to the scalloped circle using Snail Adhesive.

Adhere the circle to the card using Stampin Dimensionals.

For the inside, stamp the floral image and sentiment on the 5 1/4 x 4 piece of Whisper White cardstock. I stamped only part of the image on the cardstock, using a piece of scrap behind the cardstock for the excess.
Adhere to inside using Snail Adhesive.

Below is the supply list used for this card. You can order these products by shopping clicking the Order Now button and using the May Host Code - HB6BQJV
Mother's Day Card using Thankful Life Stamp Set

The Thankful Life Stamp Set is free as a hostess set. Its really beautiful and easy to use. Ask me how to get this free set during the month of May, 2017.
Check out the video to see how easy it was to make this pretty Mother's Day card.
(Note: the card base measurements are 5 1/2 x 8 1/2 and scored at 4 1/4)
Below is the supply list used for this card. You can order these products by shopping clicking the Order Now button and using the May Host Code - HB6BQJV
Beautiful Mother's Day Cards using the Jar of Love Bundle
Today's Mother's Day cards were made with the Jar of Love Bundle which is carrying over to the new catalog YAY!!! I just love this bundle.
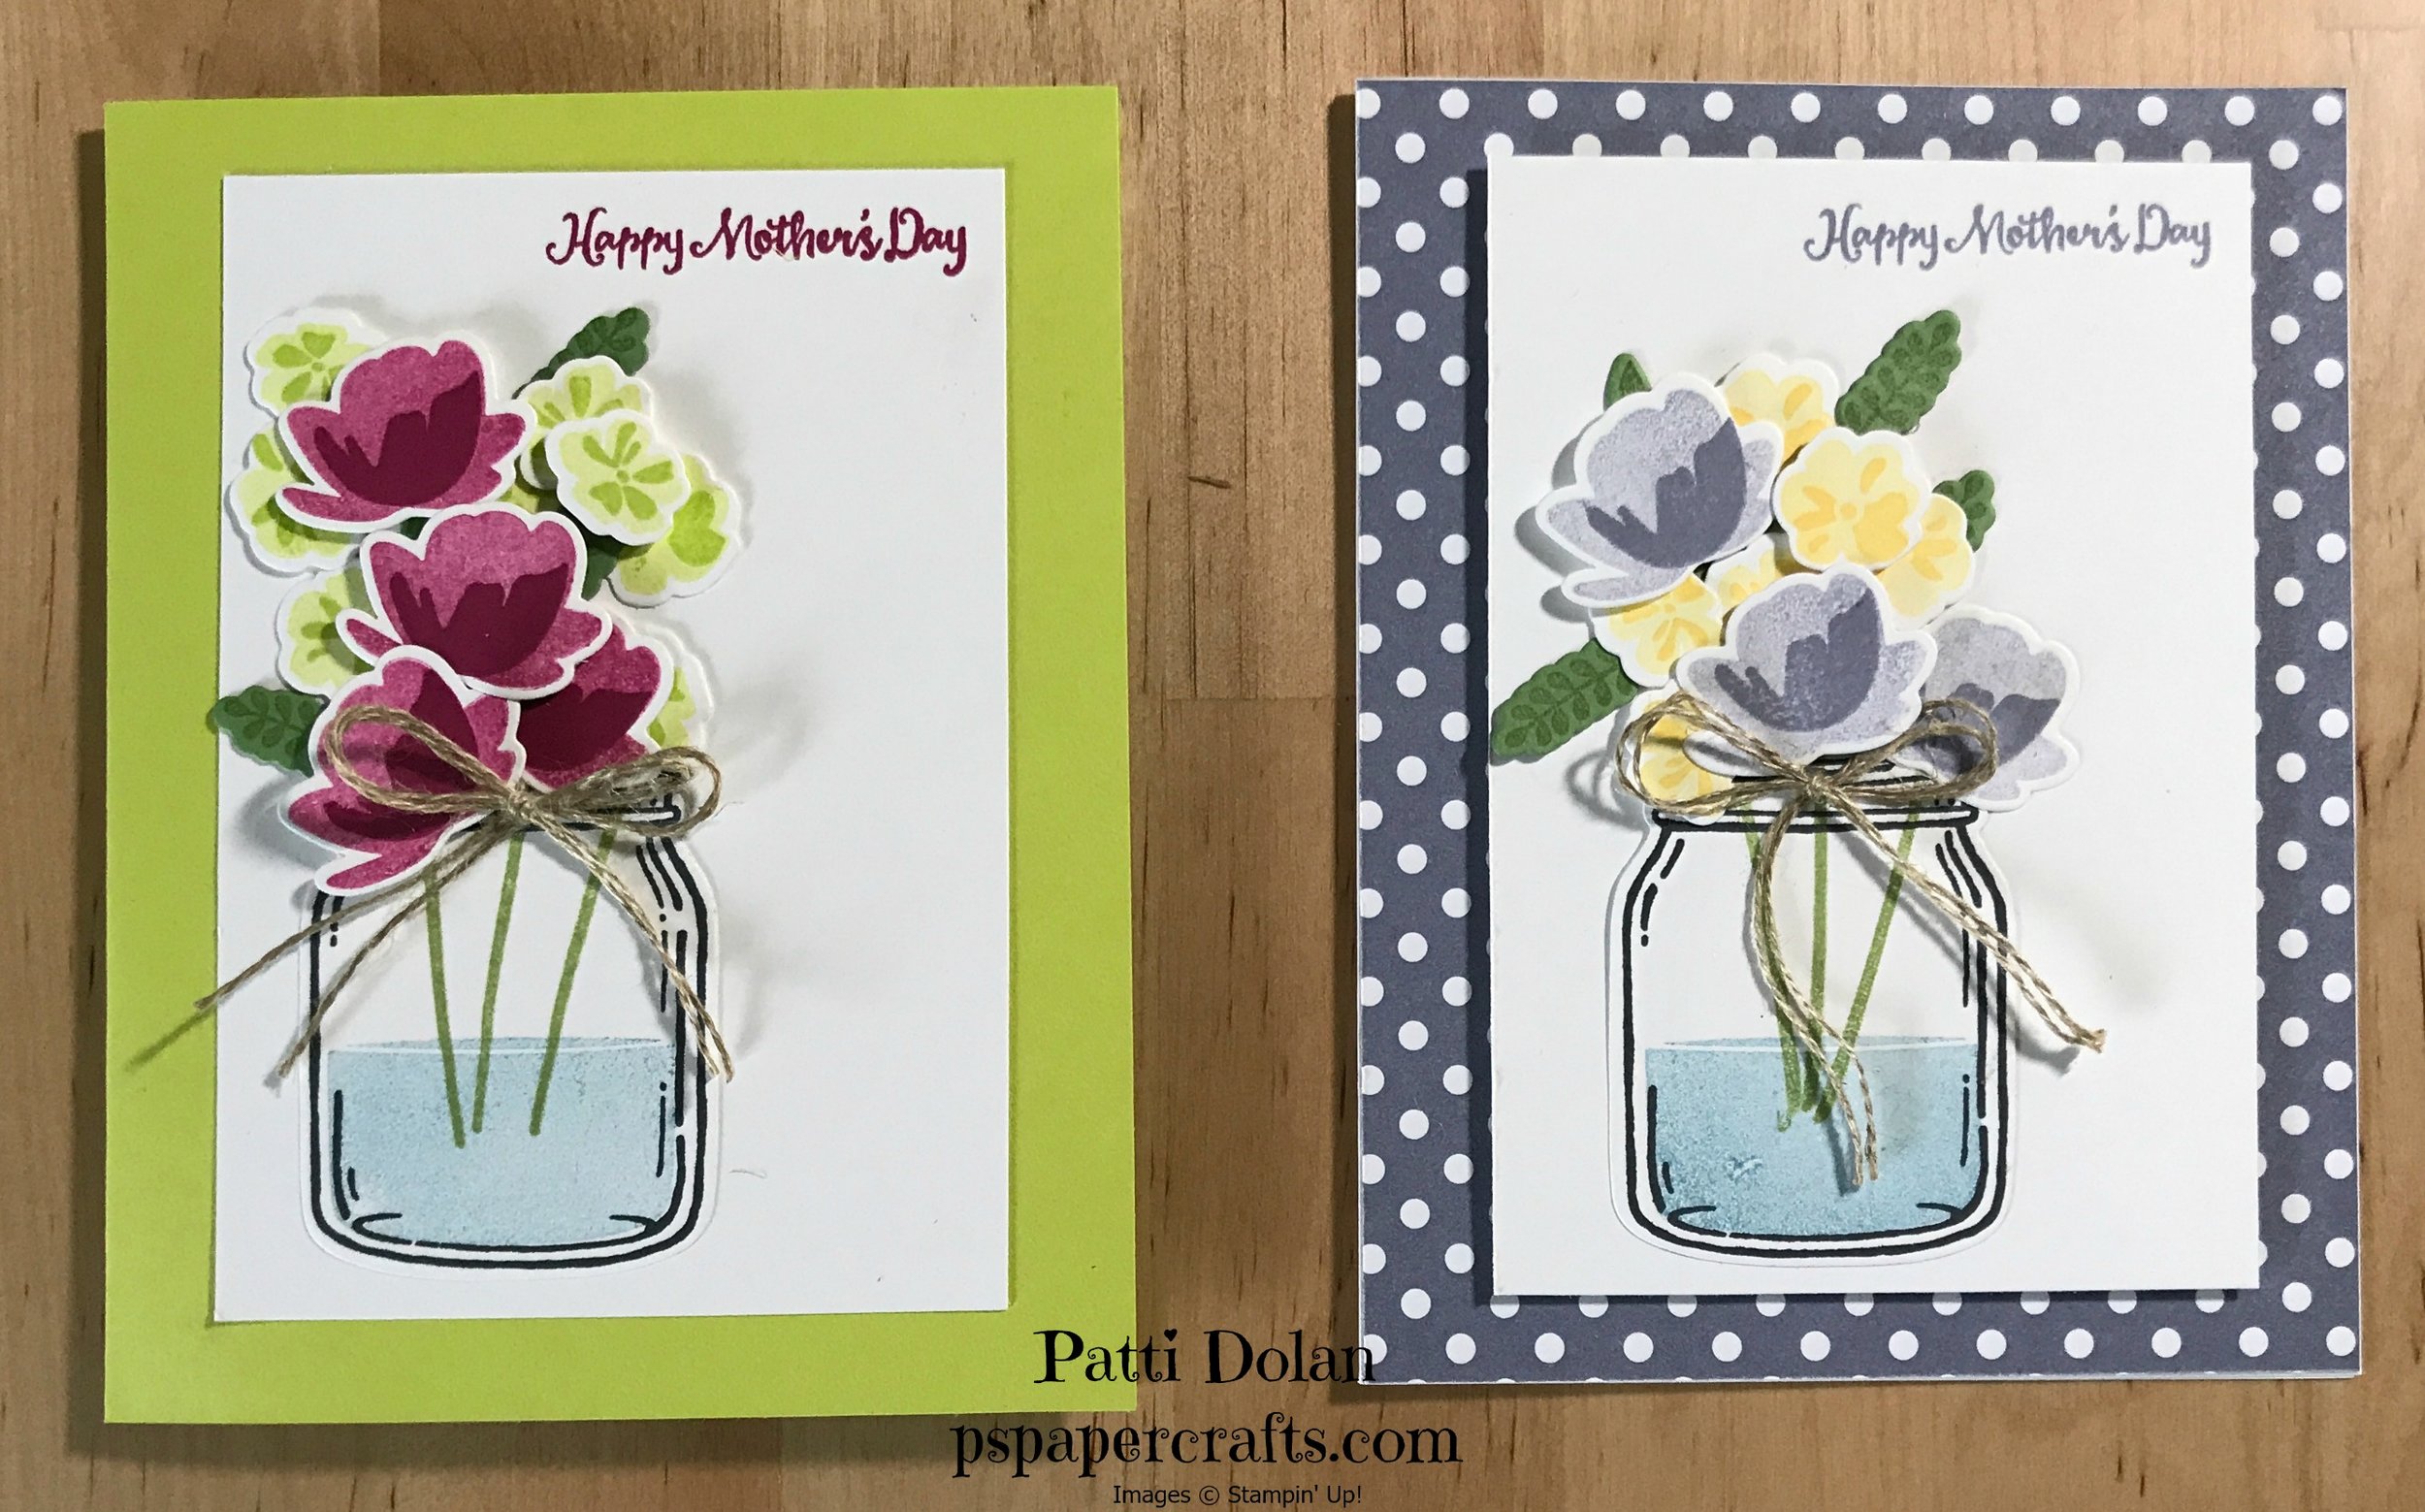
The first card is made with Lemon-Lime Twist and Berry Burst. The second card is made with Wisteria Wonder and Daffodil Delight.
Watch the video below for steps to make this card.
Below is the supply list used for this card. You can order these products by shopping clicking the Order Now button and using the May Host Code - HB6BQJV
The Berry Burst and Lemon Lime Twist will be available starting June 1.
Mother's Day Card using Window Box Thinlits
Today's Mother's Day card was made using the Window Shopping and Stylish Stems Dies.

The card base is in Sweet Sugarplum cardstock which has coordinated ink for the sentiment as well as the heart embellishments.
This beautiful card was so quick and easy to make. Watch the video below to see how I made it.
Check out the supply list for this card below. You can order these products by shopping clicking the Order Now button and using the May Host Code - HB6BQJV
Sunflower Mother's Day Card
Today's card is a Sunflower Mother's Day Card. I just love sunflowers!

I used one of the Eastern Palace medallions for the flower in Daffodil Delight and the center was embossed using the Petals Burst Embossing Folder. I added some Gold Wink Of Stella for glitter.
Watch the video to see how I made this card. You can change the sentiment and make it a Thank You, Happy Birthday, Thinking of You card or anything else you'd like.
Below is the supply list used for this card. You can order these products by shopping clicking the Order Now button and using the May Host Code - HB6BQJV
Mother's Day Card using Eastern Palace Suite

Check out the instructions below to see how I made this fun Mother's Day card.
Cutting and Scoring:
Very Vanilla card base - 5 1/2 x 8 1/2, scored at 4 1/4 and folded
Very Vanilla strip - 5 1/2 x 2
Eastern Palace Designer Series Paper (DSP) - 2 strips at 5 1/2 x 1 1/4
Lemon Lime Twist - 2 1/4 x 2 1/4 for Medallion
Dapper Denim - 2 1/4 x 2 1/4 for Medallion
Instructions:
Cut out the Dapper Denim Medallion and Lemon Lime Twist Medallion
Stamp image in Dapper Denim on each petal on the Lemon Lime Twist Medallion
Attach the Lemon Lime Twist Medallion to Dapper Denim Medallion (offsetting it)
Attach Clear Faceted Gem to center (new catalog)
Attach Medallion piece to Very Vanilla strip
Stamp small medallion image on either side of medallion piece
Stamp sentiment (Oh So Succulent stamp set)
Adhere rhinestone to center of each small medallion
Adhere one DSP strip to top of card base
Adhere Very Vanilla strip to middle of card base
Adhere second DSP strip to bottom of card base
Supplies:
Early Release of the Eastern Palace Suite - May 1 - 31, 20
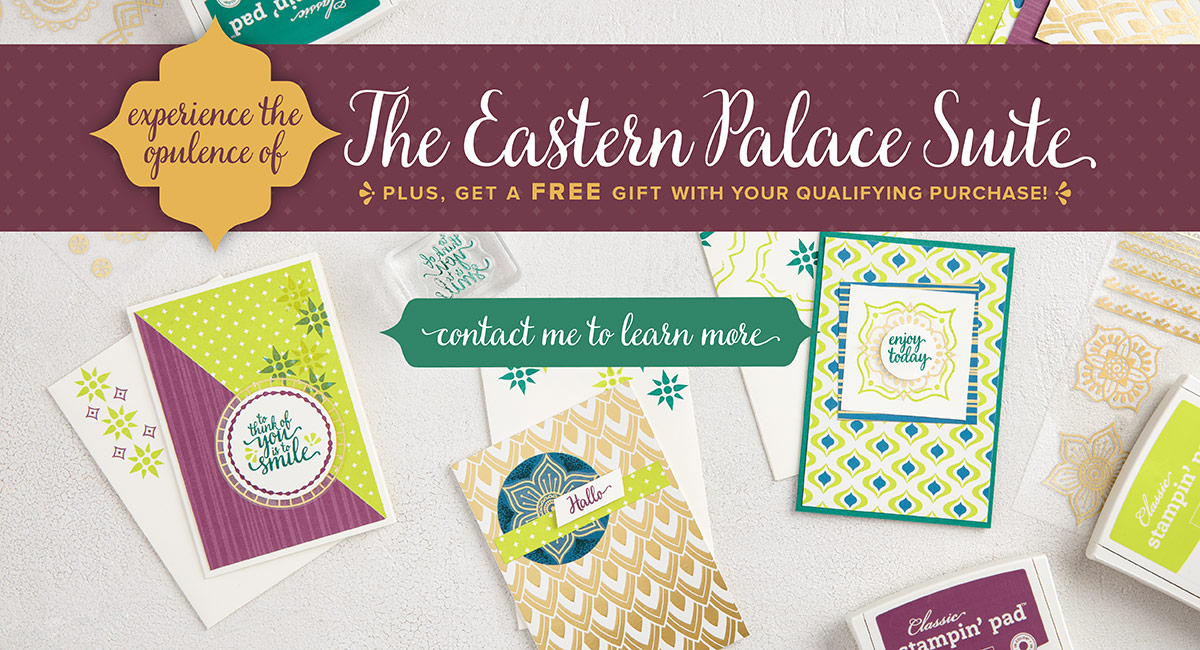
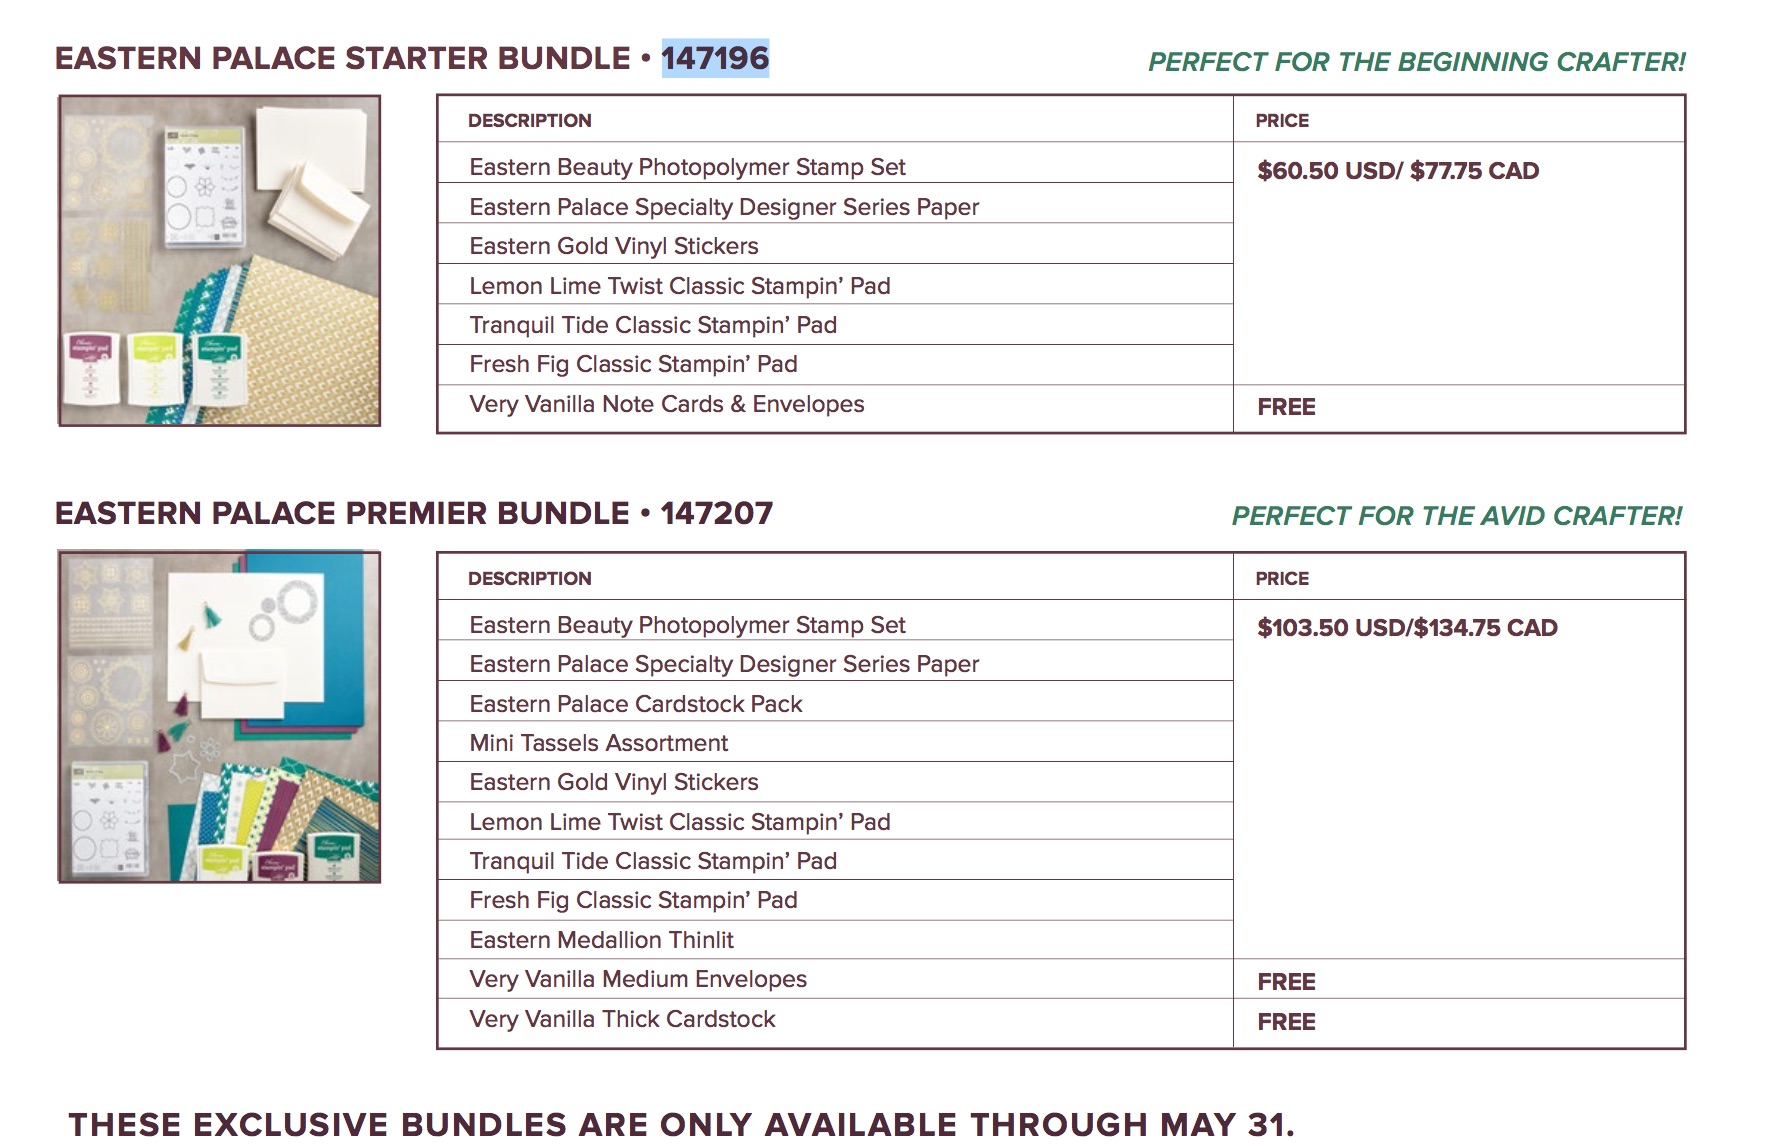
Stampin' UP! has released two special bundles of Eastern Palace Suite. These bundles are available May 1 - 31, 2017. Below is a list of products available in each bundle. Check out my April 26 post to see the video showing all the products.
Triple Layer Technique
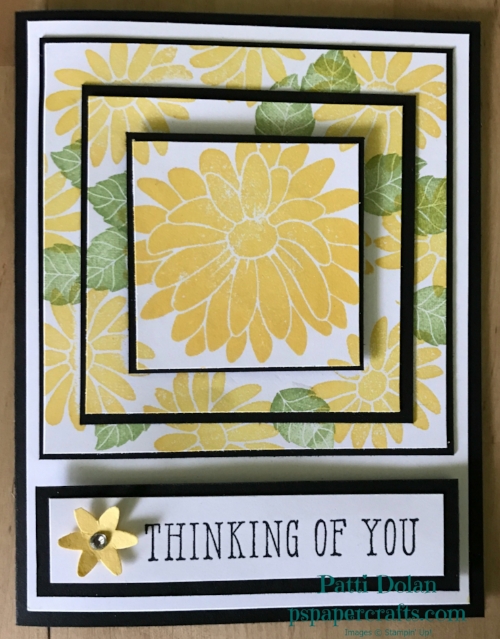
Today's card uses the Triple Layer Technique. It looks like it would be hard to do but its very easy.
Check out the two cards below. Aren't they elegant. The Happy Anniversary is the one I made on the video. Its for my parents who are celebrating their 62nd wedding anniversary tomorrow.
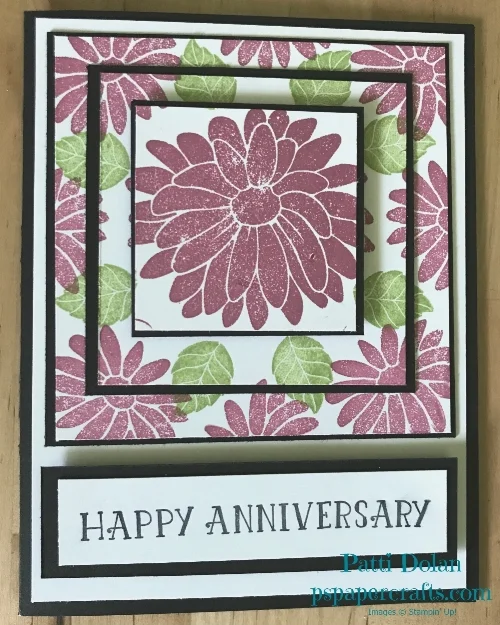
I used Sweet Sugarplum ink for the flowers on this card.
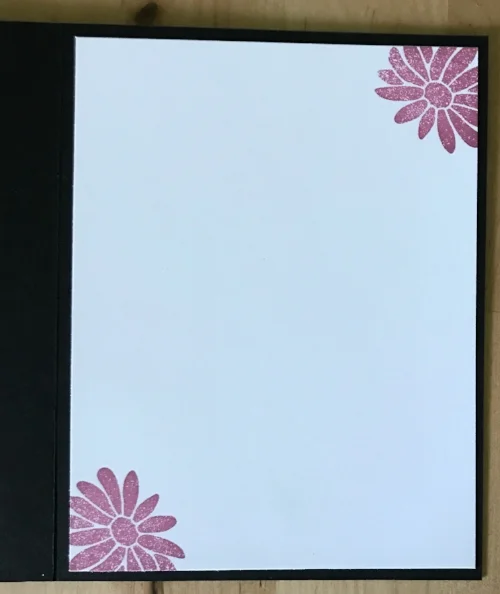
This is the inside I added after the video. This gives you the white space to write your greeting.
This is another one I made with the Thinking Of You sentiment. I used Daffodil Delight ink for the flowers on this one and added a flower that I punched with a rhinestone for some sparkle.
As promised, here's the video.
Here are all the dimensions:
Card base is Basic Black - 5 1/2 x 8 1/2 and folded in half
Whisper White layer - 5 1/4 x 4
Basic Black layers: 3 6/8 x 3 6/8, 3x3, 2 1/8 x 2 1/8
Whisper White layers: 3 5/8 x 5 5/8, 2 13/16 x 2 13/16, 2x2
Sentiment layers: Basic Black 3 3/4 x 1 & Whisper White 3 1/2 x 3/4
Below is the supply list for this project:
Eastern Palace Suite using Gold Vinyl Stickers
Here's another card featuring the Eastern Palace suite. I used the gold vinyl stickers to add some beautiful accents to the card. The Fresh Fig with the Gold stickers are so rich and beautiful. I am just loving this suite.
See my blog post from April 26 for the details on the special bundling available for this suite in May.

Take a look at this video to see how I made this card.
Below is the supply list for this project. Please comment if you have any questions. You can use my online store to order any products you need.
Eastern Palace Suite - Special Bundles Available May 1 through May 31, 2017
Check out my video below for the details on the two special bundles that Stampin' UP! is making available during the month of May -- SO EXCITED!!!

These are the details for each bundle. Order at my online store starting May 1.