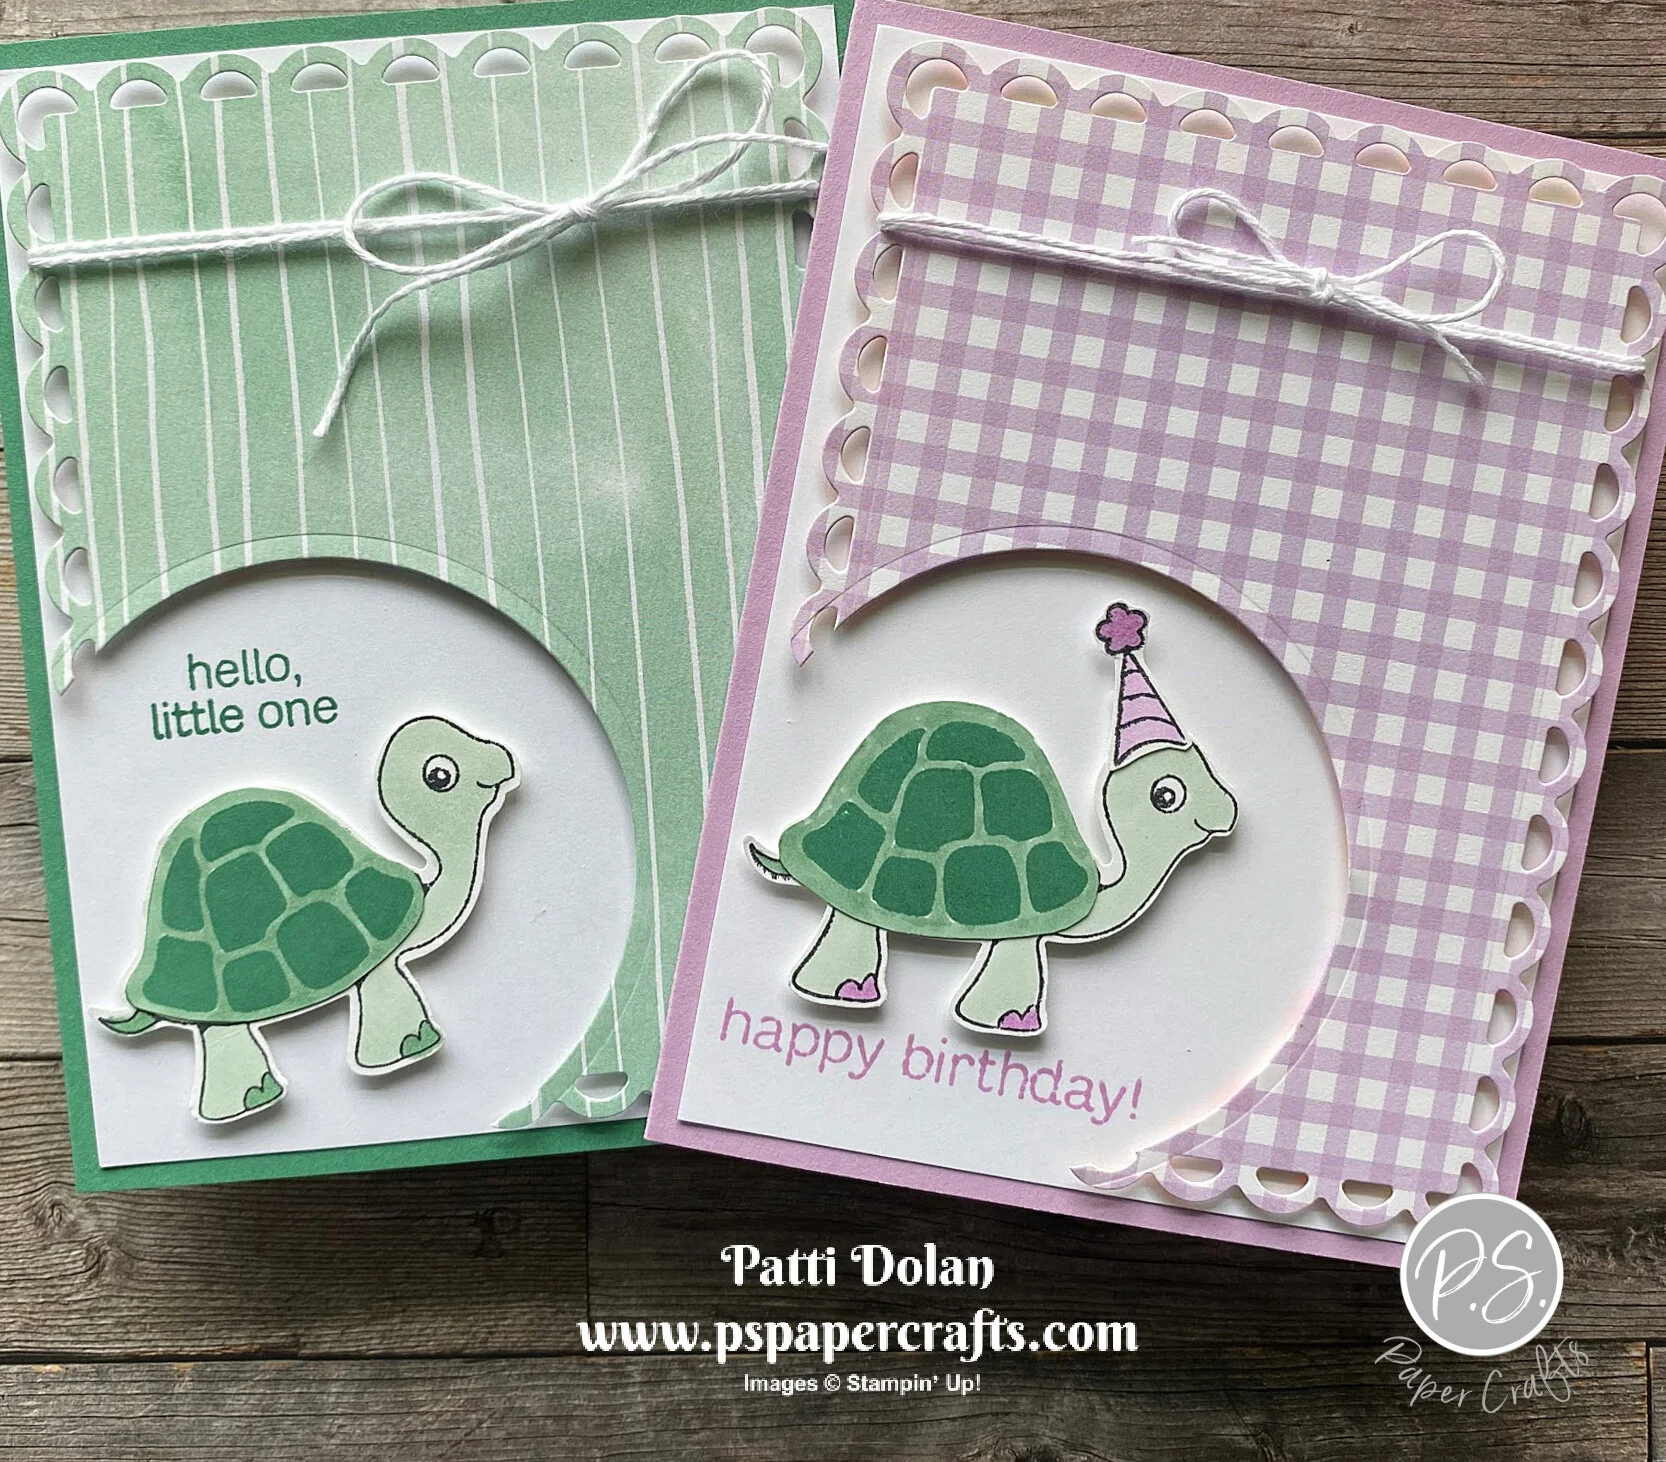
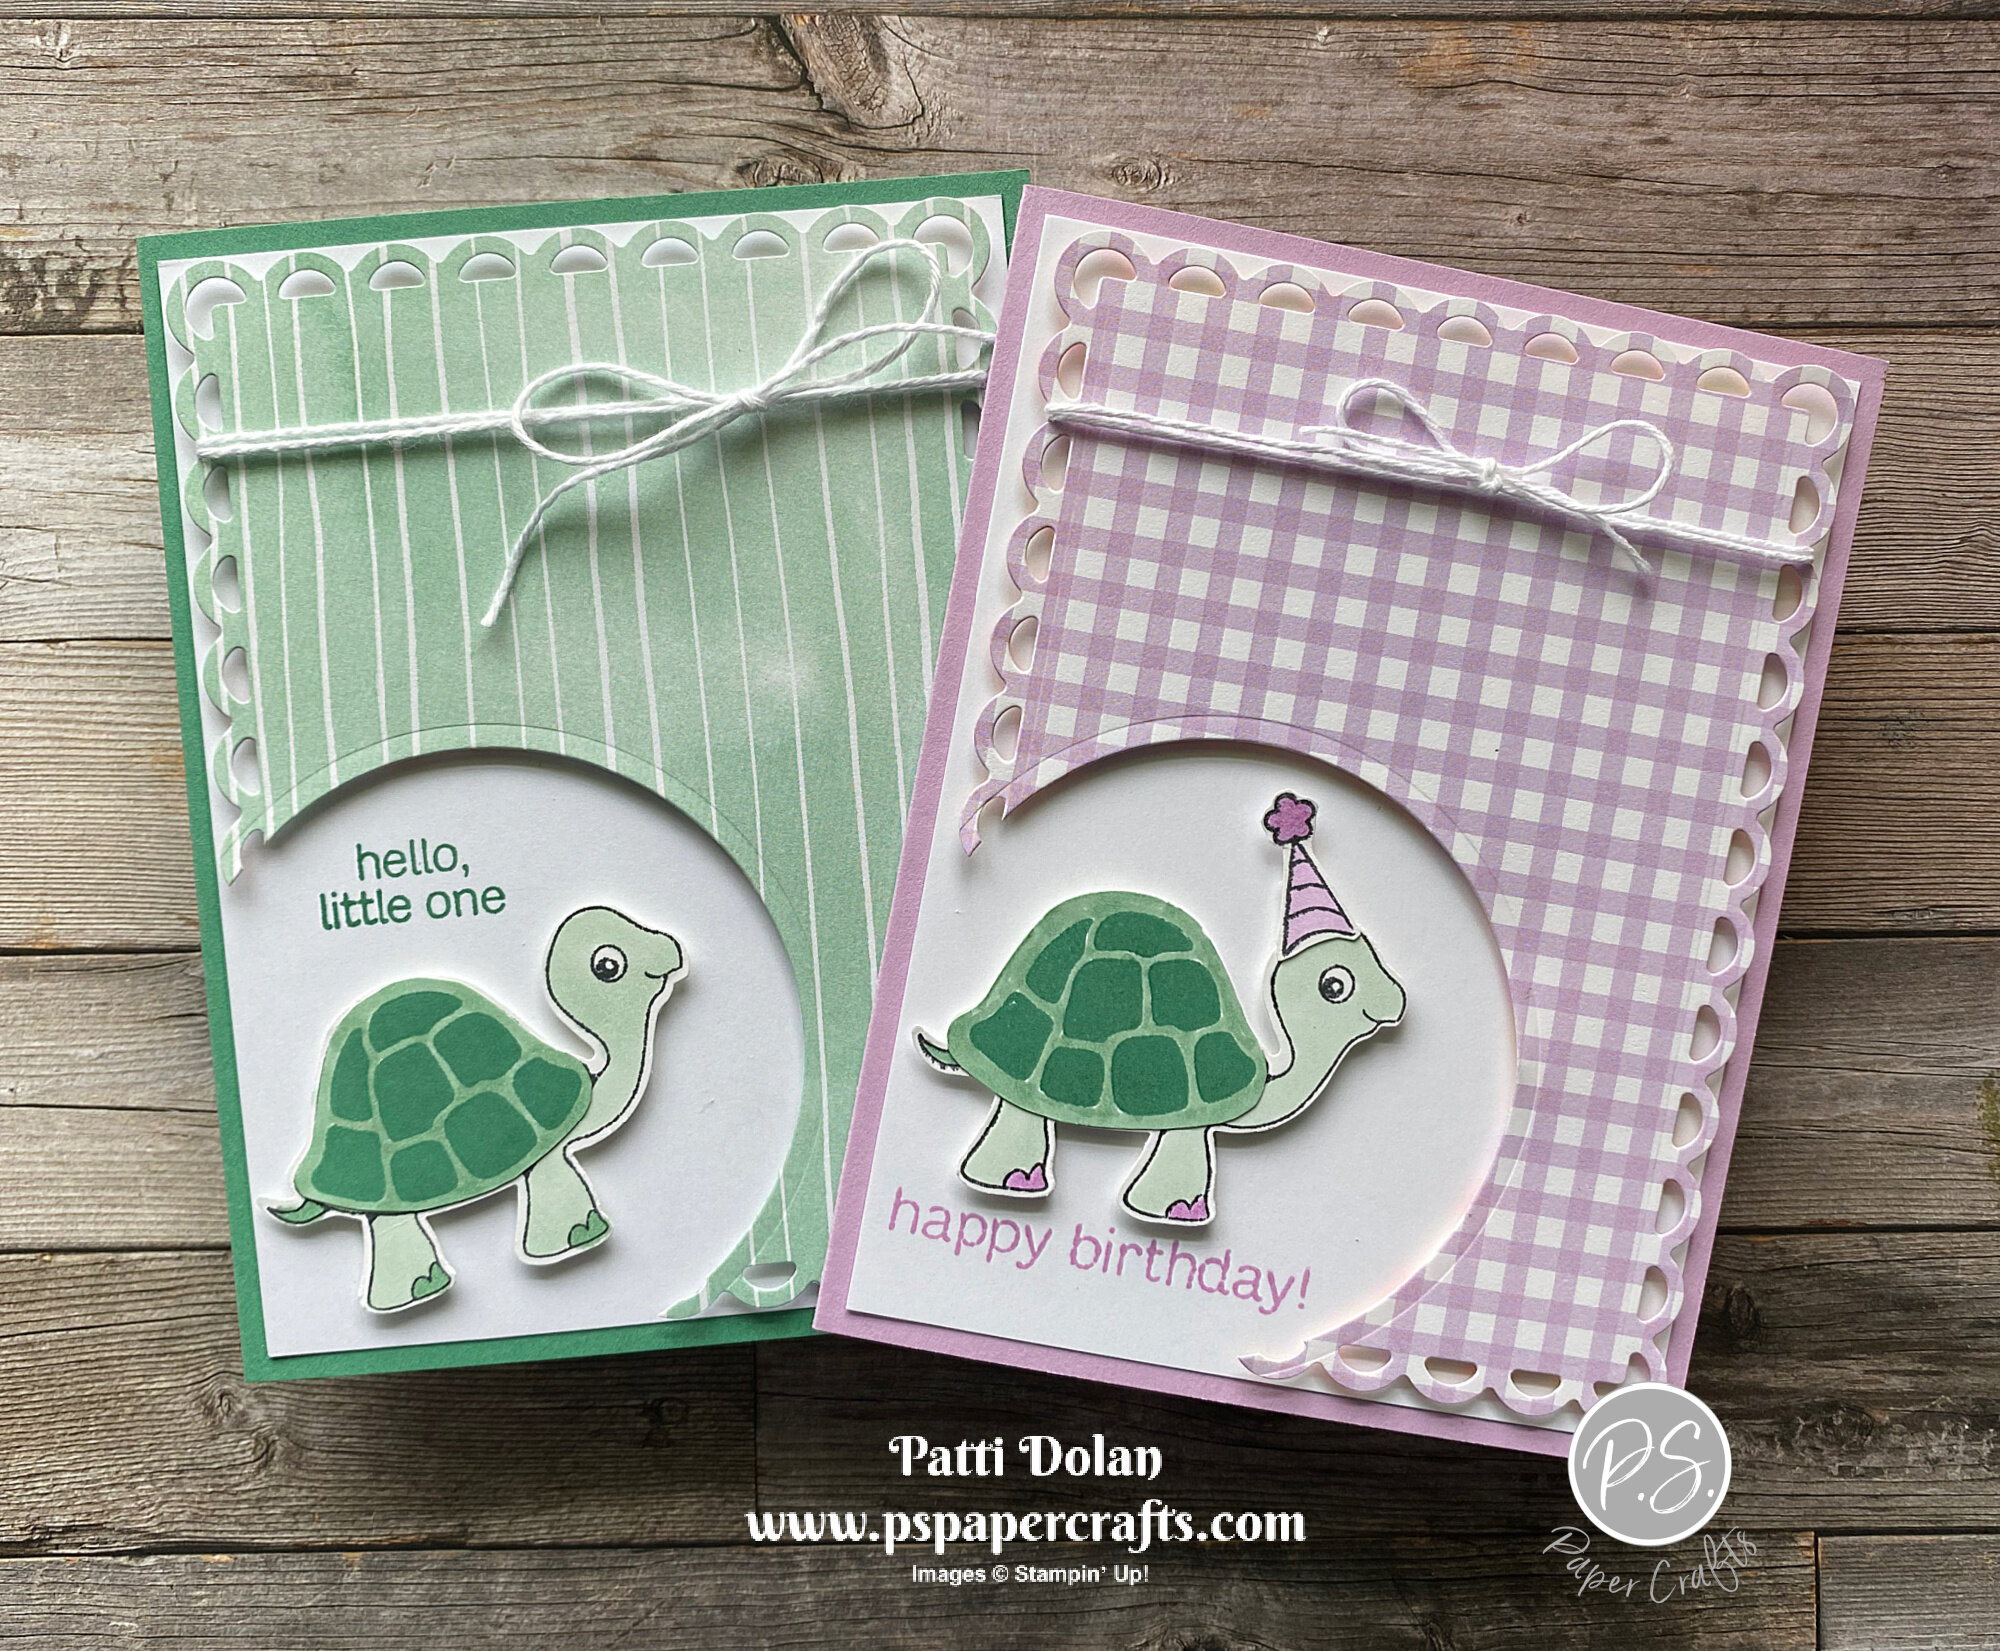
I found this design on Pinterest and knew I wanted to make it using the turtle. They turned out so cute! Watch the video to hear about a funny turtle encounter I had.
In the video, I’ll show you how to make this fun layer with the circle cutout for the turtle. The Turtle Friends Bundle has a stamp set and a coordinating Turtle Punch to make it easy to cut out the turtle.
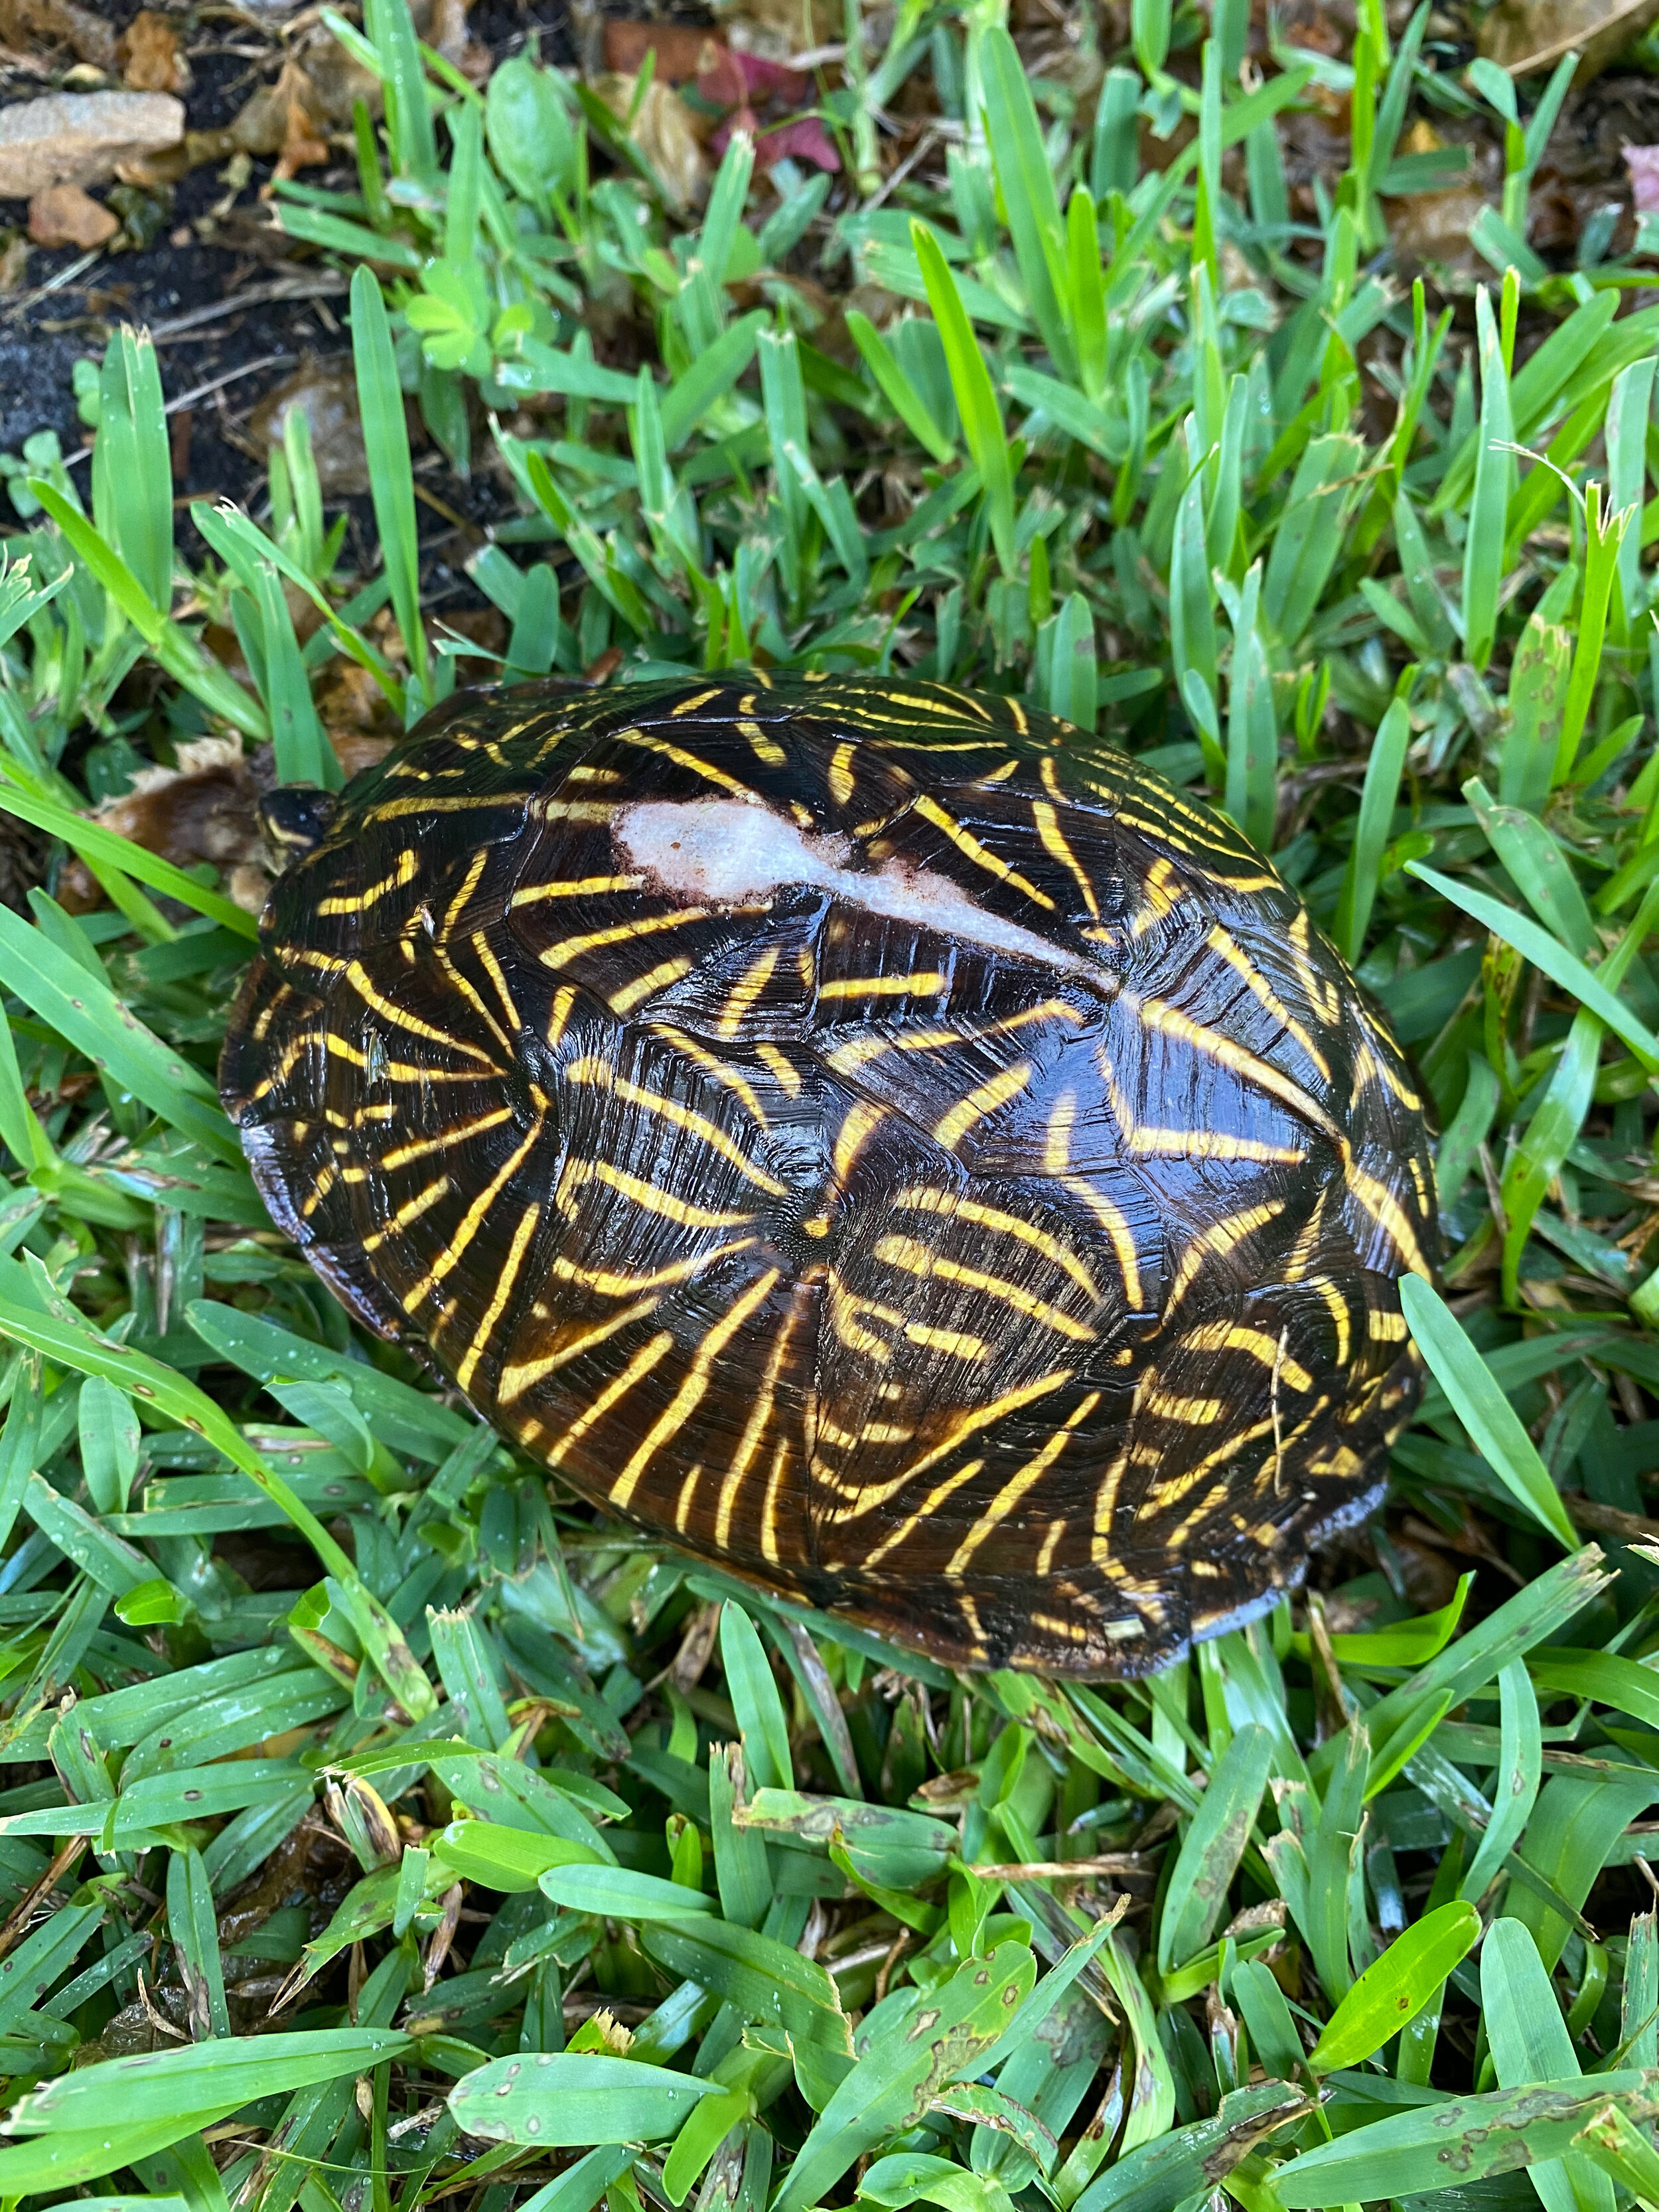
This is the beautiful turtle that was in my yard last week. It’s a Box Turtle and the shell is so pretty although I think there may be something going on with it. You can see that white area on the top, poor little guy.
Tips & Instructions
Fresh Freesia Card Base - 5 1/2 x 8 1/2, score at 4 1/4
Basic White Layer - 5 1/4 x 4
Pansy Petals Designer Series Paper - cut with largest rectangle from the Scalloped Countours Dies. Cut bottom corner using the largest Layering Circle Die.
Stamp turtle with Black Memento Ink and punch with the Turtle Punch. Color with Light Mint Macaron Stampin’ Blend. Color tail with Light Just Jade Stampin’ Blend. Color toenails with Light Fresh Freesia and add some Wink Of Stella.
Stamp shell with Just Jade Ink and punch with the Turtle Punch. Fussy cut and color with Light Just Jade.
Stamp the hat with Black Memento Ink, color with Fresh Freesia Stampin’ Blends and fussy cut. Add some Wink of Stella to the pompom. Adhere to turtle.
Wrap White Bakers Twine around the gingham layer and tie a bow.
Arrange your layers and turtle to see where to stamp the sentiment on the white layer with Fresh Freesia Ink.
Adhere layers and pieces, using Dimensionals to the gingham layer and turtle.


