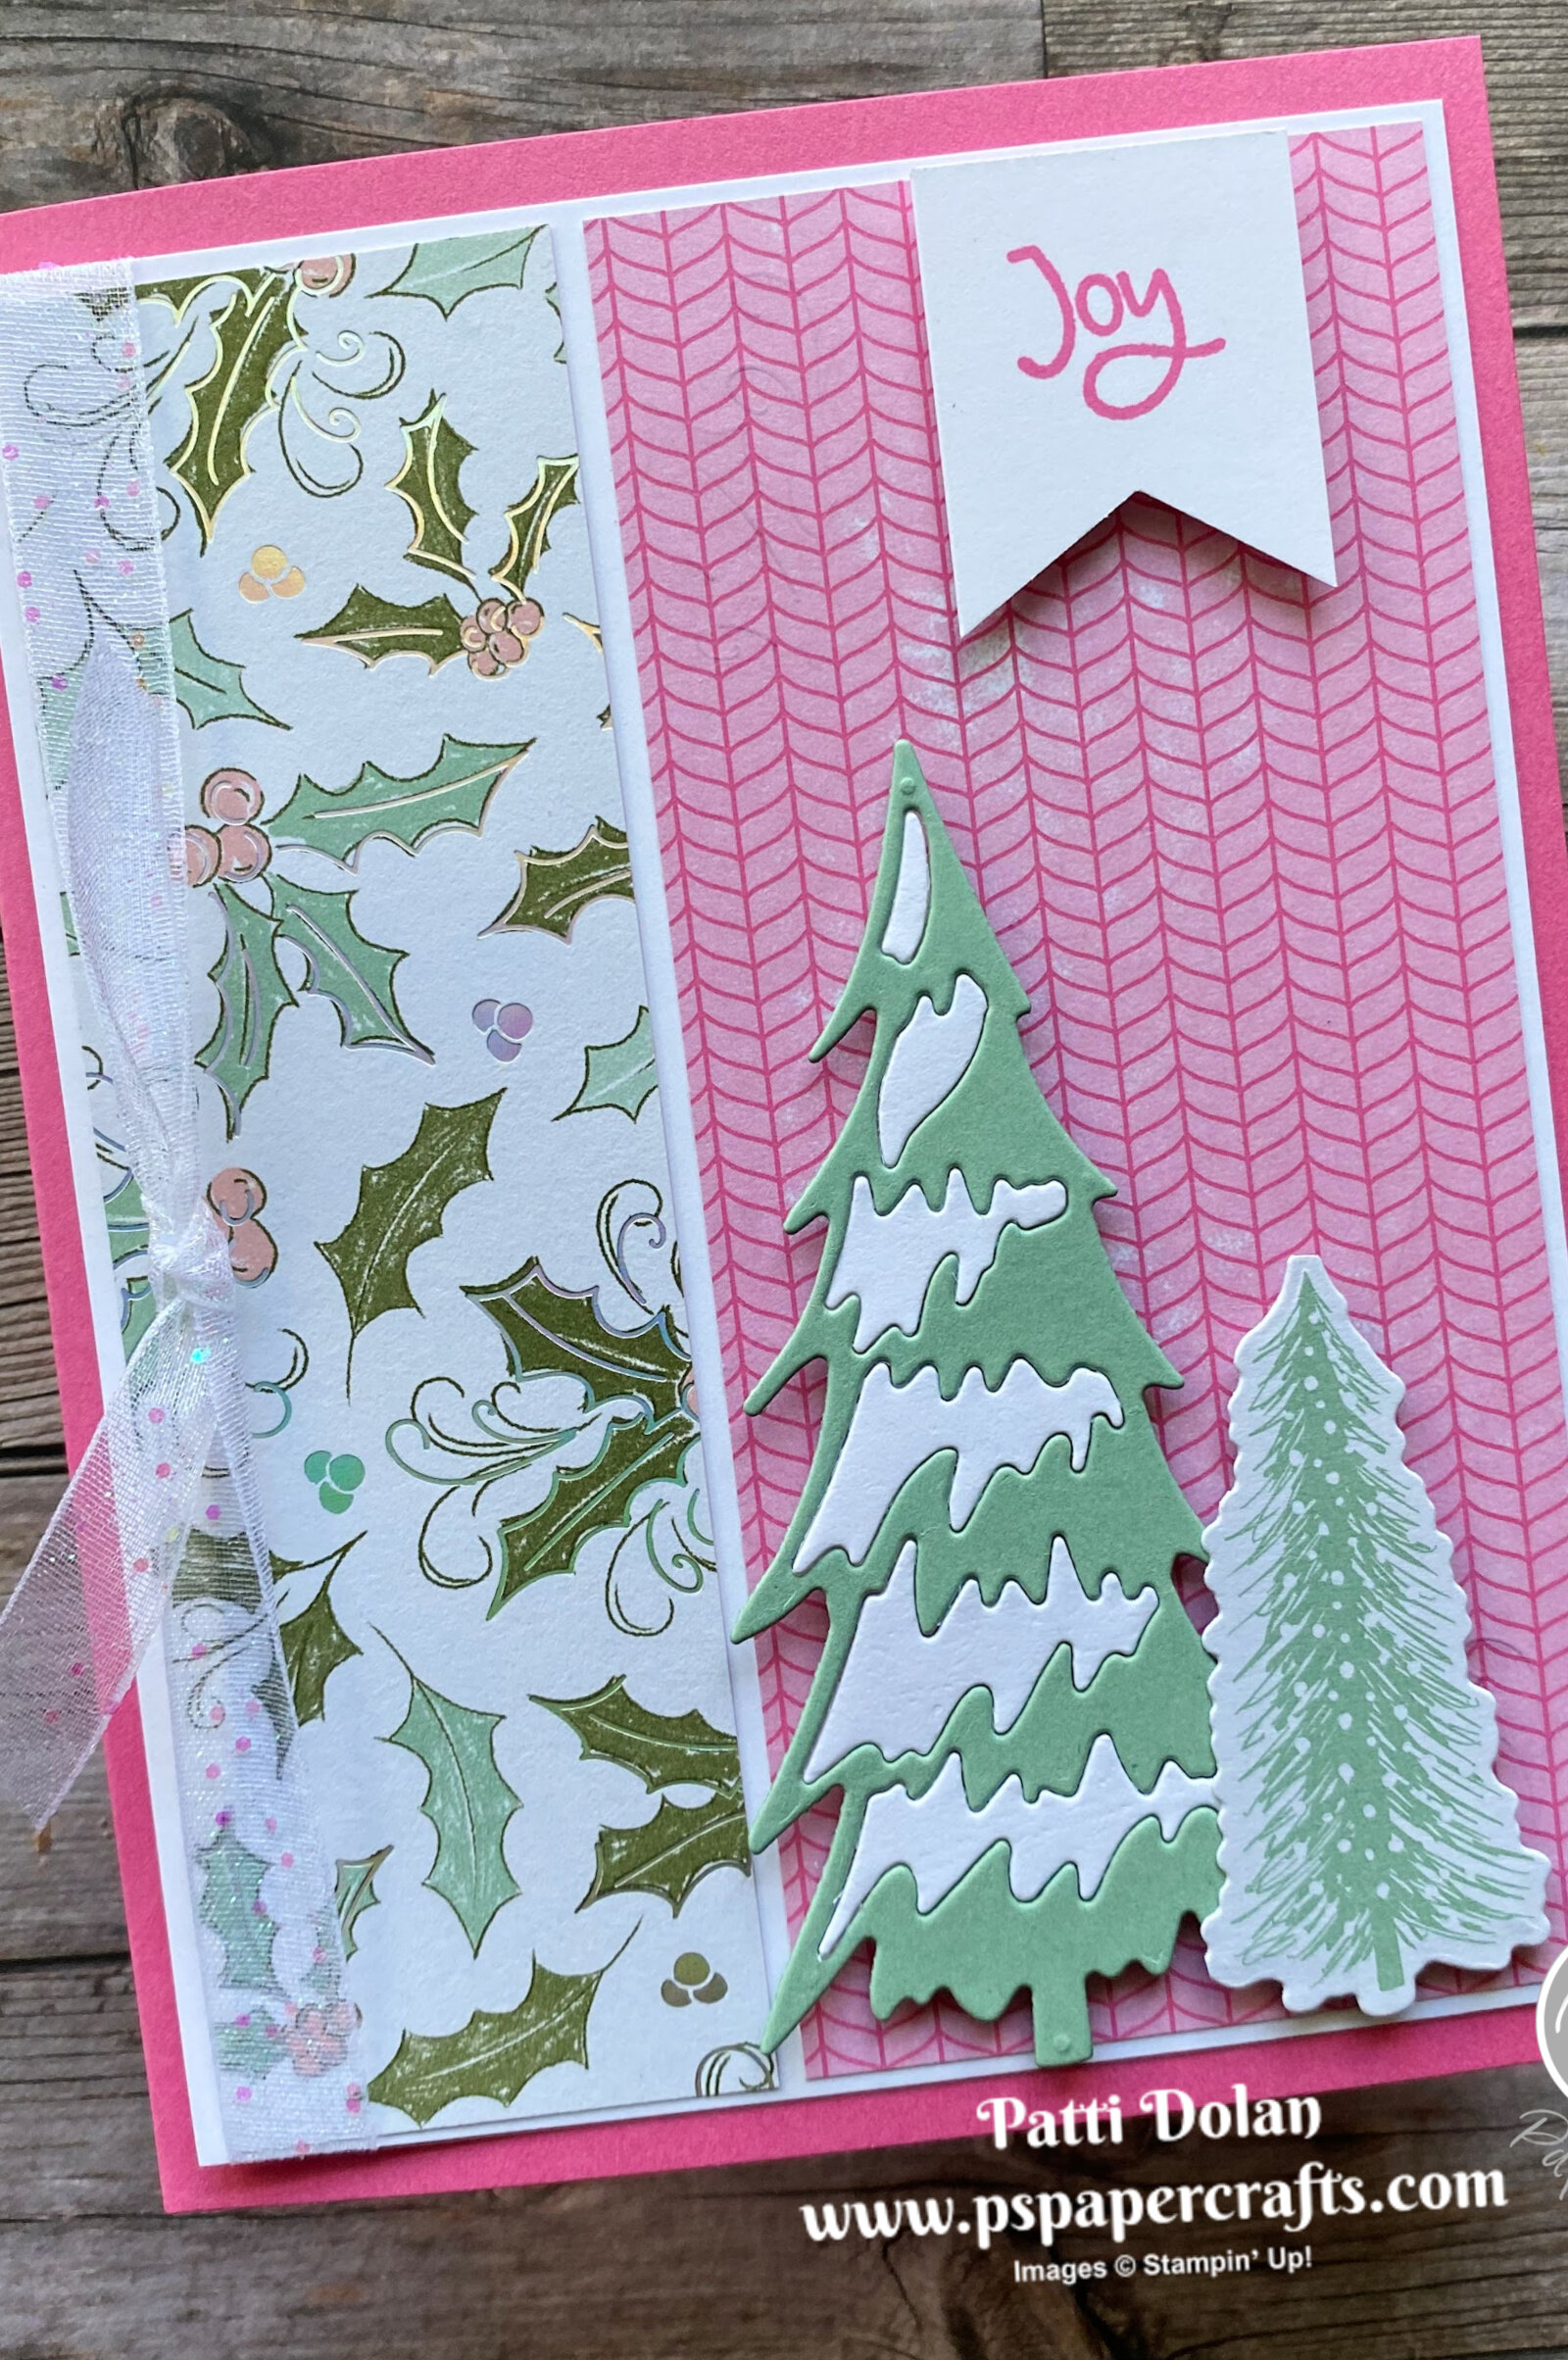
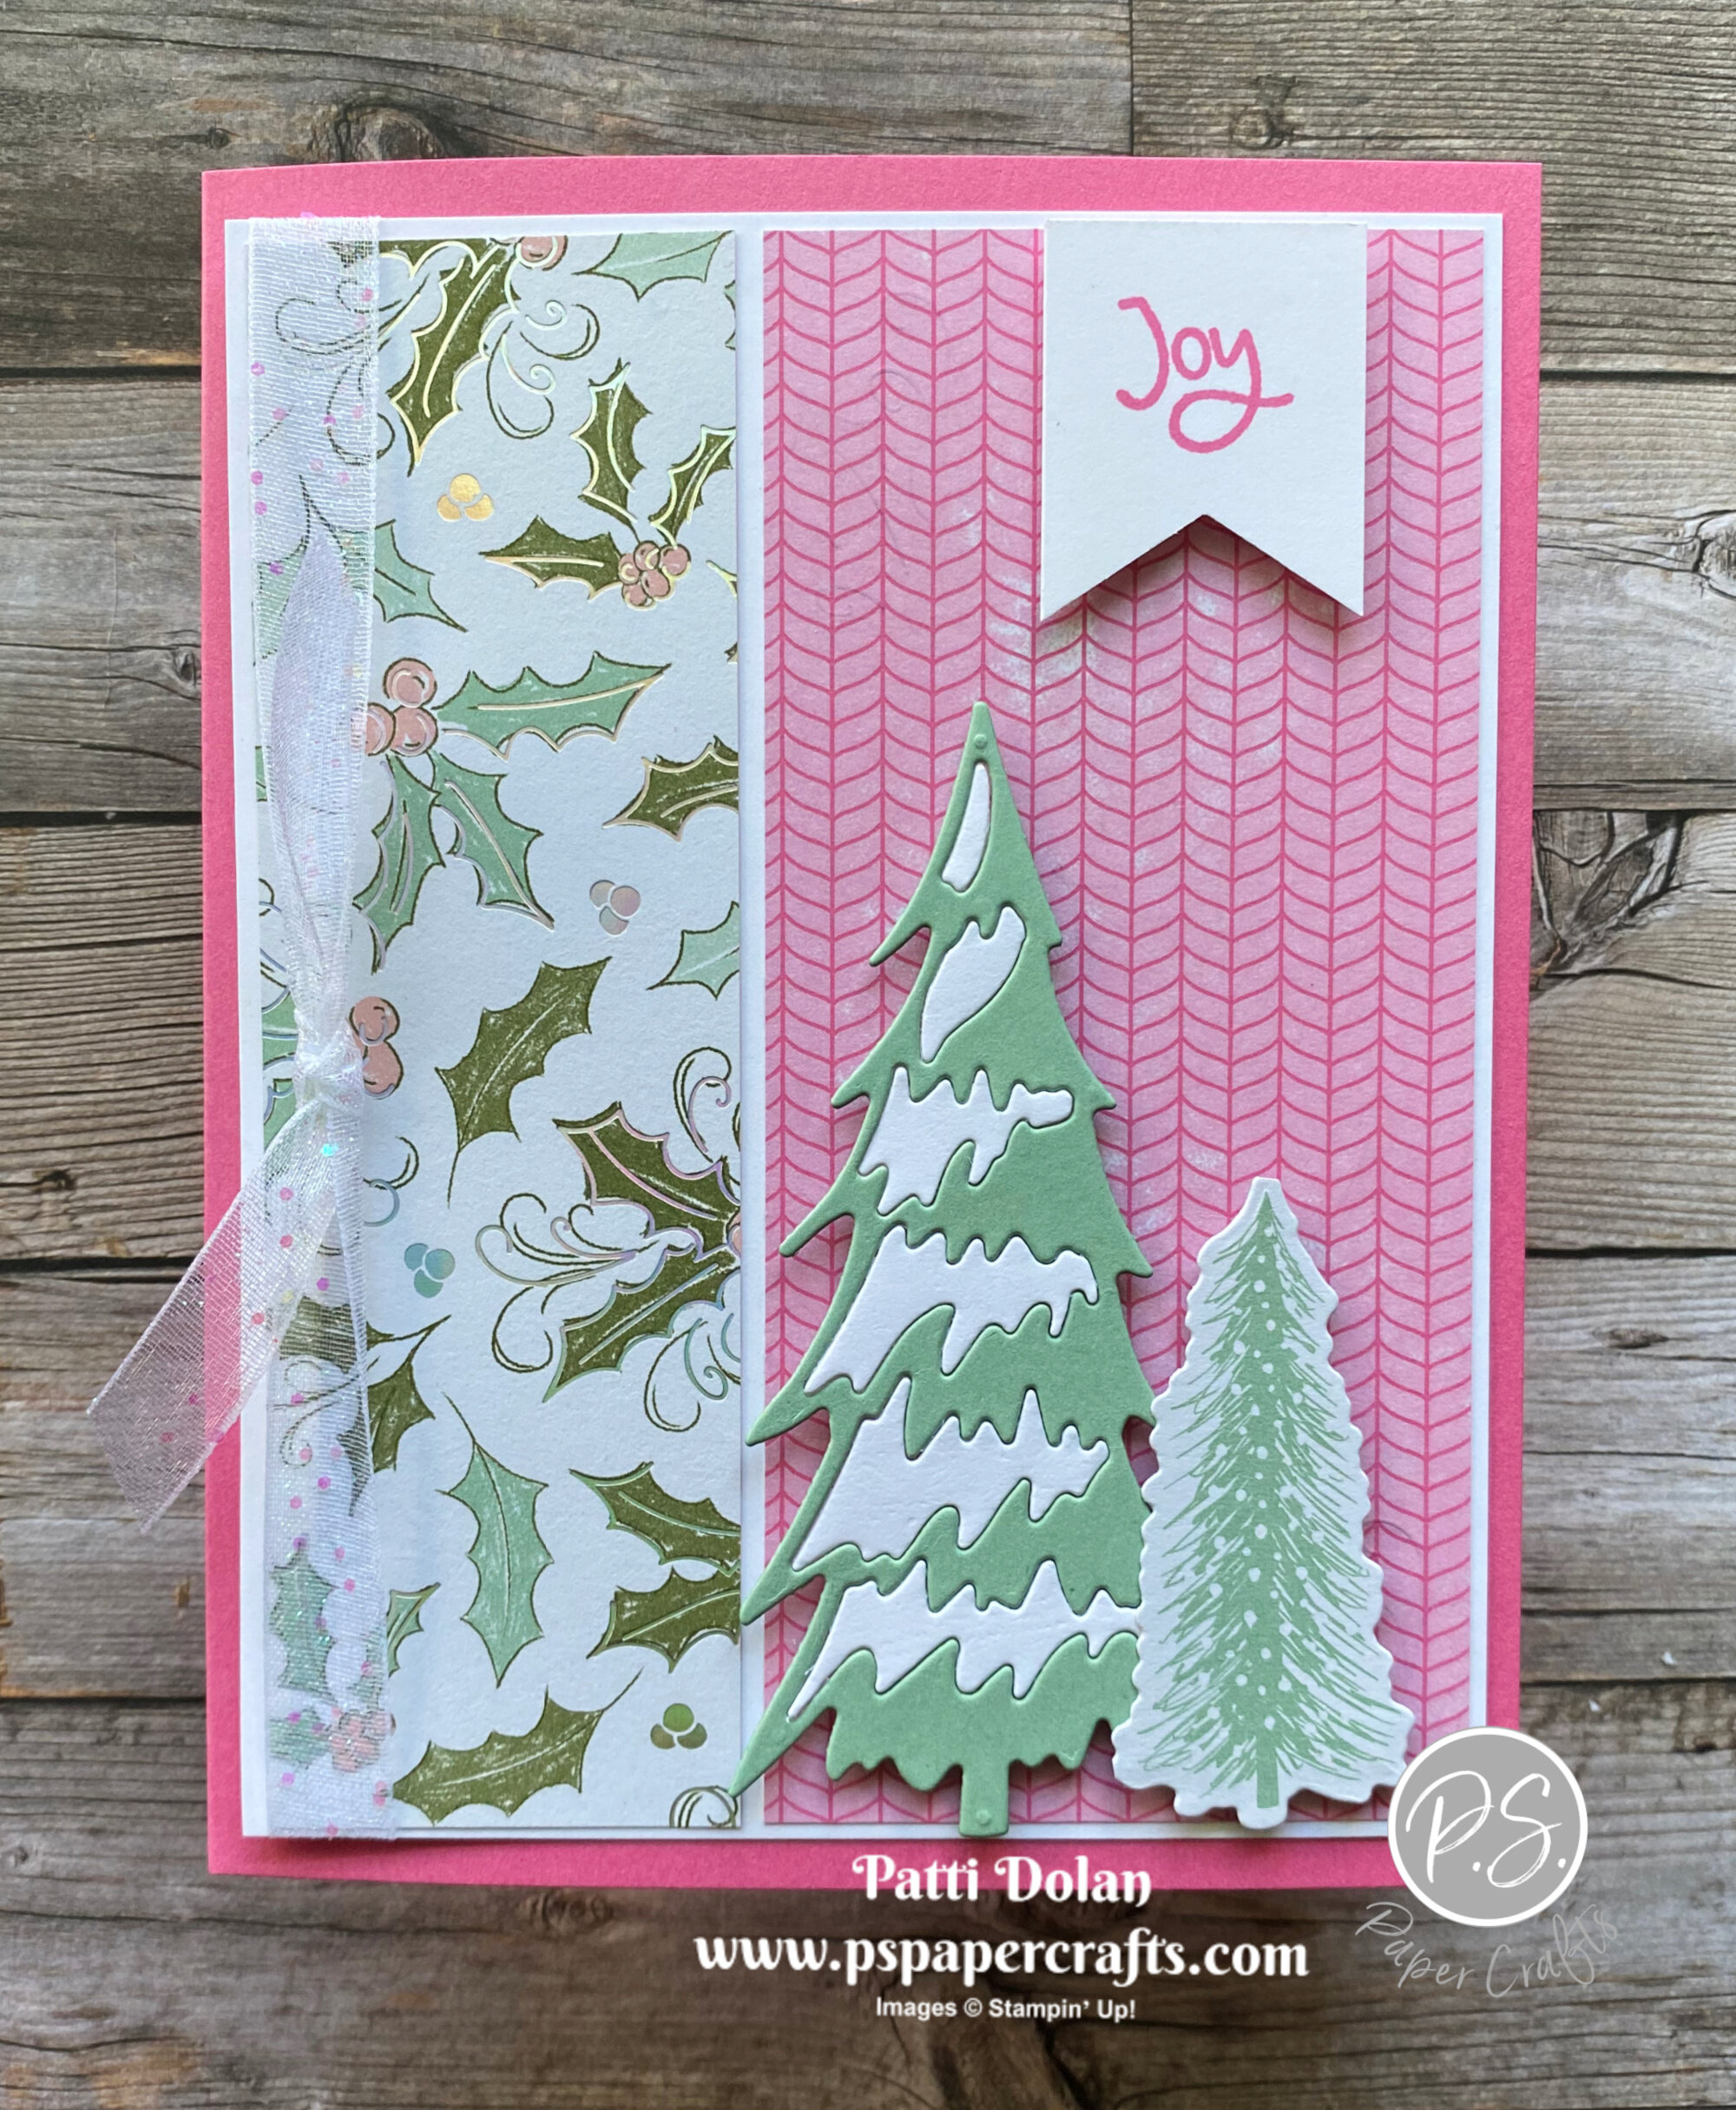
Do you like non-traditional colors for Christmas Cards? I think the colors on this card are refreshing and pretty!
The Whimsical Trees Stamp Set and Christmas Trees Dies gives you lots of options to create fun trees. I cut the one with the snow twice, once with Mint Macaron and one with Basic White Cardstock. Poke the white out and insert in the green branches. Bundle the stamp set and dies together and save 10%.
The colors on the Whimsy & Wonder Designer Series Paper are bright and pretty. They can be used for Christmas but many of the patterns would be great for Birthday Cards or other occasions.
Tips & Instructions
Polished Pink Card Base - 5 1/2 x 8 1/2, score at 4 1/4
Basic White Layer - 5 1/8 x 4
Whimsy & Wonder Designer Series Paper (holly) - 5 x 1
Whimsy & Wonder Designer Series Paper (pink pattern) - 5 x 2 1/4
Adhere designer paper to the white layer. Wrap ribbon around layer and adhere to back. Tie a separate piece of ribbon in a knot around the ribbon. Adhere layer to card.
Mint Macaron Cardstock - cut Christmas tree, pop out the snow areas.
Basic White Cardstock - cut same Christmas tree, pop out the snow areas. Adhere the white snow into the green tree. I used scotch tape on the back to keep them in place.
Cut 2 trees from the designer paper using the coordinating dies, one for the card front and one for the inside.
Adhere trees to the card front using Dimensionals.
Basic White 1” strip, stamp sentiment with Polished Pink Ink. Flag the end and adhere to card using Dimensionals.


