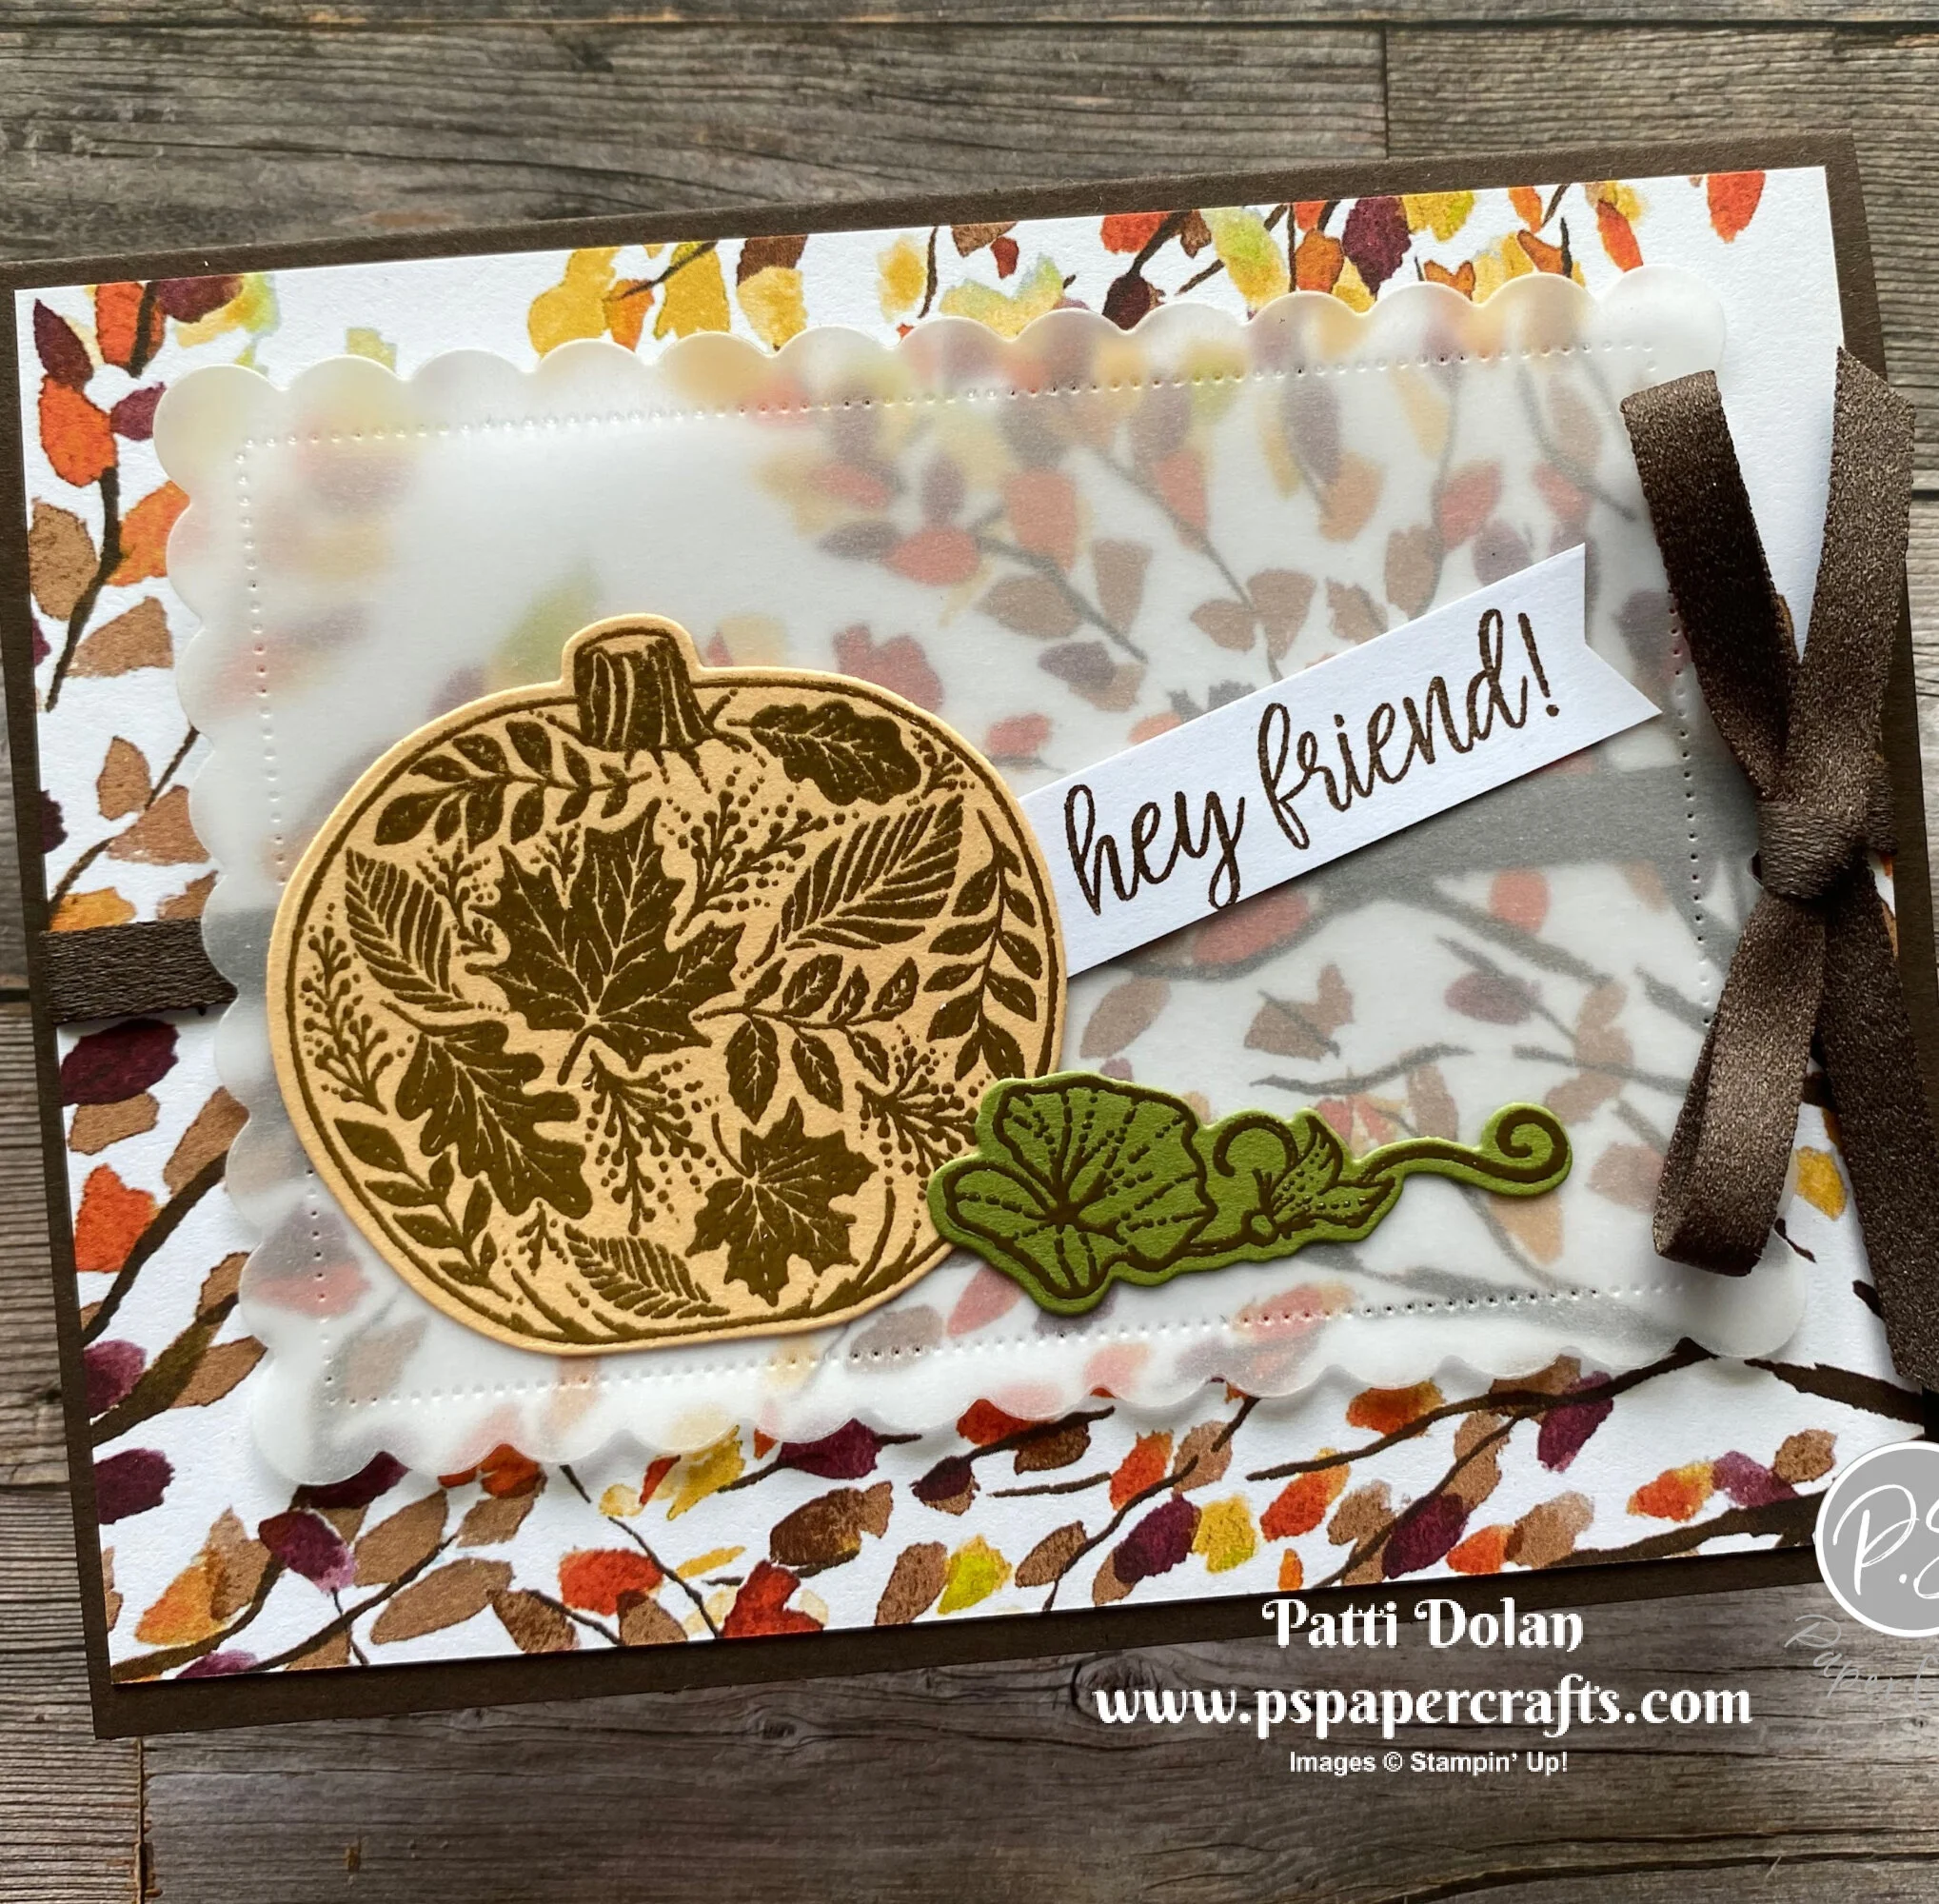
I love this pumpkin image with the leaves on it from the Pretty Pumpkins Stamp Set. I embossed it in gold; so pretty!
In my video I’ll show you how to make this card using Gold Embossing Powder and my Heat Tool. The scalloped vellum piece is a great layer to highlight the pumpkin but have the patterned paper show through.
You can purchase the Pretty Pumpkins Stamp Set with the Detailed Pumpkin Dies as a bundle and save 10%. There are some wonderful pumpkin dies in this set that can be used with the stamp set or on their own.
Tips & Instructions
Early Espresso Card Base - 5 1/2 x 8 1/2, score at 4 1/4
Beauty Of The Earth Designer Series Paper - 5 1/4 x 4, wrap a piece of Early Espresso Faux Suede Trim around layer and adhere to the back. Adhere layer to card base.
Cut piece of Vellum Cardstock using the Scalloped Contours Dies.
Stamp pumpkin on Pale Papaya Cardstock using Versamark Ink and heat emboss with Gold Embossing Powder.
Stamp greenery on Old Olive Cardstock using Versamark Ink and heat emboss with Gold Embossing Powder.
Cut pumpkin and greenery with coordinating dies.
Stamp sentiment (from the In Symmetry Stamp Set) on 1/2” strip of Basic White Cardstock and punch one end with the Banners Pick A Punch. Adhere to pumpkin.
Adhere pumpkin and greenery to Vellum and then adhere layer to card.
Tie bow and adhere using a Glue Dot.


