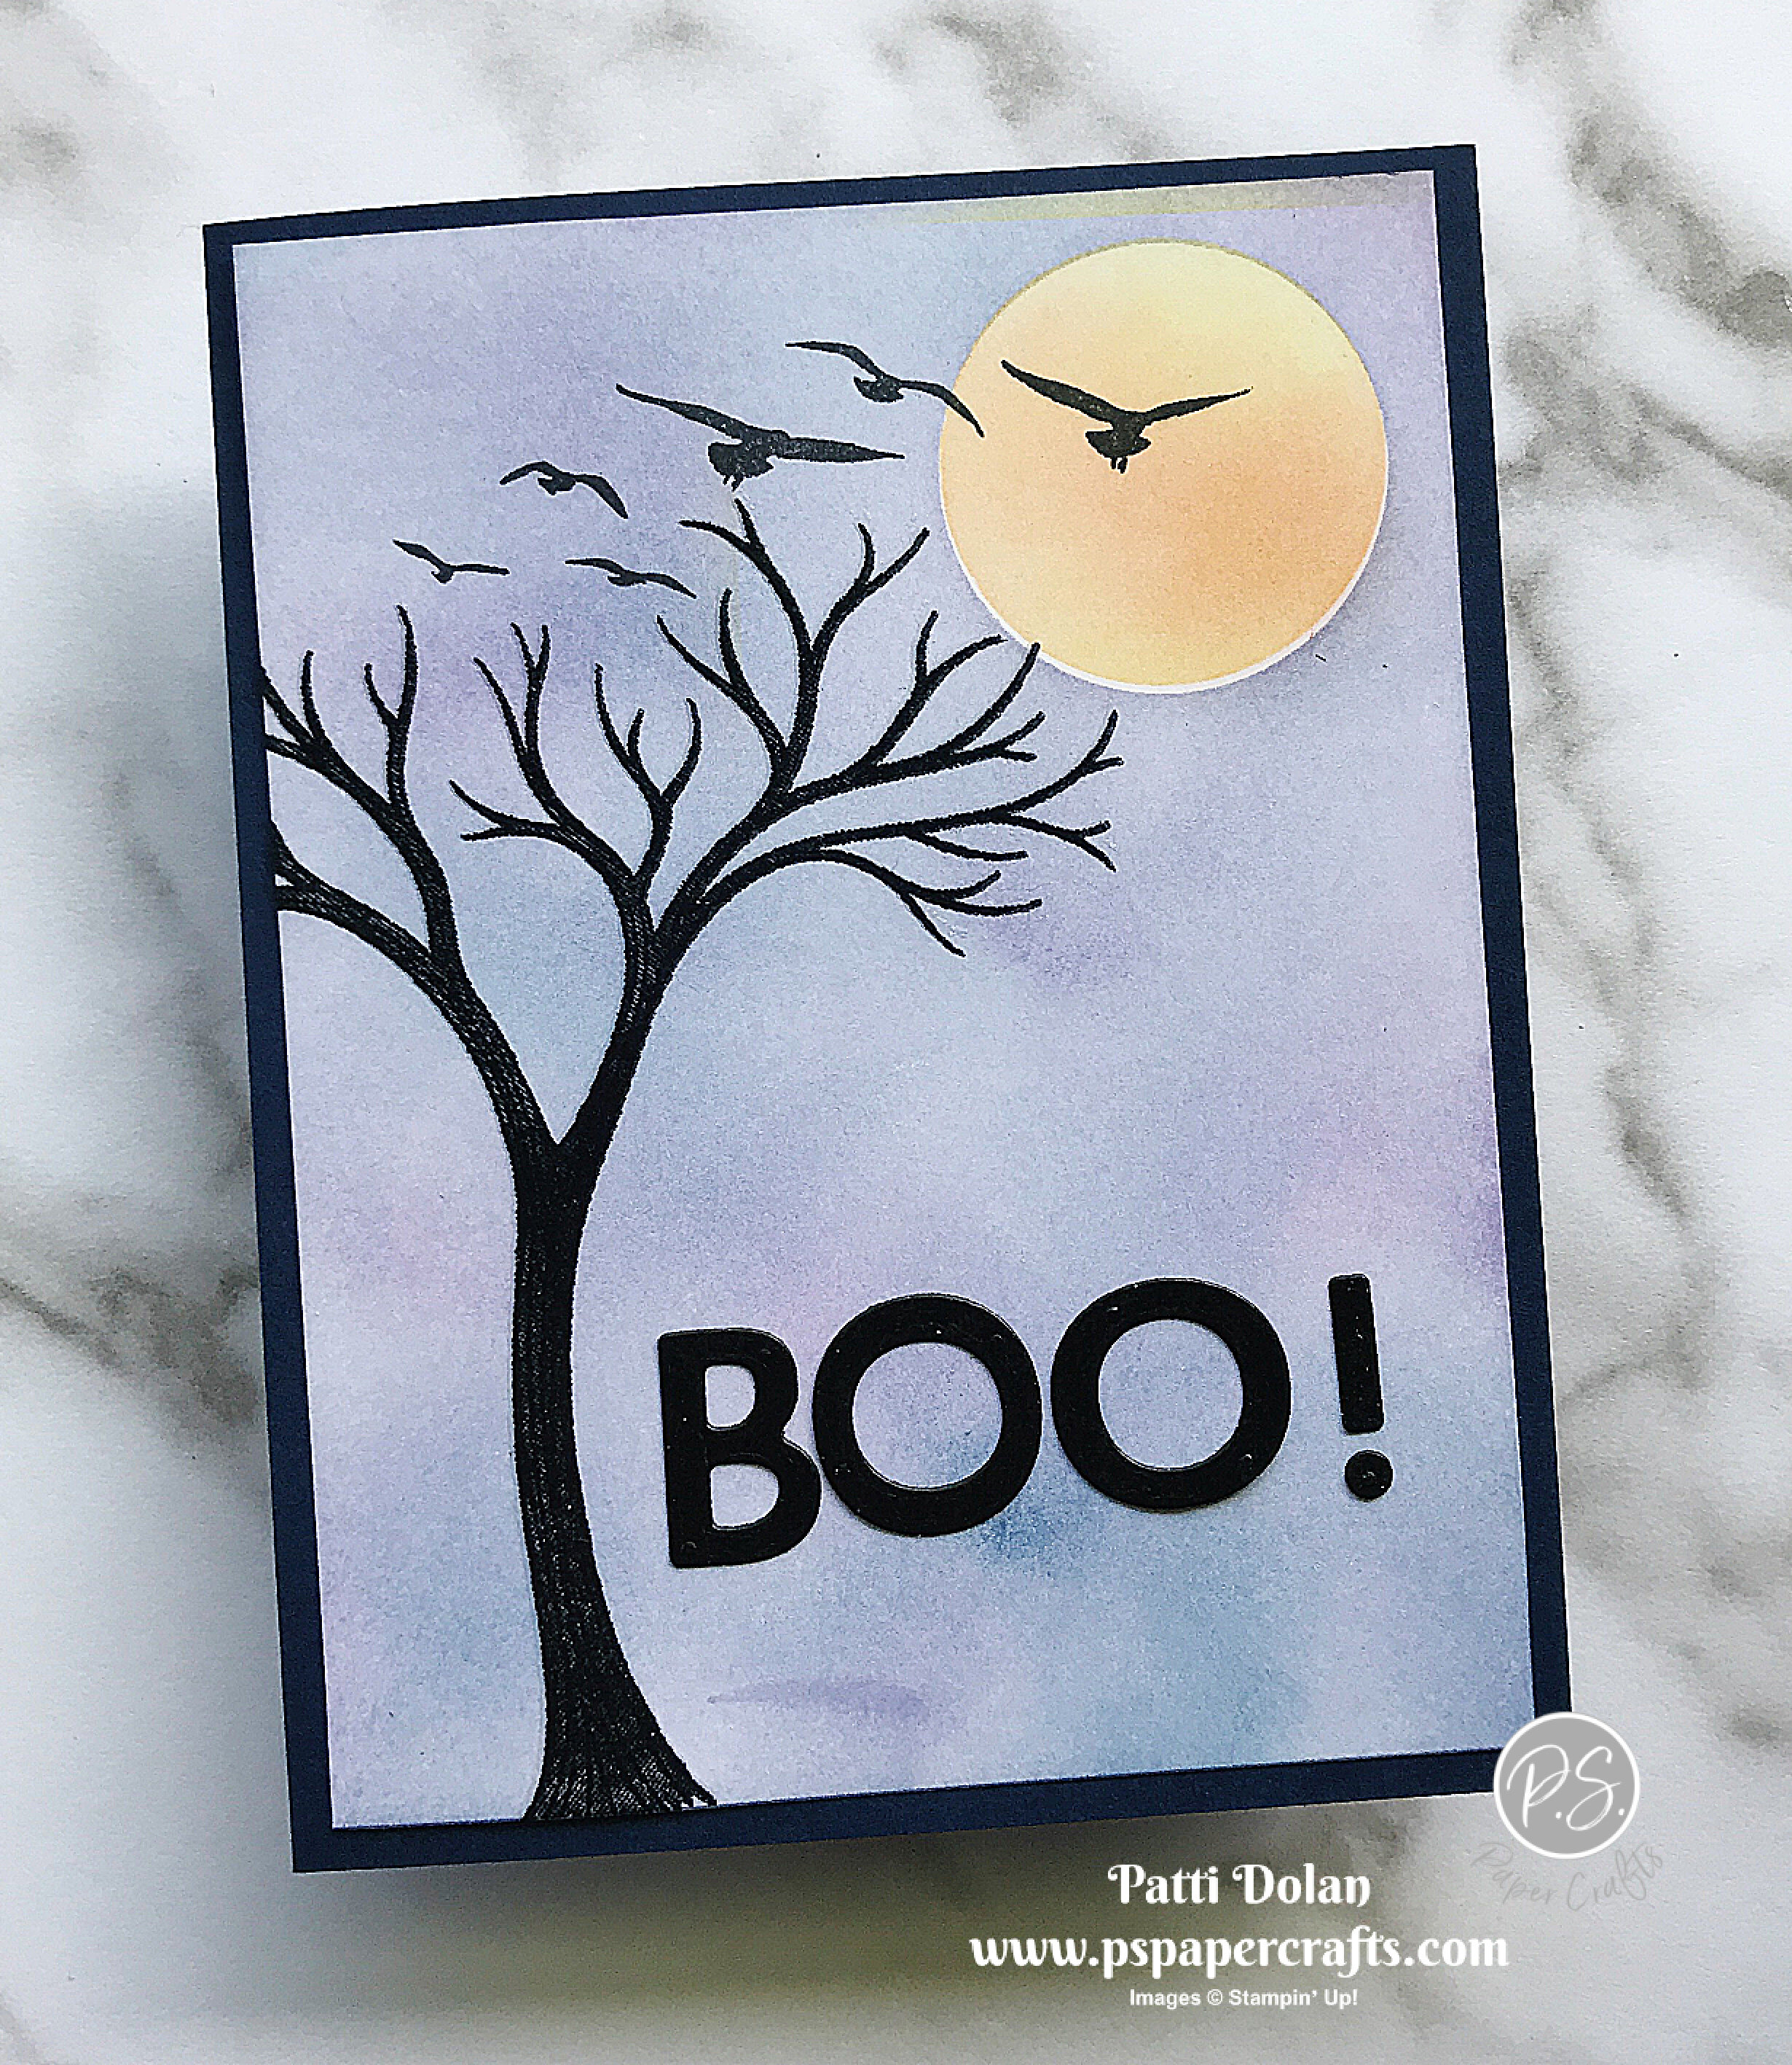
I made this spooky Halloween Card using the Life Is Beautiful Stamp Set and the Playful Alphabet Dies.
There’s lots of techniques from sponging to heat embossing and I’ll show you step by step how I made this card in the video below.
Tips & Techniques
Night Of Navy Card Base - 5 1/2 x 8 1/2, score at 4 1/4
Whisper White Layer - 5 1/4 x 4
Using 1 1/2” Circle Punch, punch circle from Post-It Note and stick to top corner of layer to protect it while sponging.
Lightly Sponge Layer using Highland Heather and Misty Moonlight Inks. (I used Craft Ink Blending Brushes but you can use a Stampin’ Sponges or Sponge Brayer.)
Peel off the Post-It Note and lay the other piece of the Post-It Note paper around the circle to protect the card layer and lightly sponge some Daffodil Delight and Calypso Coral Ink. (See video for these steps.)
Use your Stamparatus to stamp tree with Black Memento Ink, stamping two layers. Wipe the tree with your Embossing Buddy.
Clean your stamp and stamp two layers of VersaMark Ink.
Cover tree with Clear Embossing Powder and Heat Emboss.
Cover a scrap of Basic Black Cardstock with VersaMark and then add Clear Embossing Powder and heat with Heat Tool.
Add Adhesive Sheet to back of the embossed scrap and cut BOO! with Playful Alphabet Dies.
Adhere sentiment letters to card.
Stamp birds (from High Tide Stamp Set) with Black Ink at top of layer and adhere layer to card base.


