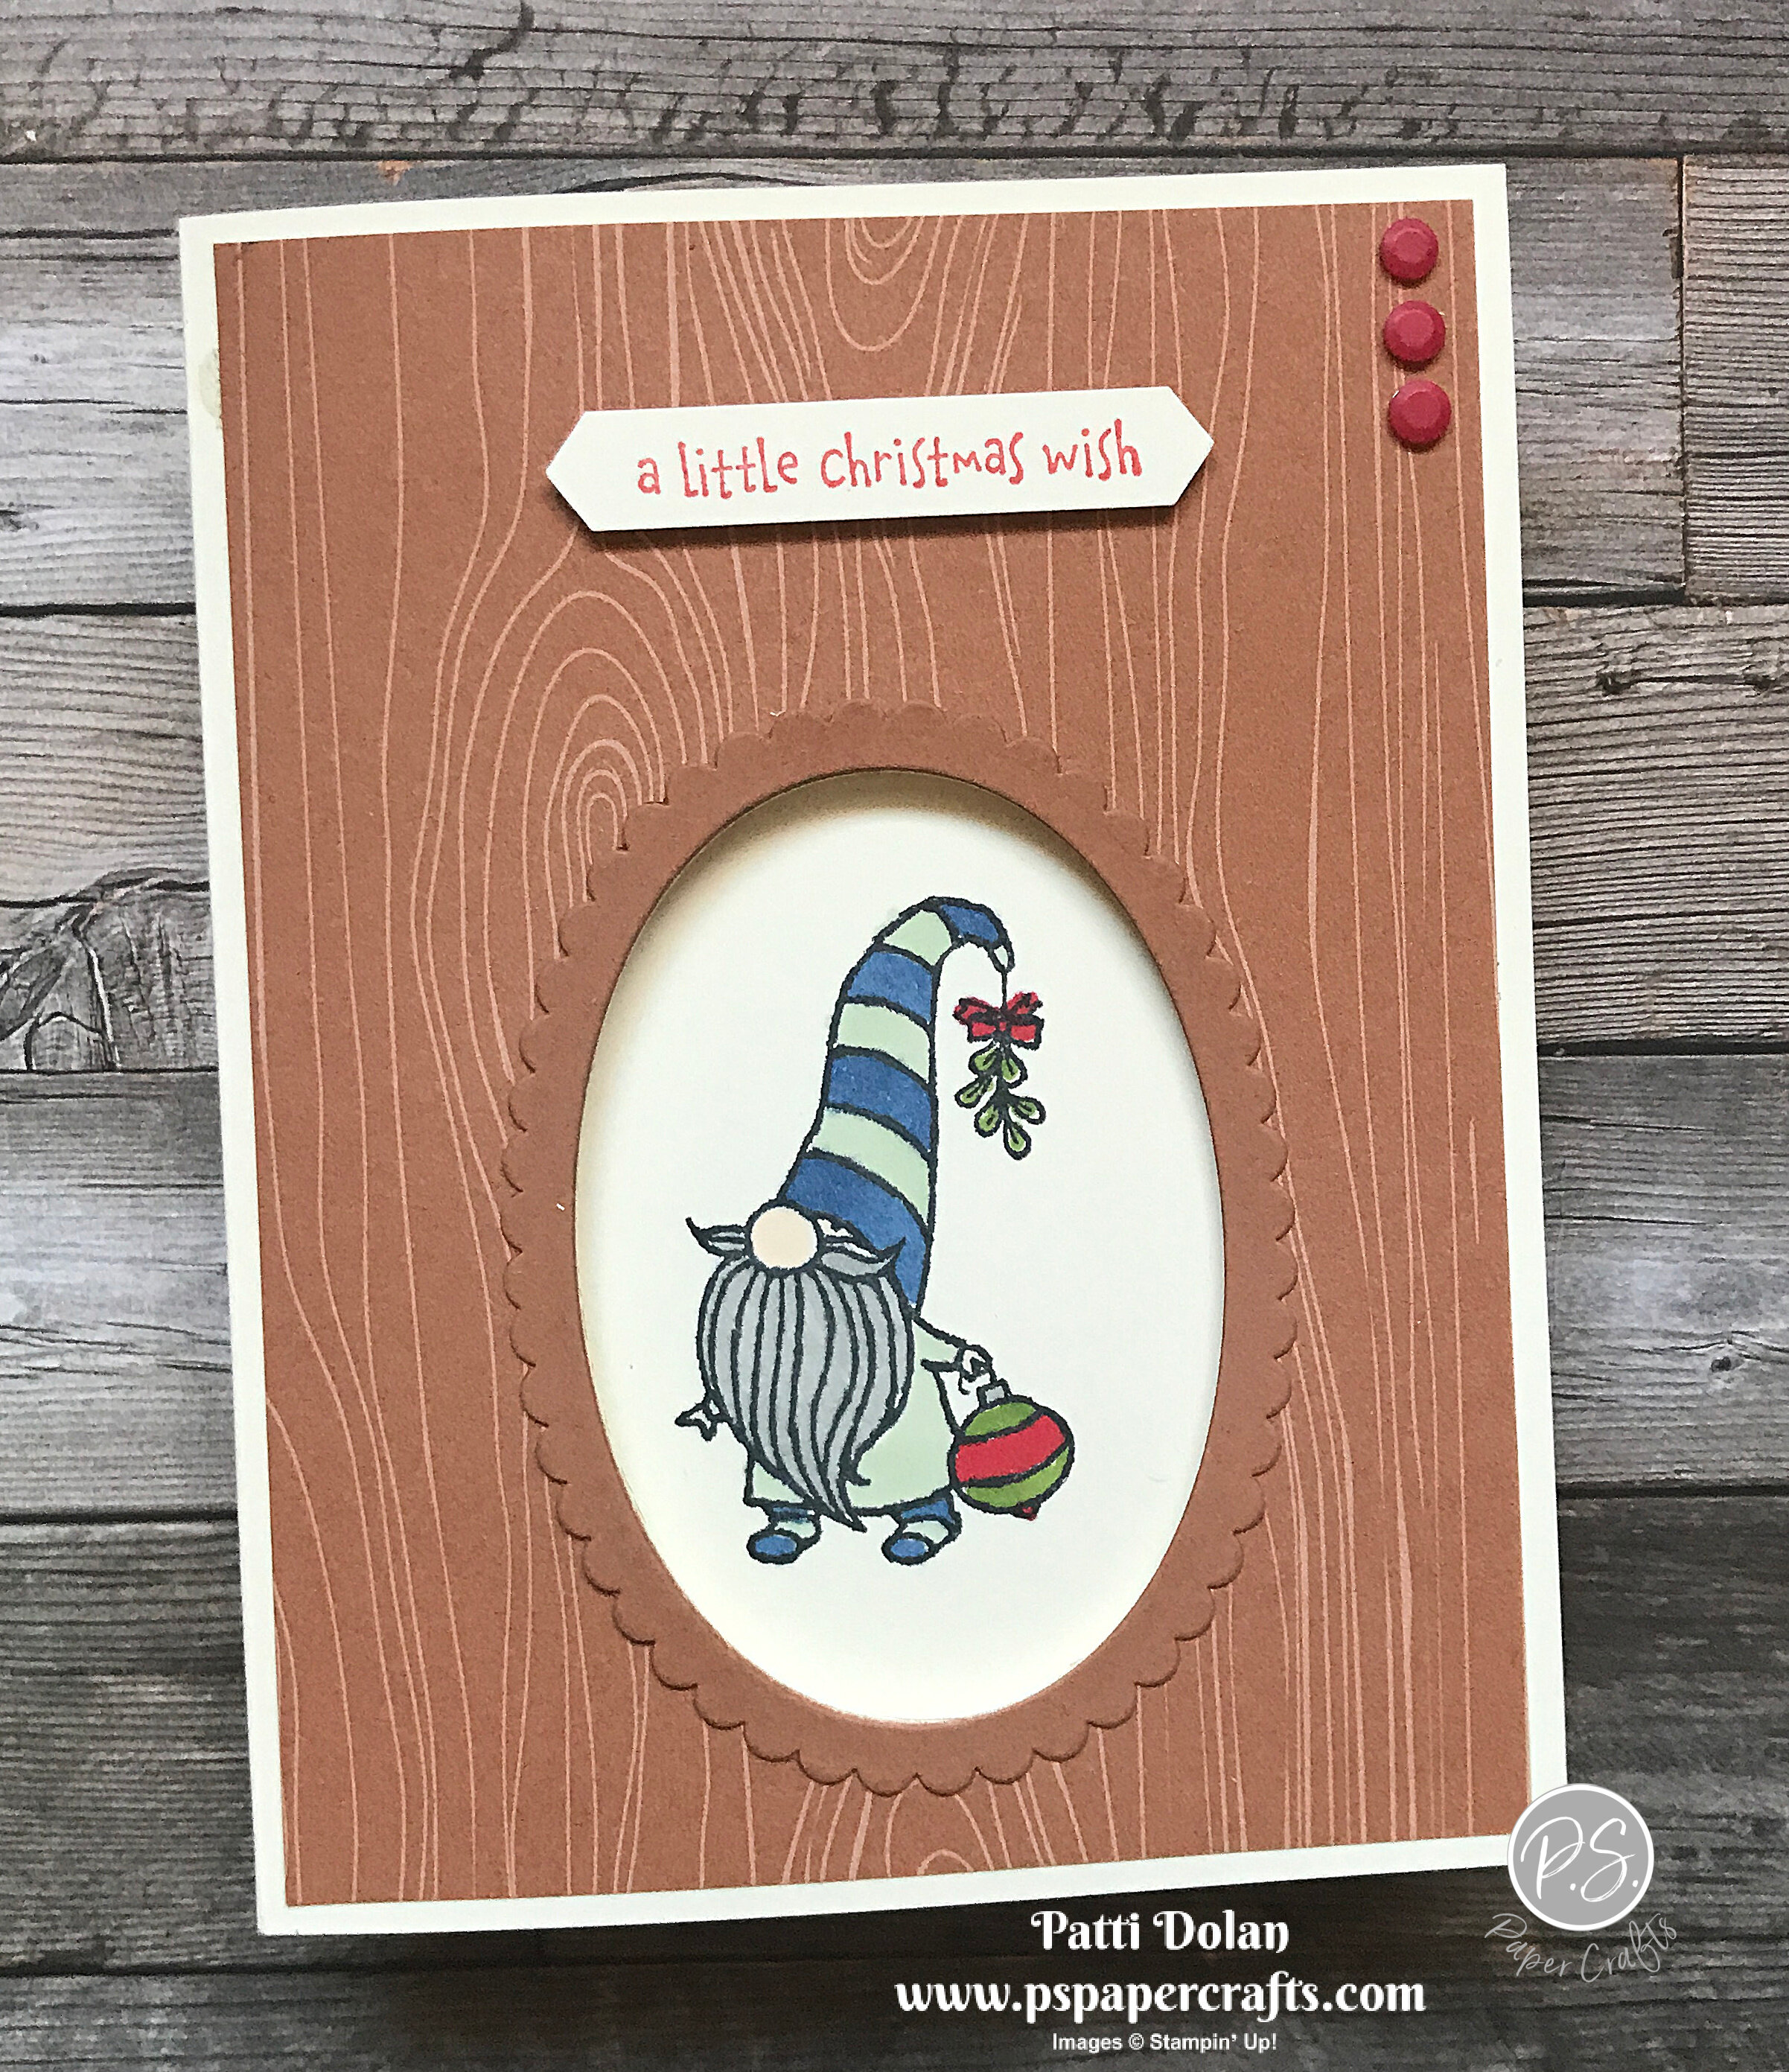
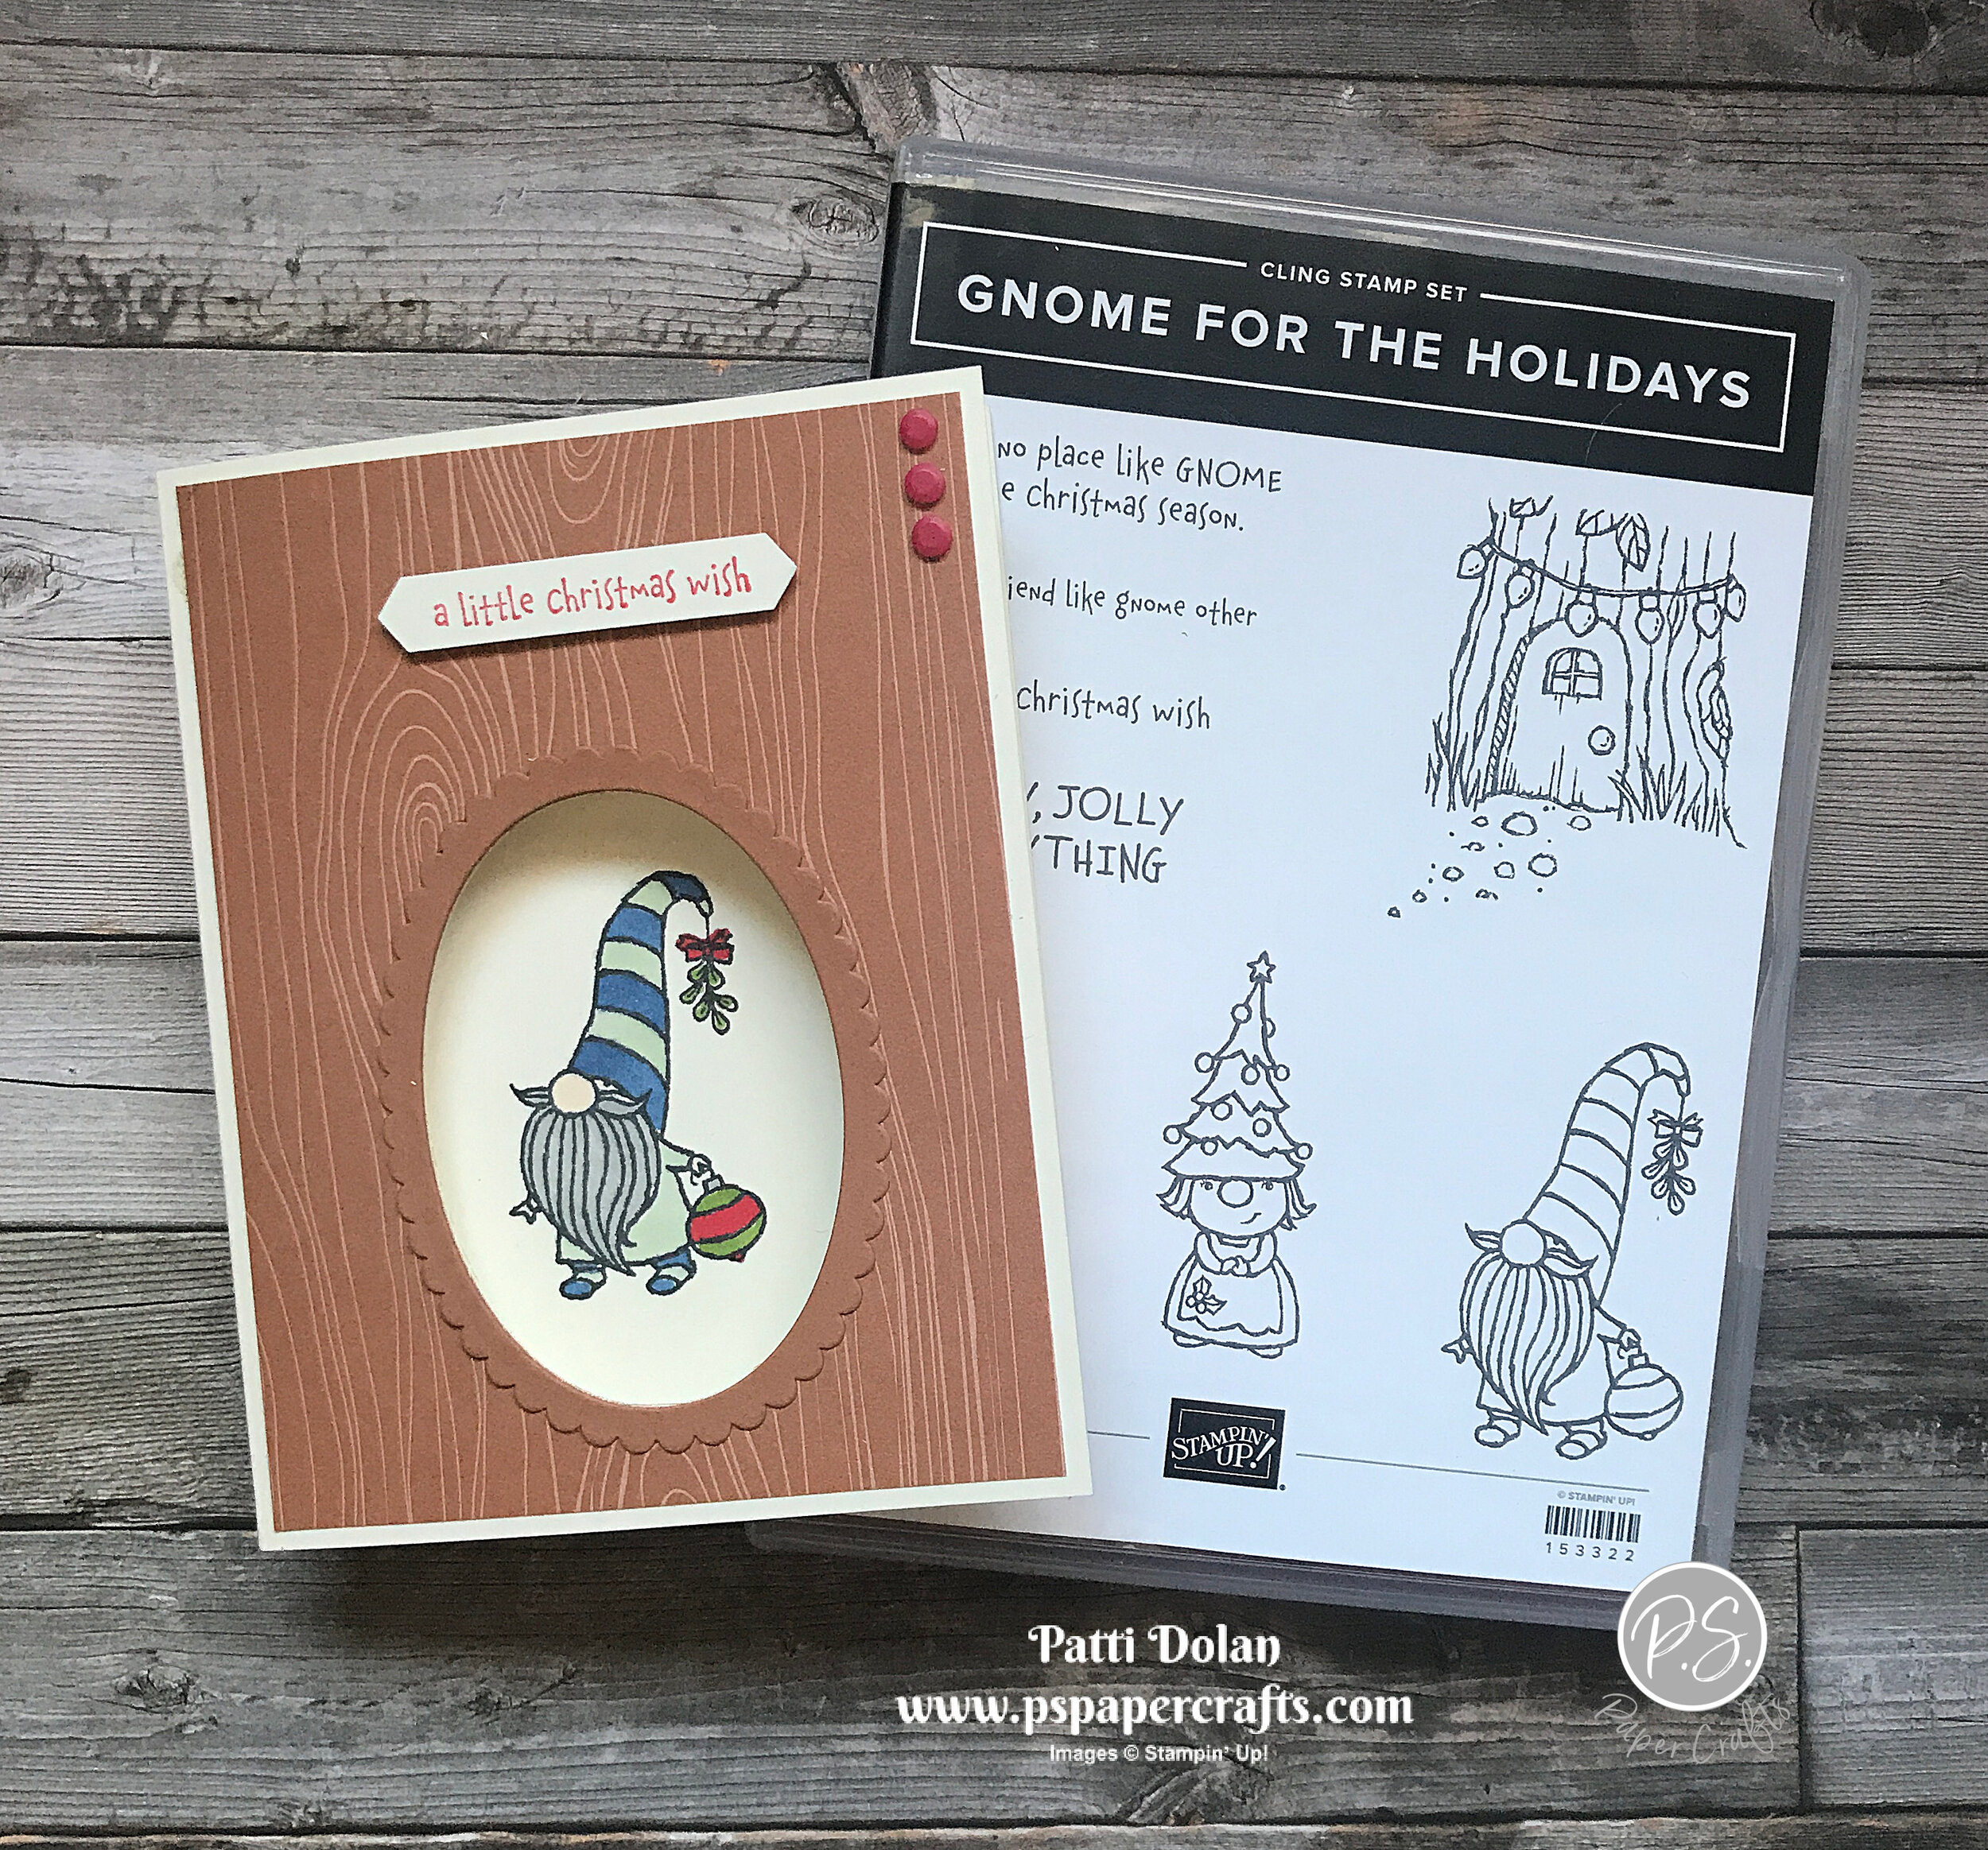
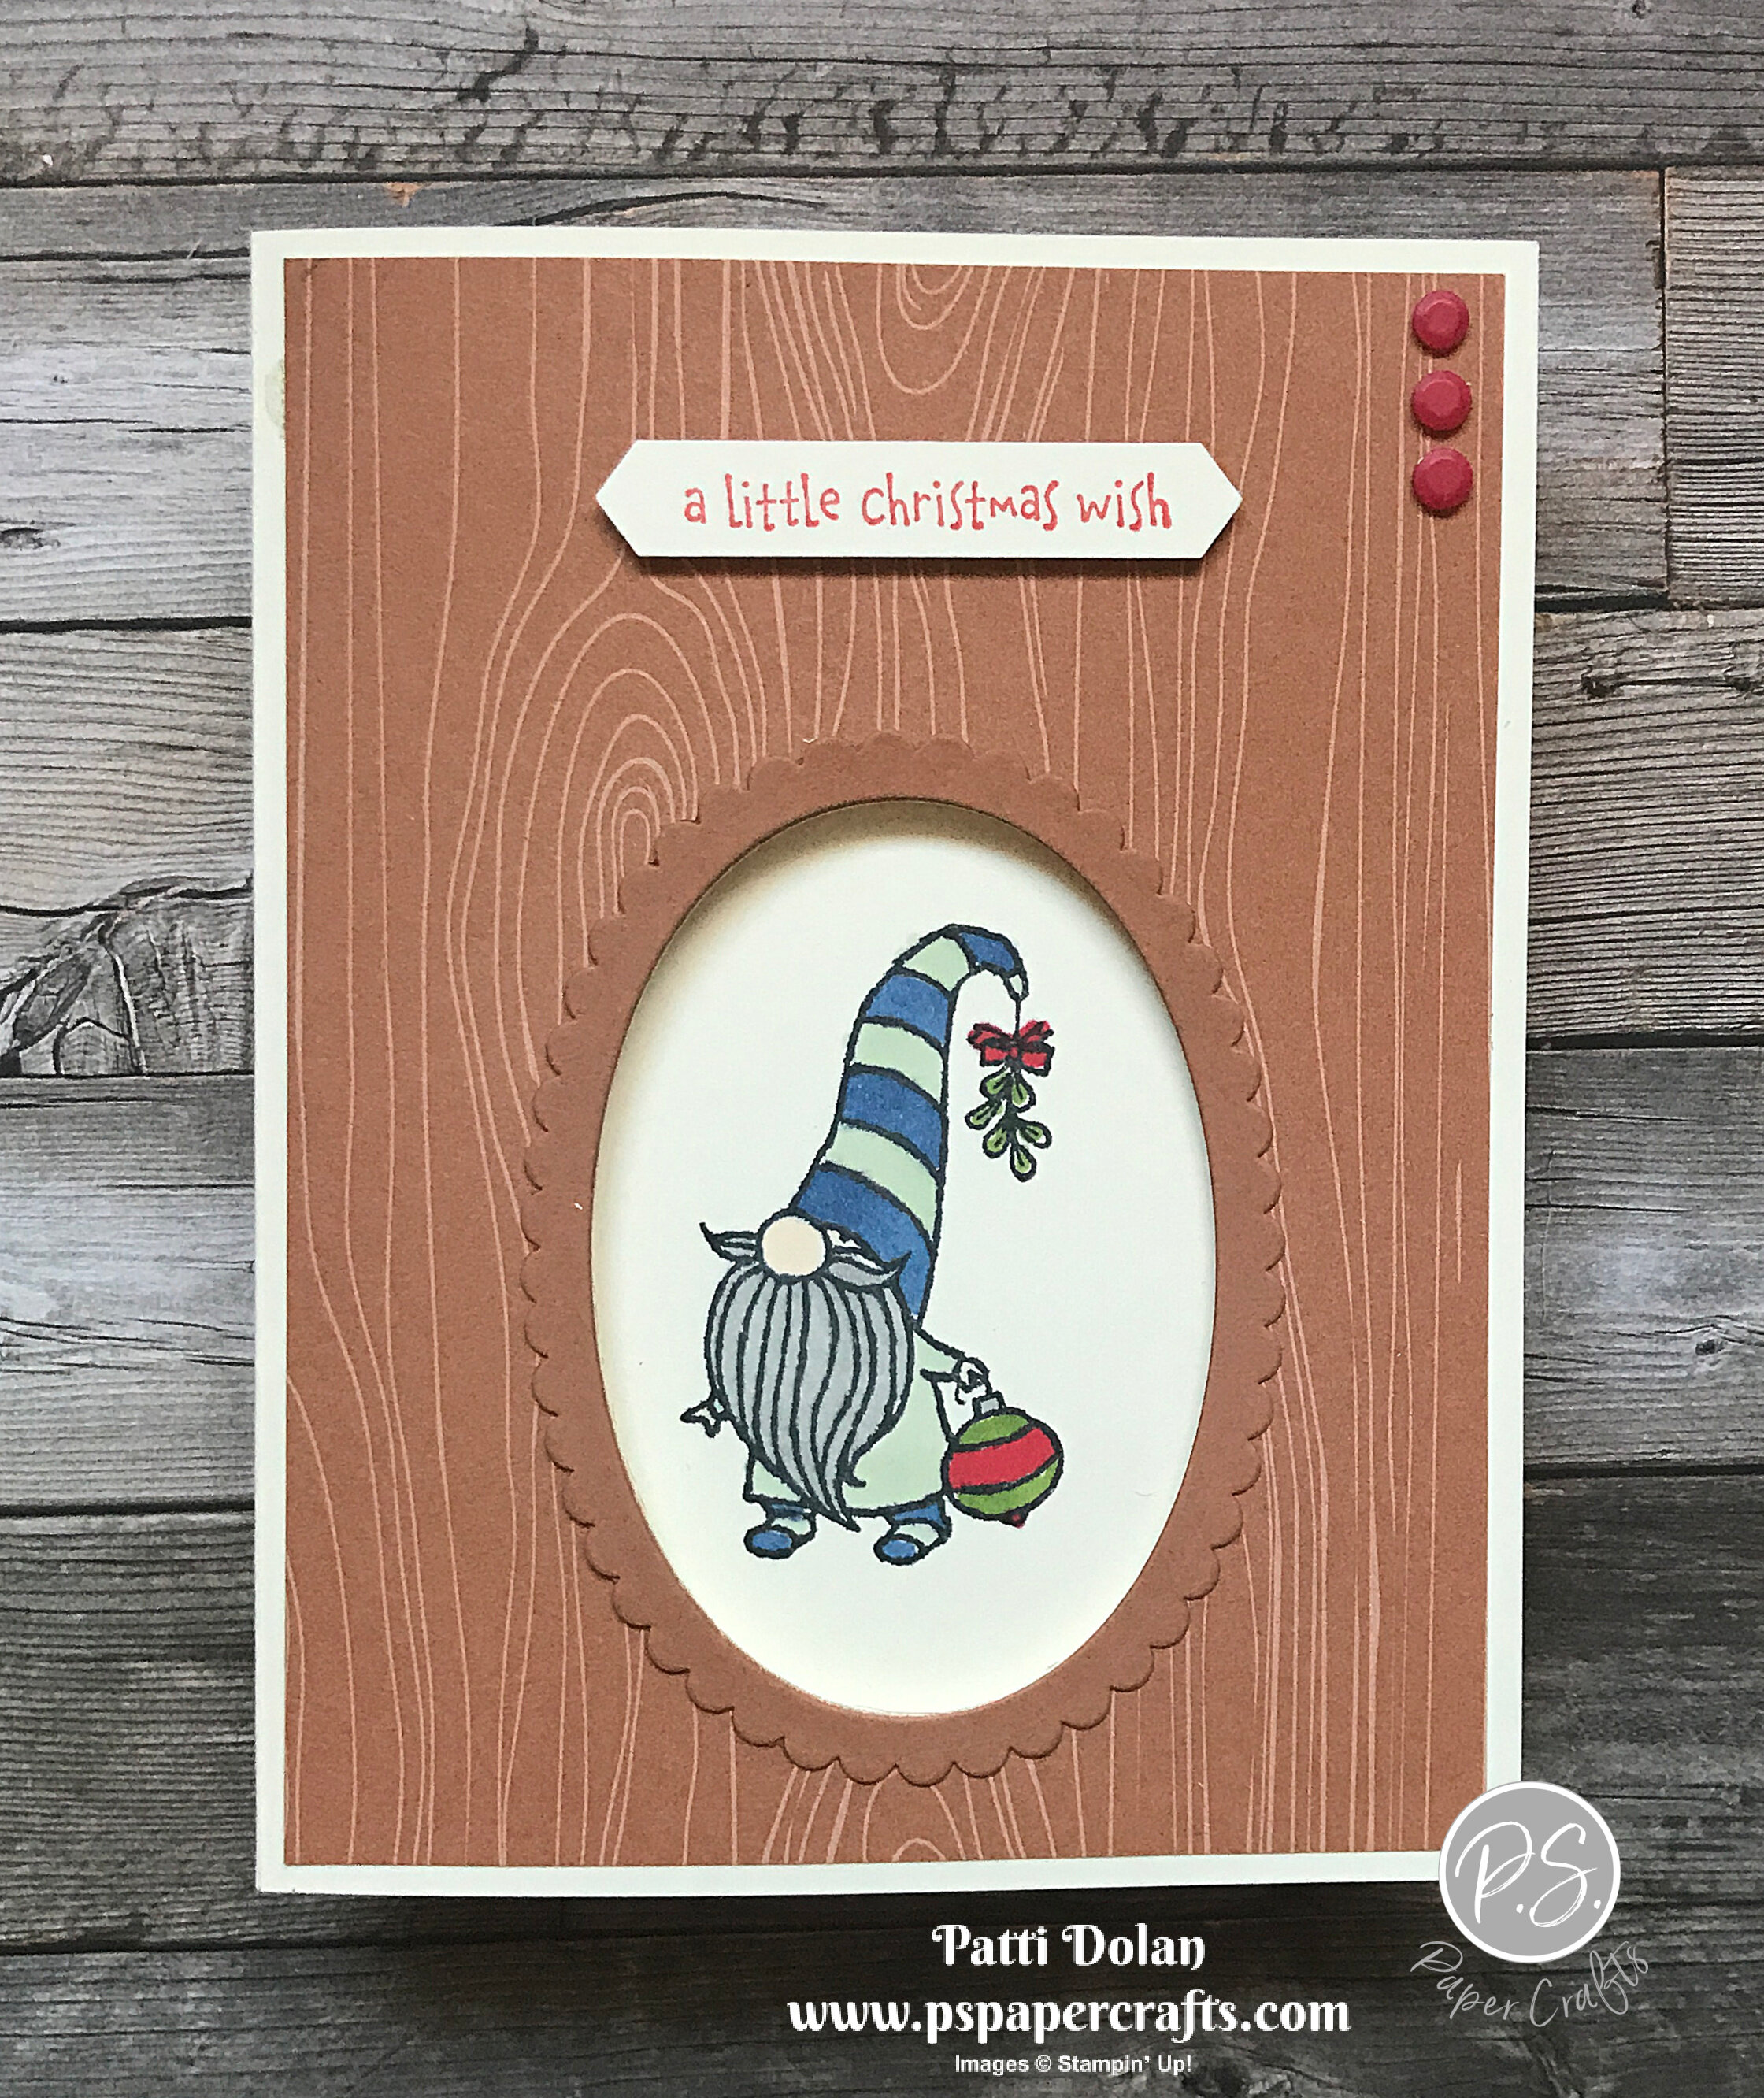
The Gnomes in the Gnome For The Holidays are just so cute. I used a piece of Cinnamon Cider Designer Series Paper with a woodgrain design to make it look like this little guy is inside a tree trunk.
I’ll show you how to make this Peek-A-Boo opening on the card front to show you they gnome on the inside layer.
This stamp has such adorable images and also some fun sentiments.
Tips & Instructions
Very Vanilla Card Base - 5 1/2 x 8 1/2, score at 4 1/4
2020-2022 In Color Designer Series Paper (Cinnamon Cider woodgrain design) - 5 1/4 x 4.
Adhere Designer Series Paper to card base and cut 3rd from largest Layering Ovals through both layers.
Very Vanilla Layer - 5 1/4 x 4, lay in place on the inside of the card and fold card front down and stamp gnome using Black Memento Ink. If you don’t feel comfortable doing this, you can lightly trace an oval on the inside layer and then stamp the gnome and erase the pencil.
Color the gnome with Stampin’ Blends (I used Light Smoky Slate for the bear and mustache, Light Petal Pink for the nose, face and hands, Dark Soft Sea Foam for the Nightshirt, strips on socks and hat, Light Night Of Navy for the strips on socks and hat. For the ornament and mistletoe use Dark Poppy Parade and Dark Granny Apple Green.
Stamp sentiment with Poppy Parade, making sure it’s not stamped too low and doesn’t show through the Peek-A-Boo. Adhere inside Layer, making sure the gnome shows through the card front.
Cut scalloped oval from Cinnamon Cider Cardstock by layering the largest scalloped oval and 3rd largest straight oval. Adhere to card around oval opening.
Stamp sentiment on scrap of Very Vanilla with Poppy Parade Ink and punch with Classic Label Punch. Adhere to card using Mini Dimensionals.
Add 3 All The Trimmings Dots to top right corner.


