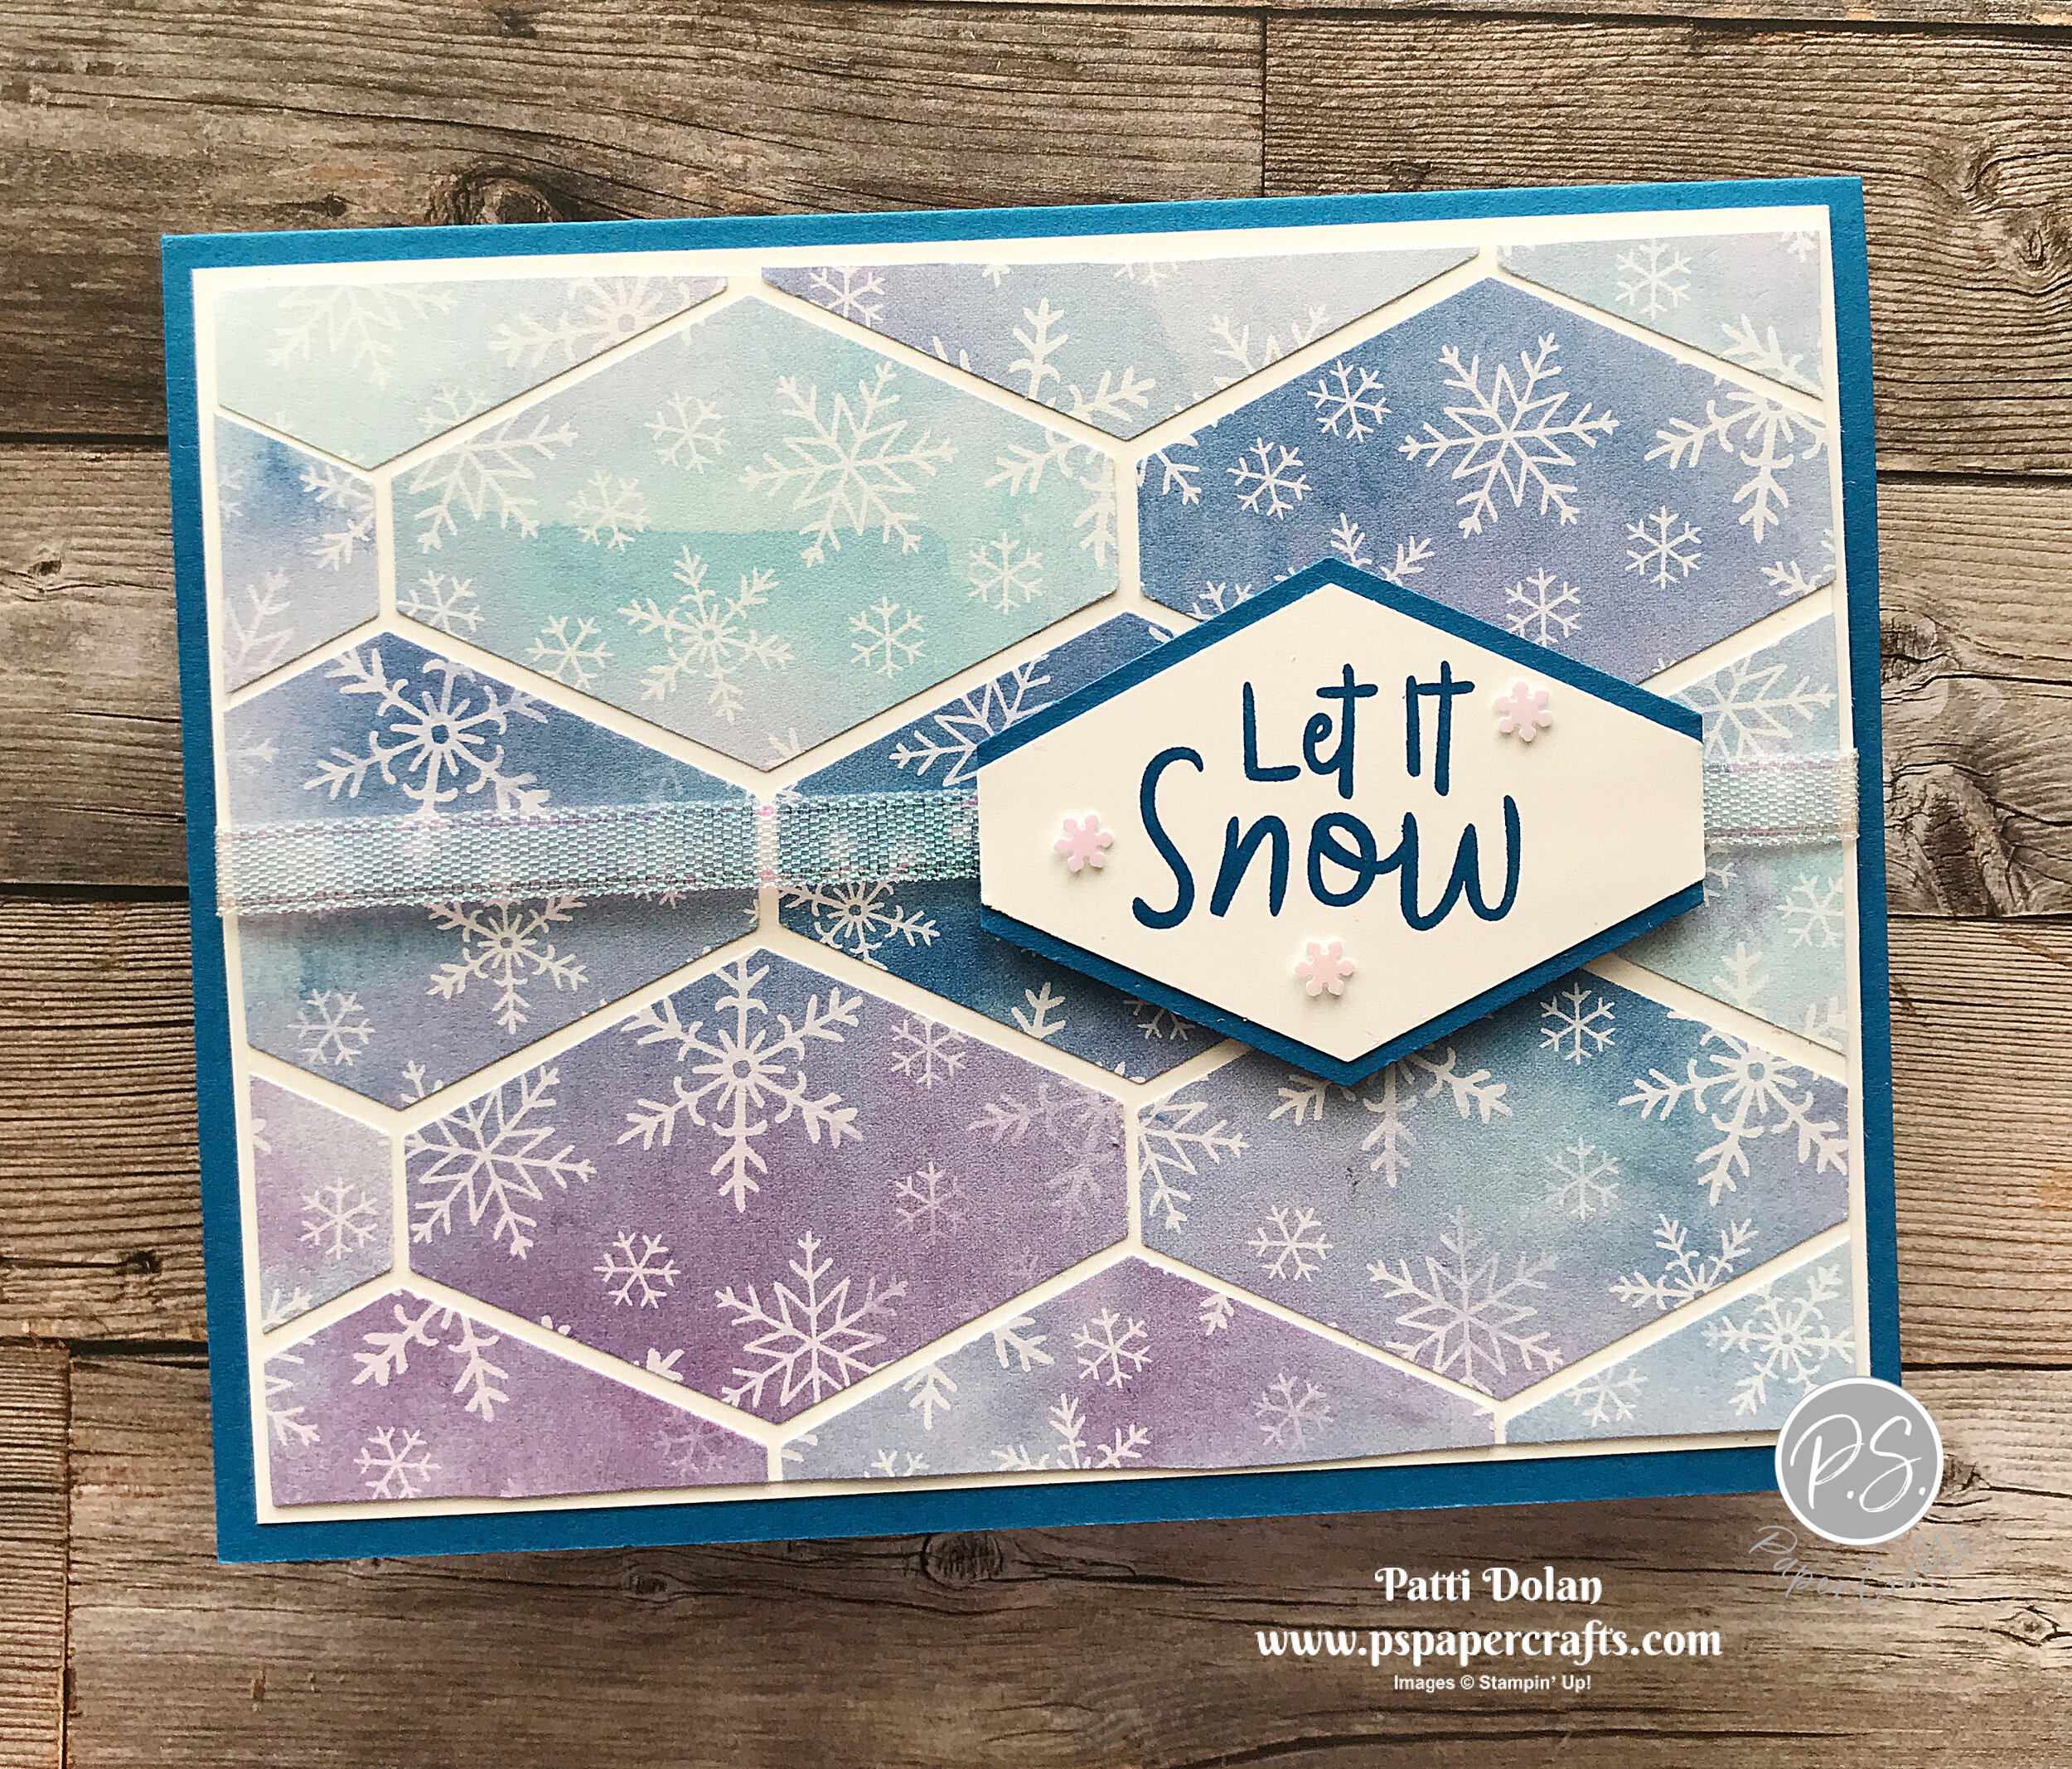
This was a fun card to make. Using the Tailored Tag Punch, I punched pieces of Snowflake Splendor Designer Series Paper and then pieced them together.
I’ll take you through all the steps on the video below. It was easy to do!
The Snowflake Splendor Designer Series Paper has great snowflake patterns and this paper is on sale during the month of October, 2020. You can save 15%.
Tips & Instructions
Pacific Point Card Base - 5 1/2 x 8 1/2, score at 4 1/4
Whisper White Layer - 5 1/4 x 4
Whisper White Layer (pieces will be adhered to this layer) 5 1/8 x 3 7/8
Punch a bunch of pieces of Snowflake Splendor Designer Series Paper using the Tailored Tag Punch.
Adhere pieces to the smaller of the Whisper White Layers, leaving a narrow gap between each. I used Multipurpose Liquid Glue and a Silicone Craft Sheet for this. Cut pieces that hang over, cutting from the back.
Adhere layer to larger Whisper White Layer.
Stamp sentiment on scrap of Whisper White using Pacific Point Ink. The “Let It Snow” sentiment is from the Snowman Season" Stamp Set and the “It’s The Most Wonderful Time Of The Year” sentiment is from the Wrapped In Christmas Stamp Set.
Punch sentiment with Tailored Tag Punch.
Punch a piece of Pacific Point Cardstock using the Tailored Tag Punch. Cut tag in half and adhere each half behind the sentiment tag to give it a border.
Wrap piece of Snowflake Splendor Ribbon around layers and adhere to the back.
Adhere sentiment label over ribbon using Dimensionals.
Adhere layer to card base.
Add some Adhesive-Backed Snowflakes.


