Tips of the Week - Stampin' Trimmer / Standard Layering Dimensions

I have a few things to share with you today that I hope are helpful when making cards.

First, a couple of tips to help you avoid cutting instead of scoring. Has that ever happened to you? With the Stampin’ Trimmer, there is a light gray scoring blade and a dark gray cutting blade and sometimes I’ve used the wrong one. This is ok if you accidentally score instead of cut, BUT if you cut instead of score, there’s no fixing it.

One tip is to mark the cutting blade with red nail polish or something similar. It will sort of jump out at you that its the cutting blade.

Stampin' Trimmer Tips.jpg

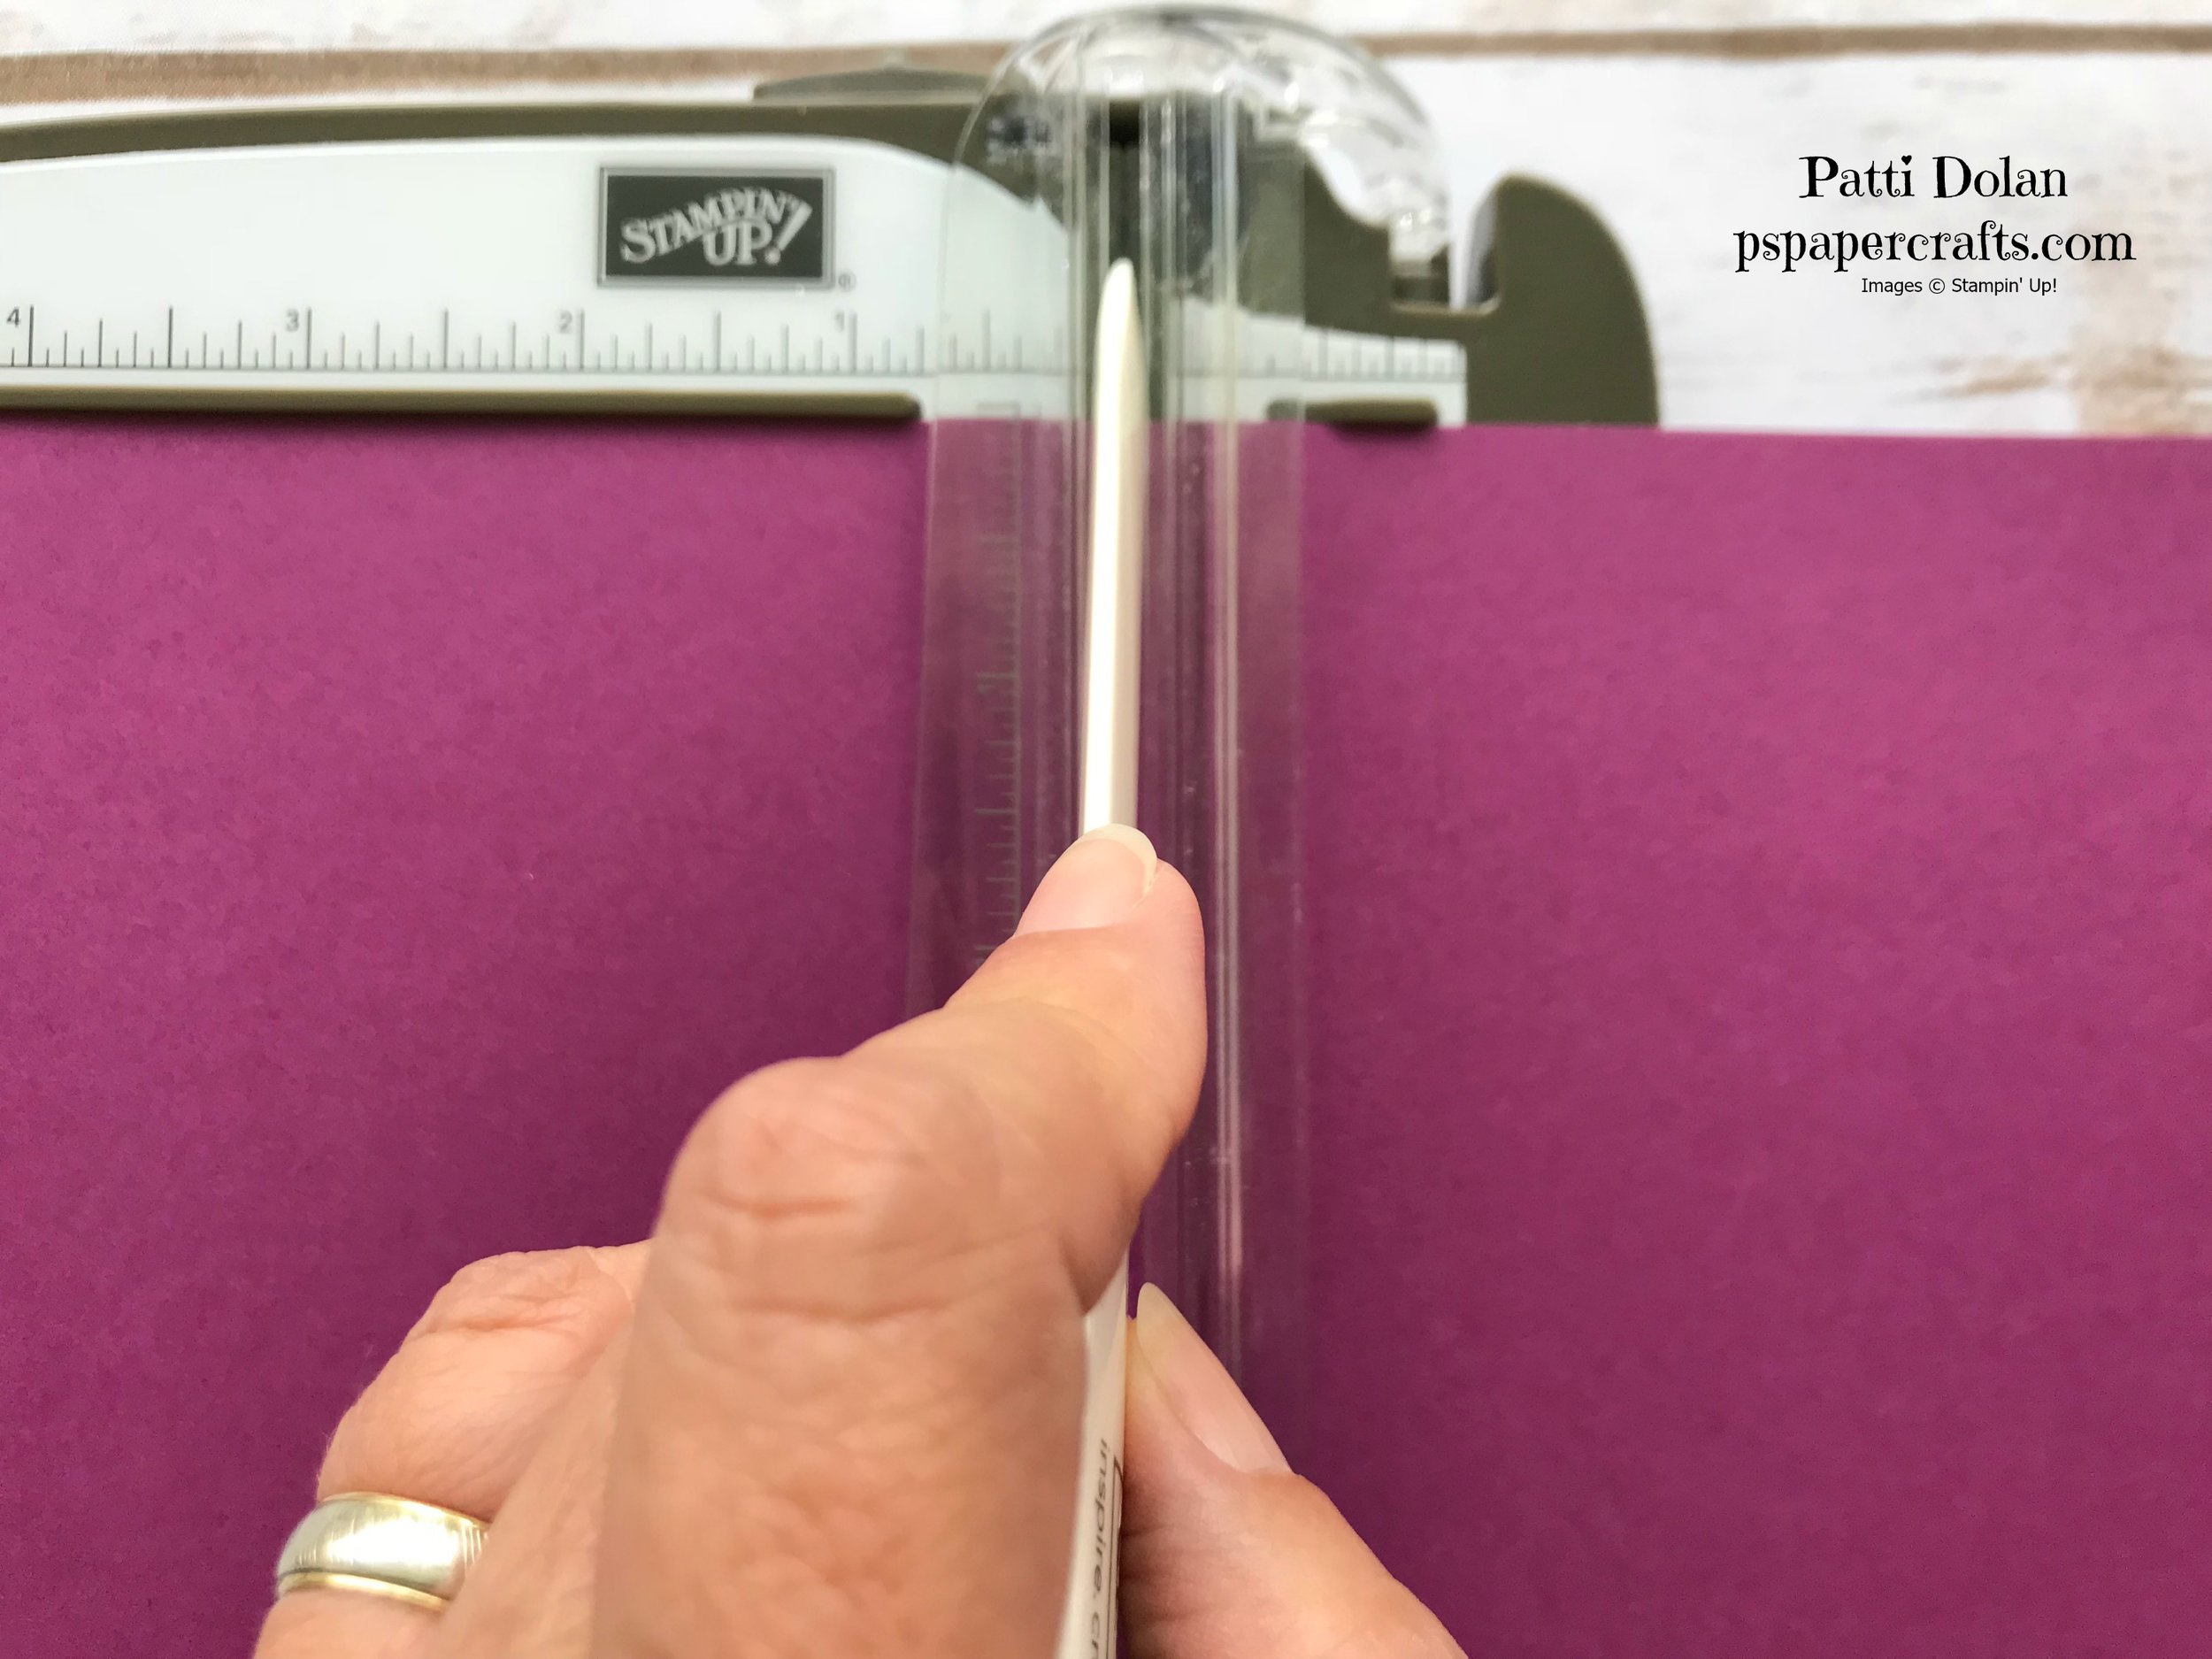
Another way to avoid this is to remove the scoring blade and use your Bone Folder instead. If you saw my post yesterday, there is a video that shows how to remove your blades. Once you remove the scoring blade, use your Bone Folder right in the groove where the blades sit.

Stampin' Trimmer Tips2.jpg

I also want to share some standard dimensions that I use for A2 size cards. Those are the cards that fit into our medium size envelopes or an invitation size envelope.

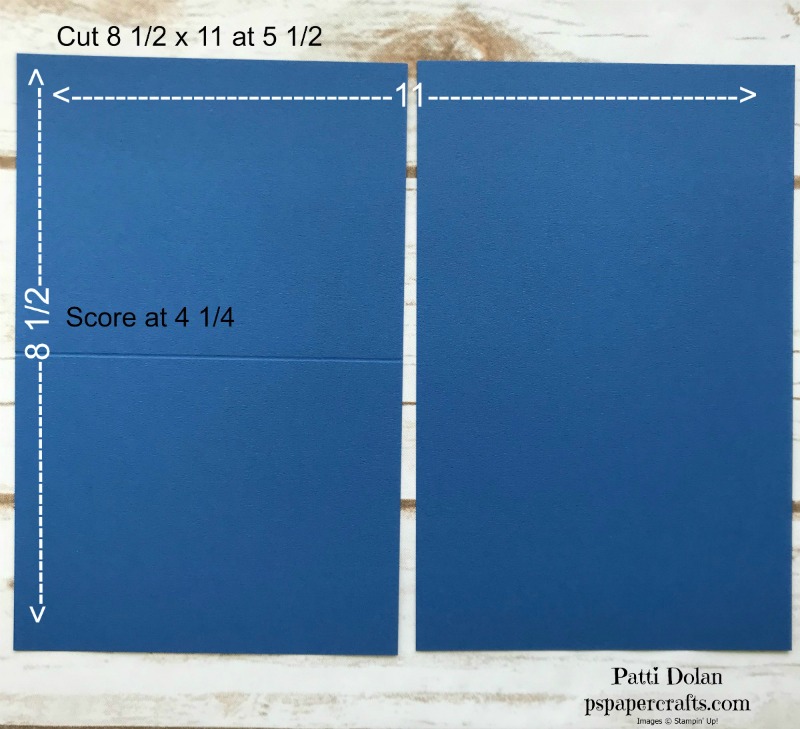
You can cut your 8 1/2 x 11 cardstock on the 11” side at 5 1/2 and score at 4 1/4.

Dimensions1 Small.jpg

Or cut the 8 1/2” side at 4 1/4 and score at 5 1/2”.

Dimensions2 Small.jpg

Then I usually go down a 1/4” for each layer. If I want a tighter layer (smaller border), I go down an 1/8”.

Dimensions3 Small.jpg